Easy Peasy DIY Envelope Cushion Covers
As an Amazon Associate I earn from qualifying purchases
Cushion covers can be so easy to make, without press stud fastenings or fiddly zips. All the skill you need is the ability to sew in a straight line. I do mine on the sewing machine but you could even do them by hand.
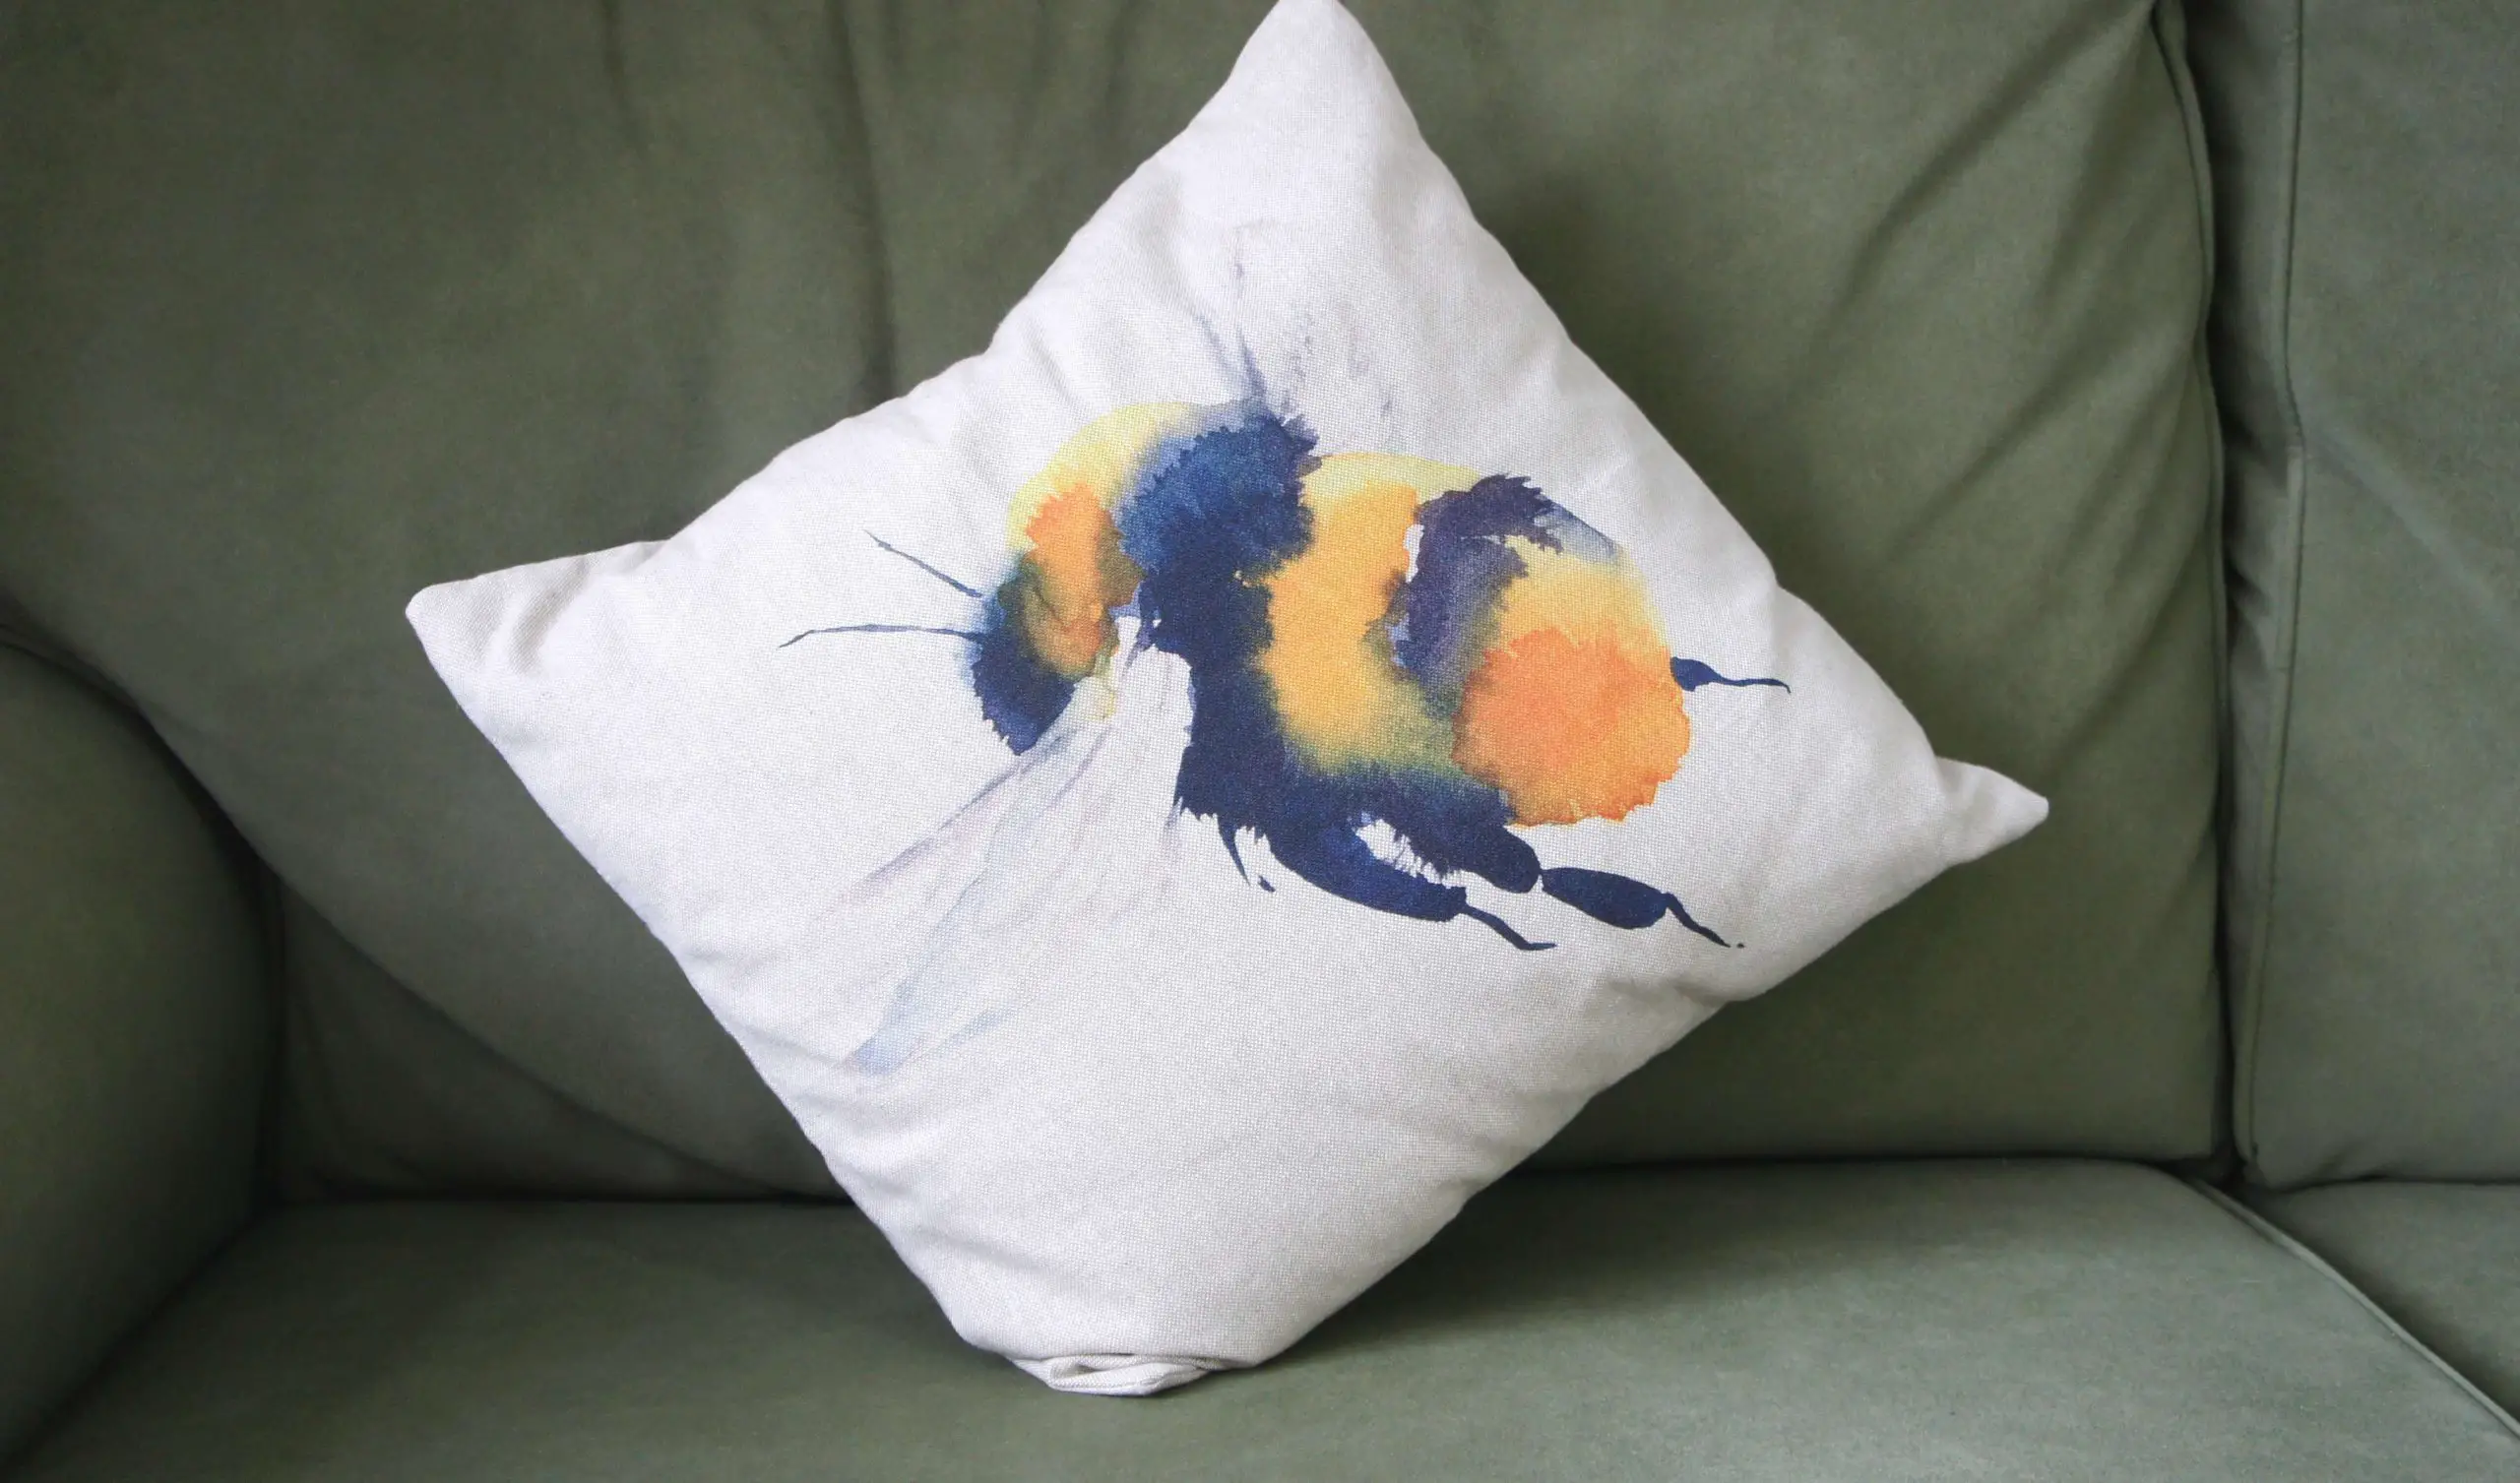
In this tutorial I will show you how to make envelope cushion covers. I have used a cute bee panel but you can use any fabric or panel you choose for your envelope cushion cover. At the bottom of the tutorial you will see the patchwork cushion cover I have made using this technique and a video showing you how you can do it too!
This page contains affiliate links meaning I earn a little commission if you use those links at no cost to you. I only recommend brands I use and trust.
You will need:
Cushion cover front panel (or fabric)
Material for back of cover (twice the size of the front panel is more than enough)
Matching thread
Sewing machine (or needle and patience)
Envelope Cushion Cover Instructions:
Preparing your fabric pieces
This tutorial can be used for any size envelope cushion cover that you like. Personally I like different sized cushions so I make large and small covers.
Decide on the size of cover you want and then cut a front panel the size that you want plus a seam allowance. I recommend at least 0.5″ all the way around. Therefore you would need 1″ on either measurement. NOTE: If you are measuring a cushion pad and using that as your basis consider how tight you want your cover to be. If you make it too small you may have trouble getting the cushion pad into the cover.
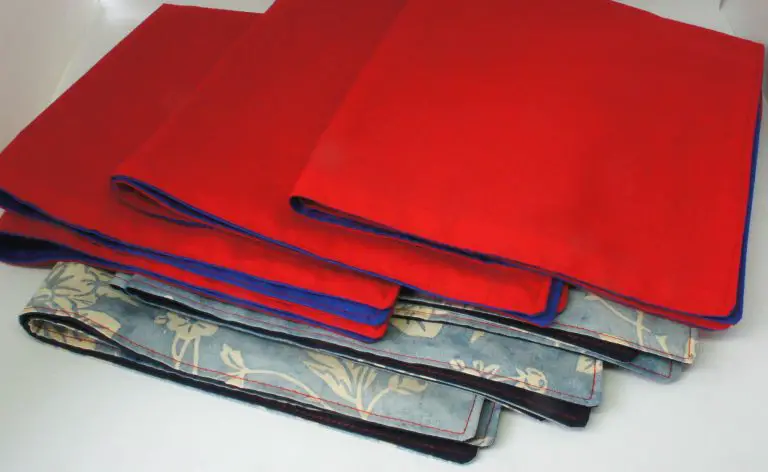
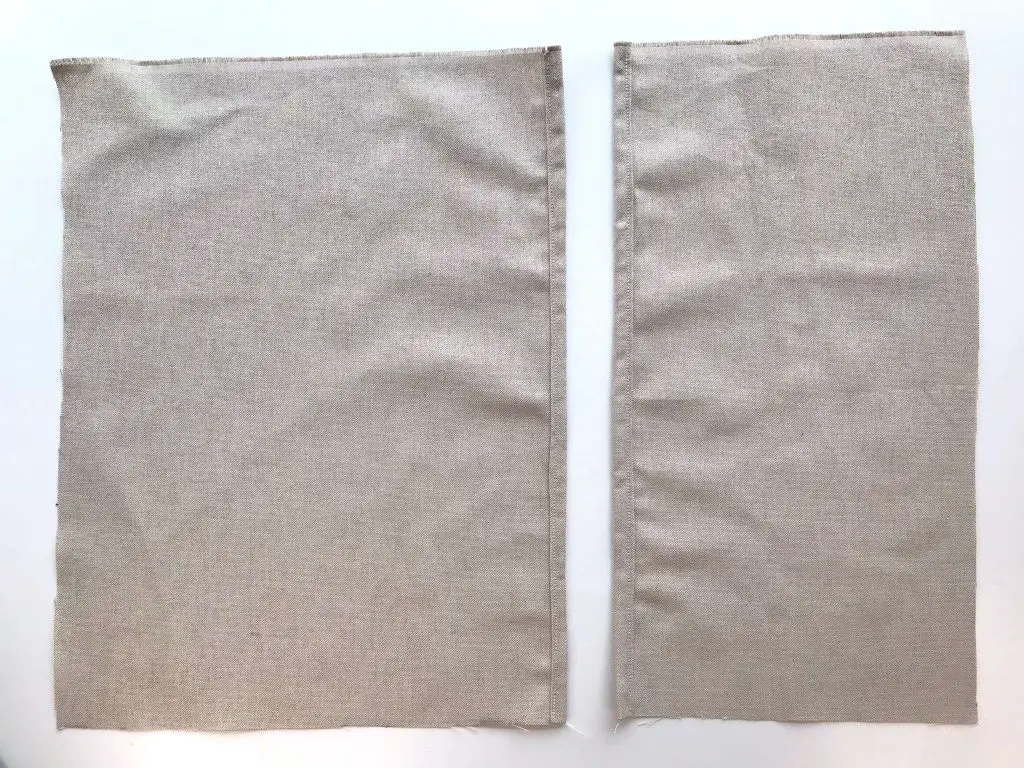
Cut two pieces out of the back cover material that are as tall as your front panel. One should be nearly as wide as your front panel and one should be about half as wide as your front panel.
Double hem a small hem along one edge of each piece. This means fold a small hem and then fold the fabric again so that the raw edge is enclosed. These should be along the edge that will lie vertically when placed on the front panel and that will be on the panel (not at the edge). If your fabric has a right way up then check carefully at this point before you sew anything. You do not want anything upside down!
Assembling your Cushion Cover
Place the largest piece on the front panel. Make sure that right sides are facing each other and that the raw edges match up. Notice that the hem you made is on top of the cushion cover front and not at the edge.
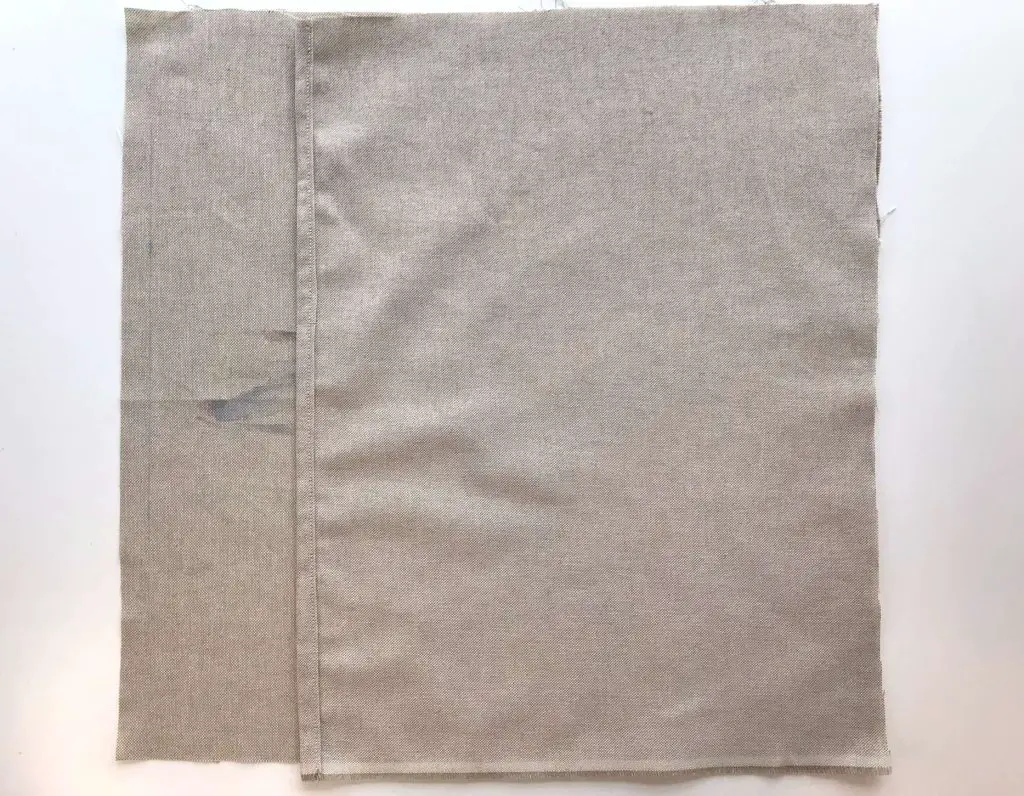
Place the smaller back panel piece on top of these pieces with right side facing down onto the other pieces.
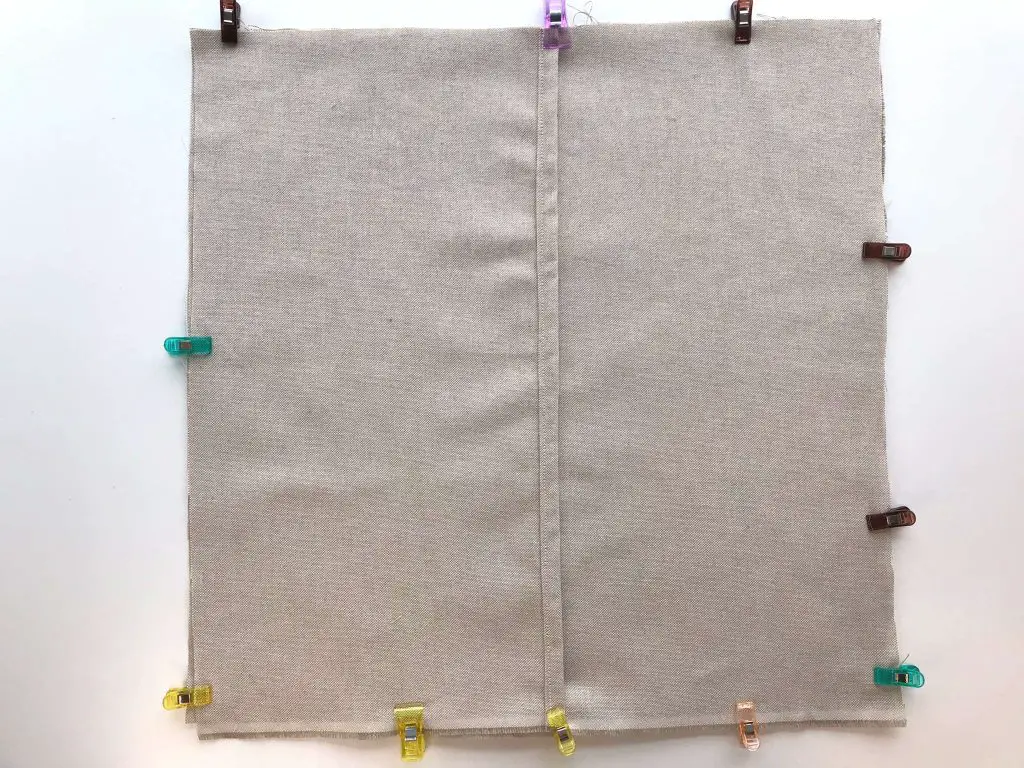
Now pin or clip all the way around the cover, making sure that all 3 pieces are pinned together and that you have sufficient seam allowance. I recommend 0.5″ minimum.
Carefully stitch all the way around the cover removing the pins(or clips) as you go. If you find this difficult, simply tack the pieces together first so that everything is held securely in place.
At each corner leave the needle in the fabric, lift the foot of the machine and turn the whole lot through ninety degrees. Put the foot back down and carry on sewing. This will give you nice crisp corners on your cover. Trim the seam allowance if you feel the need to and cut the corners. Be careful not to go too close to your stitches.
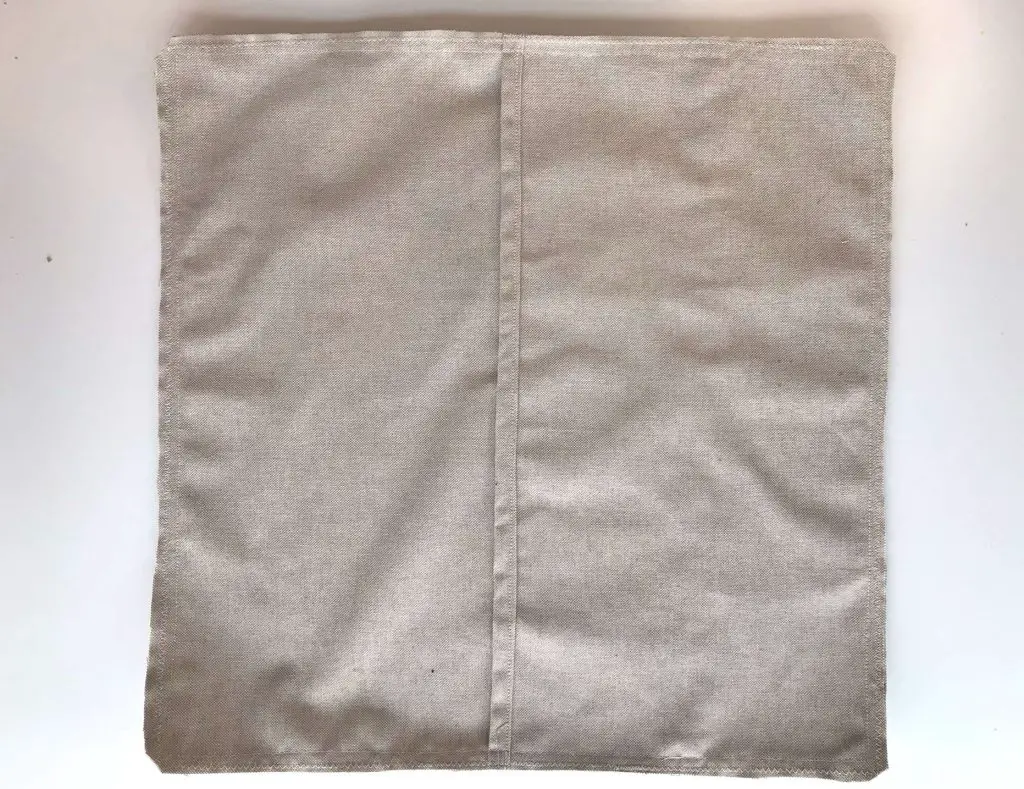
Turn the cover right side out and poke the corners out carefully. My personal favourite tool for this task is a chopstick!
You have now completed your cover. Simply place your cushion pad inside and enjoy!
Video Tutorial for Patchwork Envelope Cushion Cover
This video is available on my YouTube channel with many others.
So, as you can see, easy cushion covers can be made with simple sewing skills. You can use any front panel that you like to make a cushion cover using this technique. There are some great latch hook kits out there for just this purpose.
Alternatively you could use the same fabric for the front and the back panels. Get creative and please let me know in the comments below how you get on.
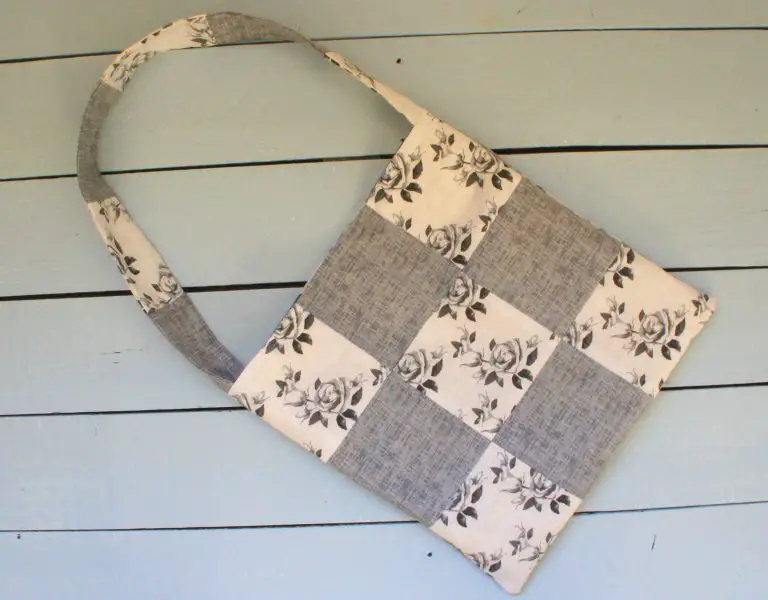
If you like sewing you might like to try one of my other projects:
Phone & Tablet Stand from old Jeans
Shabby Chic Flowers from old Jeans
Easy Make Up Remover Pads
Remember to pin this article on Pinterest so that you can find it again!