Doorstop – Full Tutorial
As an Amazon Associate I earn from qualifying purchases
This summer we had the doors and windows open a lot and doors were banging shut so we needed at least one doorstop. They tend to be rather ugly or boring so I had a go at making one. It was actually quite easy and looks great in my dining room. It is certainly more elegant than the temporary one it replaced (details of that later).
This full tutorial is available as a downloadable PDF for a small charge so that you can avoid the ads and easily print it off if you want to. Simply click here for details.
This page contains affiliate links meaning I earn a small commission if you use those links at no cost to you. I only recommend brands I use and trust.
You will need:
Fabric of your choice (o.5 yard or 0.5m is plenty). I used a thick hard,wearing fabric.
Filling (dried beans, pulses, rice or sand work well)
Matching thread
Sewing machine (optional)
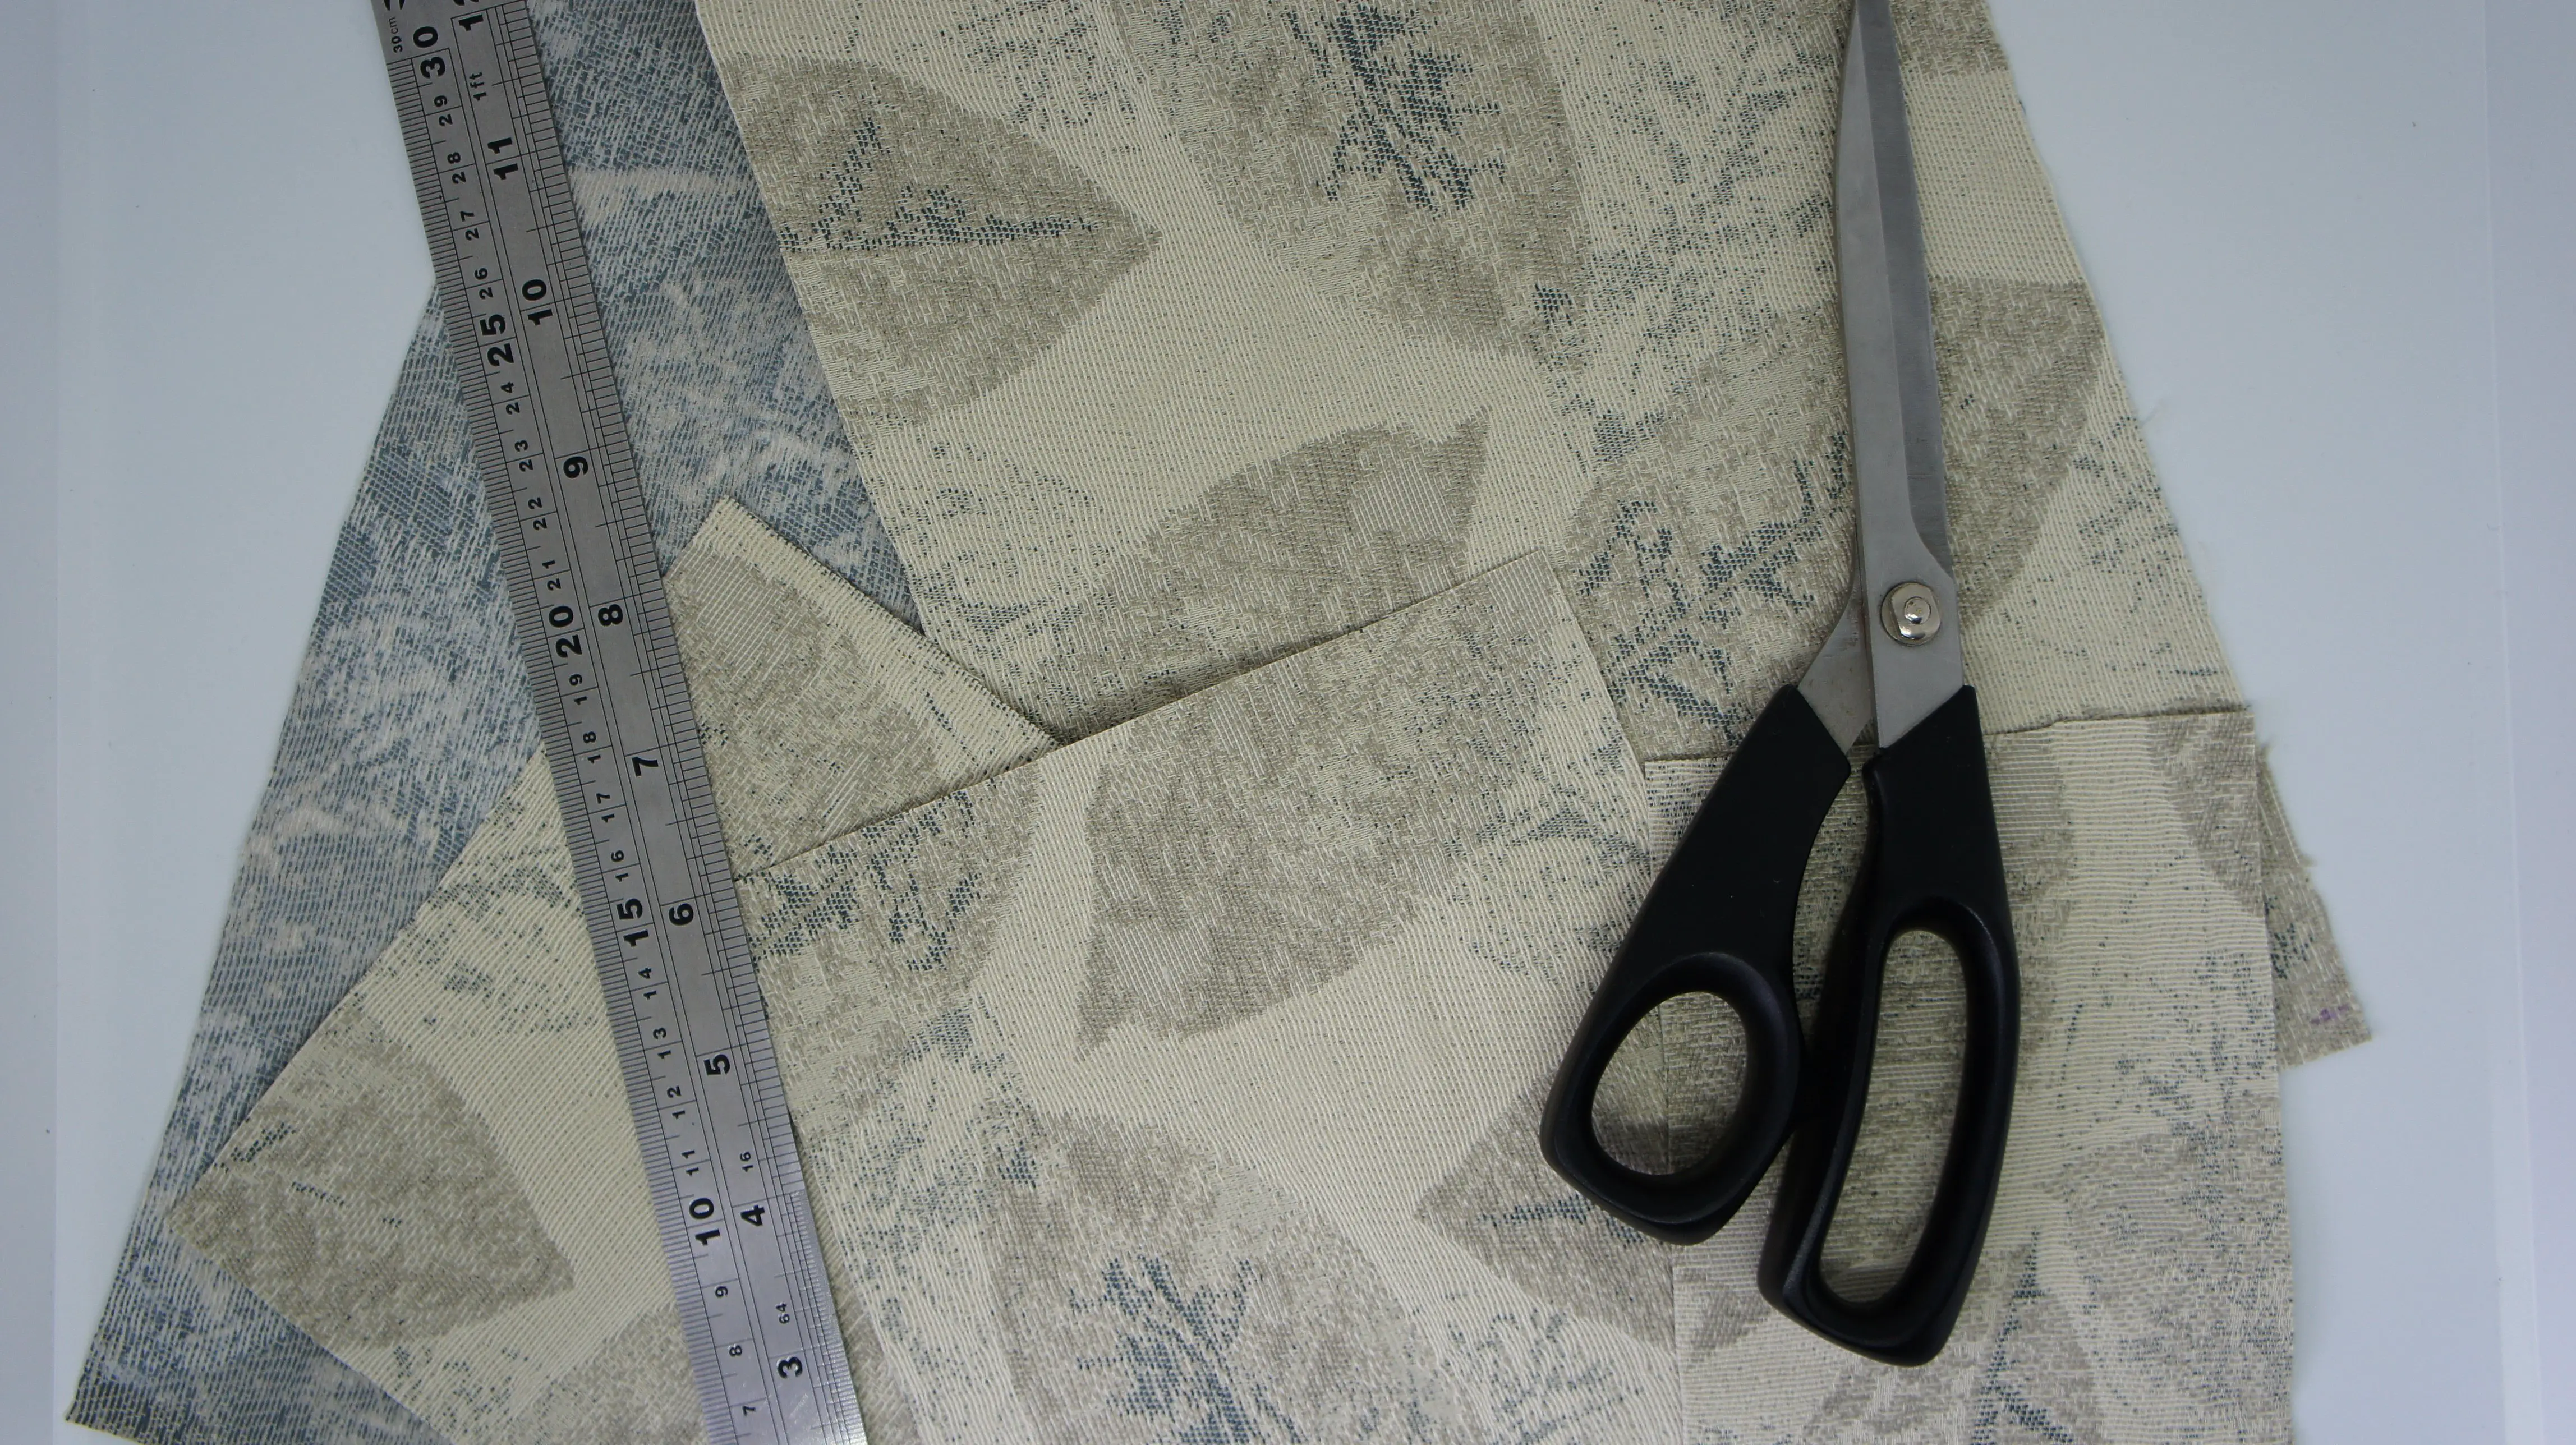
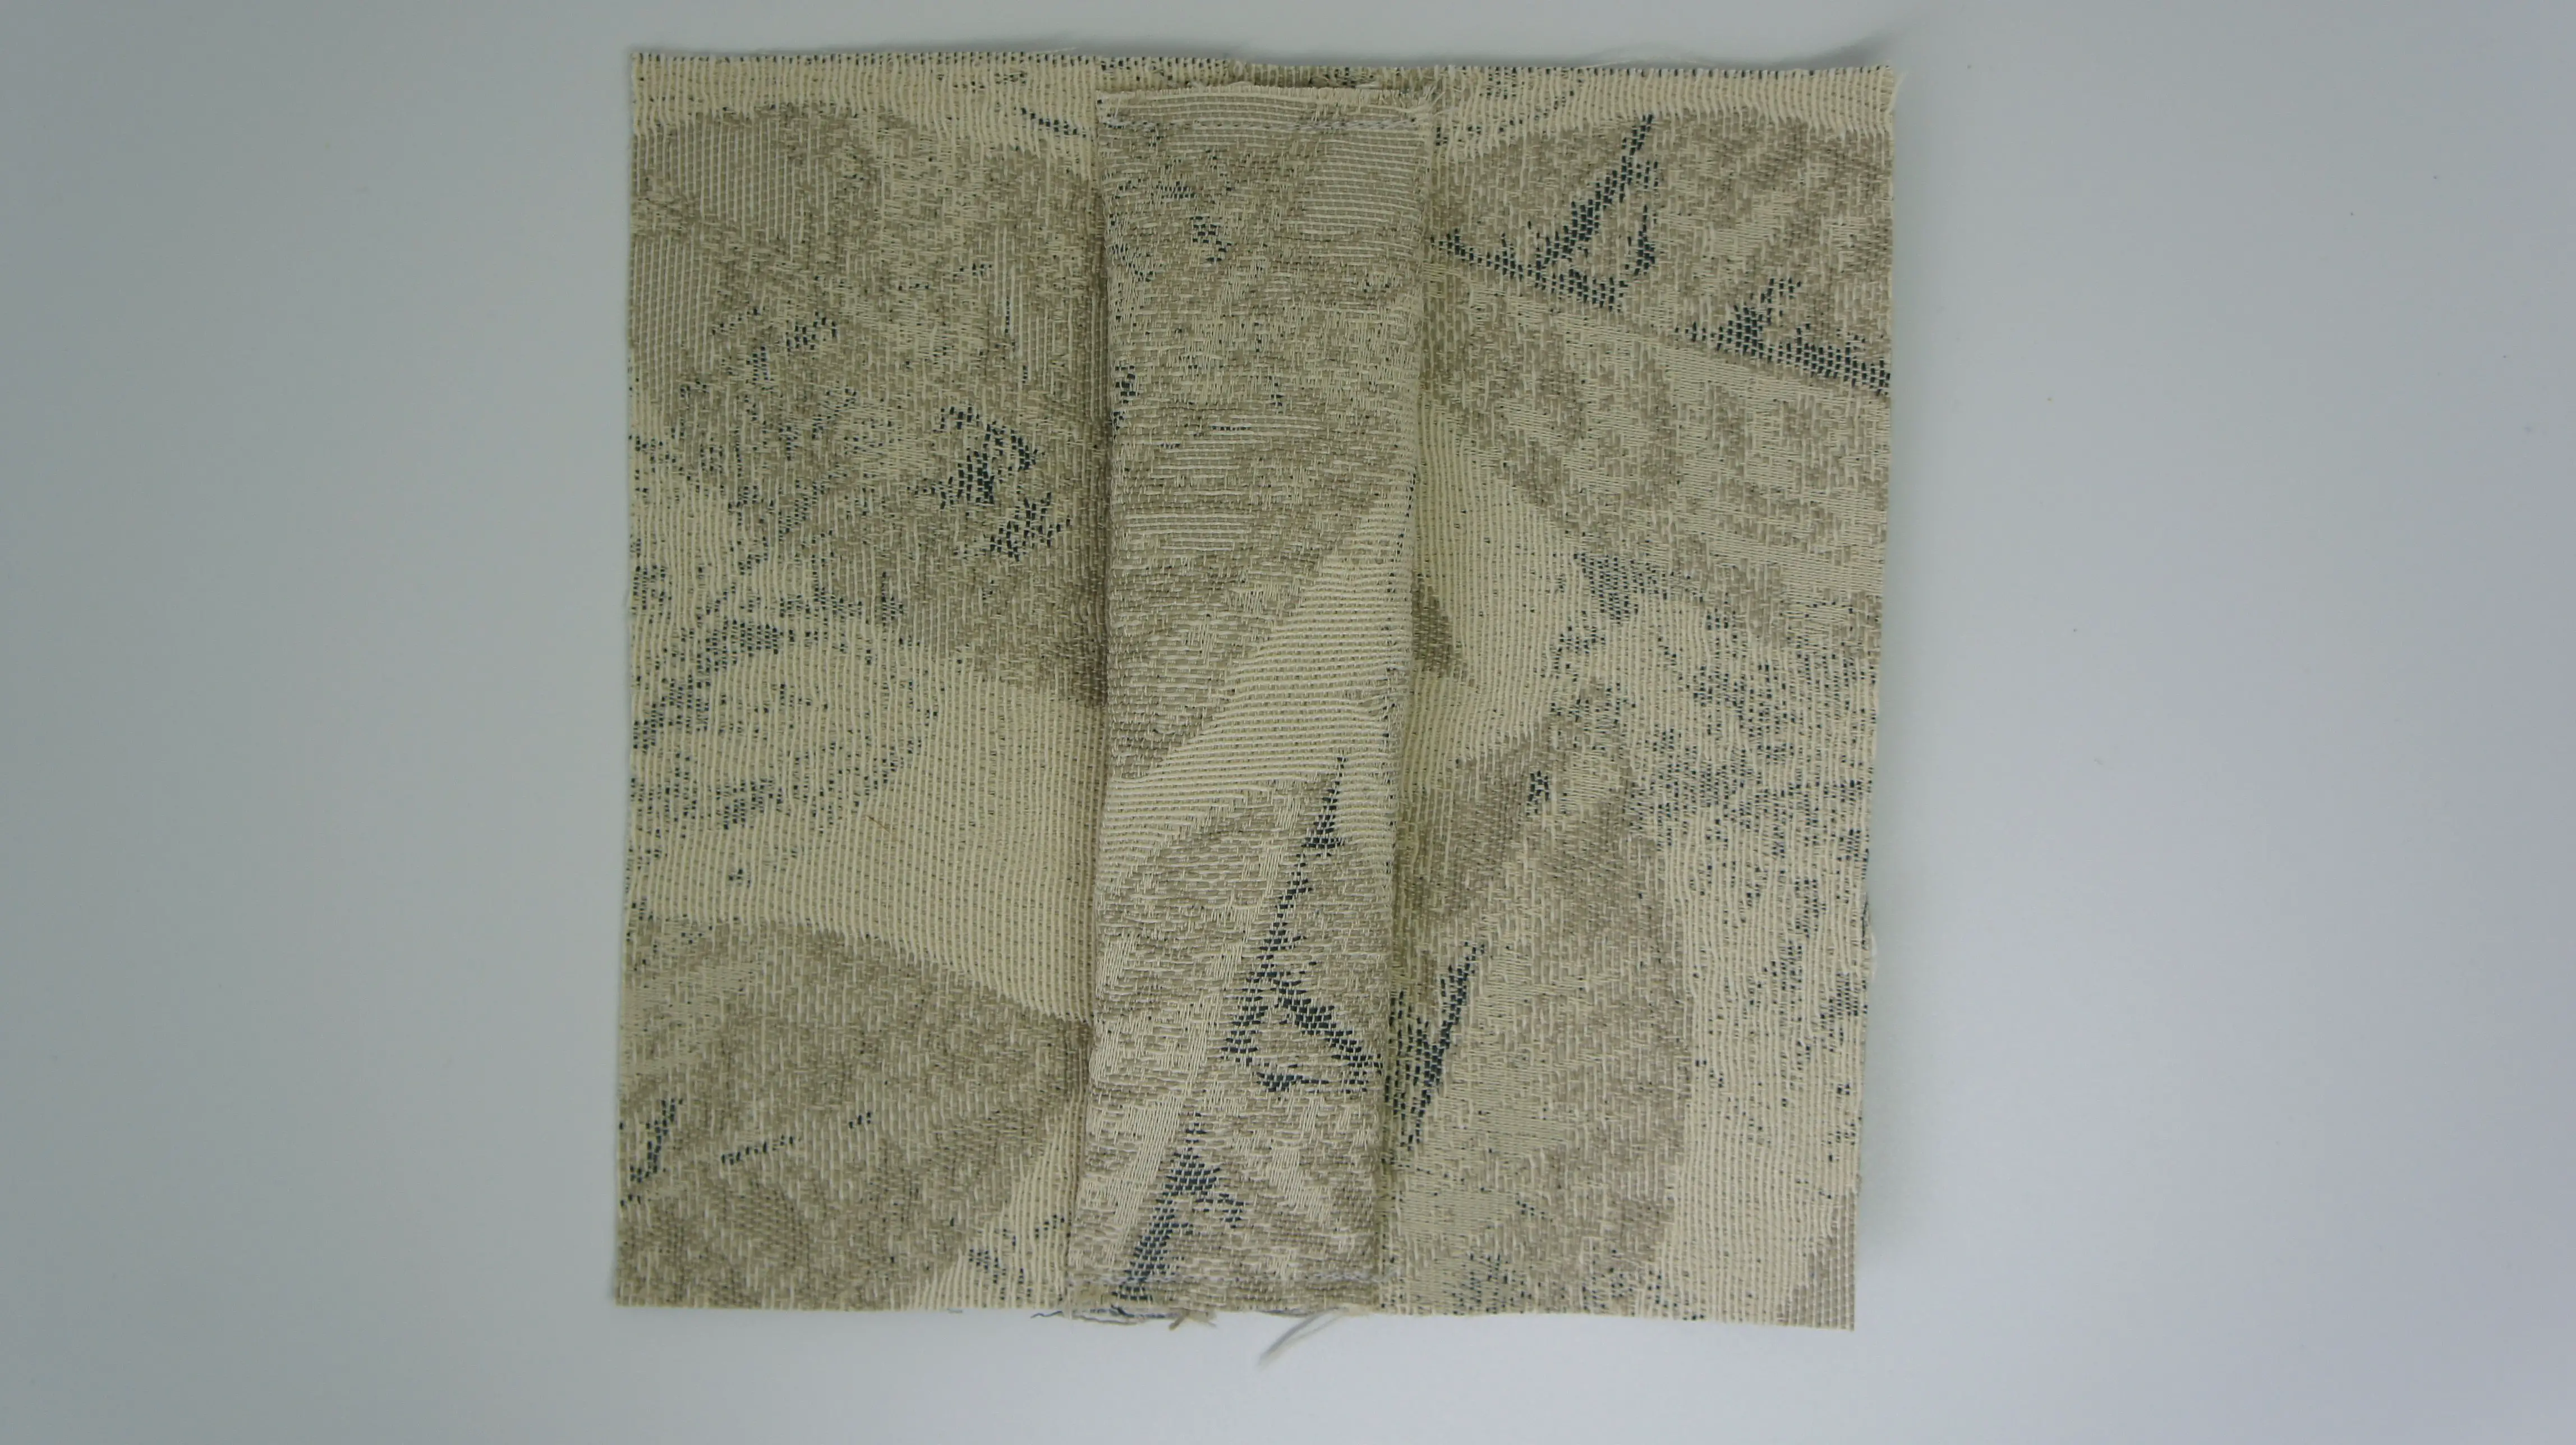
Step 1: Cut out fabric
From the fabric cut the following pieces:
1 off 60cm x 20cm (24″ x 8″) for sides
2 off 15cm x 15cm (6″ x 6″) for top and bottom
1 off 15cm x 8cm (6″ x 3″) for handle
If you want a larger or smaller doorstop just make the pieces larger or smaller. These were just right for me!
Step 2: Form a tube
Take the large piece of fabric (for the sides) and fold it in half with right sides facing so that the short sides line up with each other. You then need to sew along this seam using approximately a 1cm (0.5″) seam allowance. This forms a tube.

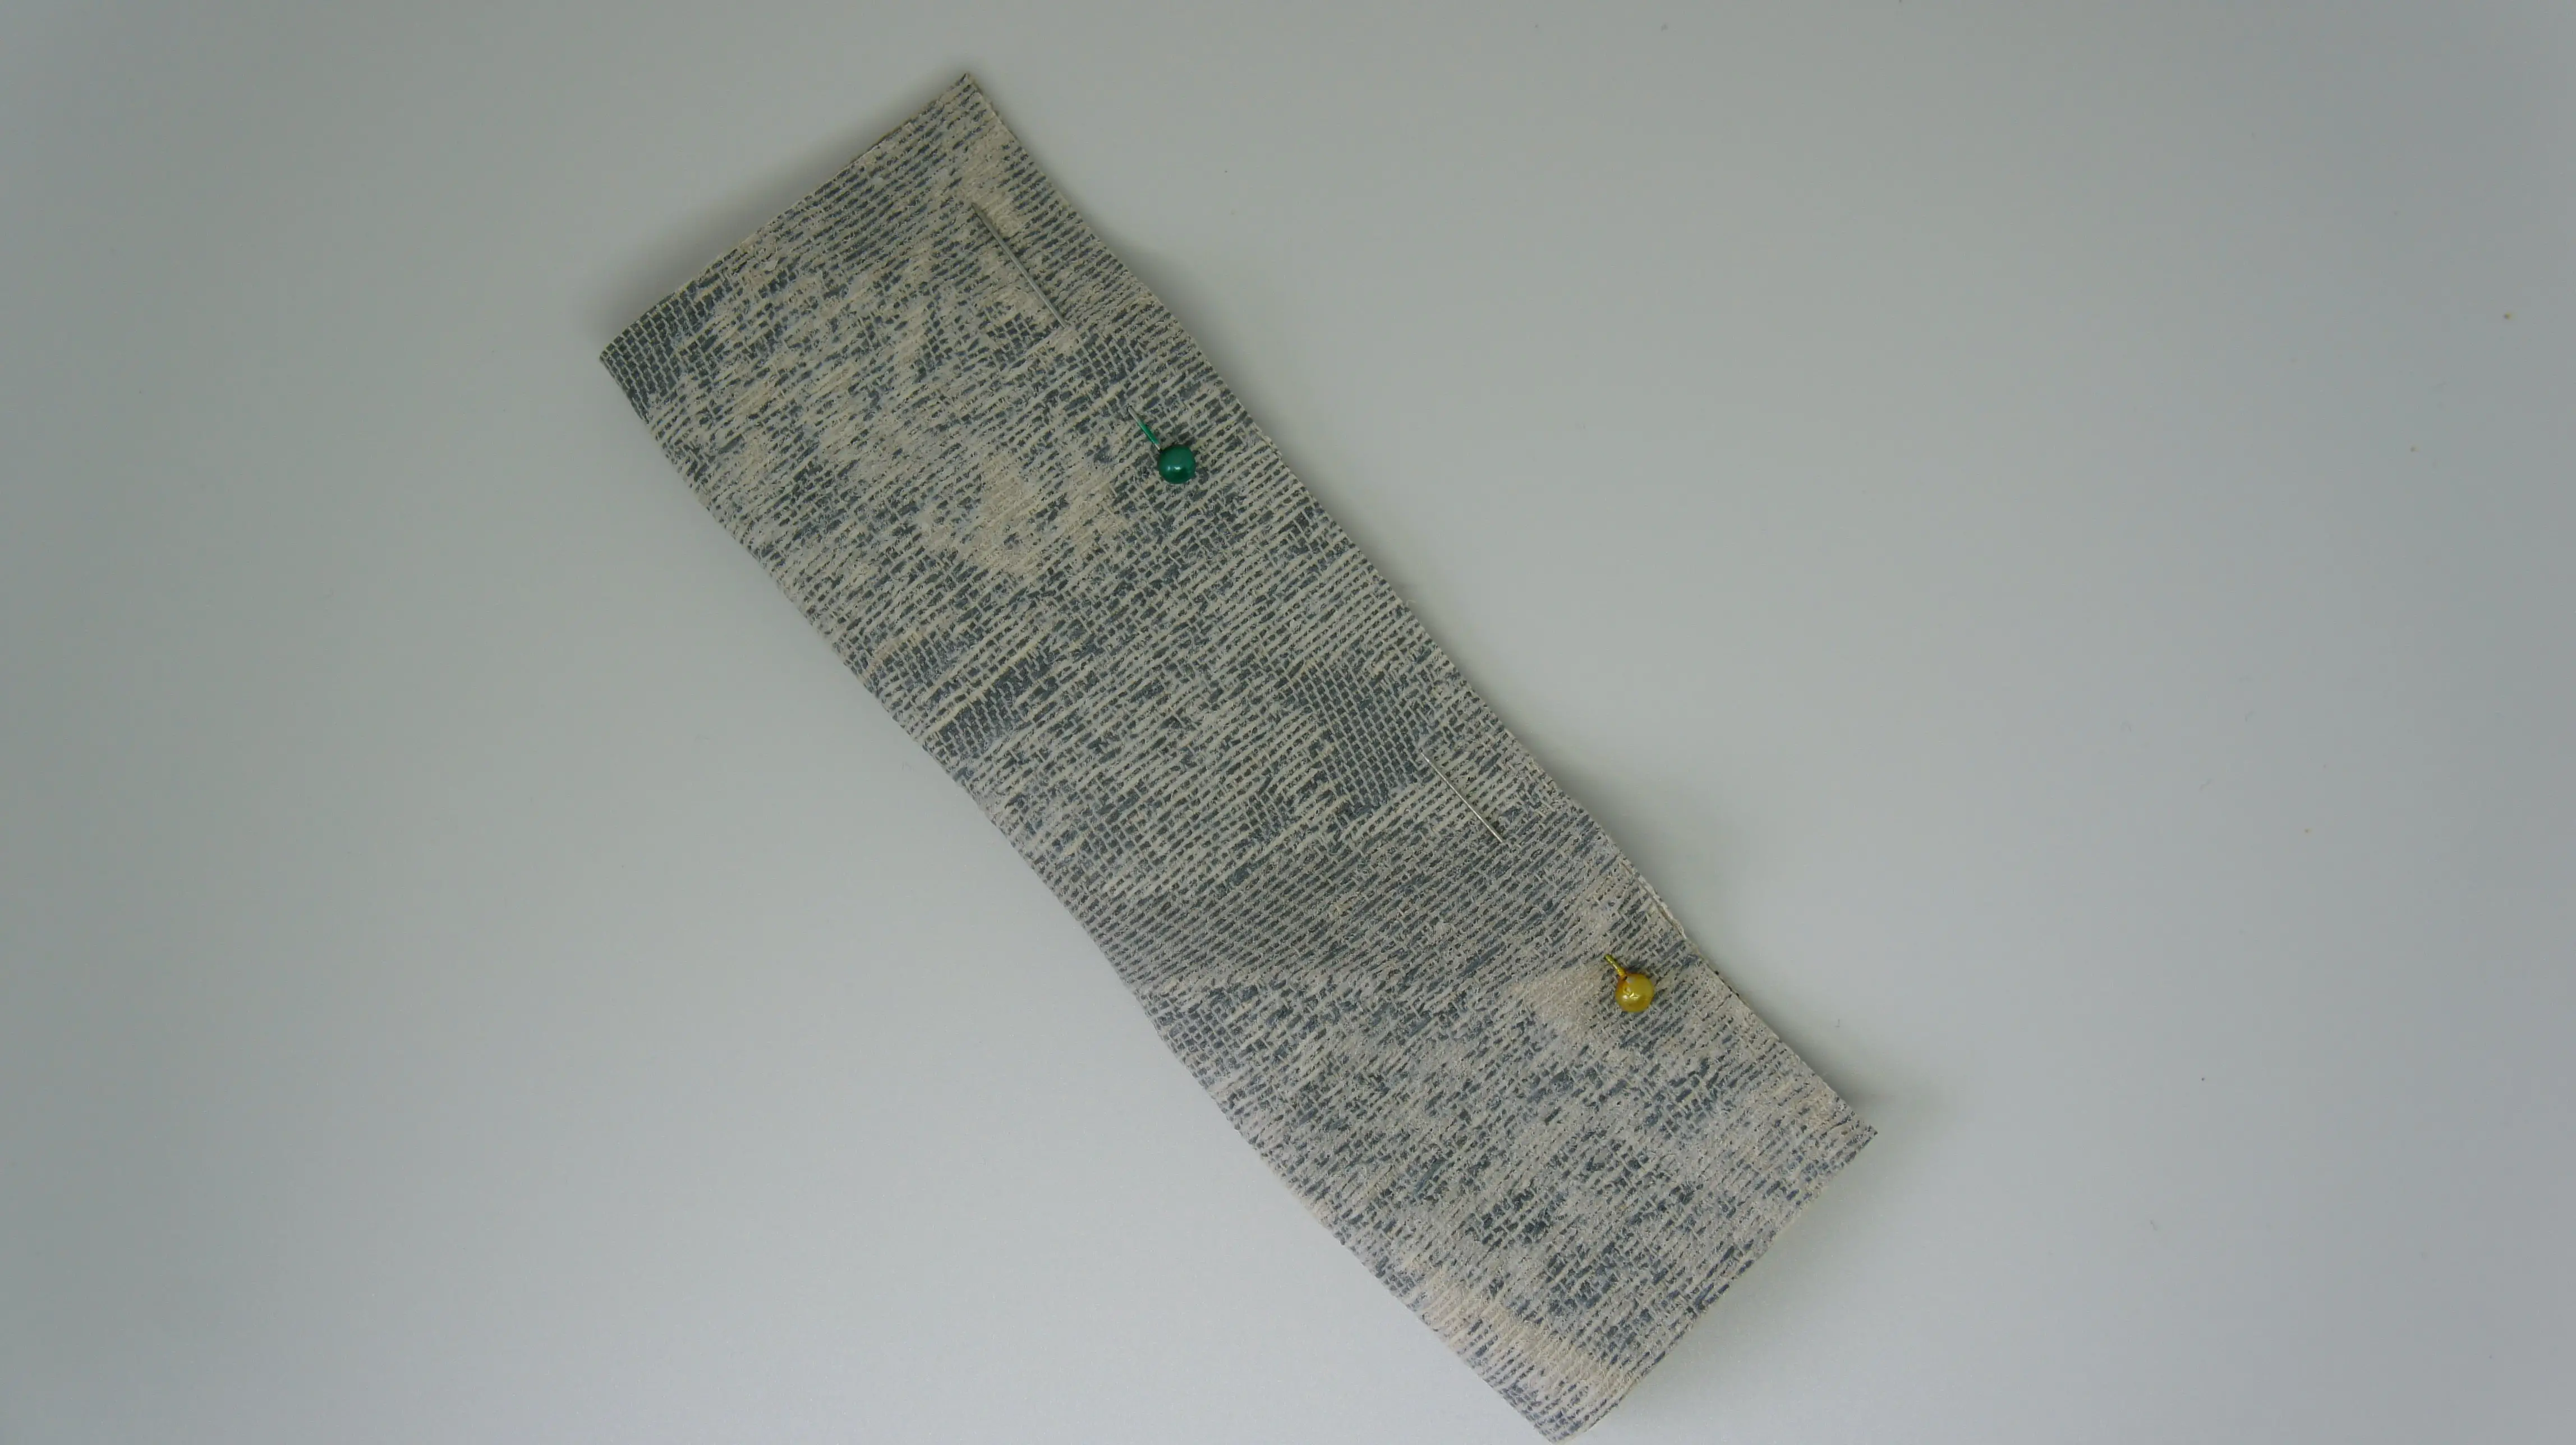
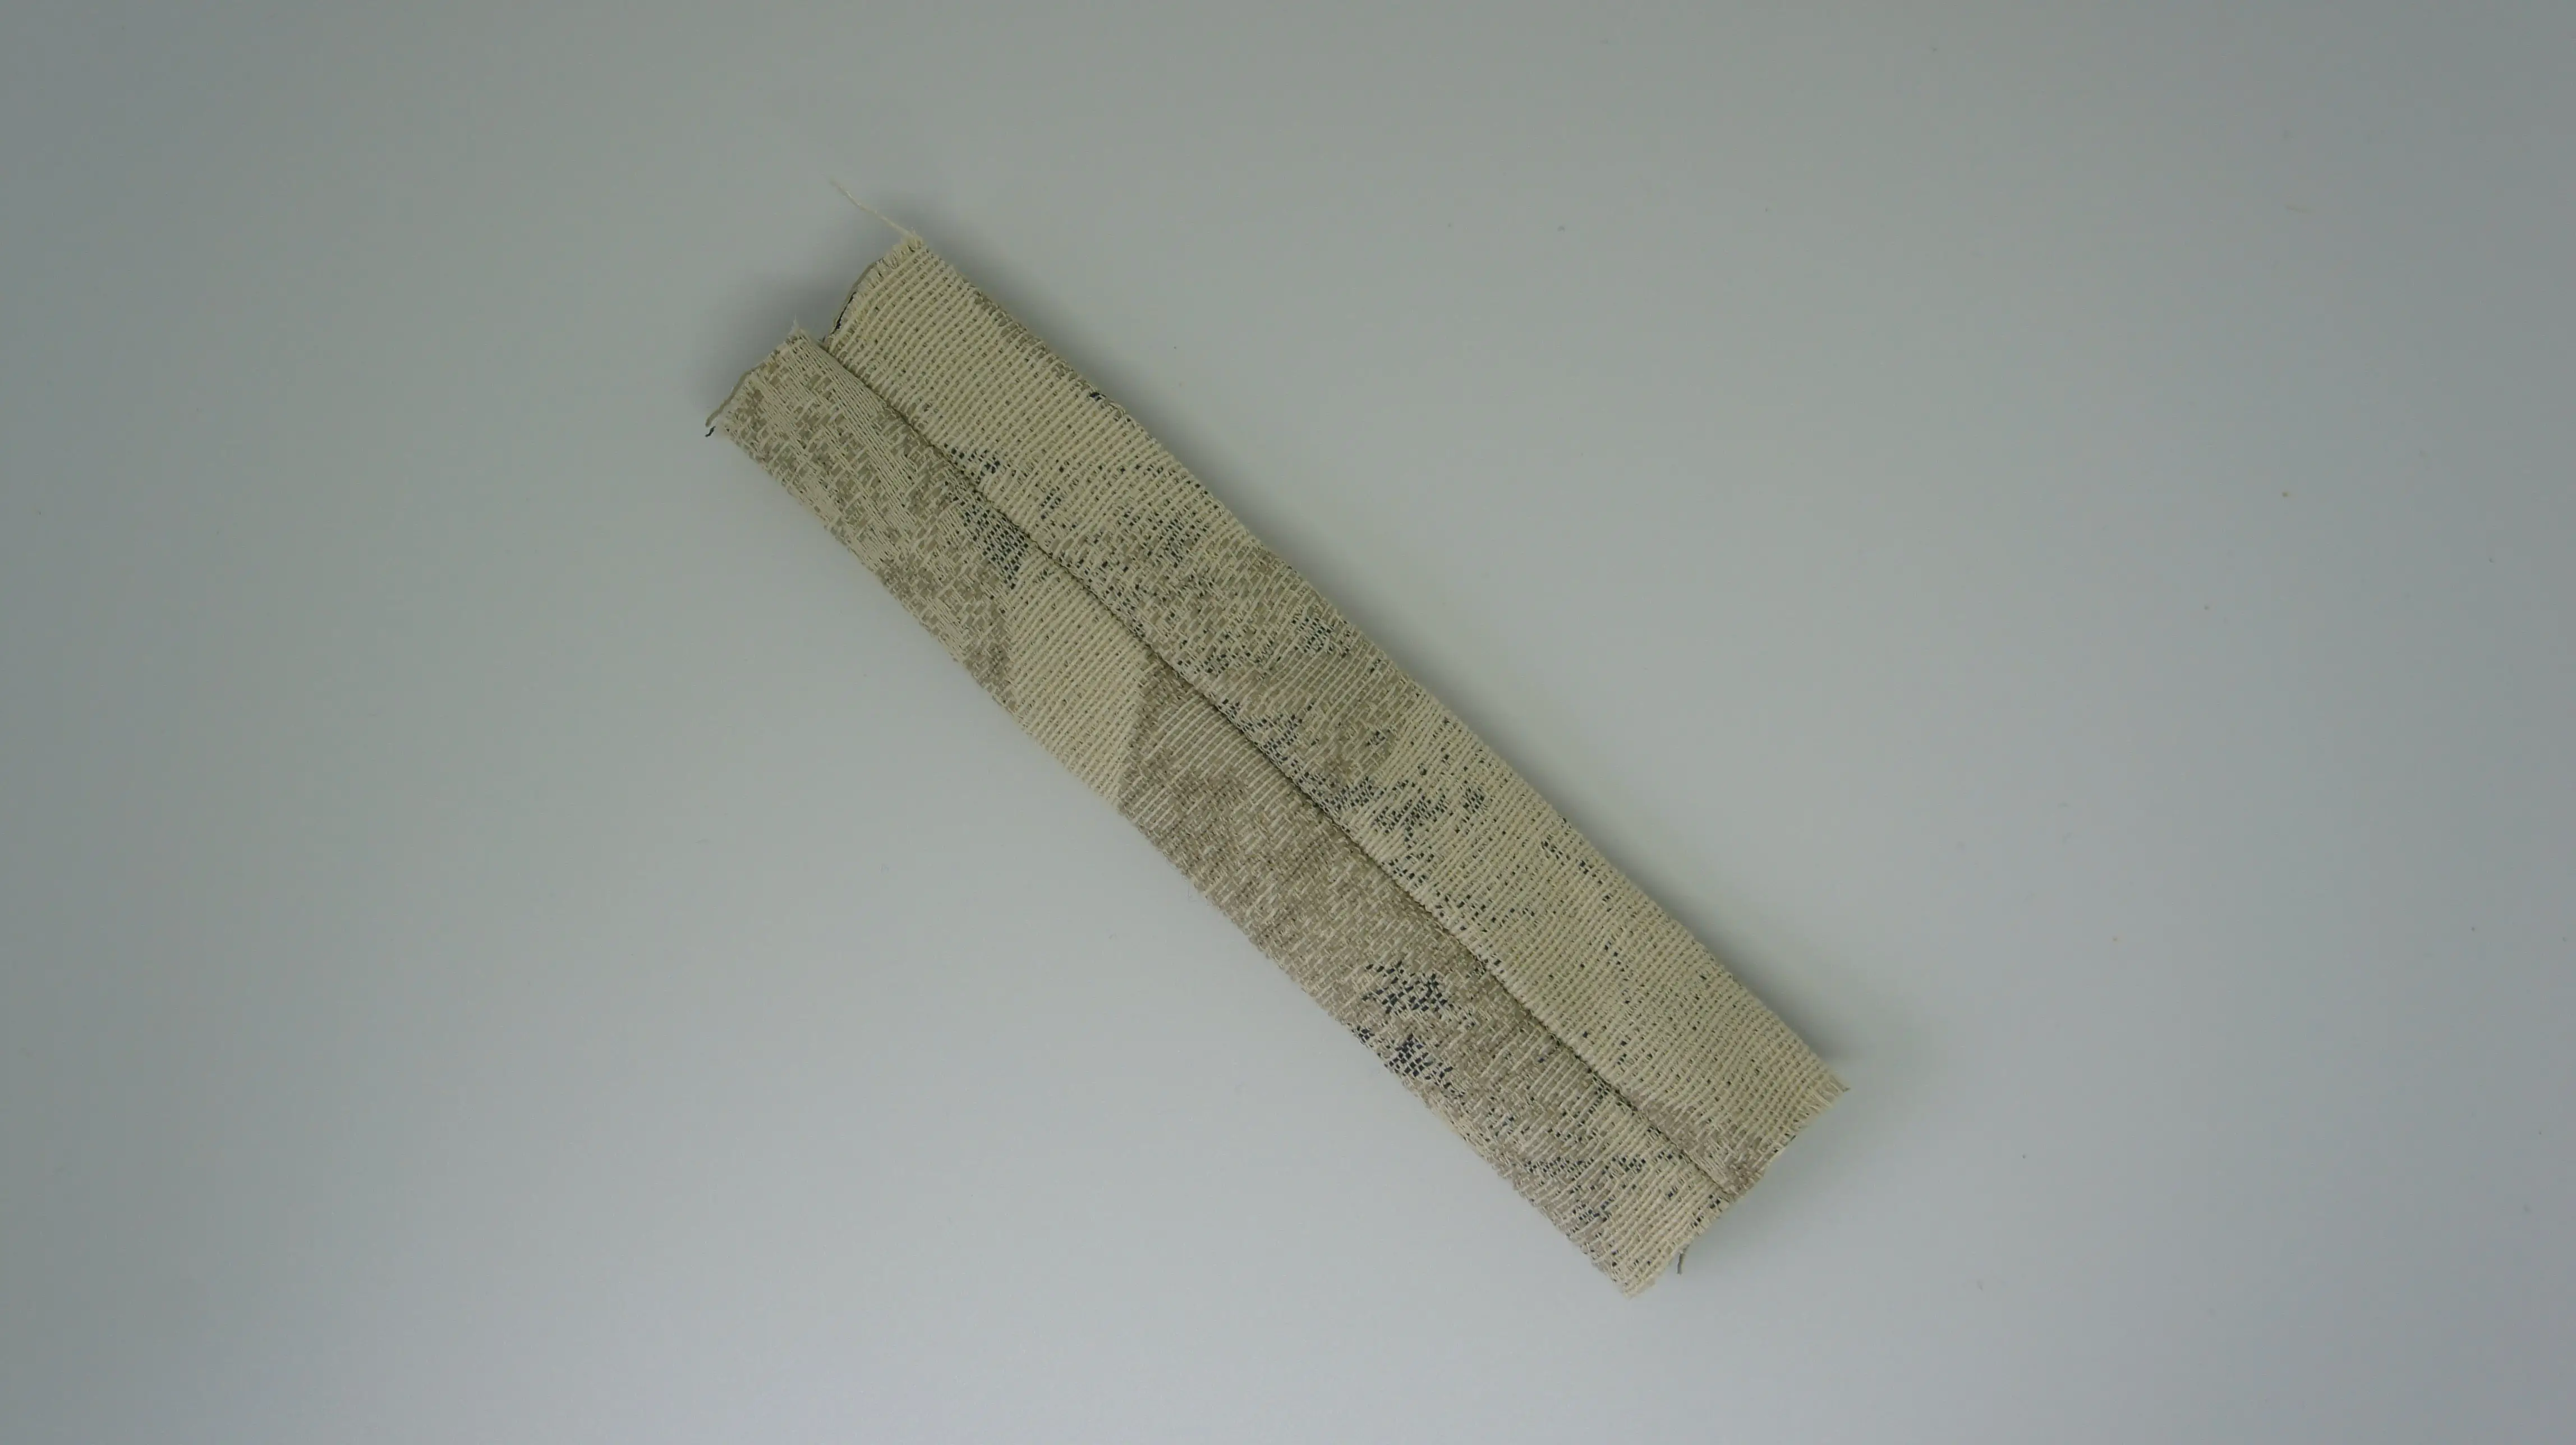
Step 3: Make the handle
Take the handle piece and fold it in half length ways with right sides facing. Sew along the matching edges. Turn the handle the right way out. This may be a little tricky if, like me, you use thick fabric. Persevere and once your handle is the right way out press it so that the seam is in the centre of the handle. This will then be hidden underneath the handle.
Step 4: Sew handle onto top piece
Place the handle on top of one of the squares of fabric. Make sure that the seam on the handle faces the right side of the square (the top). Line up the handle so that it is in the centre of the top and sew it in place along the short ends of the handle. The sewing line should be less than 1cm from the edge of the square so that it will not be seen when the doorstop is completed.
Step 5: Sew on base
Take the square that you have not sewn the handle to and the tube forming the sides. With right sides facing pin the square to one end of the tube. Use a 1cm (0.5″) seam allowance. Then sew around this making sure that you form clear corners. Take your time. It is tricky especially at the corners. I sew steadily along one side and as I reach the corner I lift the foot on my sewing machine, turn the sewing making sure I do not catch any of the tube in and then lower the foot and set off along the next straight side.
Once you have finished this you will have made an open box with right sides inside!

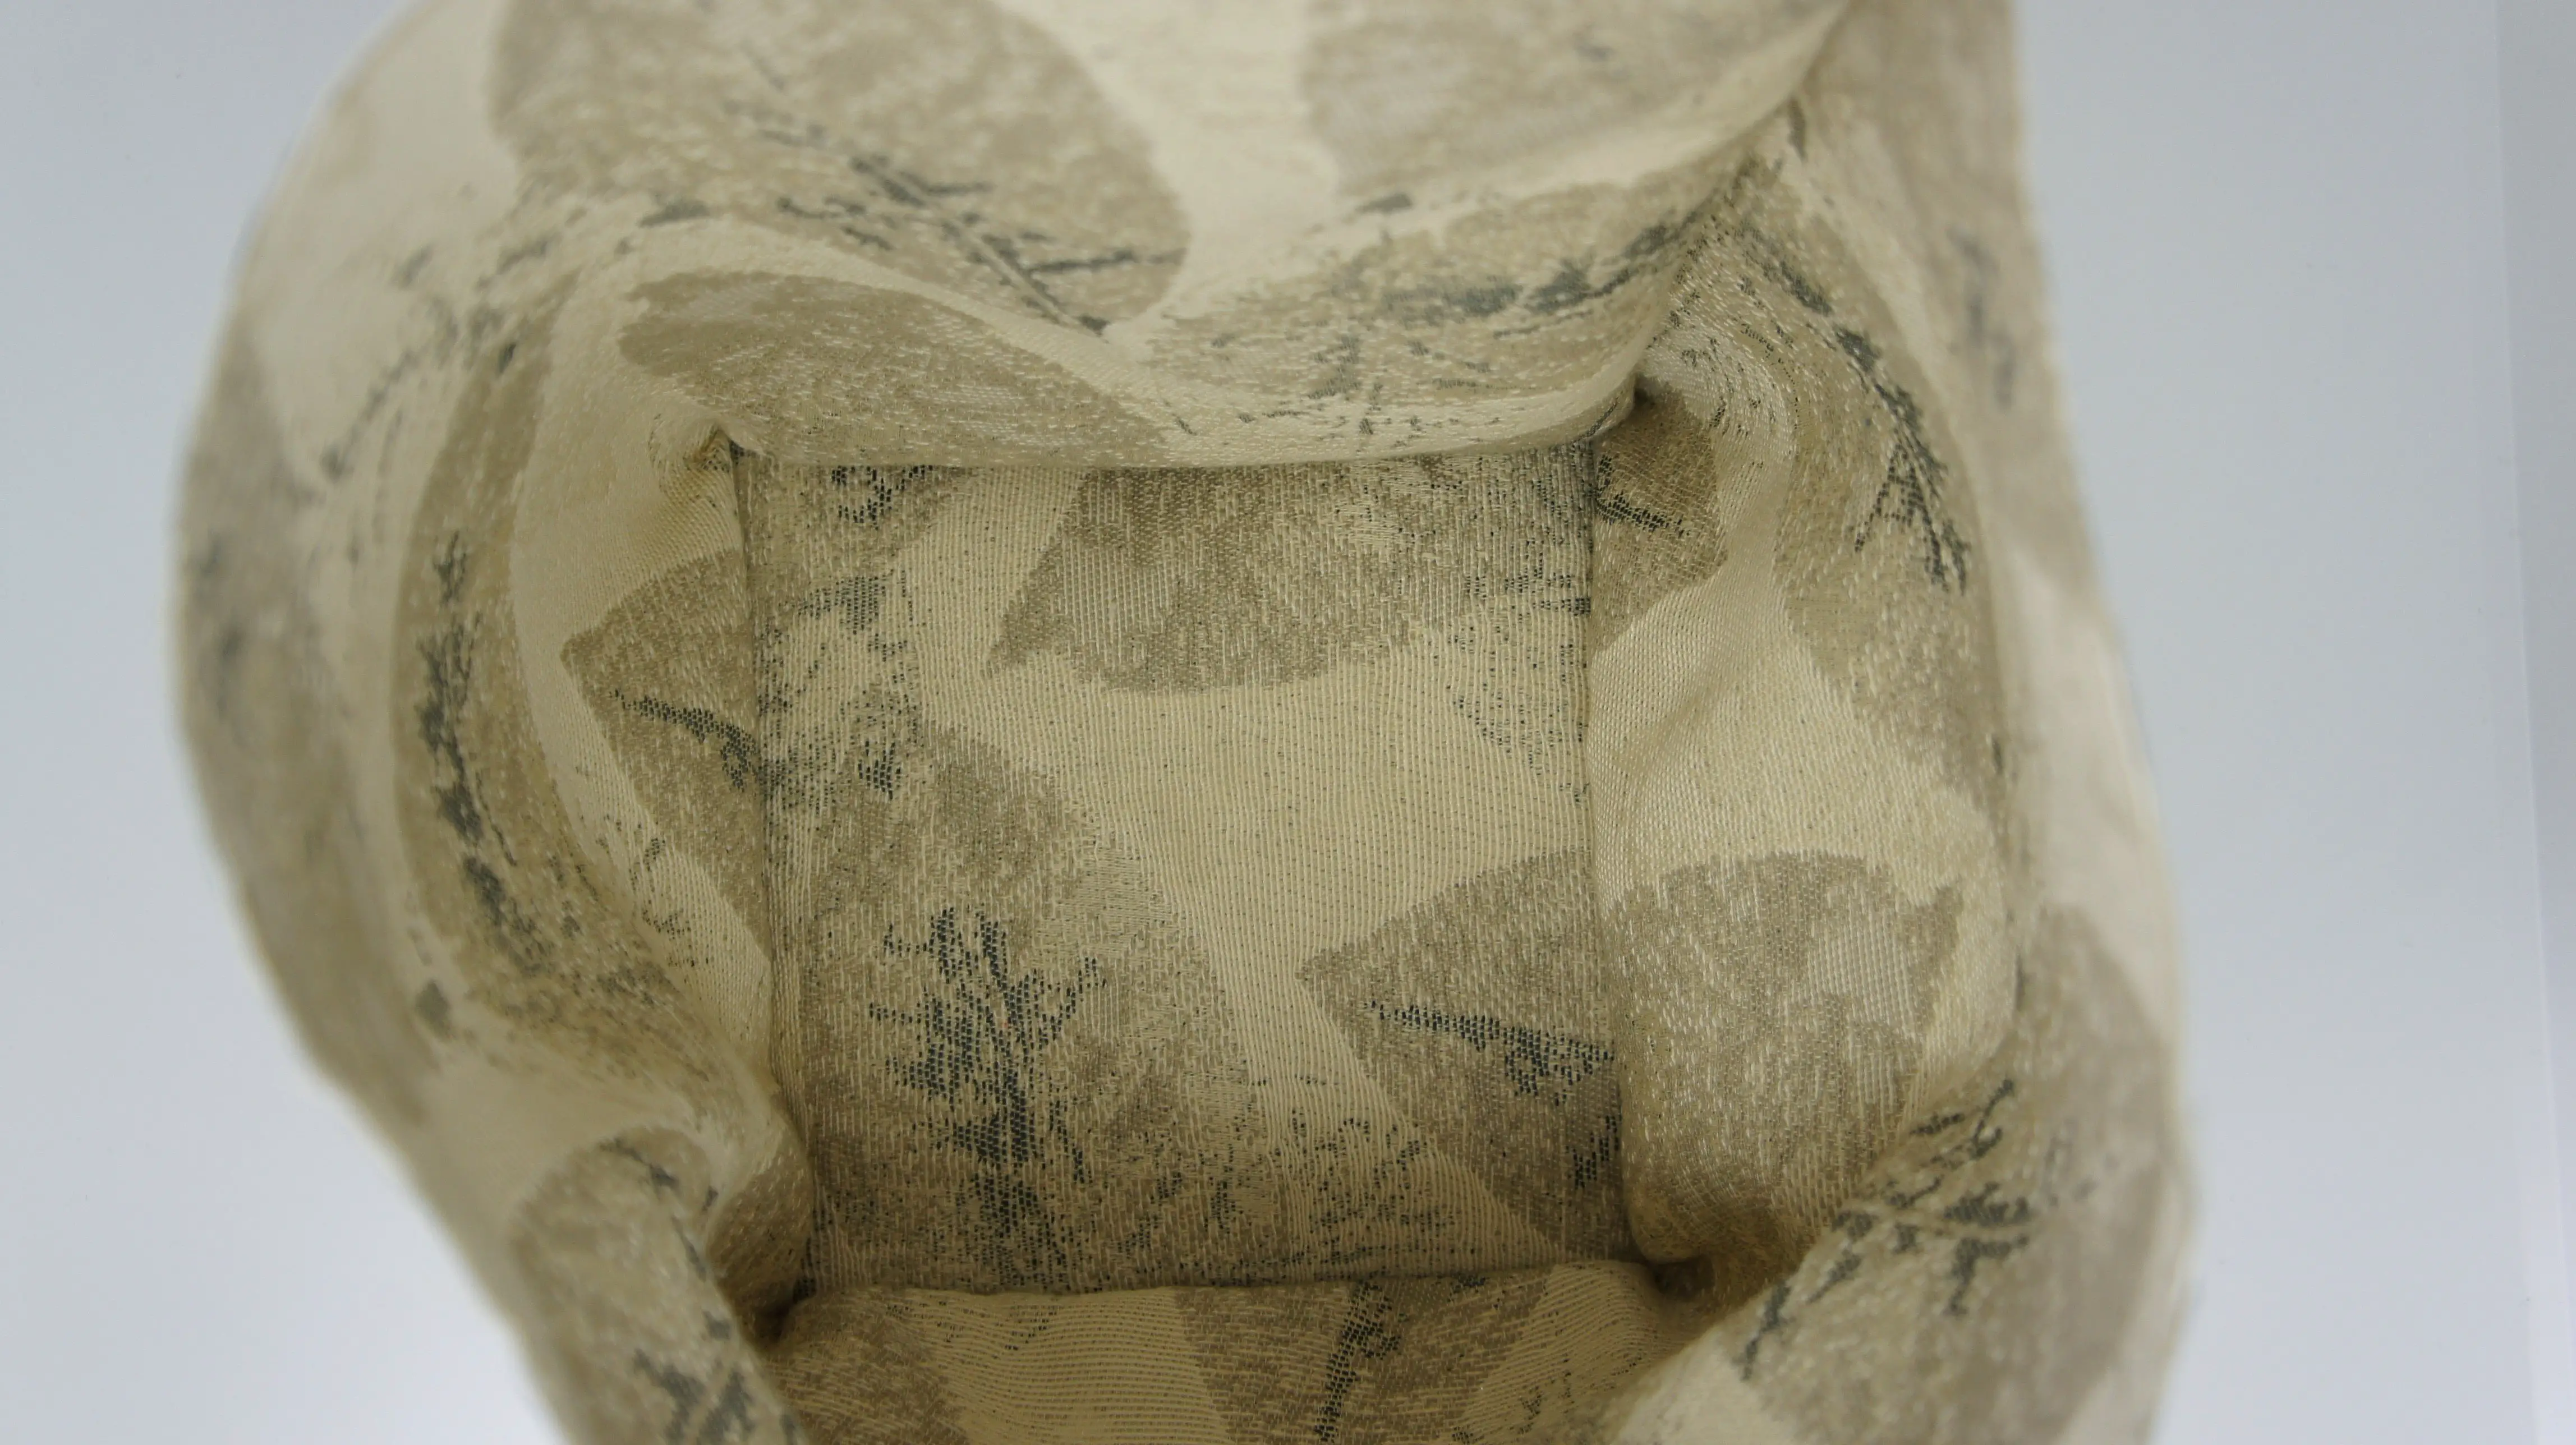
Step 6: Sew top on
Keeping the right sides inside pin the top of the doorstop (complete with handle) to the top of the ‘box’. Make sure right sides are together. The handle should be inside the box! I left too small a hole and had difficulty turning it the right way out. I suggest that you leave one side open. Now sew the seam you have pinned remembering to turn carefully at the corners. Turn the doorstop the right way out.
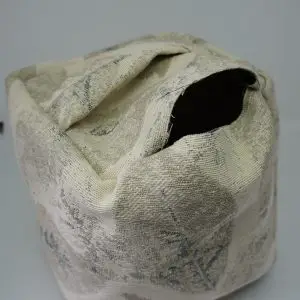
Step 7: Fill and sew up doorstop
If you are using wadding now is the time to cut a piece to fit on each side of the cube (6 squares). Place five of them inside pushing them up against the bottom and the sides. Now fill your doorstop with your selected filling. If using wadding leave a space in the top and insert your final piece of wadding. Now sew up the hole you left by hand using a ladder stitch (or similar). You want your stitches to be invisible.
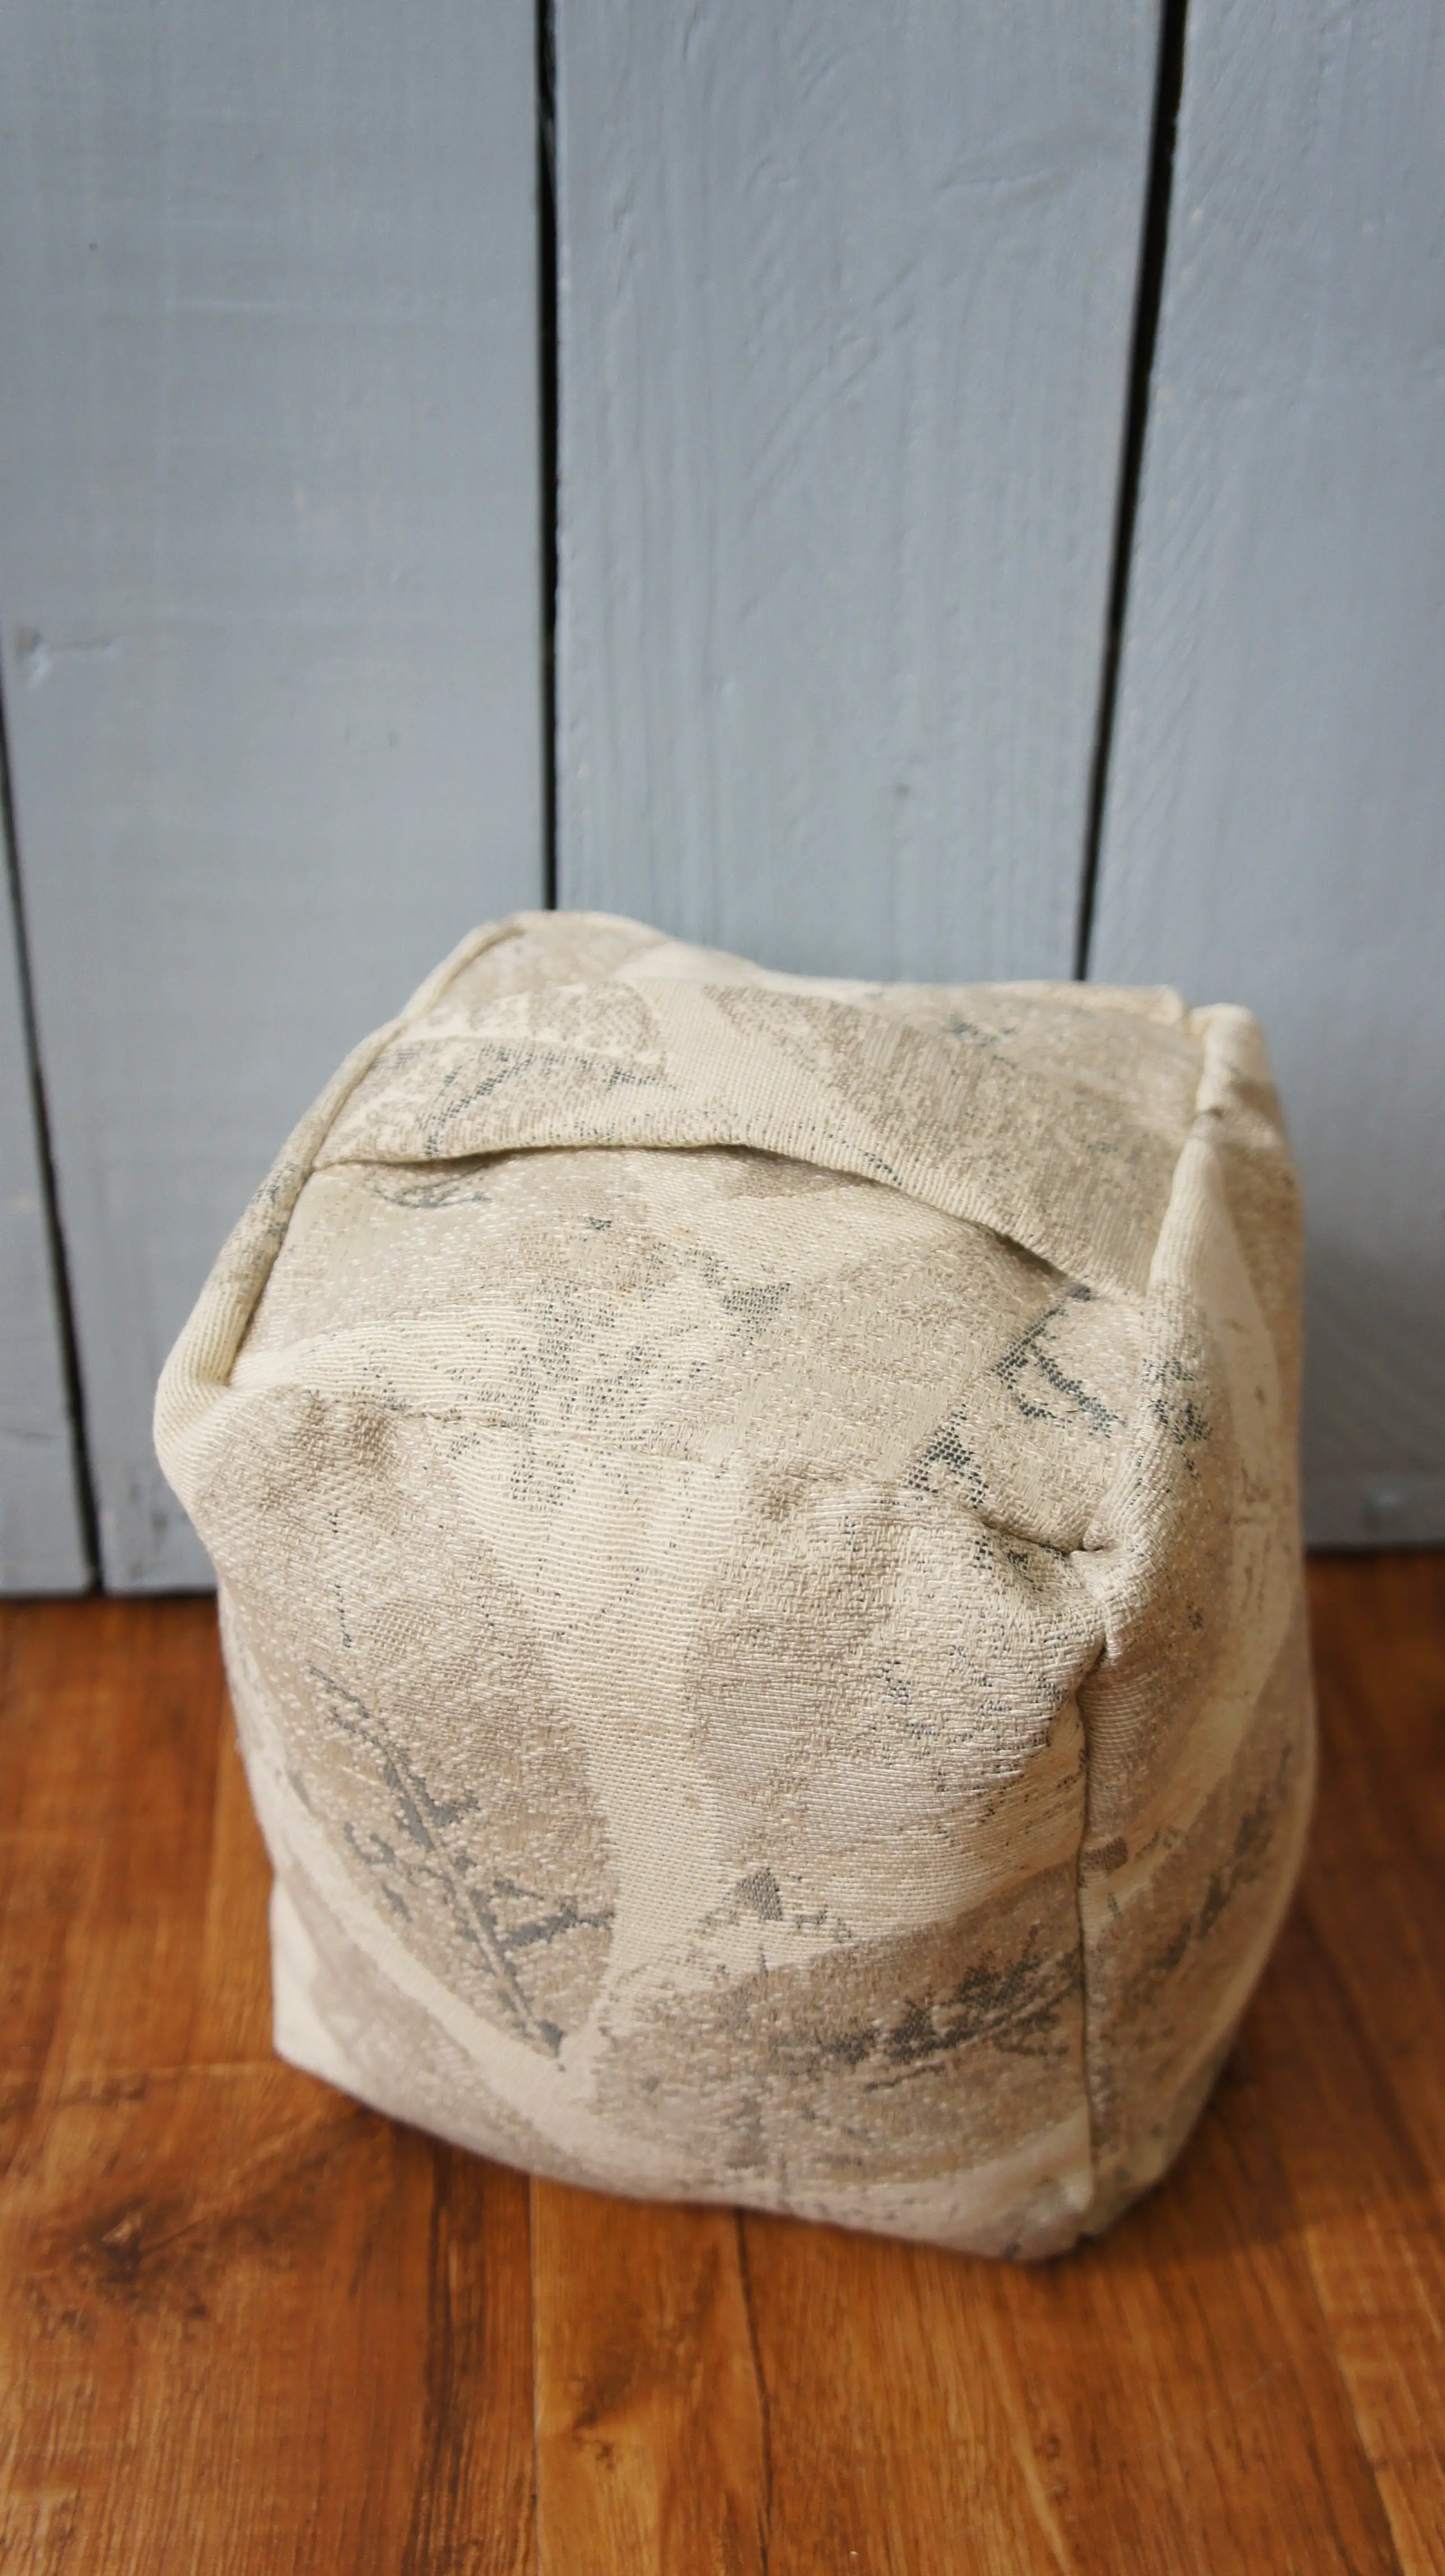
Well done! You have completed your doorstop!
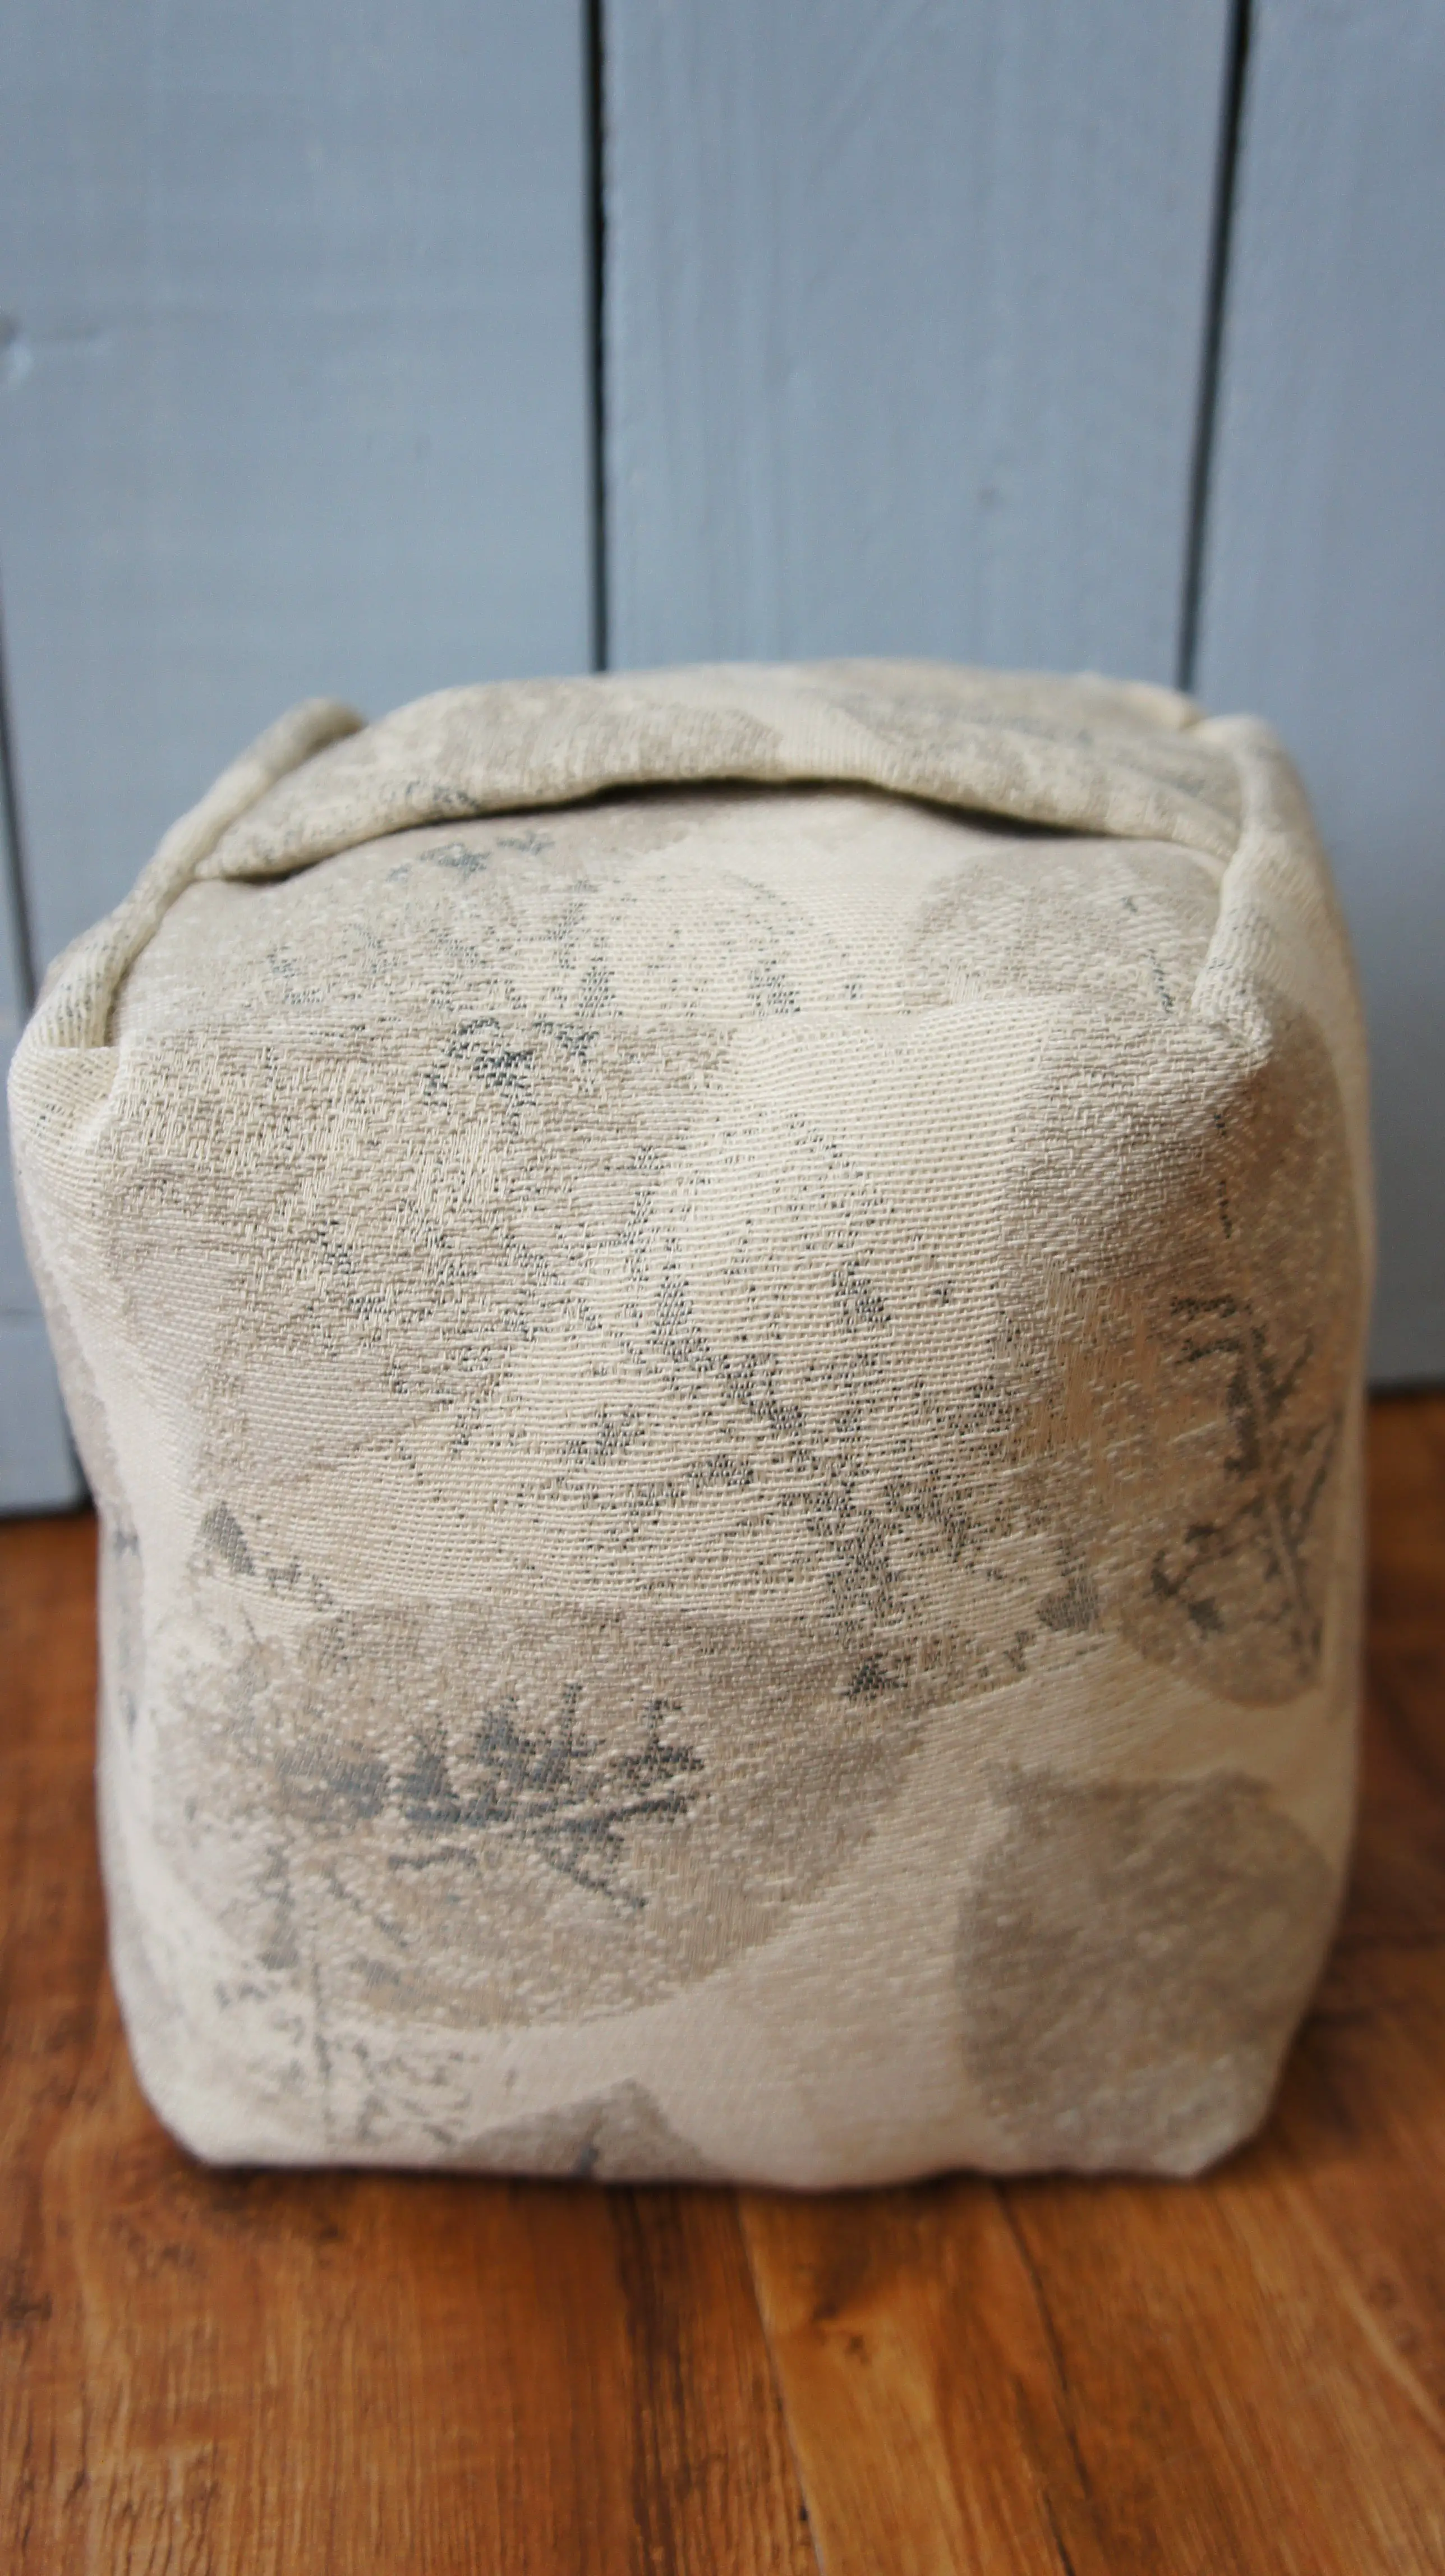
So, earlier I said that it was more elegant than the temporary doorstop we were using. Well, here it is. We enjoyed the sweets but it was a bit bright as a doorstop!

If you would like this tutorial as a downloadable PDF for a small charge so that you can avoid the ads and easily print it off simply click here for details.
If you enjoy sewing you might like to try some of my other projects:
How to make a tool/make-up brush roll
Five Fabric Flower Tutorials – Tried and Tested
Drawstring Bags – the easy way
Draught Excluder from an old pair of jeans
Please feel free to pin this tutorial on Pinterest so that you do not lose it! You can also follow me on Pinterest as Christine’s Crafts.

Good luck with your doorstop and please let me know how you get on.
![]()