Make ADORABLE Needle Felted Acorns at Home?
As an Amazon Associate I earn from qualifying purchases
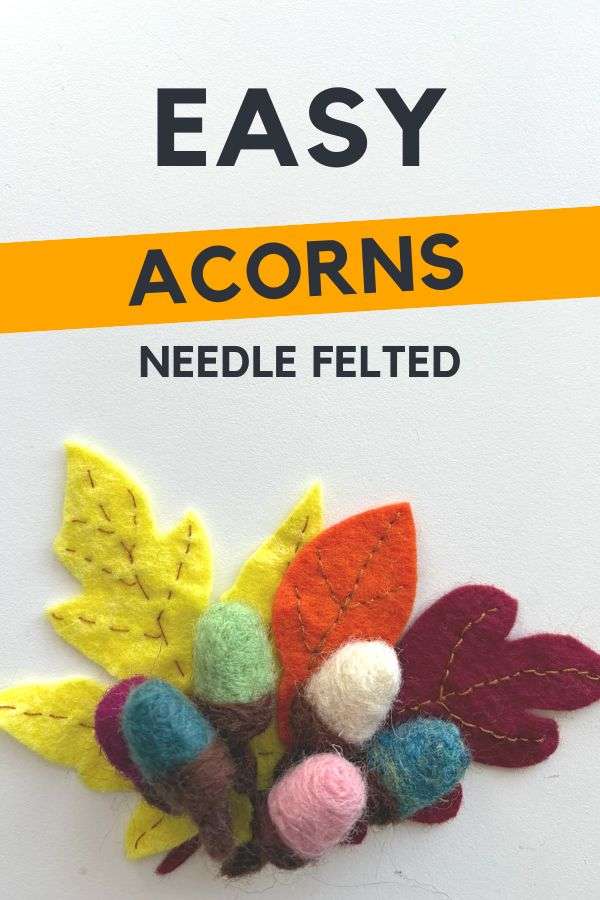
Have you ever thought about having a go at needle felting? Well these needle felted acorns are a prefect introduction! These adorable, handcrafted treasures are not only a celebration of autumn’s beauty but also a versatile decoration for any season.
Whether you’re a seasoned crafter or a beginner looking for a fun project, needle felted acorns offer a perfect blend of simplicity and charm. In just about 10 minutes, you can create these miniature marvels that are perfect for adorning garlands, wreaths, hats, or even as standalone tree ornaments. So let’s get started and bring a touch of nature’s wonder into your home!
This page contains affiliate links meaning I earn a little commission if you use those links at no cost to you. I only recommend brands I use and trust.
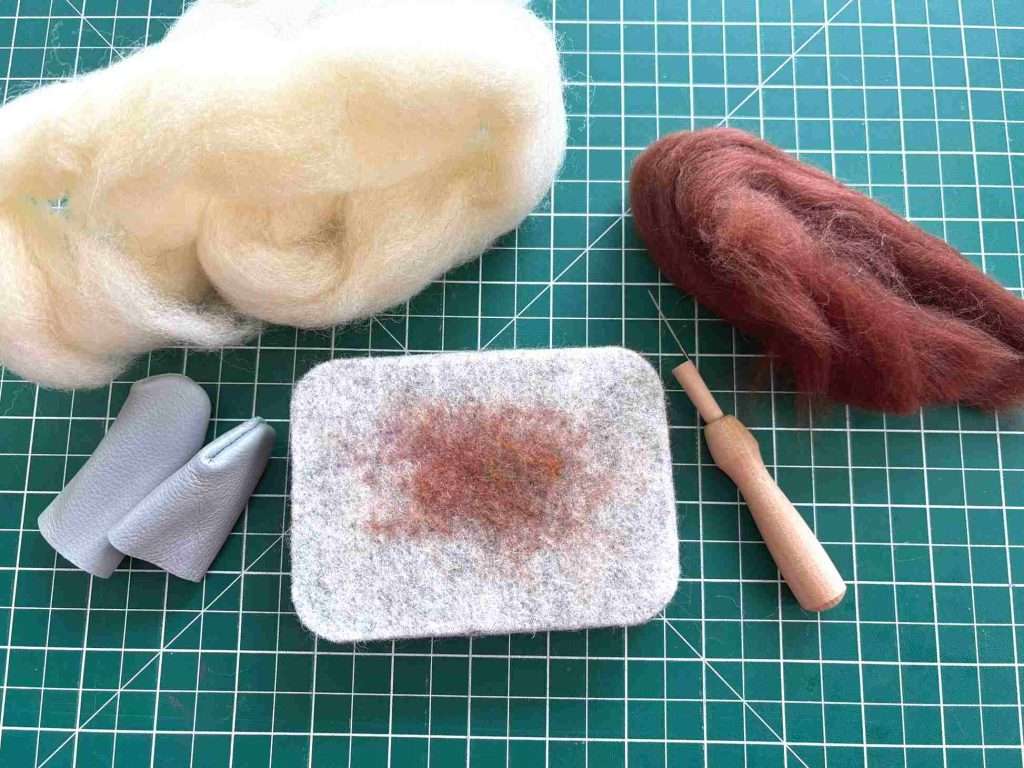
Materials you will need:
- Carded wool in any colours you want for your acorns
- Brown carded wool for tops (or real acorn tops and glue)
- Needle felting needle
- Finger protectors advisable
- Felting mat or foam block
- OPTIONAL – twine to make garlands


Video Tutorial for Needle Felted Acorns
This video is also available on my YouTube channel.
How to Needle Felt your Acorns
Your Acorn
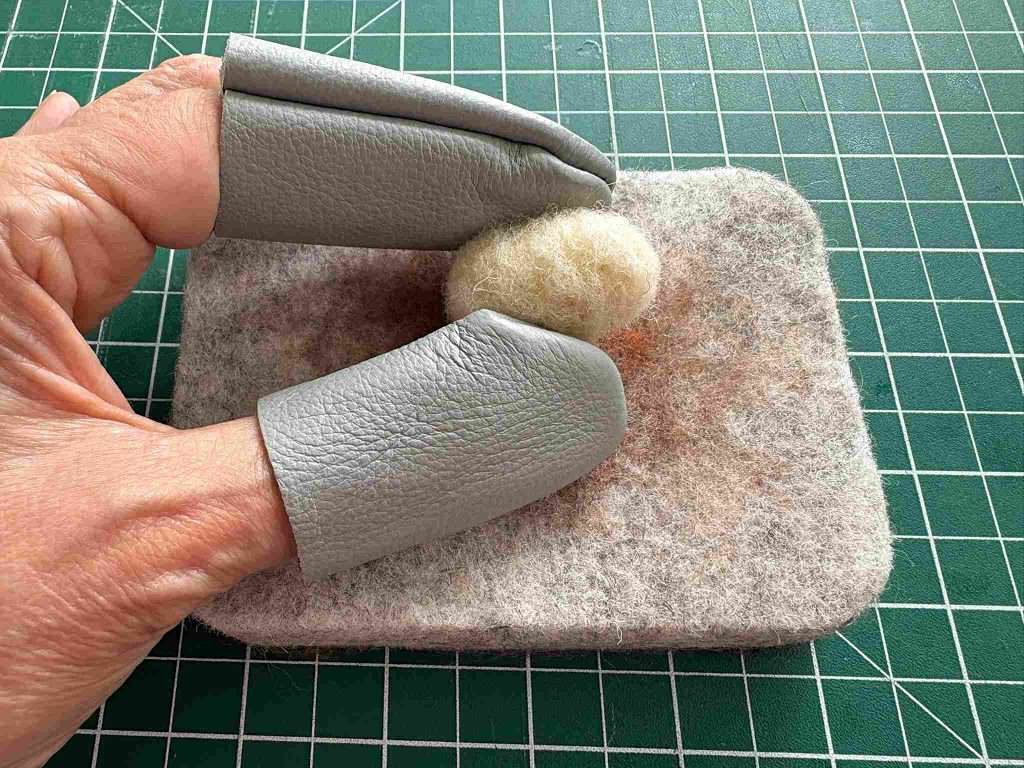
Take a small amount of your chosen wool and roll it up into a cylinder. Don’t stress about how much as you can add to it later or even take some away. Decide on the size of acorn you want and then roll up some wool to about twice that size.
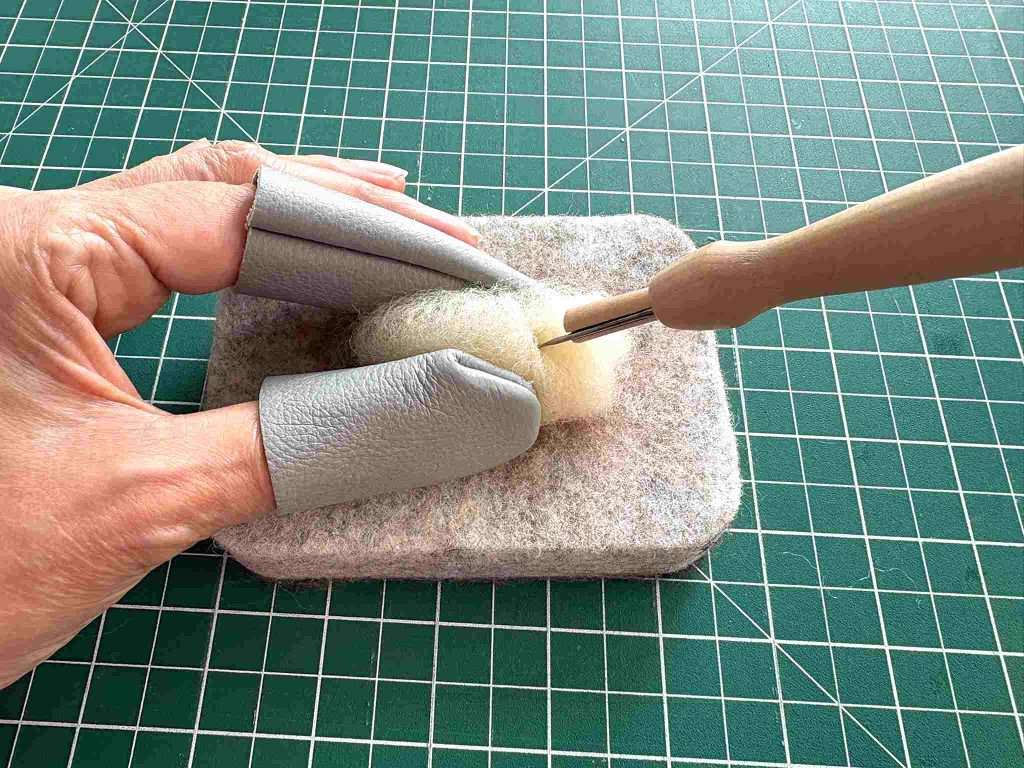
Hold the wool cylinder in the fingers with the protectors on and start poking your needle in and out of the cylinder repeatedly. Then, roll the cylinder and do some more and keep going. You can also do some into the ends of the cylinder.
You should be steadily working around the shape to form your acorn shape.
TOP TIPS:
- Make sure you push the needle in and out straight. Do not bend it or it will snap.
- Be very careful of your fingers as the needle is very sharp.
- If possible, use a handle for your needle. It makes a huge difference.
- Keep working your wool until it is firm (longer than you think)
- For a realistic look, blend multiple shades of brown and add tiny specks of other colors.
If you find yourself with a nice, firm acorn shape but it is too small. Simply wrap some more wool around your acorn and needle felt it in place. Keep doing this until it is the size you want.
Remember: Needle felting is forgiving! If you’re not happy with a shape, simply keep felting and reshaping until you achieve your desired look.
Your Acorn Top
At this point you can simply glue a real acorn top onto your acorn, let the glue dry and you are finished. If using real acorn caps, ensure they’re thoroughly cleaned and dried to prevent mold.
However, I prefer to add a needle felted top. To do this, simply take a small amount of the brown wool and felt it onto one end of the acorn. I start by wrapping it around and getting a nice, clean edge and then infilling the top with the rest of the brown wool. You will not need much wool to achieve this.
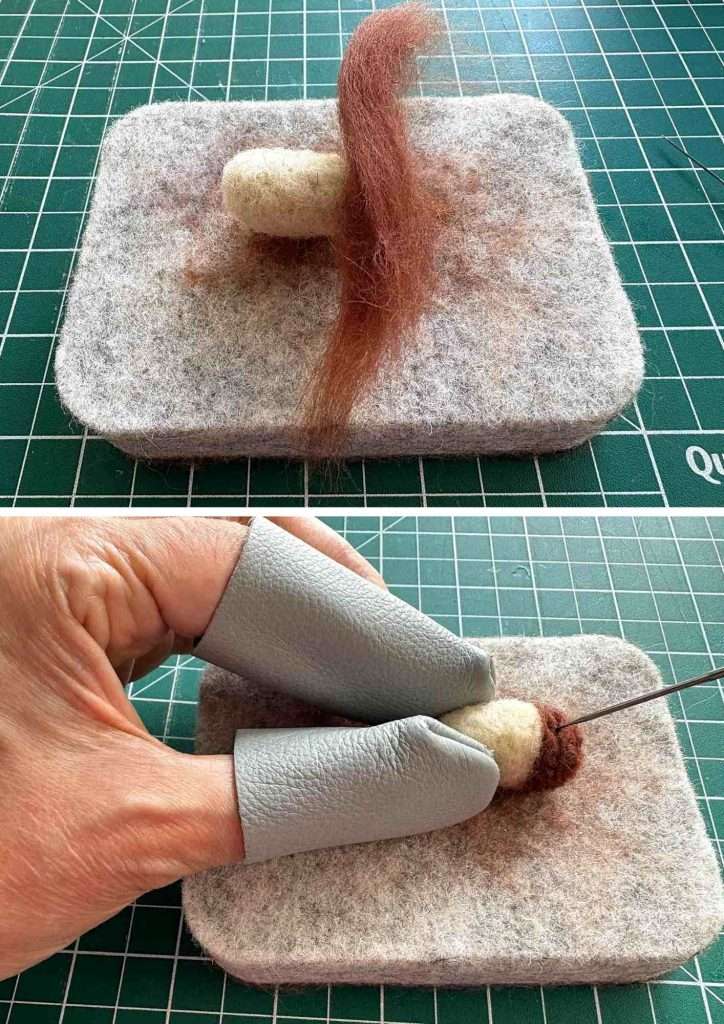
Then roll up a tiny cylinder to form the stem. This is tricky to needle felt if you do not have finger protectors so take care! Needle felt this until it is firm.
Then, place it on top of the acorn in the centre and push the needle repeatedly through the end of the stem and into the top of the acorn. Work steadily around the stem until it is firmly attached.
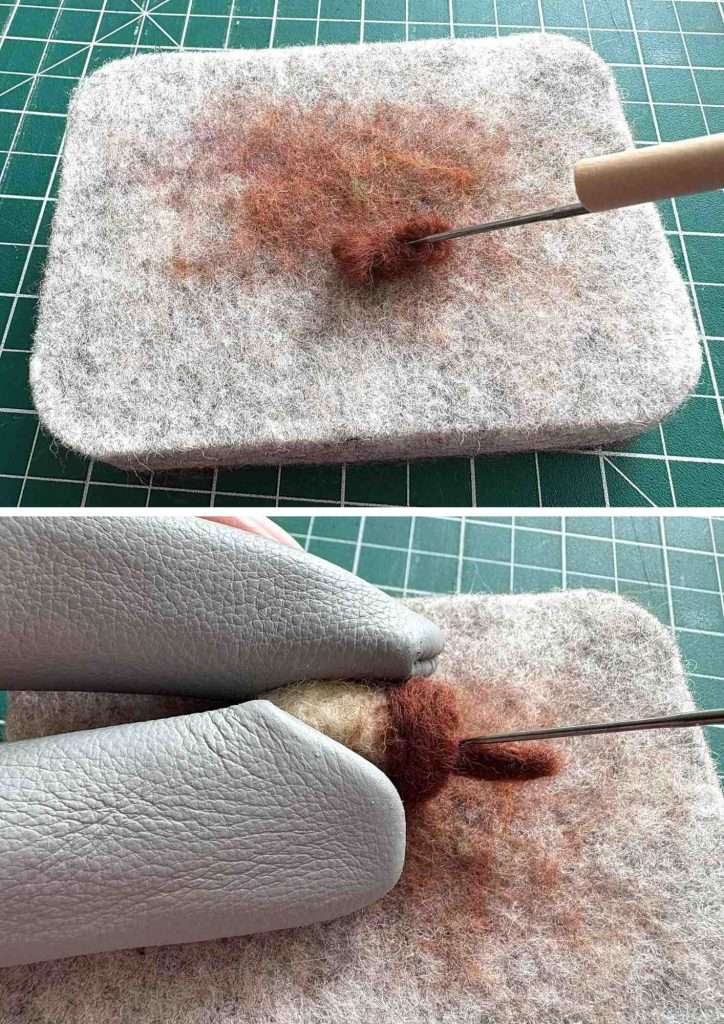
Congratulations! You now have a needle felted acorn. Time to make some more!!
Some Creative Ideas for your Needle Felted Acorns
Now you can make these how about getting creative with them?
An easy way to get creative is to experiment with unexpected color combinations like pastels for spring or metallics for a modern twist. This is great if you have wool from other needle felting projects.
Create a family of acorns in various sizes for a charming display. No-one said that they had to be the size of real acorns!
How about embellishing your acorns? Add tiny needle felted leaves, berries, or even miniature creatures like ladybugs or caterpillars.
Rather than just using them for decor how about transforming your acorns into keychains, bookmarks, or even festive gift toppers.
You really can create whatever you like with them!
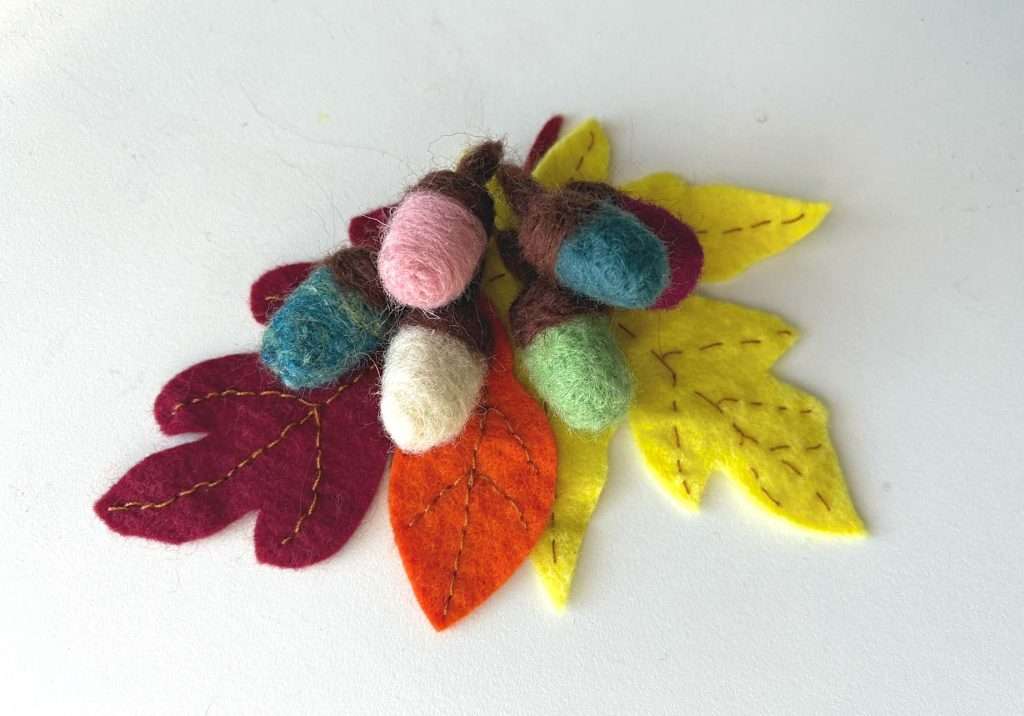
These acorns are on some autumn felted leaves that I made. You can read all about those leaves here.
Why Needle Felted Acorns Are More Than Just Decor
Crafting needle felted acorns isn’t just about creating beautiful decorations; like many crafts it offers numerous benefits:
- Stress Relief: The repetitive motion of needle felting can be incredibly calming and meditative.
- Eco-Friendly Crafting: Using natural wool and even upcycled materials makes this an environmentally conscious hobby.
- Quick Satisfaction: With projects taking as little as 10 minutes, you can enjoy a sense of accomplishment in no time.
- Skill Building: Perfect for beginners, this craft helps develop fine motor skills and patience.
- Customizable Decor: Create seasonal decorations that perfectly match your home’s aesthetic.
- Gift-Giving: Handmade acorns make thoughtful, personal gifts for any occasion.
Common Questions and Solutions:
You may not be felting densely enough. Continue working the wool, focusing on problem areas until it feels firm to the touch.
Ensure you’re using a clean needle and try felting at different angles. If the problem persists, your wool might be too fine – try a coarser variety.
After the initial shaping, use a finer gauge needle for surface work. Gently felt the surface in circular motions to even out any bumps.
Only worry about this if the finish you are getting bothers you. I never do this!
And next …
If you would like a pretty autumn leaf basket or bowl to display your acorns in then take a look at how easy these are to make here.
Still looking for autumn decor? Then how about an autumn leaf and book page garland?
Here is a selection of beginner friendly needle felting kits on Amazon.
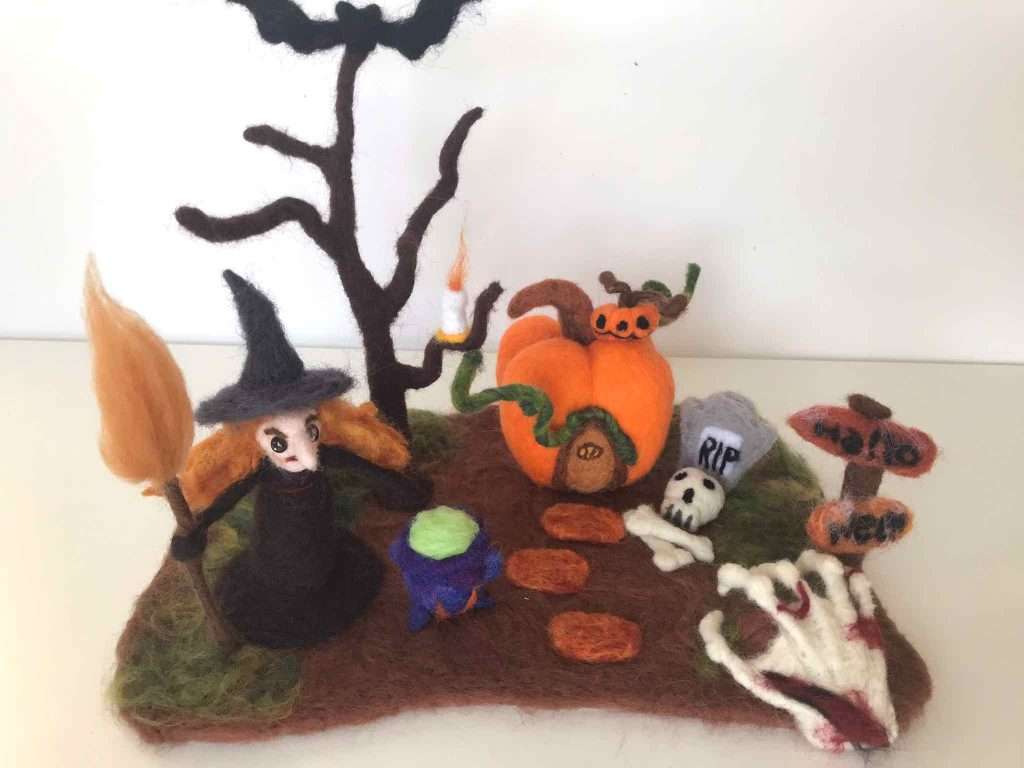
If you want a new needle felting challenge and fancy using a kit then check out this spooky Halloween kit that I just loved making!
And remember to pin this tutorial on Pinterest so that you can find it later.