How to Make Easy Tissue Paper Flowers
As an Amazon Associate I earn from qualifying purchases
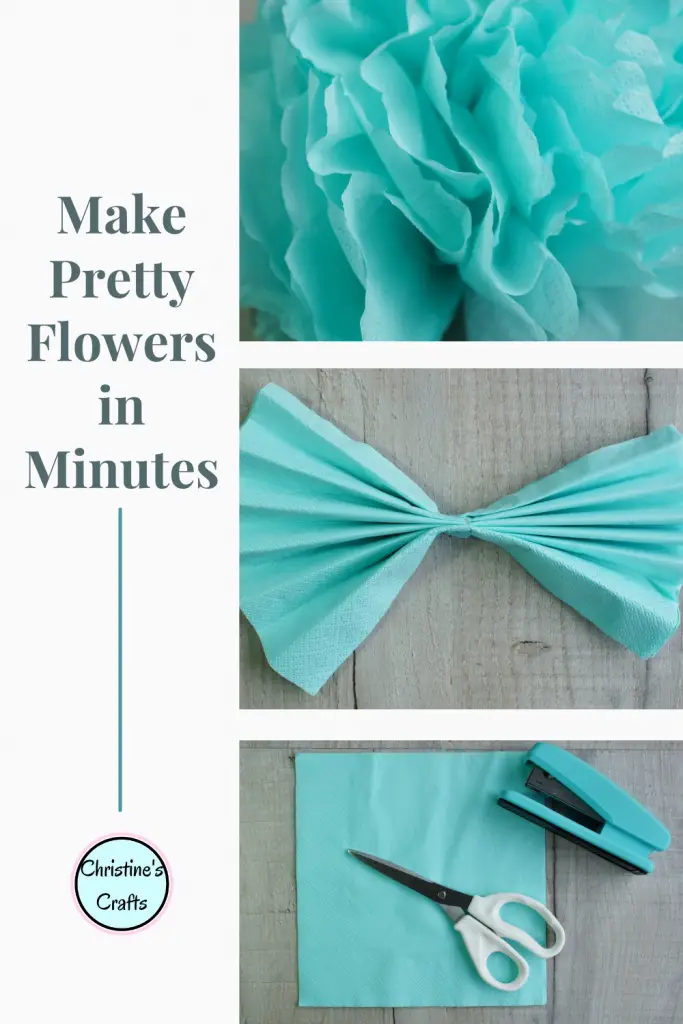
We have all seen tissue paper flowers of various kinds. They are so quick and cheap to make that they remain very popular. There are of lots of different kinds of tissue paper flowers and this step by step tutorial is just going to show you one method. It is super quick and easy and great to make with the kids.
You can use your completed flowers for many purposes. What about stringing them together to form a garland? Or cover a piece of card with them and use them as a picture. Kids could attach them to greeting cards to give loved ones for birthdays or Mother Day. When I was a child we used them to decorate lorries for carnival parades. They are so cheap you can make hundreds and have a real impact!
You can use tissue paper from a craft shop but I prefer to use tissues or napkins. In this tutorial I am using a paper napkin.
This page contains affiliate links meaning I earn a small commission if you use those links at no cost to you. I only recommend brands I use and trust.
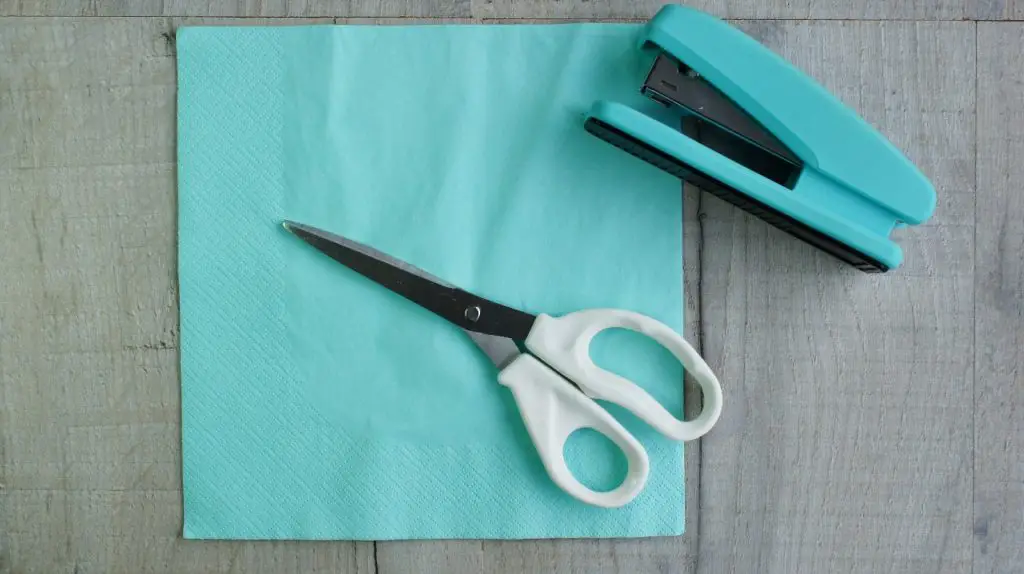
You will need:
Tissue Paper (or napkin or tissues)
Video Tutorial
This video is also available on my YouTube channel.
Prepare your Tissue Paper Squares
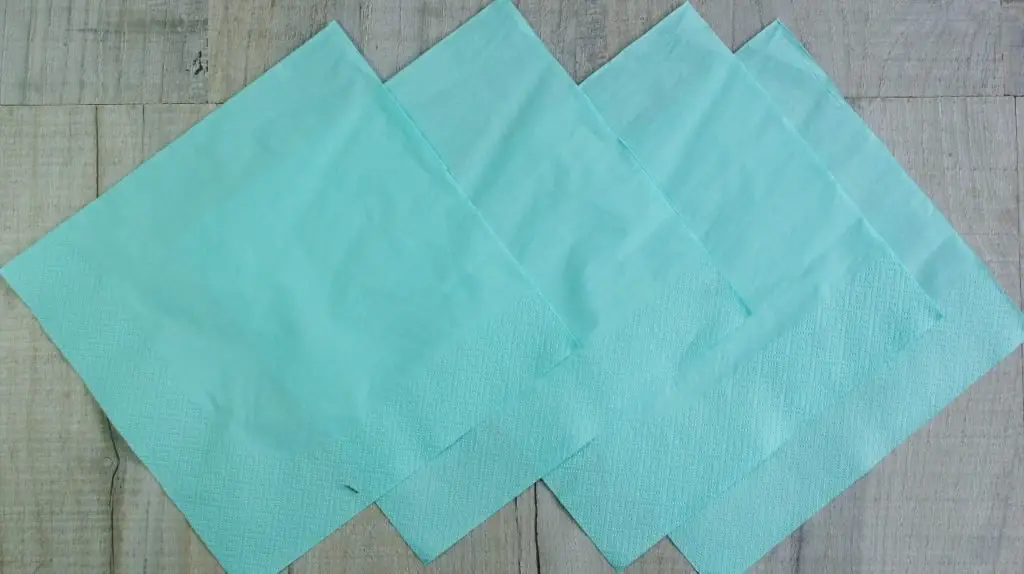
Whatever your source of tissue paper you need squares of tissue paper. It depends what you use as to how many you need. I will explain.
If you are using tissue paper from a craft shop then you need 8 squares.
If you are using a paper napkin or tissue then you need 4 squares as each one is 2 ply (has 2 sheets)
The sizing is up to you but if you go too small your flowers will be hard to make. My napkin squares are 8″.
Fold the Squares and Staple
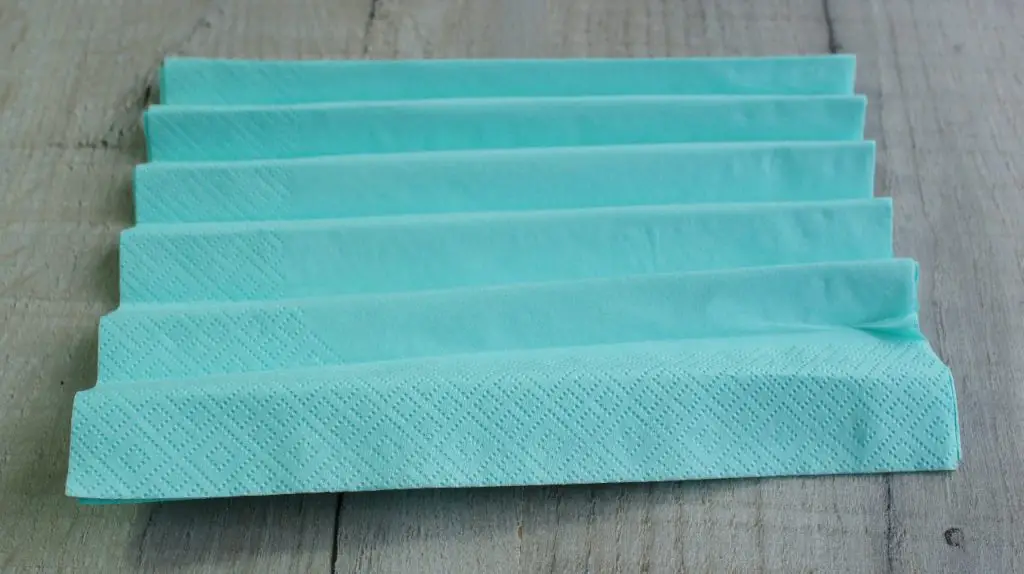
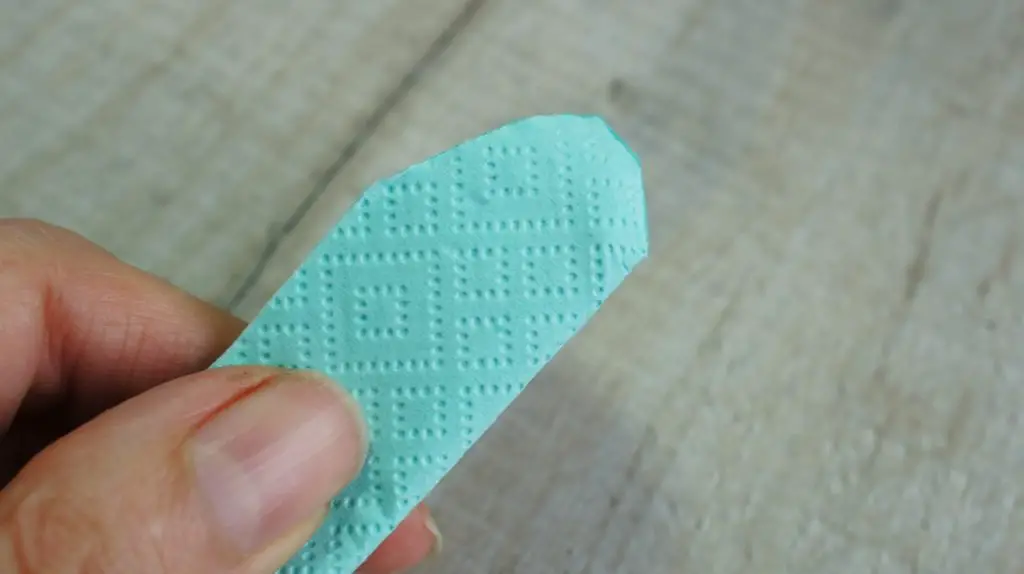
Lay all your squares directly on top of each other. Starting at one side fold a small amount of paper over (approximately 0.5″).
Then turn the squares over and repeat so that you fold the same amount over again.
Turn the squares over again and repeat. Keep going until you have folded all the tissue paper as shown in the picture below.
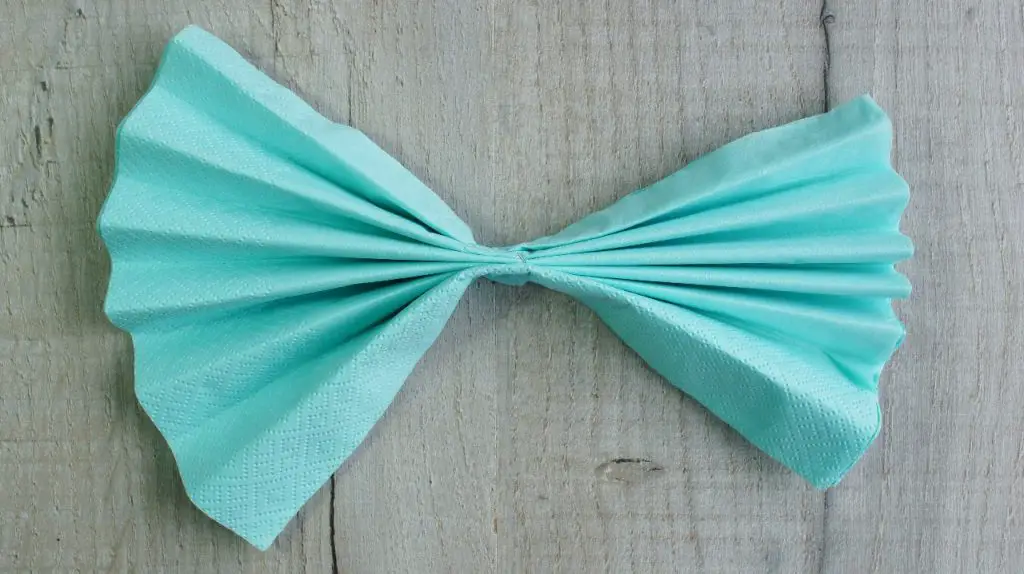
Now squeeze all your folds together and fold the whole thing in half to find the centre. Once you have the centre staple through all the layers. If your stapler is struggling then turn the paper over and staple the other way too. Just make sure all your folds are secured. You could use a piece of wire wrapped around the folds if you prefer.
Cut the Petal Shape
You now have a choice to make. You can leave the ends of your folds as they are and your flower will look like this.
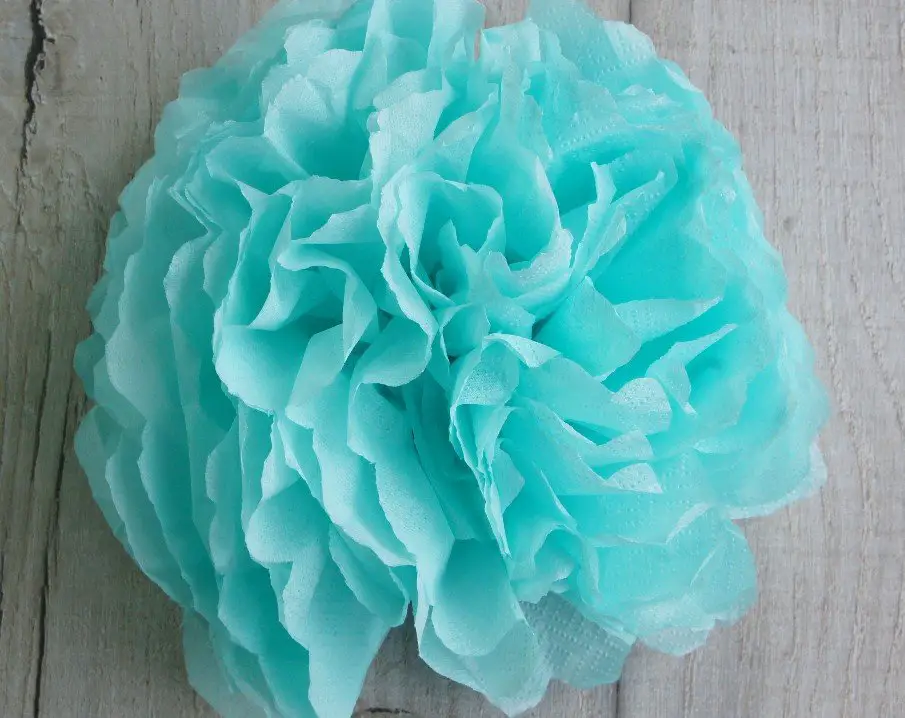
If you would like your flower edges to look a little more like petals then you can round the end of the folds like this.
The resulting flower will look like this.
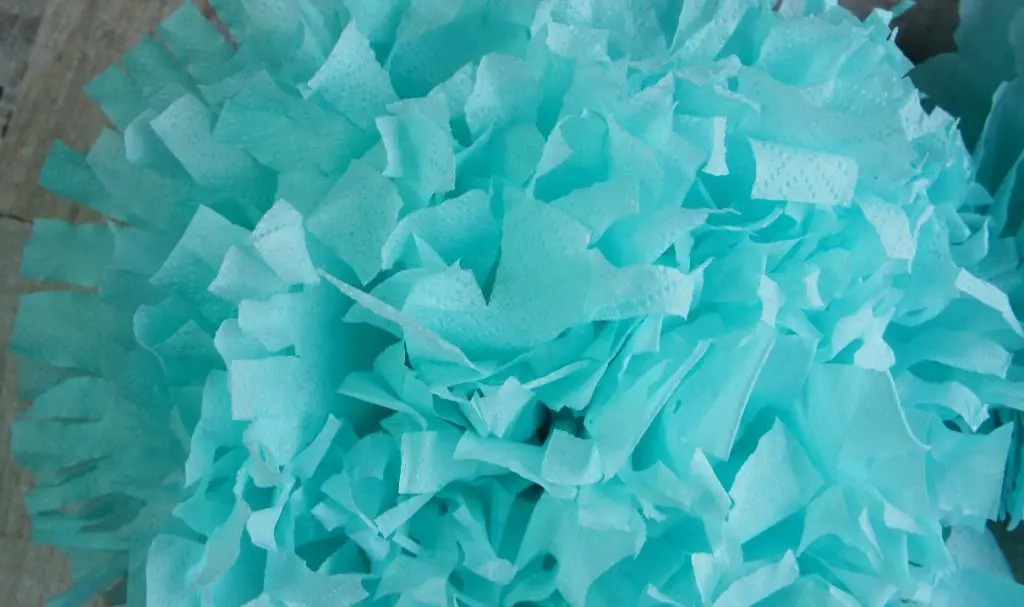
Another alternative is to snip down into the folds approximately half an inch to give a full finish with tiny petal edges. The flower looks like this.
So, now is the time to decide. Leave your folds alone or cut the ends. Then move onto the next step.
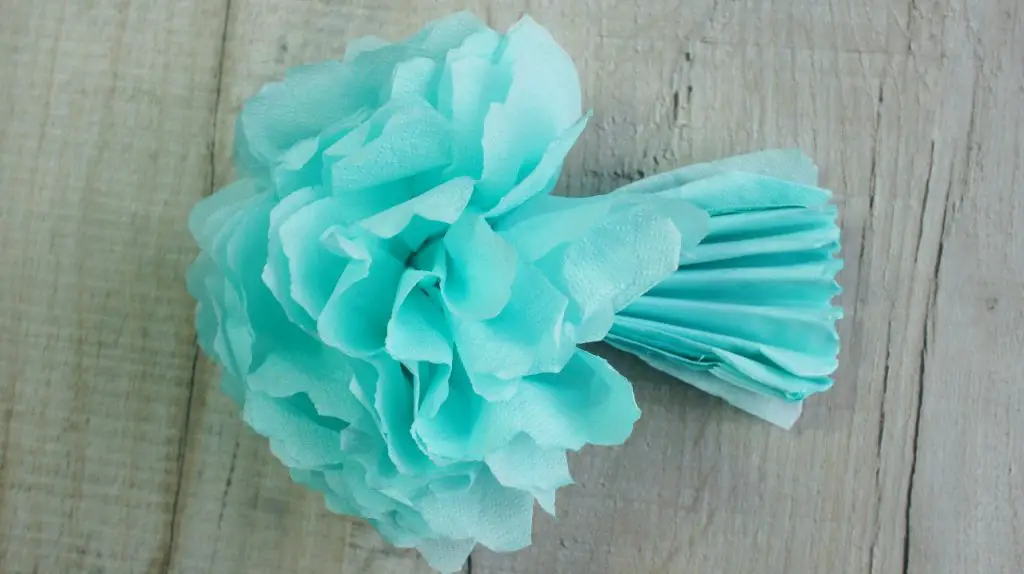
‘Fluff up’ the Flower
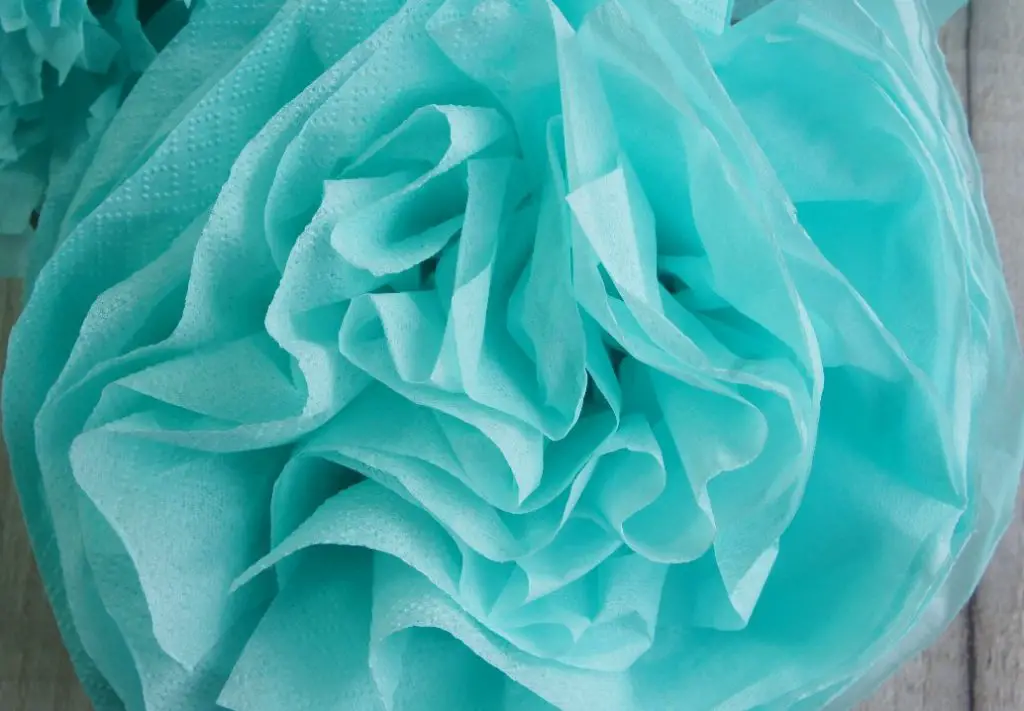
This is where you form your flower petals. On one side of the flower take the top layer of tissue paper and pull it up so that it stands up away from the rest of the tissue paper. If you are using napkins or tissues you will need to separate the tissue layers. This can be tricky but persevere and you will be rewarded with a full flower.
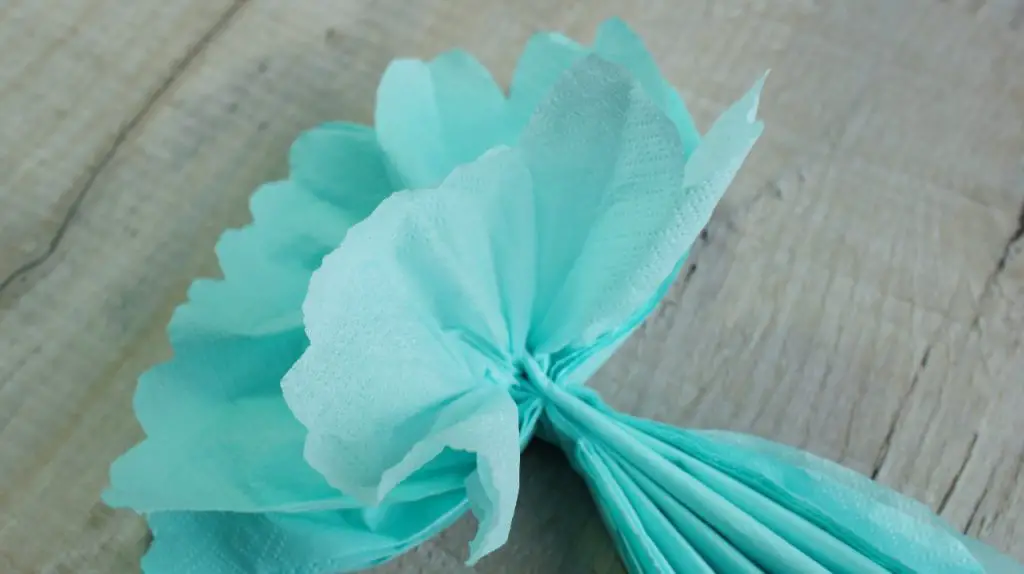
Now repeat with all the tissue paper layers on that side of the flower. When you are finished it should look like this.
Now repeat for the other side and you will have a fully formed flower. Well done!
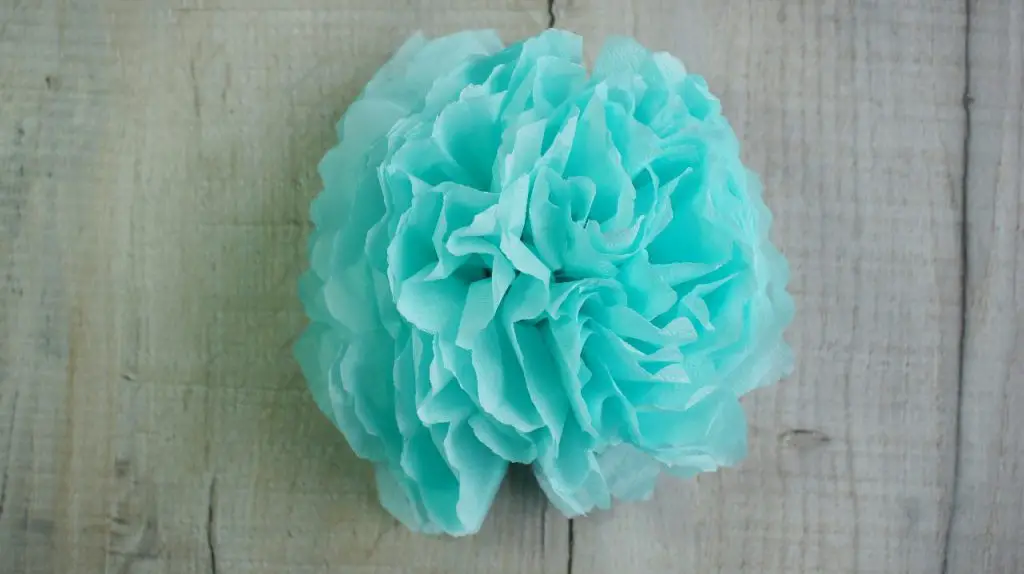
Summary
So you should now have a fully formed DIY tissue paper flower. You can now make as many as you like and decorate wherever you like. These are great for parties! Try different sizes for different effects. Just be warned that if you go very small it becomes hard to fluff up your flower without ripping the tissue paper.
If your flower is larger on one side than the other it just means that you didn’t get your staples in the middle but no-one will probably notice!
If your flower gets a little squashed in storage you can always fluff up the petals again and get it looking pretty.
As you are looking to make flowers I recommend that you check out the following tutorials as alternatives:
- Gorgeous Paper Flowers from old Magazines
- Book Page Roses
- Collection of Paper Flower Tutorials
- Upcycle an old T-shirt into Fabulous Fabric Flowers
- Super Quick and Easy Yoyo Flowers
I hope that you have found some fabulous flowers to make but if you need more inspiration you can follow me on Pinterest .