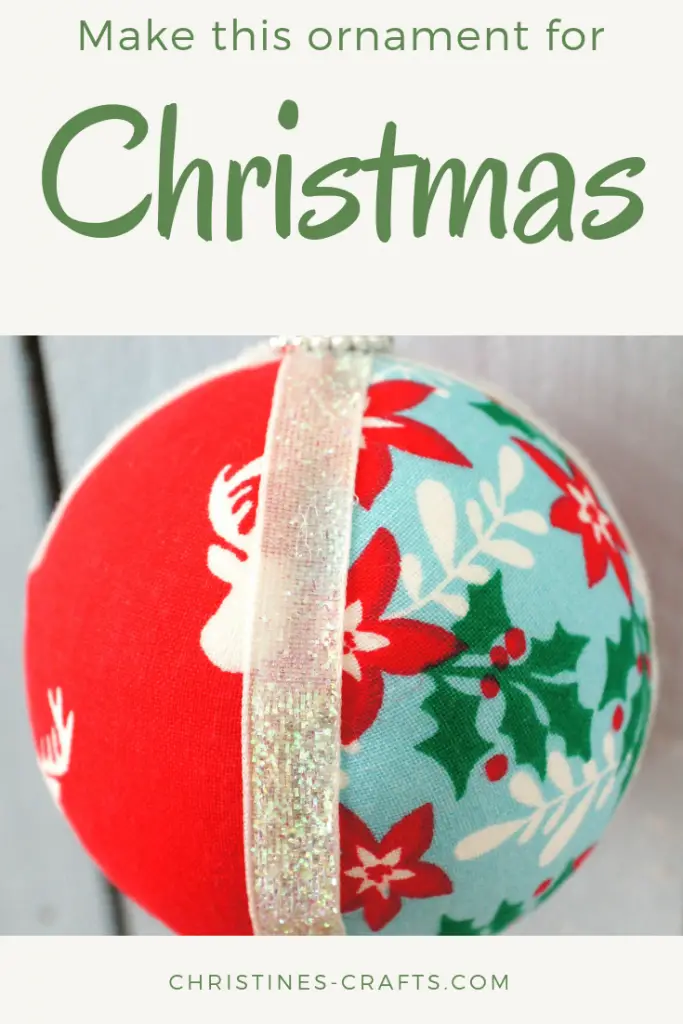
Christmas Fabric Ornament
As an Amazon Associate I earn from qualifying purchases
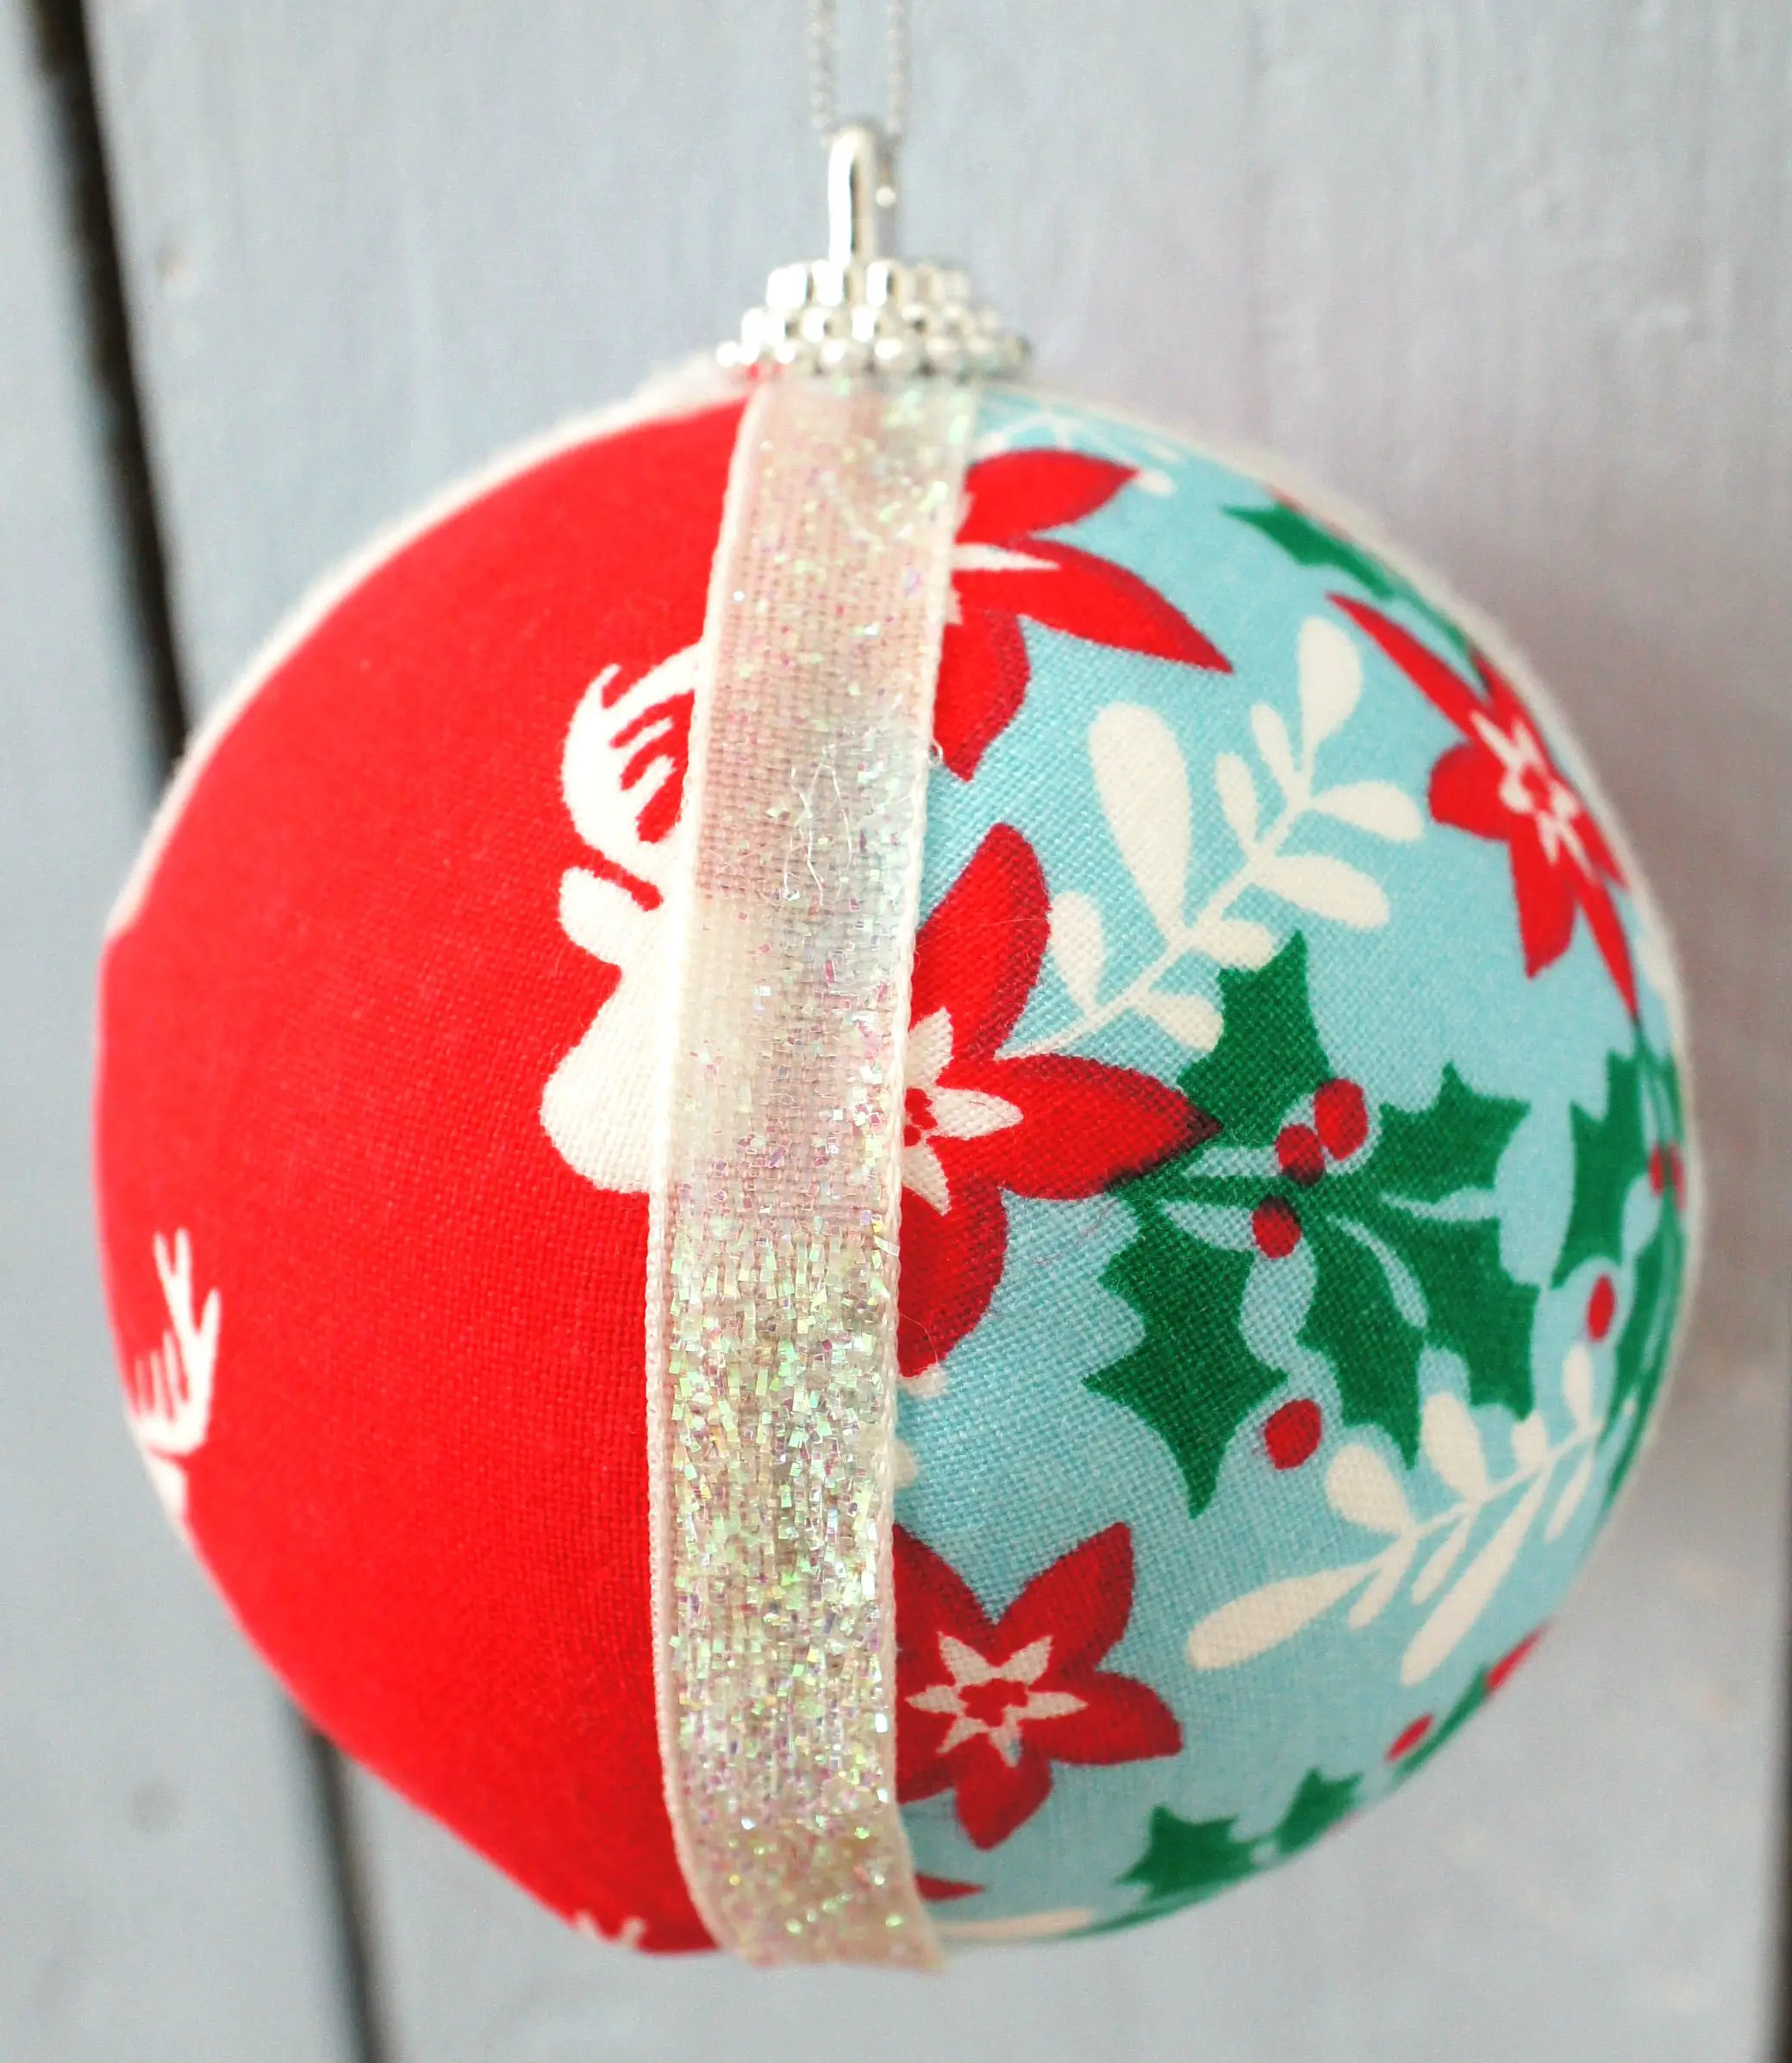
This beautiful Christmas fabric ornament is so easy to make and requires no sewing. It is really effective and you can make them using any fabric to match your decor. You can also make them any size. You are only limited by the size of ball you can purchase. Great fat quarter project too, especially if you have co-ordinating fabrics.
If you like to watch craft projects then scroll down to the bottom of the written instructions and watch my video tutorial.
This page contains affiliate links meaning I earn a small commission if you use those links at no cost to you. I only recommend brands I use and trust.
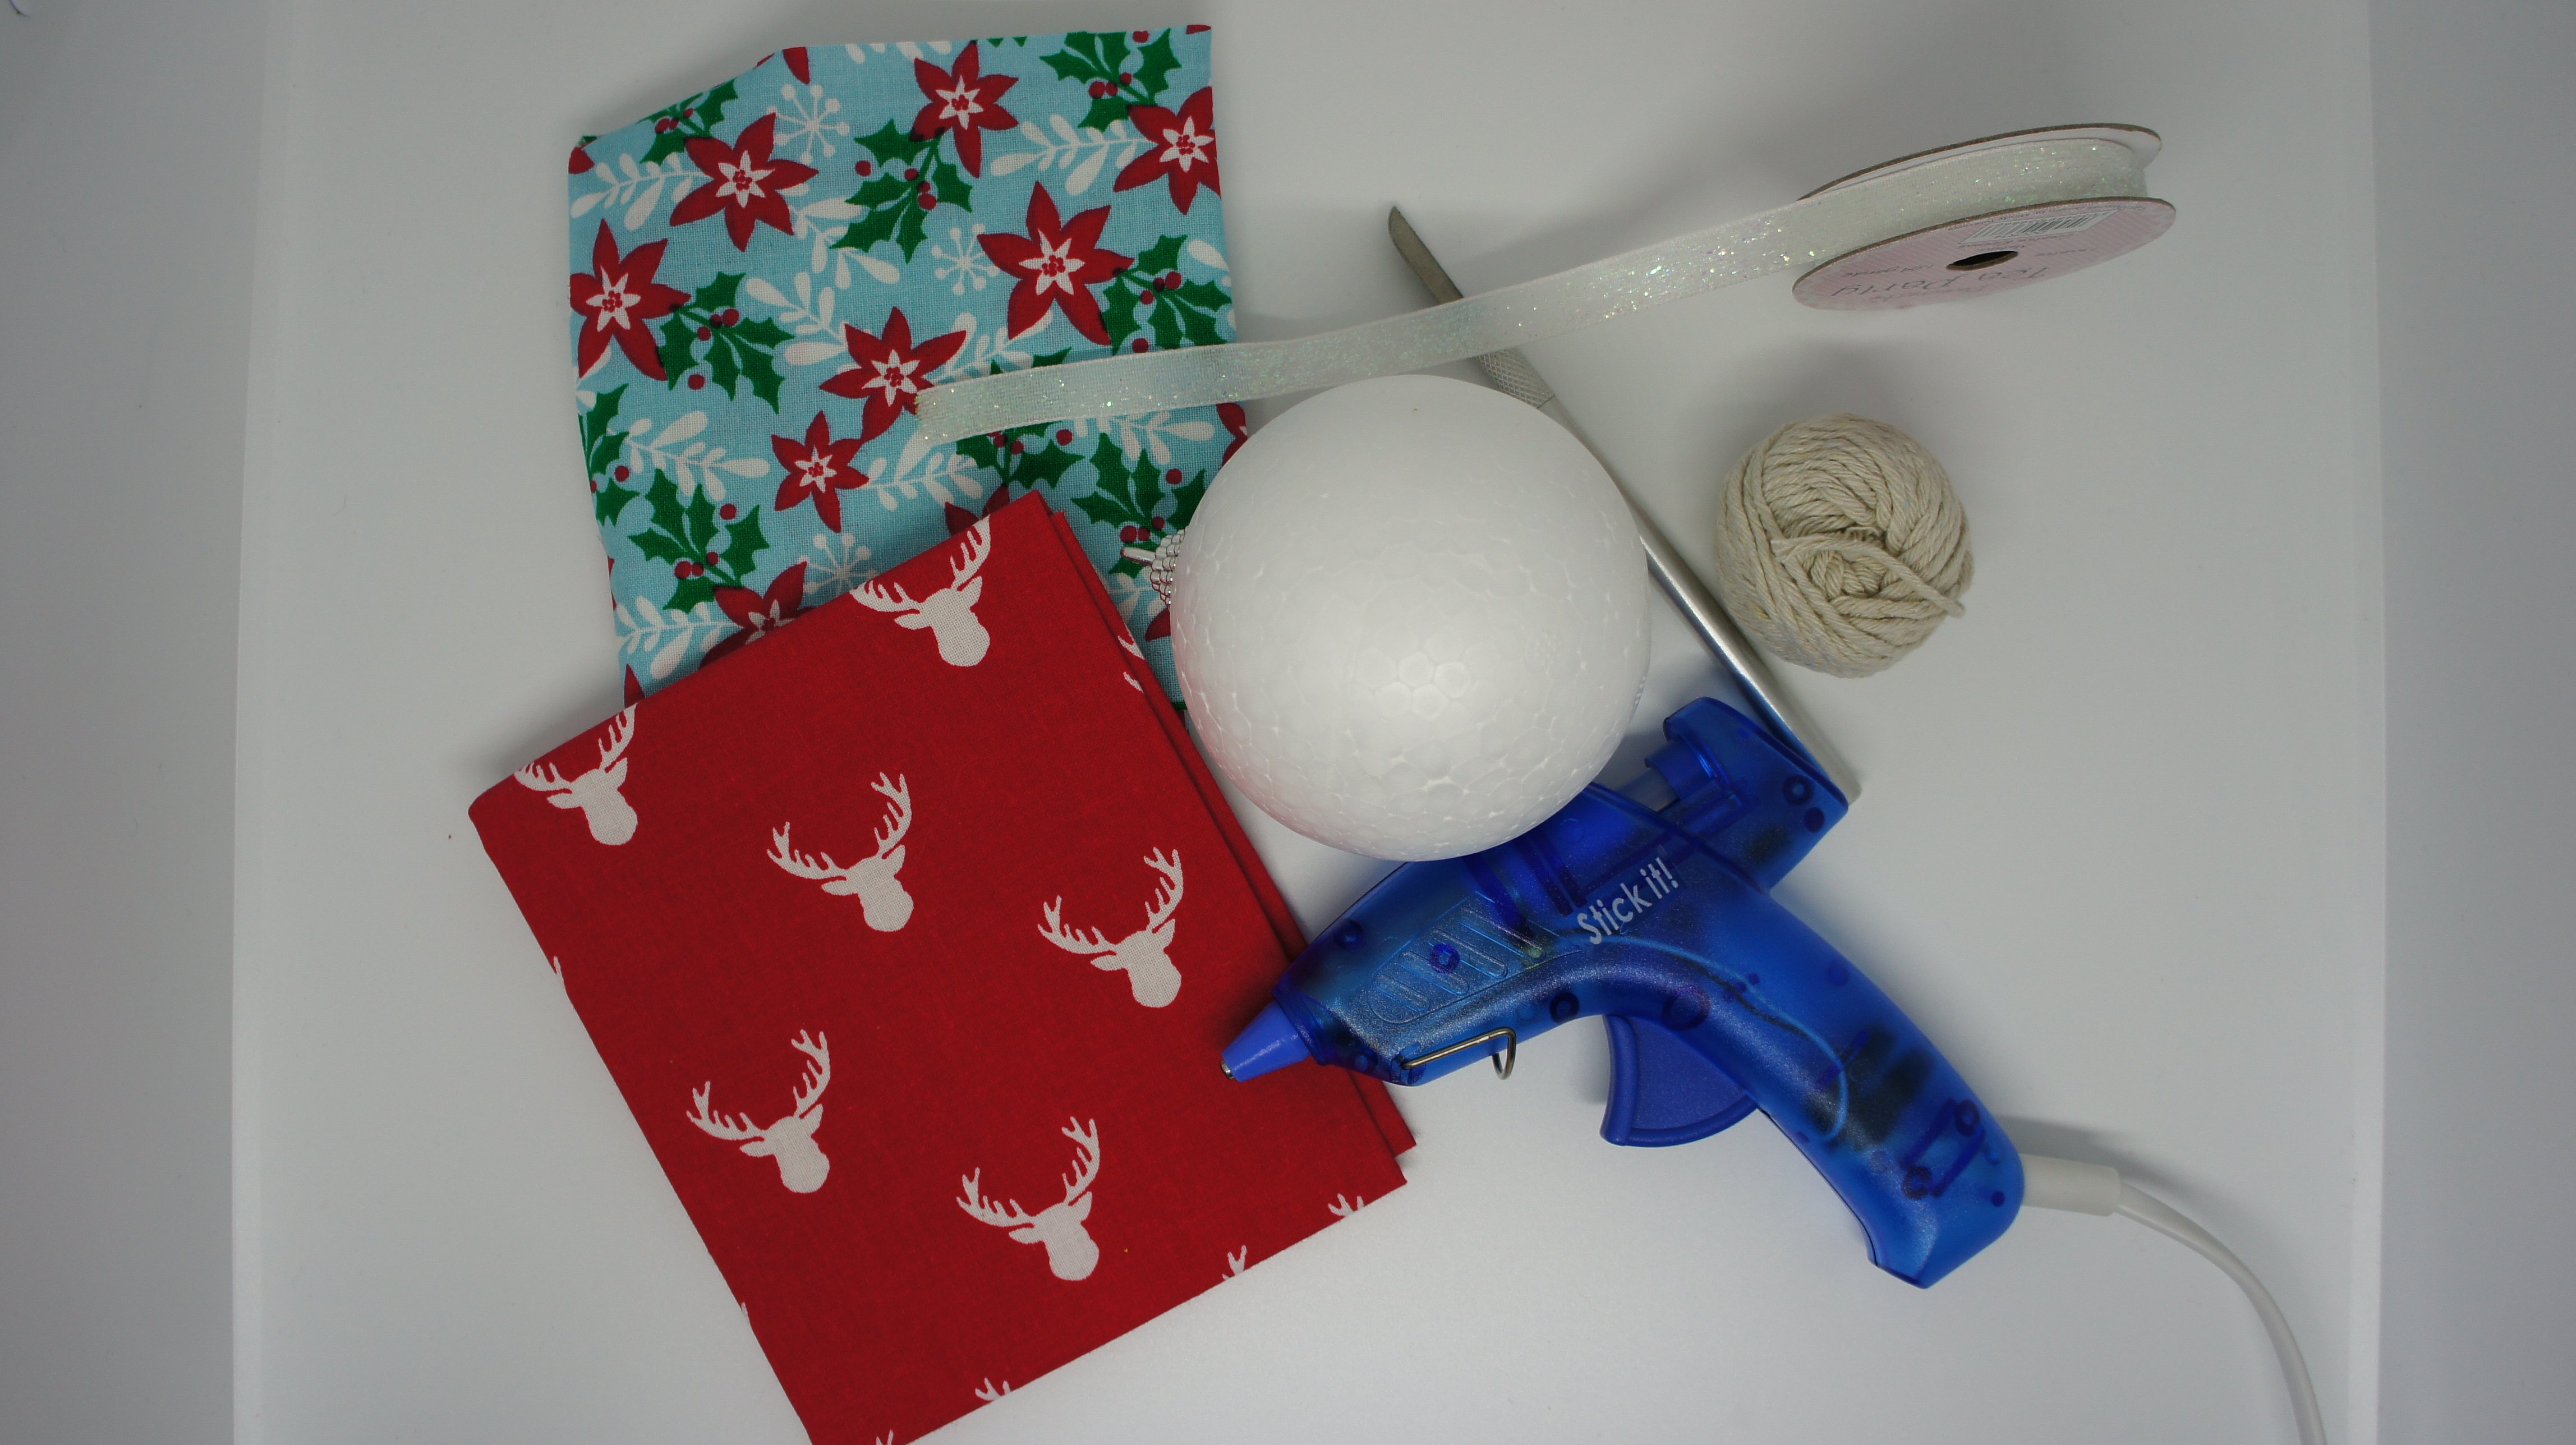
You Will Need:
Styrofoam (polystyrene) ball (mine is 8cm (3″) diameter)
Fabric
Ribbon
Hot or cold melt glue (and gun)
String for marking guide
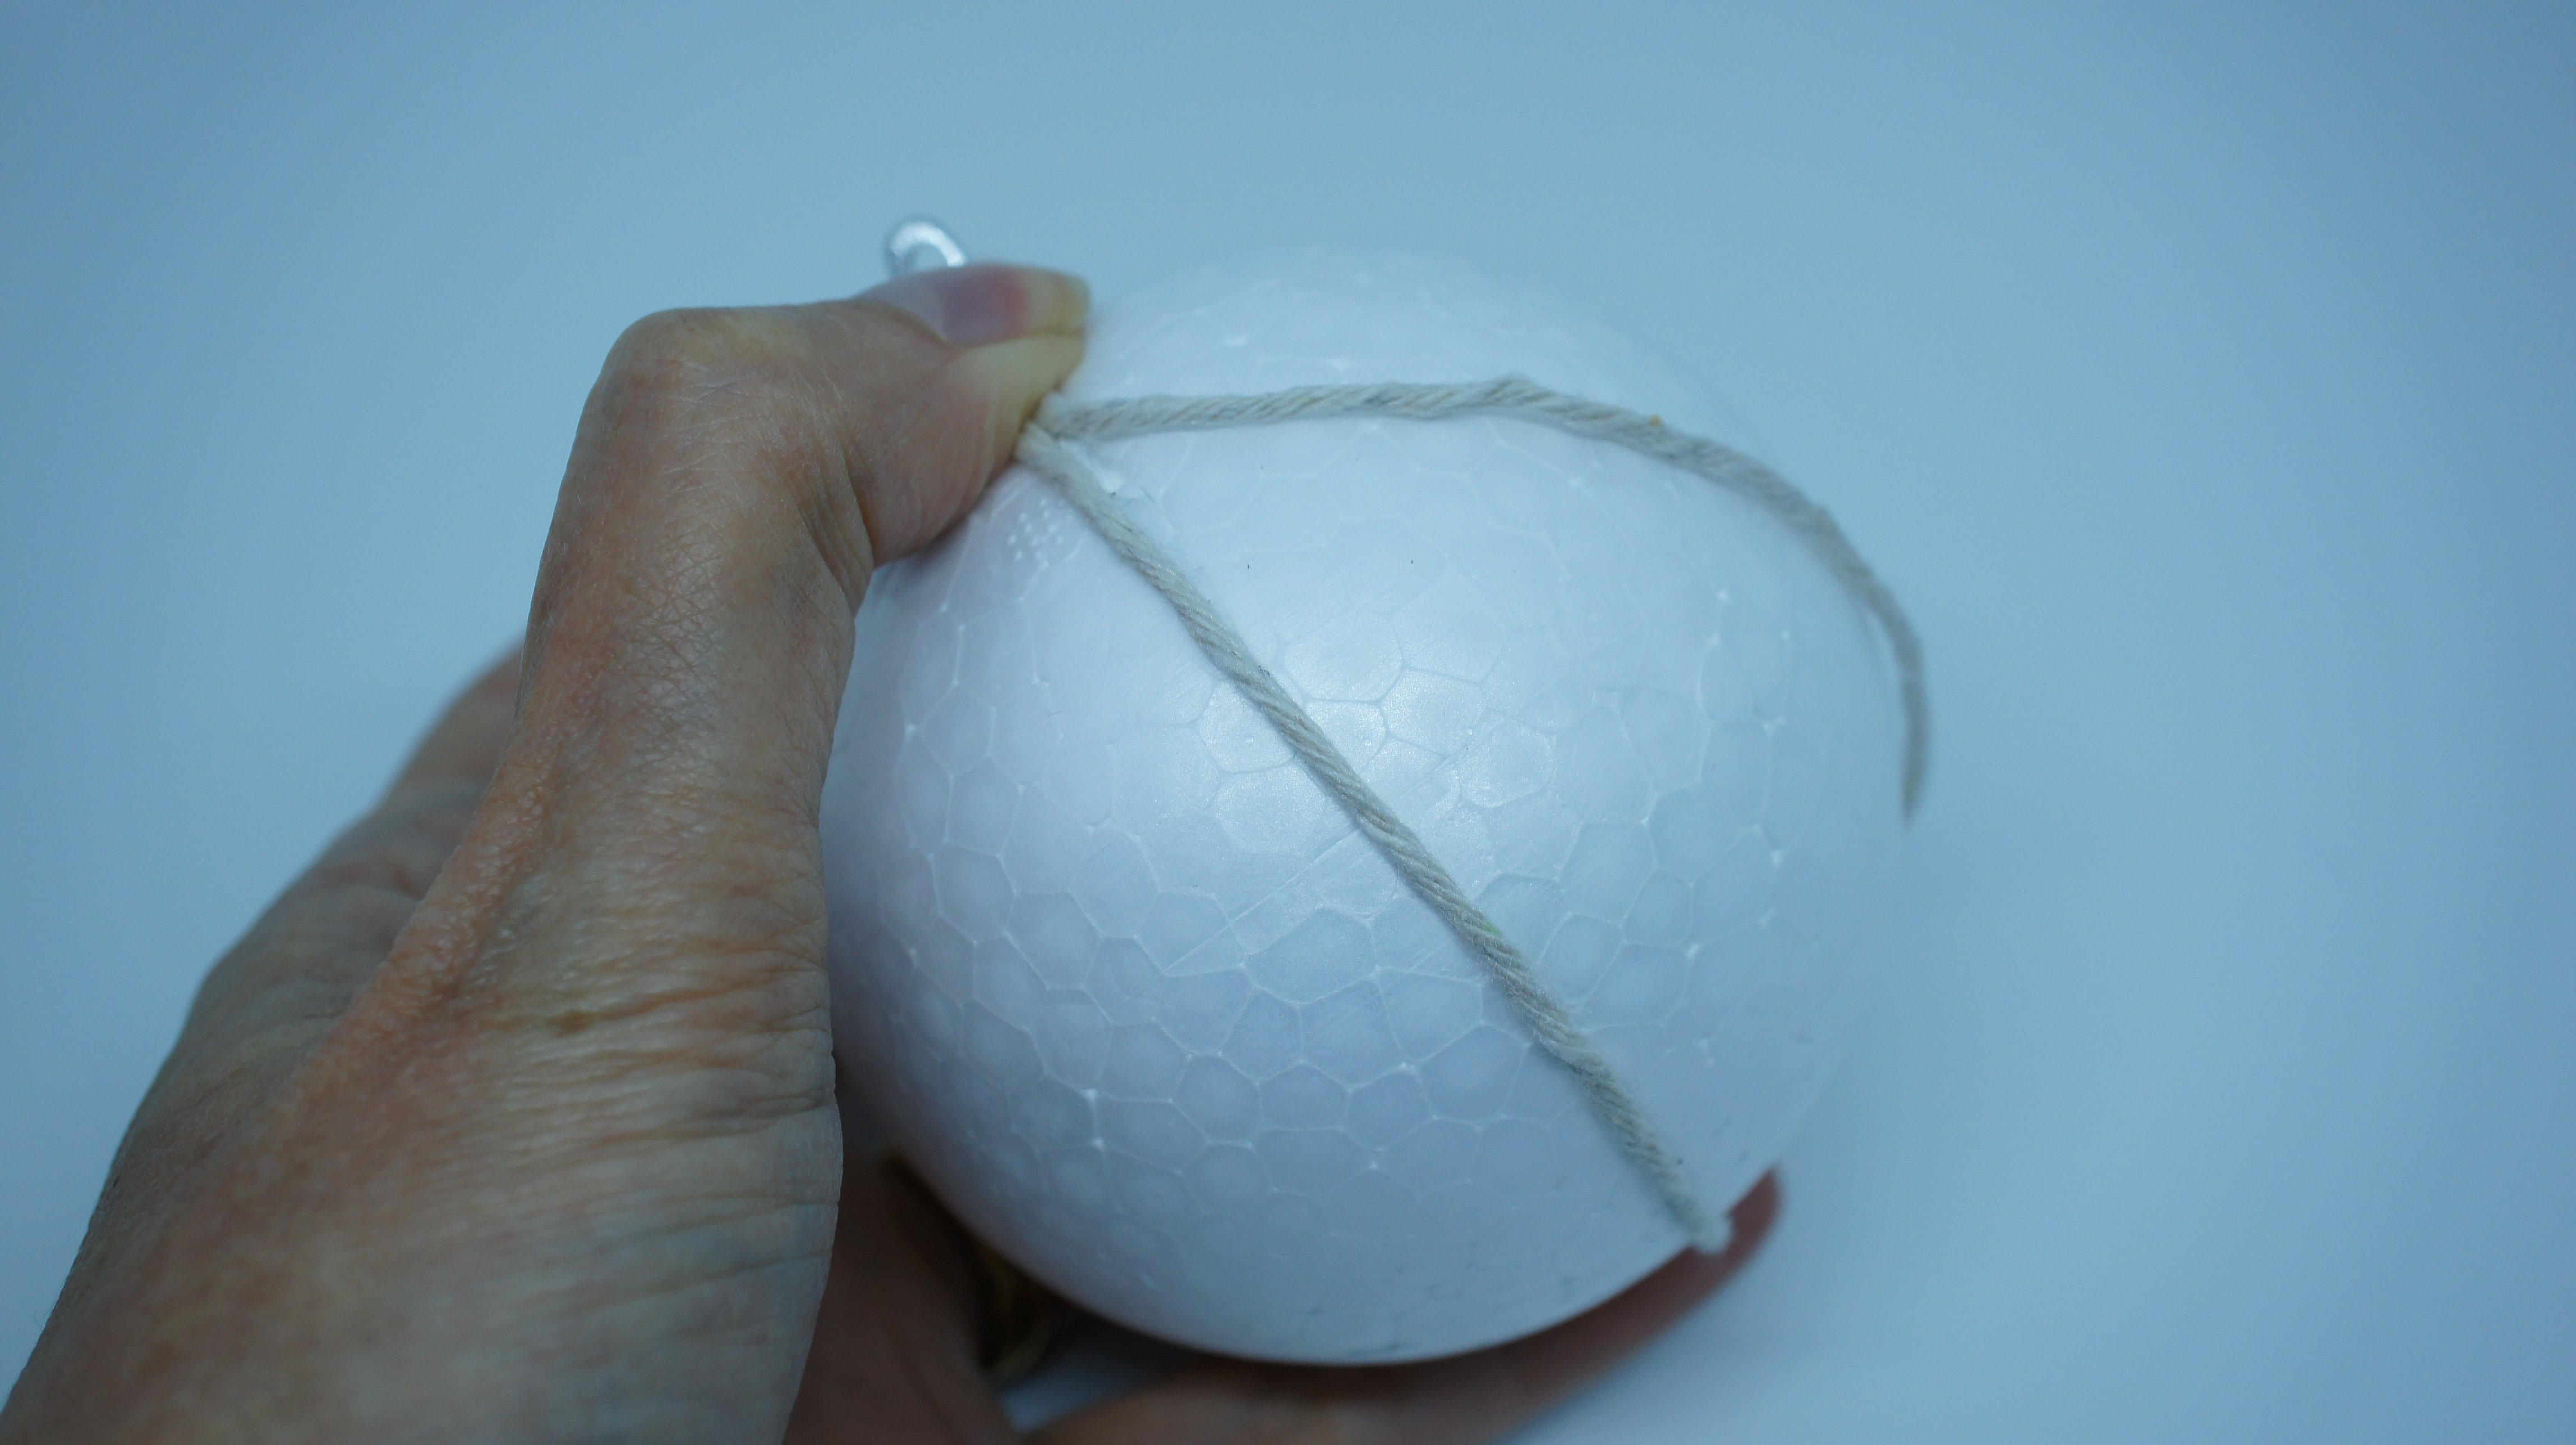
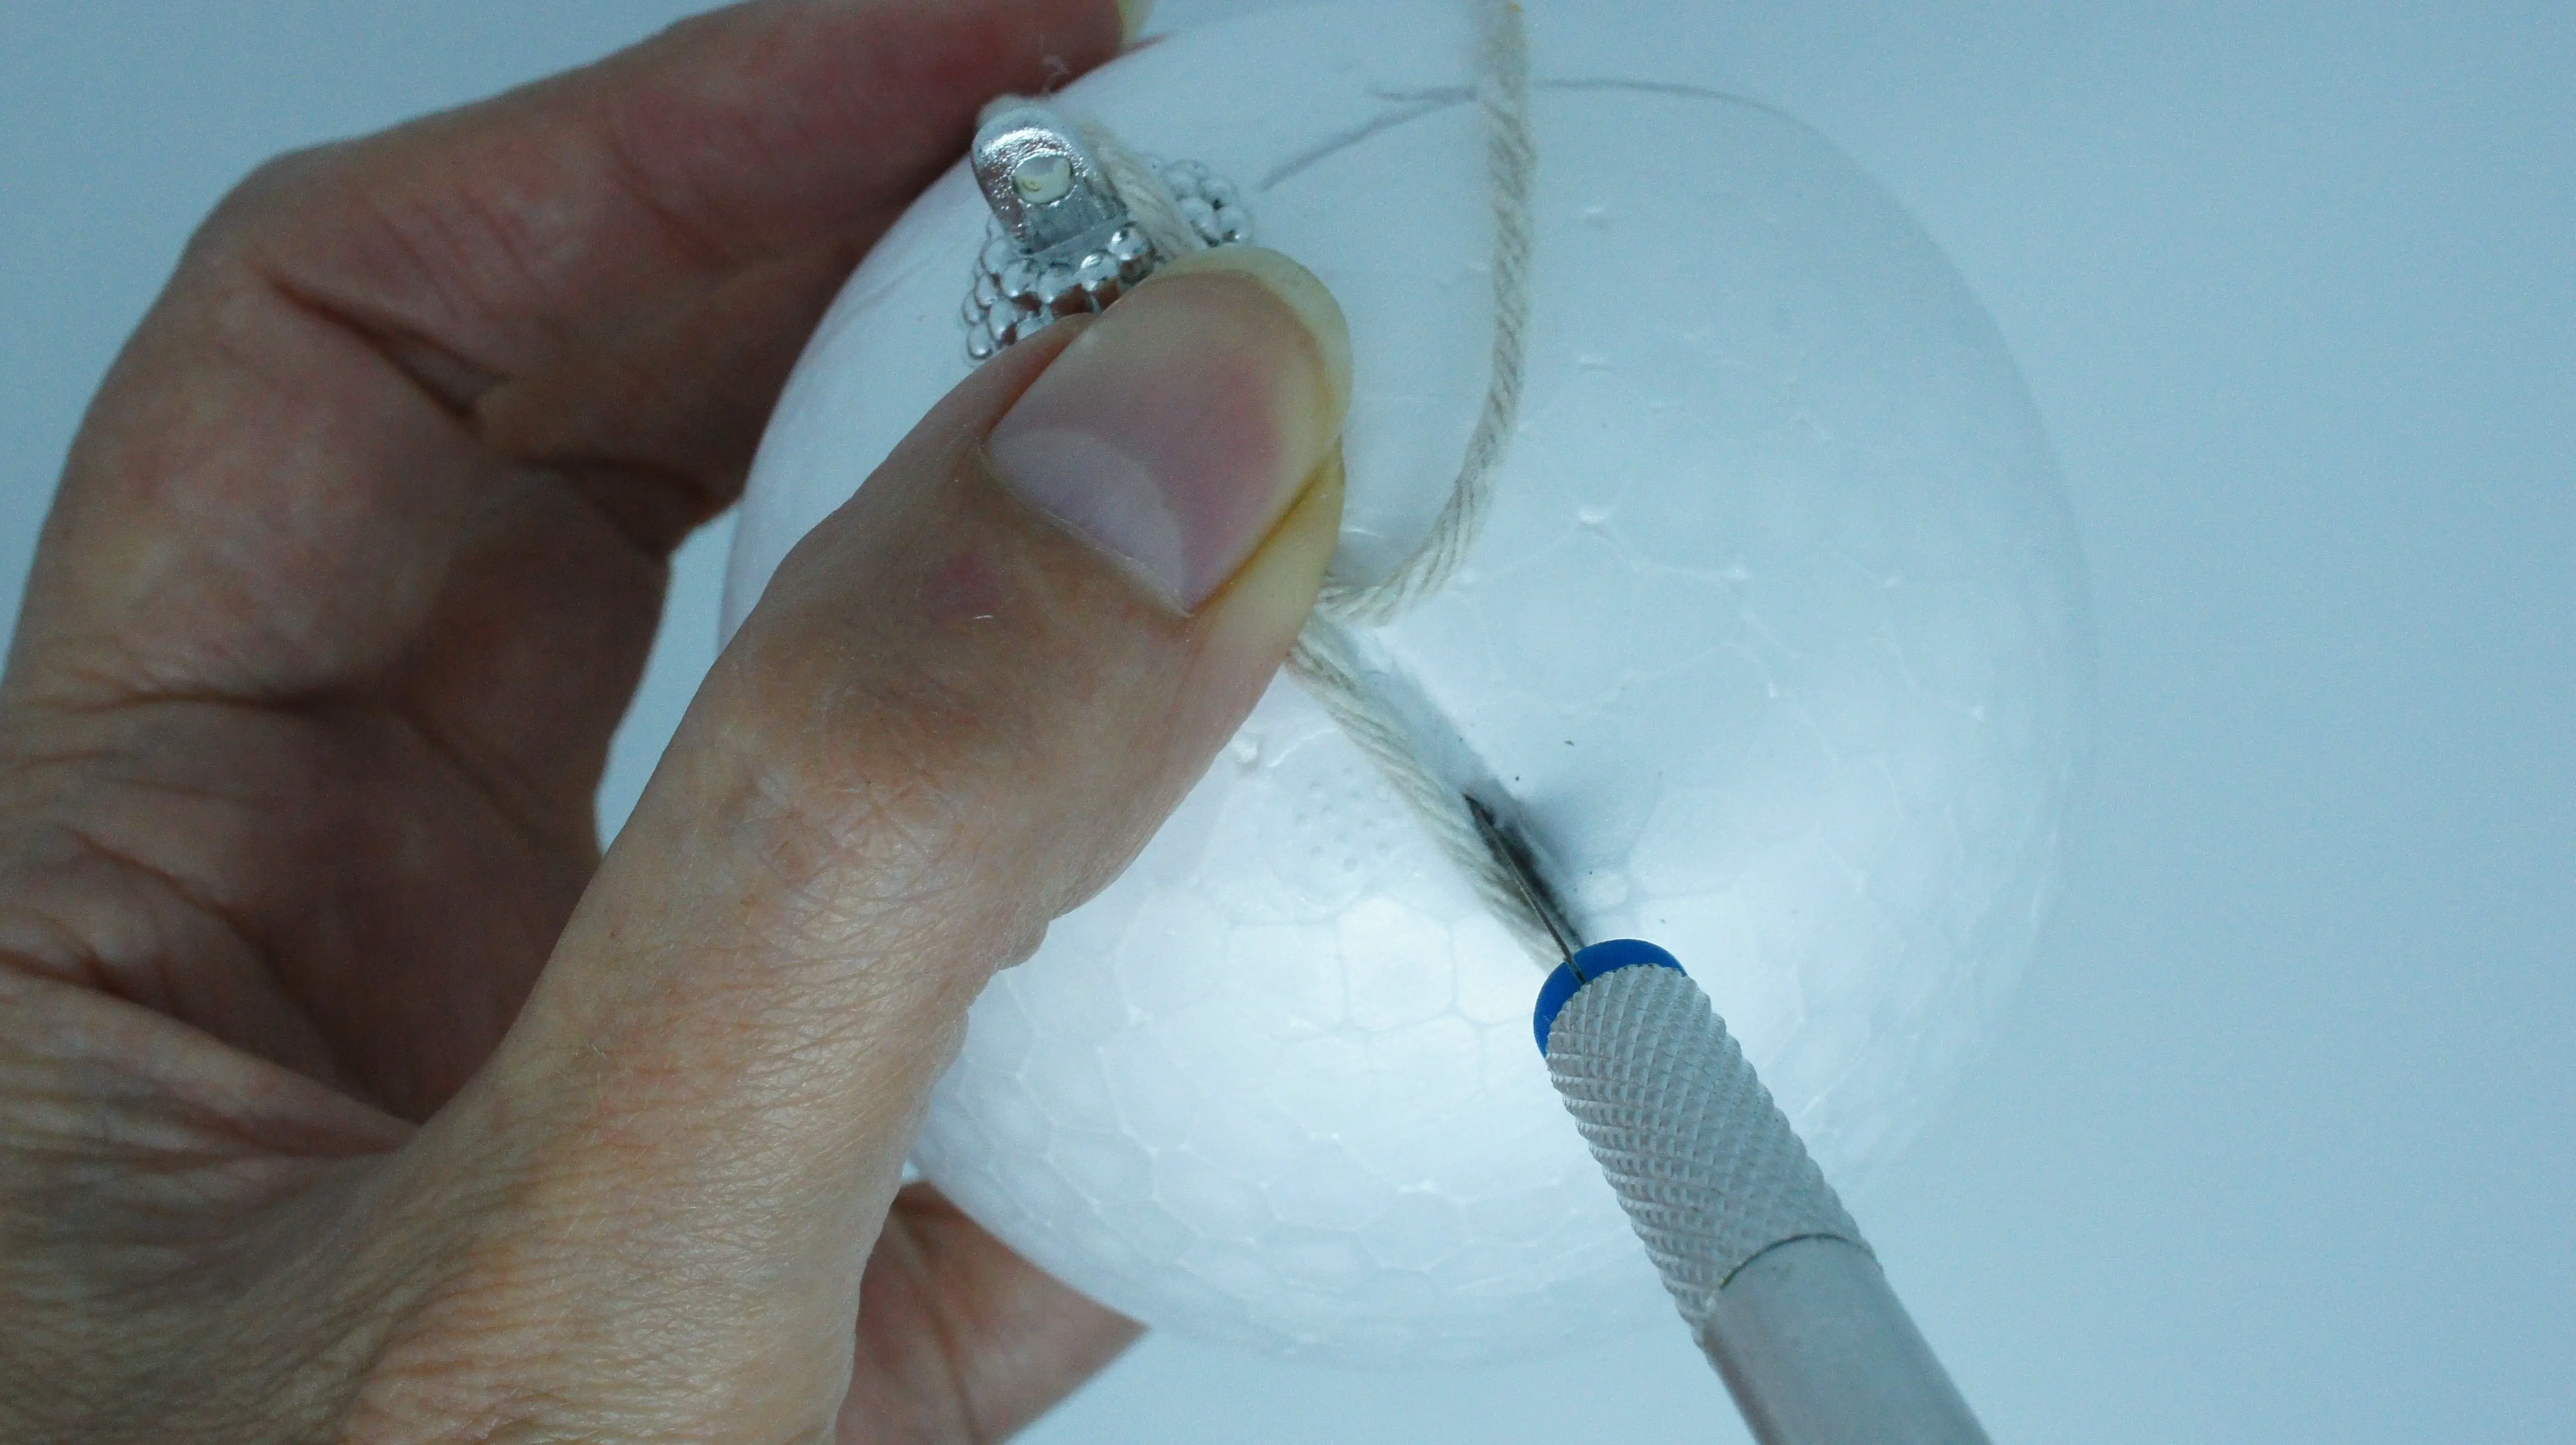
Step 1: Wrap string around the ball
Wrap the string around the ball and use it as a guide to cut a line all around the ball. I used the string as a guide and marked the line in pencil. Then, I cut along the line. I repeated this at 90° to the first line so that I marked my sphere into 4 equal sections.
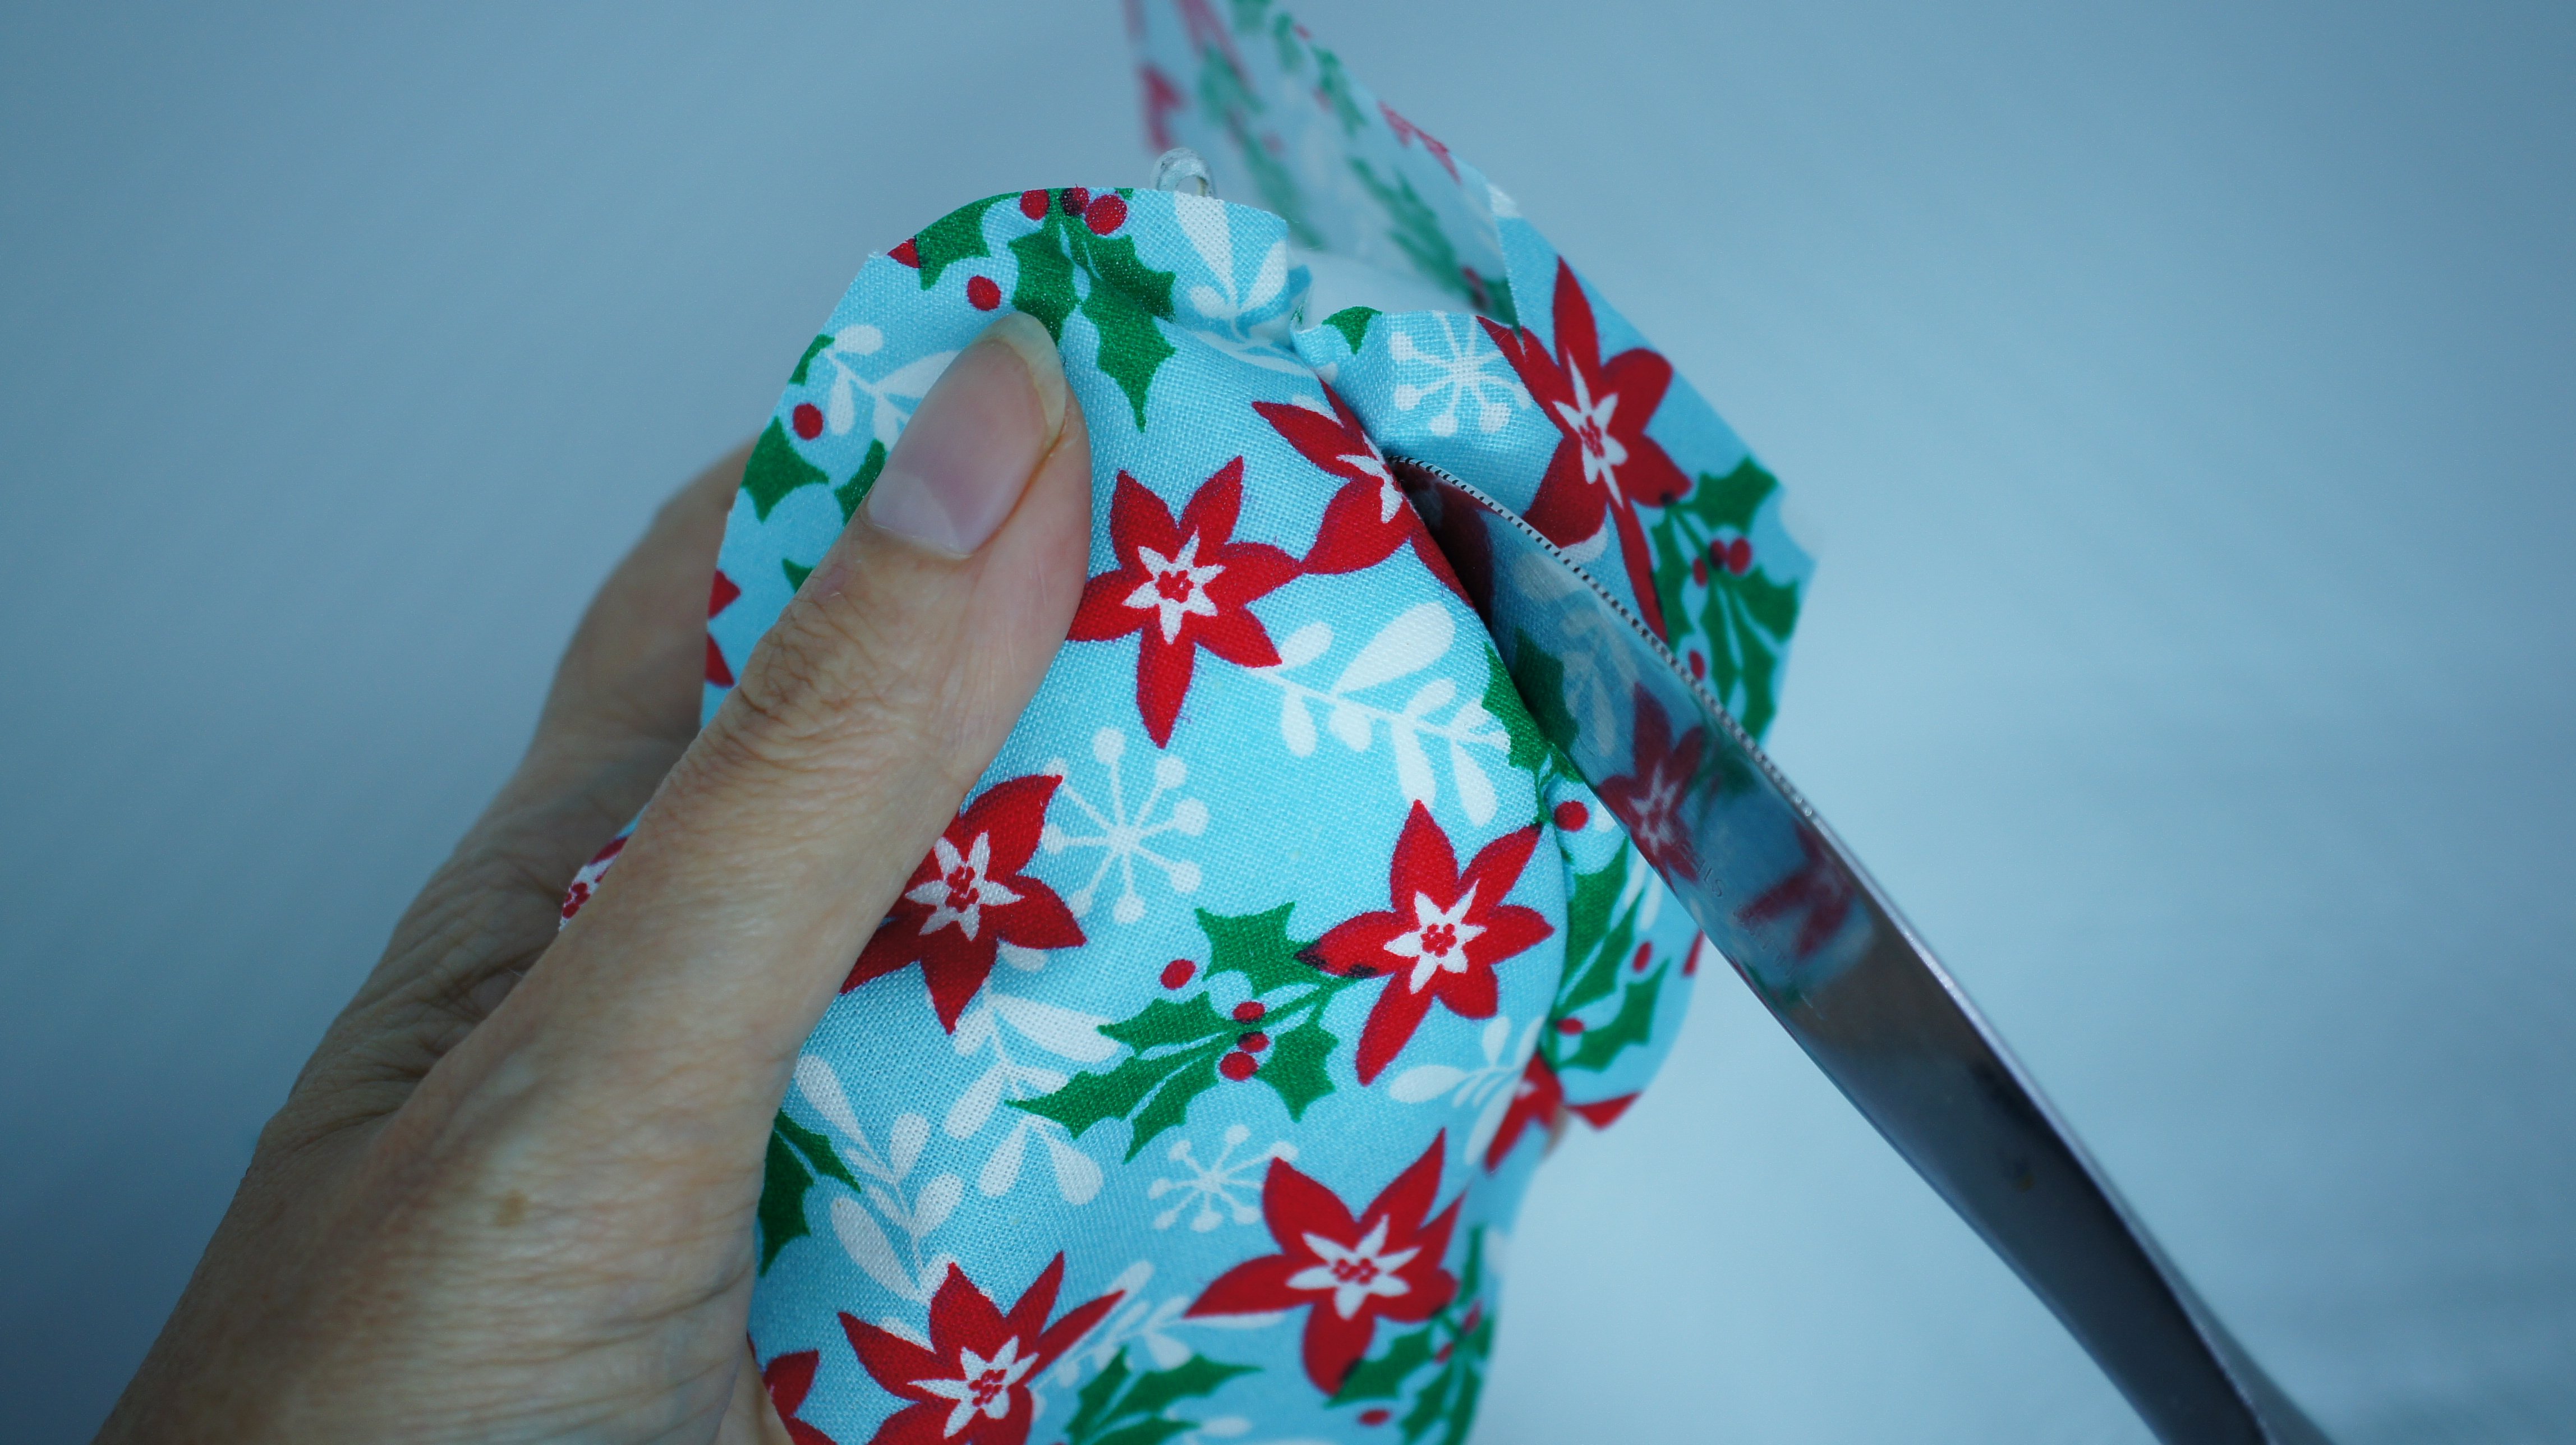
Step 2: Attach first piece of fabric
Take a piece of fabric larger than a quarter of your sphere and place it onto the sphere. Now use a craft knife or something similar (I used a table knife) to push the fabric into the slot you cut in the sphere. Continue all the way around one quarter of the sphere.
Step 3: Trim excess fabric
Trim off the excess fabric as close to the sphere as you can.
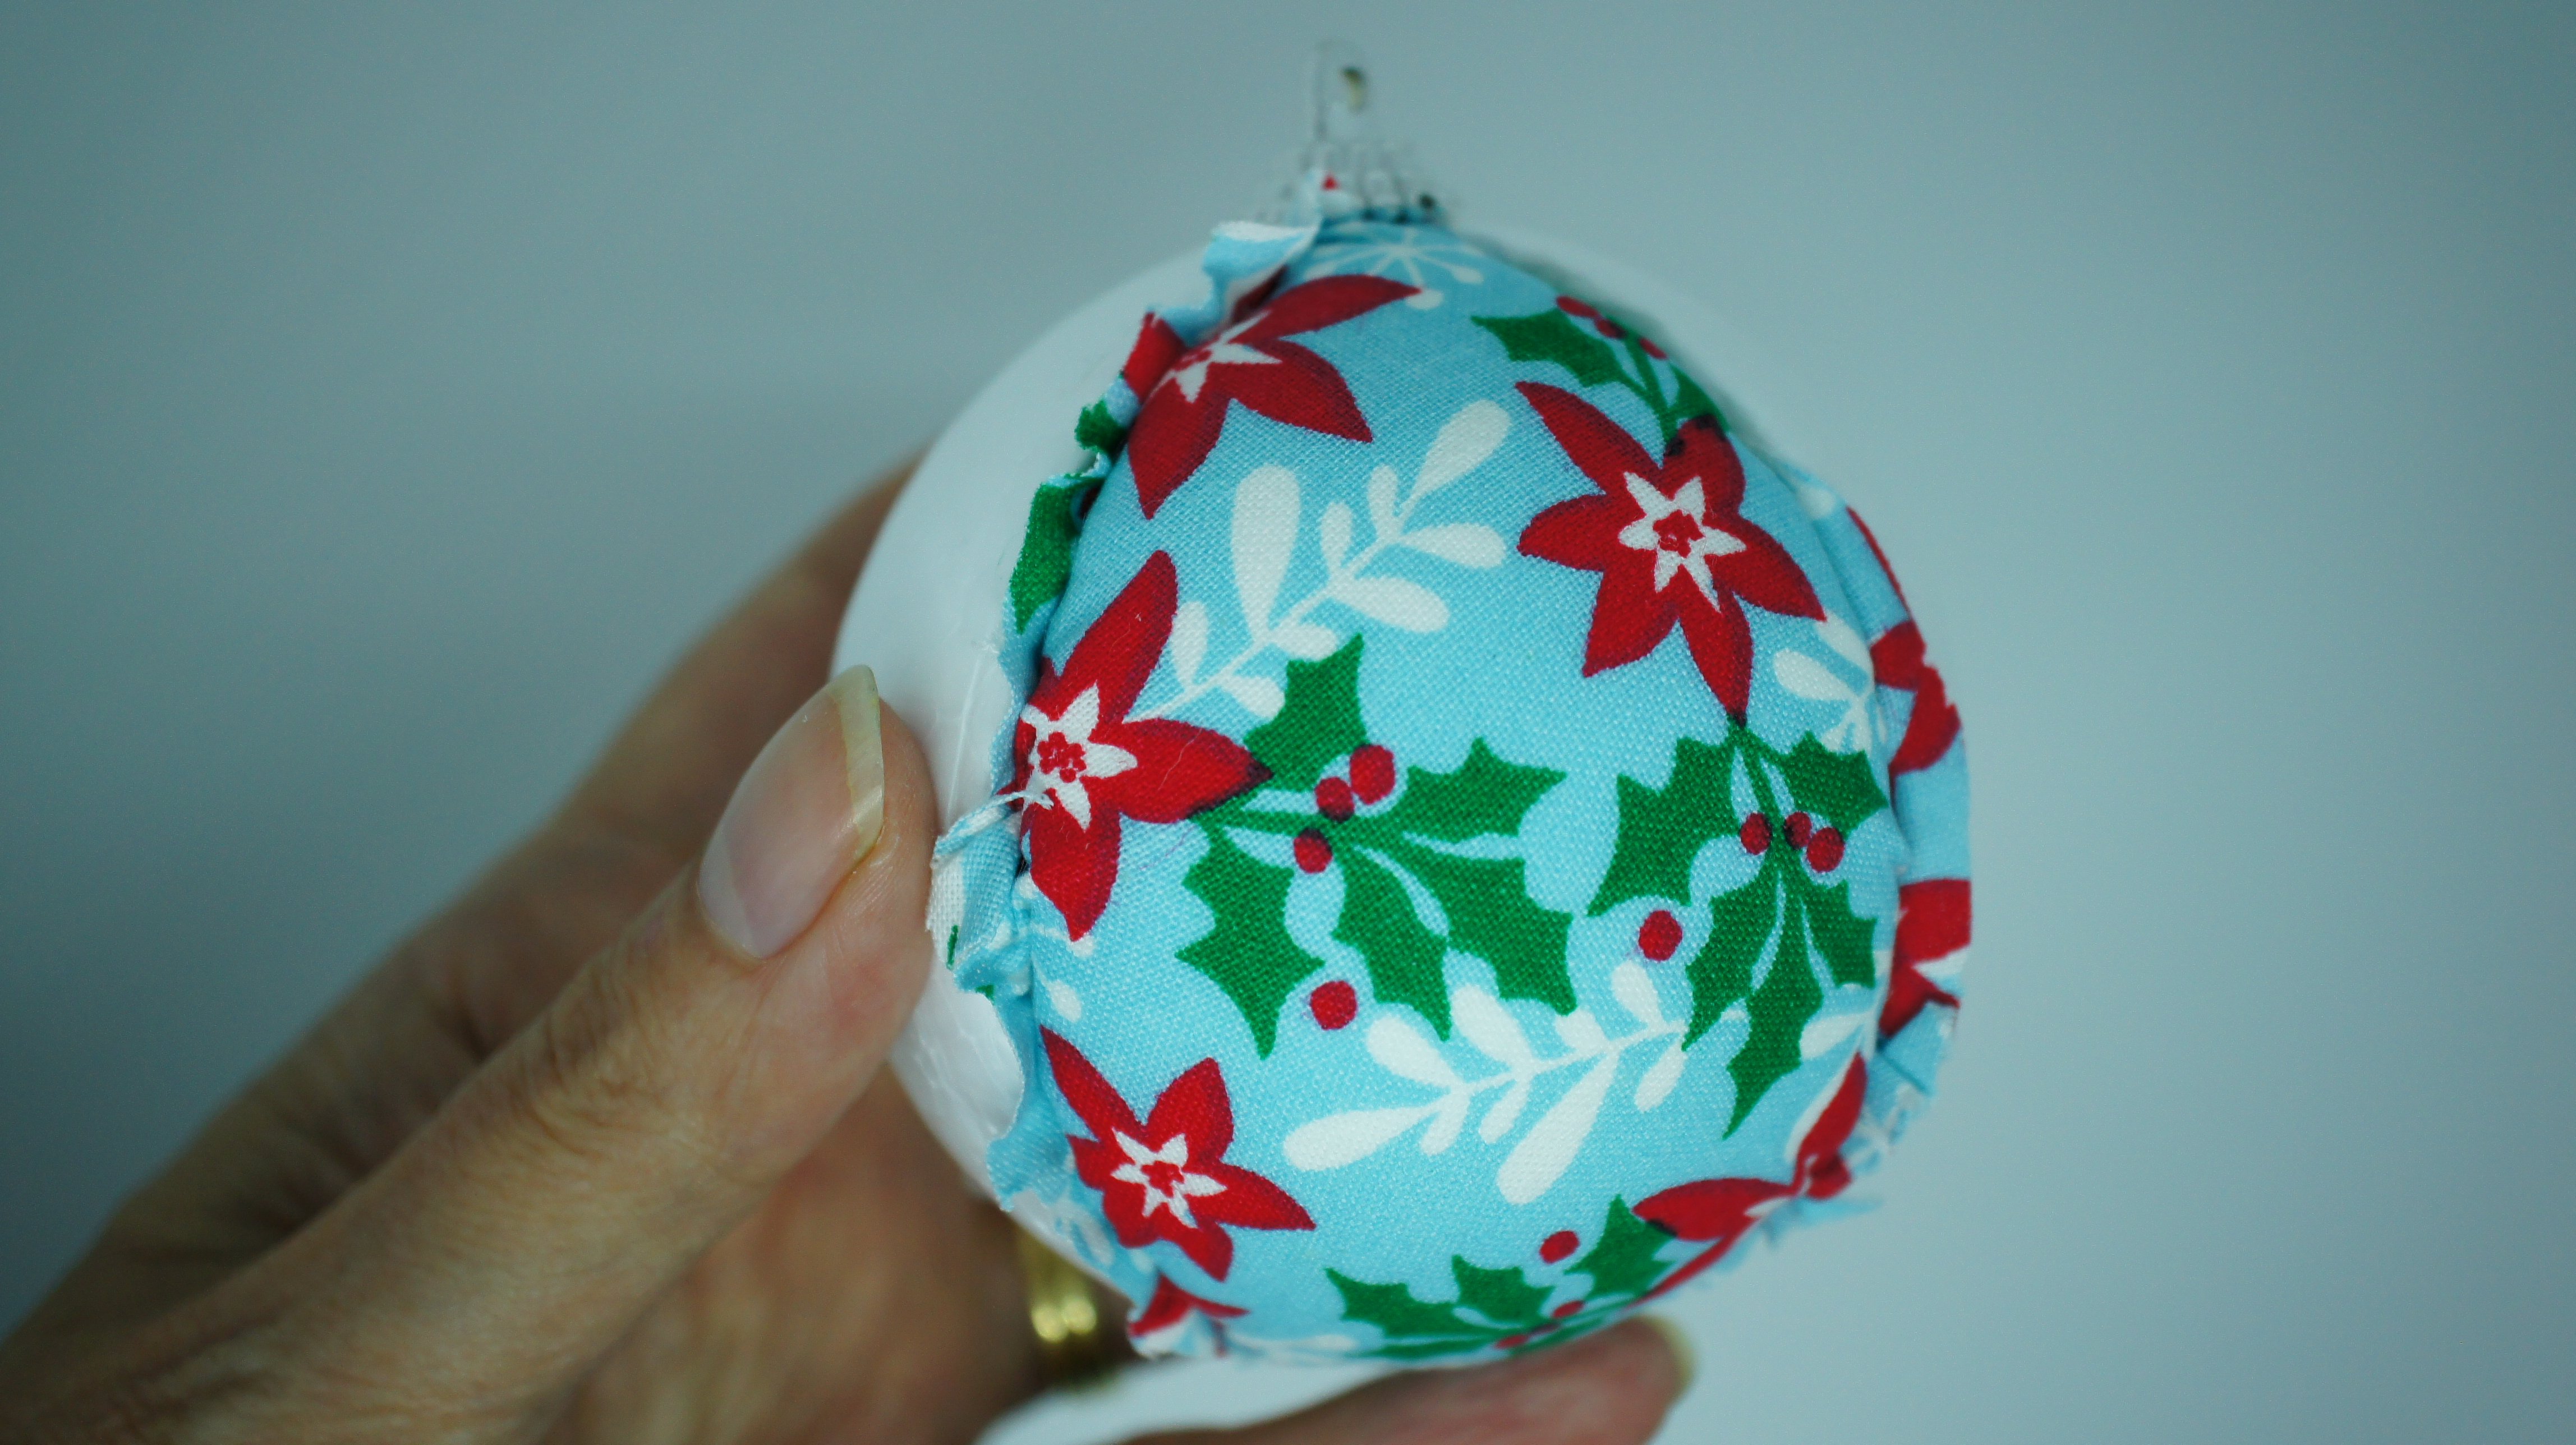
Use the table knife to push the excess fabric into the slot all the way around the quarter of the sphere.
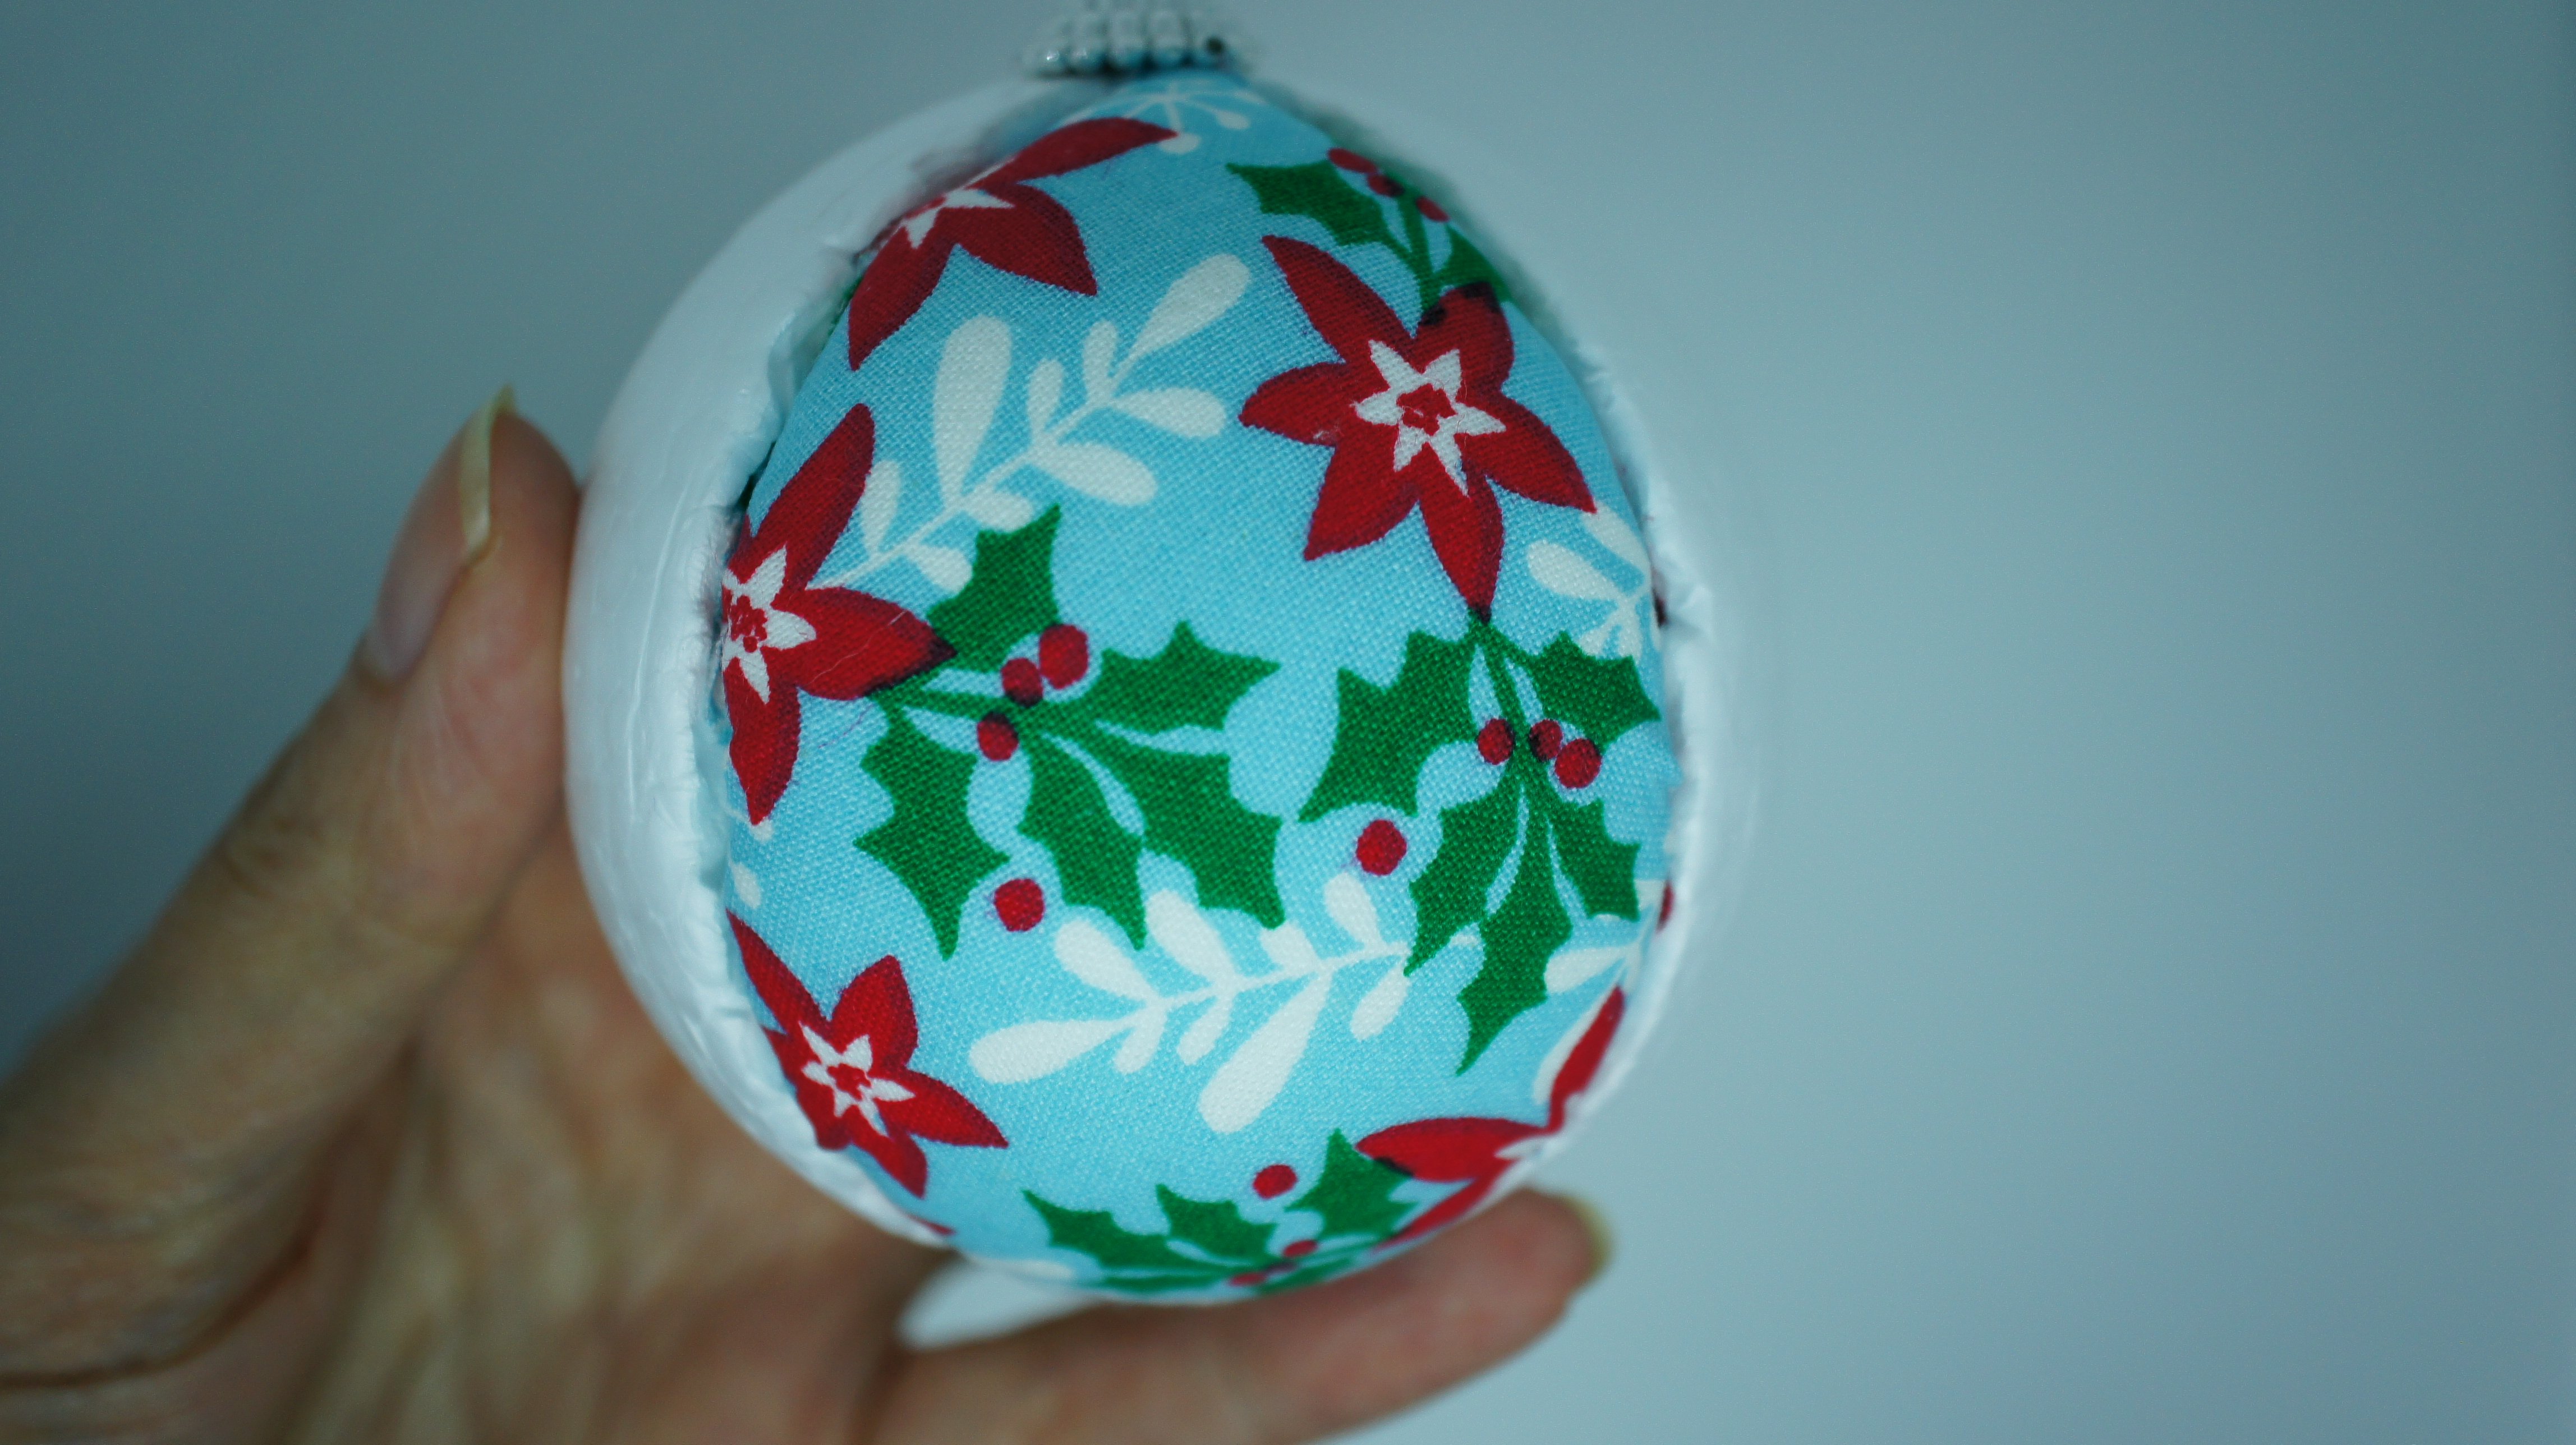
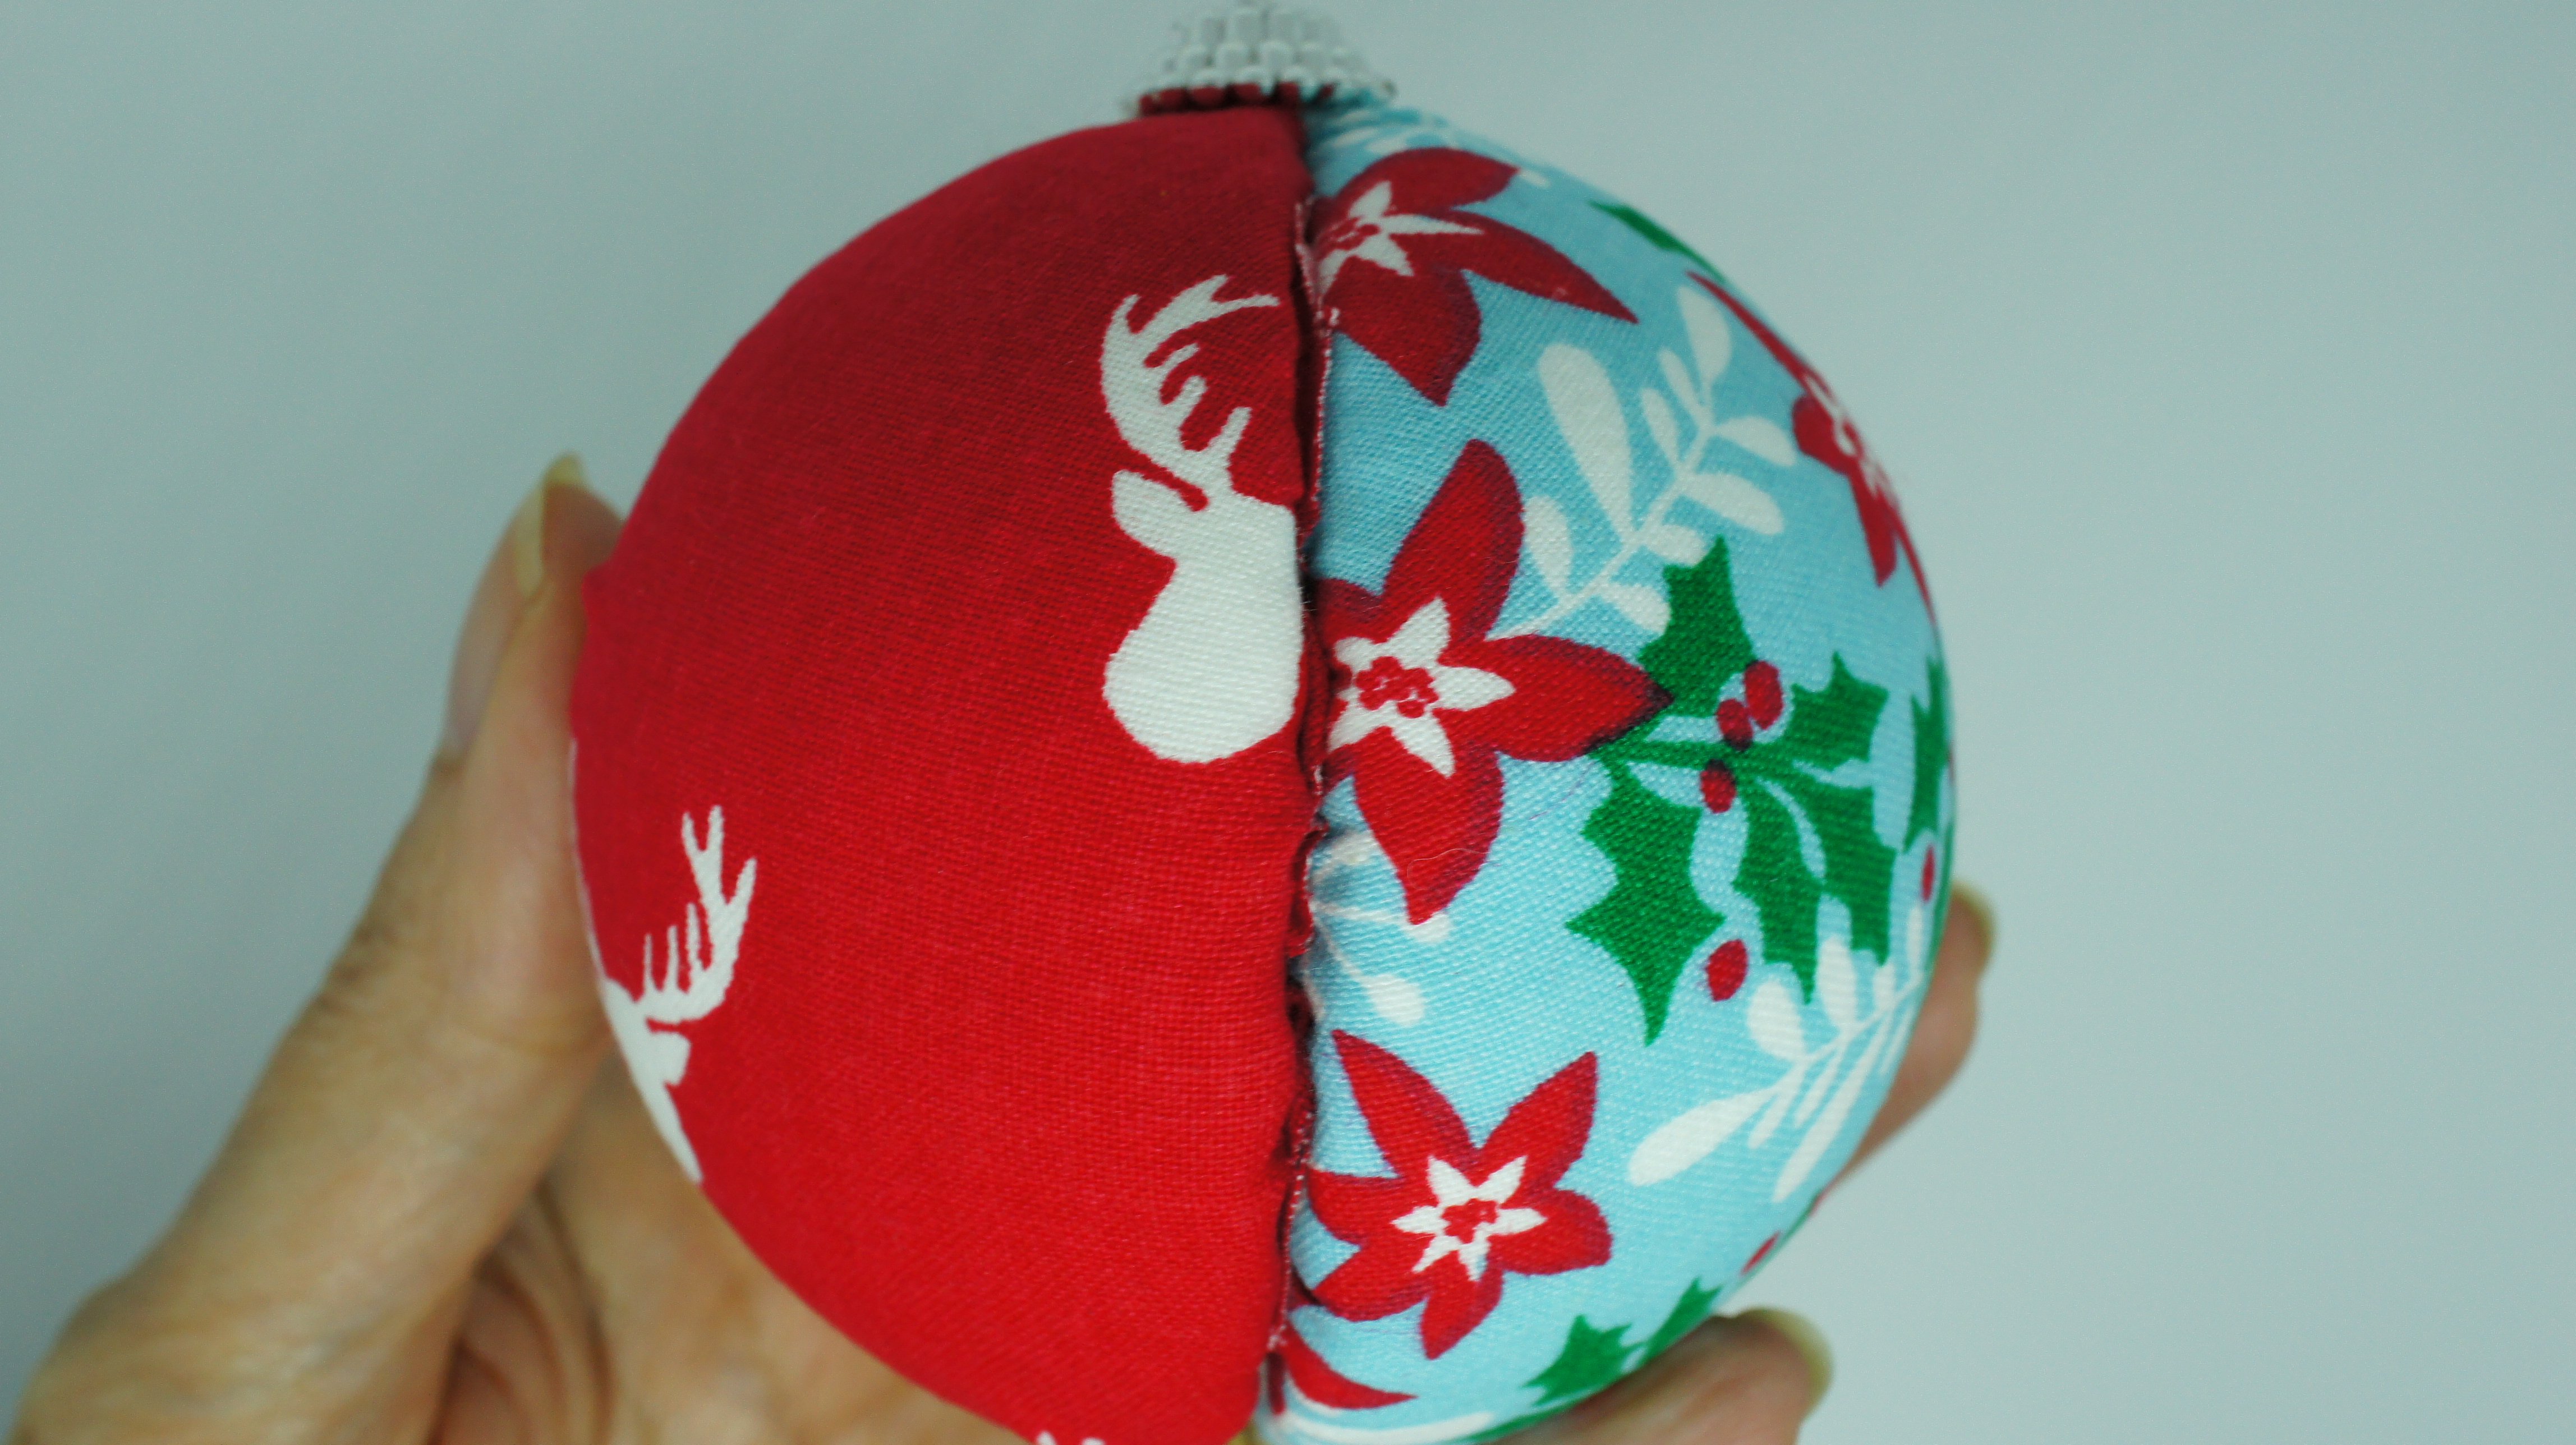
Step 4: Repeat for all sections
Repeat the whole process for each of the remaining sections. Remember that you already have fabric inside some of the slots so it can be tricky but persevere. It can be done.
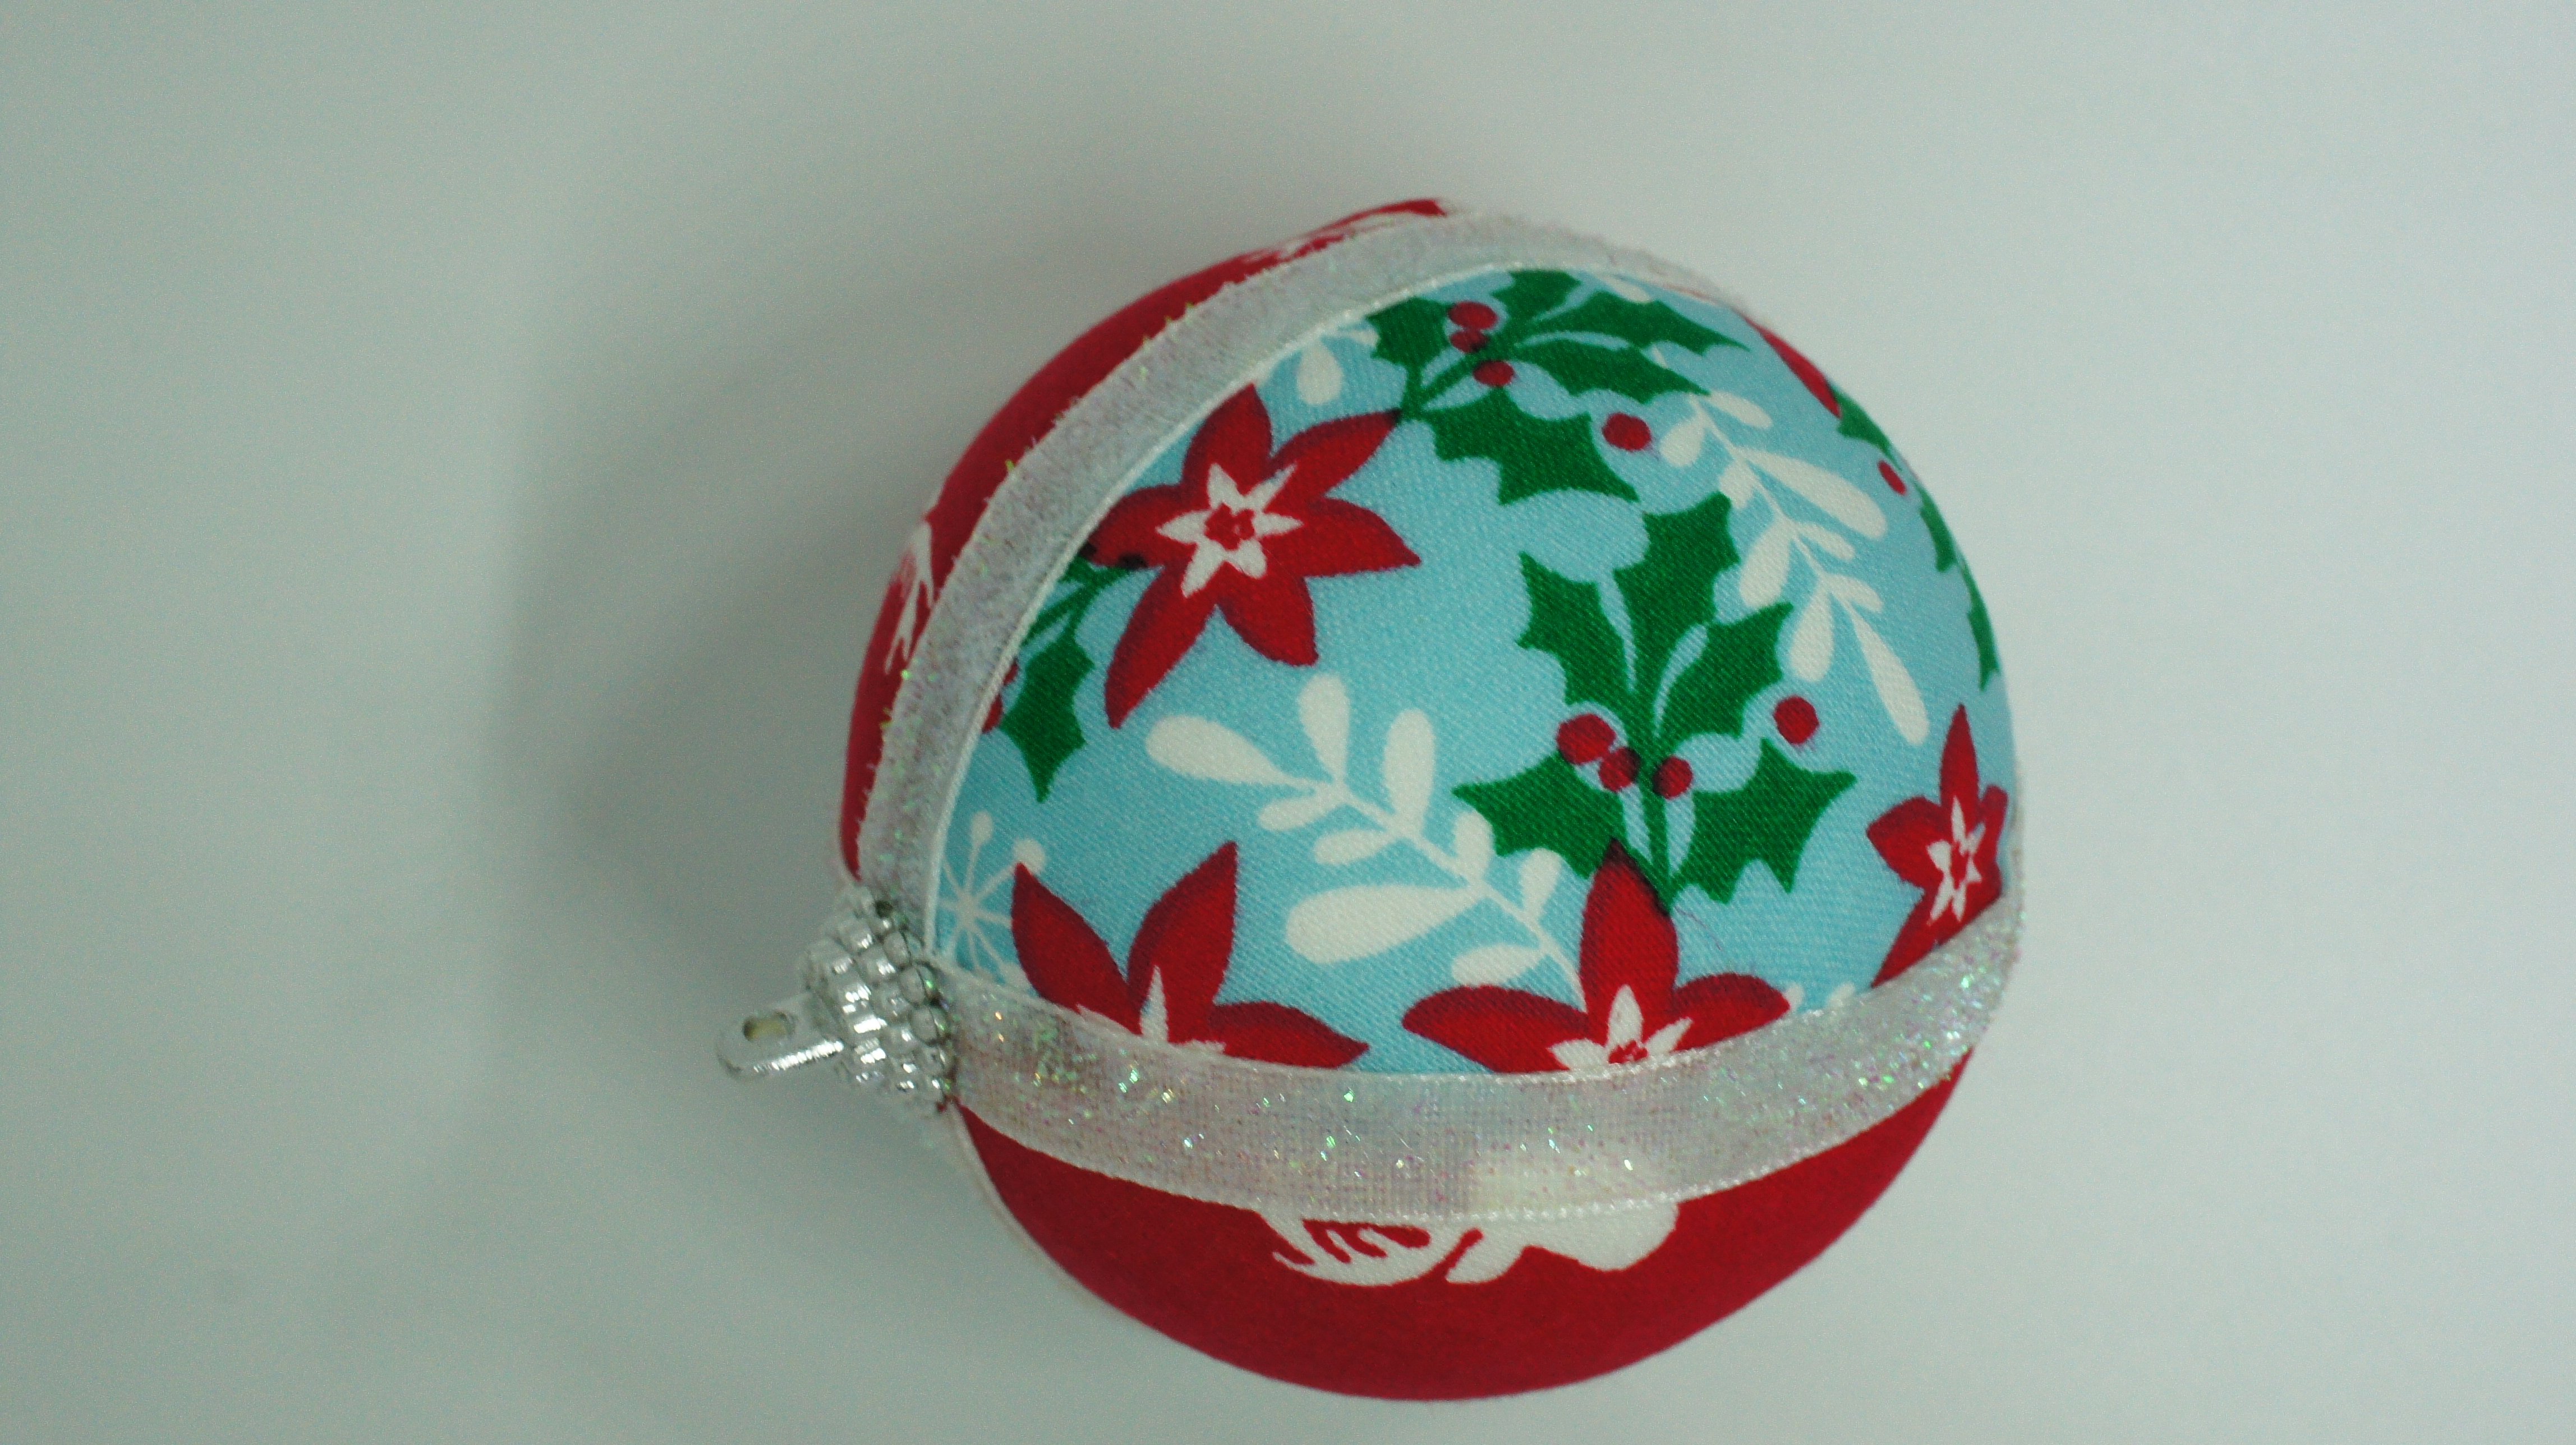
Step 5: Attach ribbon
Once you have completed all 4 quarters you need to apply the ribbon to cover the joints and finish it off. I used a sparkly ribbon for effect. Use the hot or cold melt glue gun to apply the ribbon around the sphere covering all the joints. Then add a hanger using the glue. I have taken to using a cool melt glue gun to protect my fingers (the glue is not as hot). On my bauble there is a fitted hanger so I did not need that step.

Video Tutorial
Summary
So there you have your completed bauble. You can make them in lots of different sizes and with any fabric so have a go and experiment.
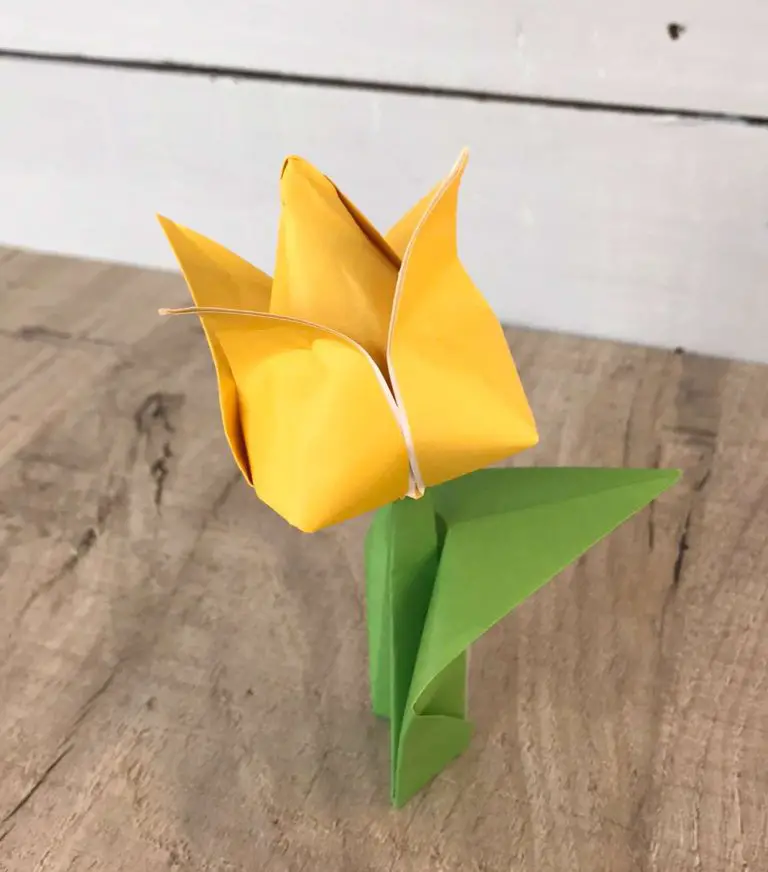
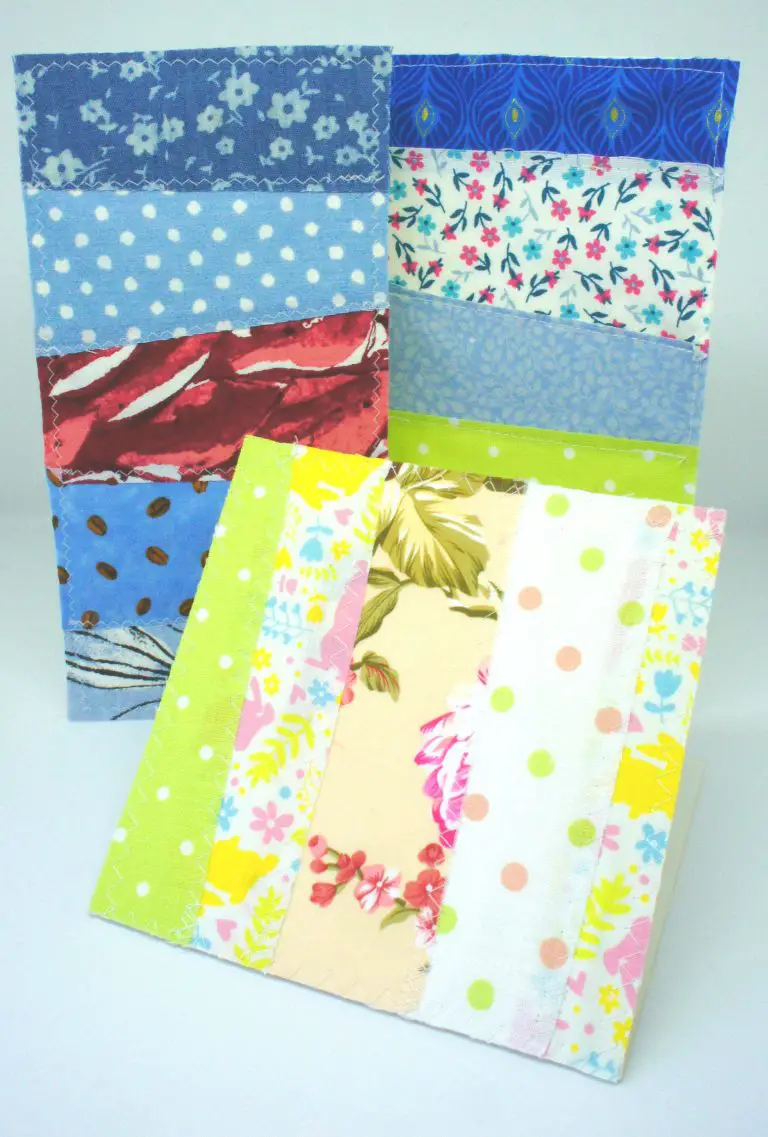
If you are looking to make different Christmas ornaments then check out some of my other tutorials:
Remember to pin this tutorial on Pinterest for later so that you do not lose it!