How to Make an Origami Lotus Flower
As an Amazon Associate I earn from qualifying purchases
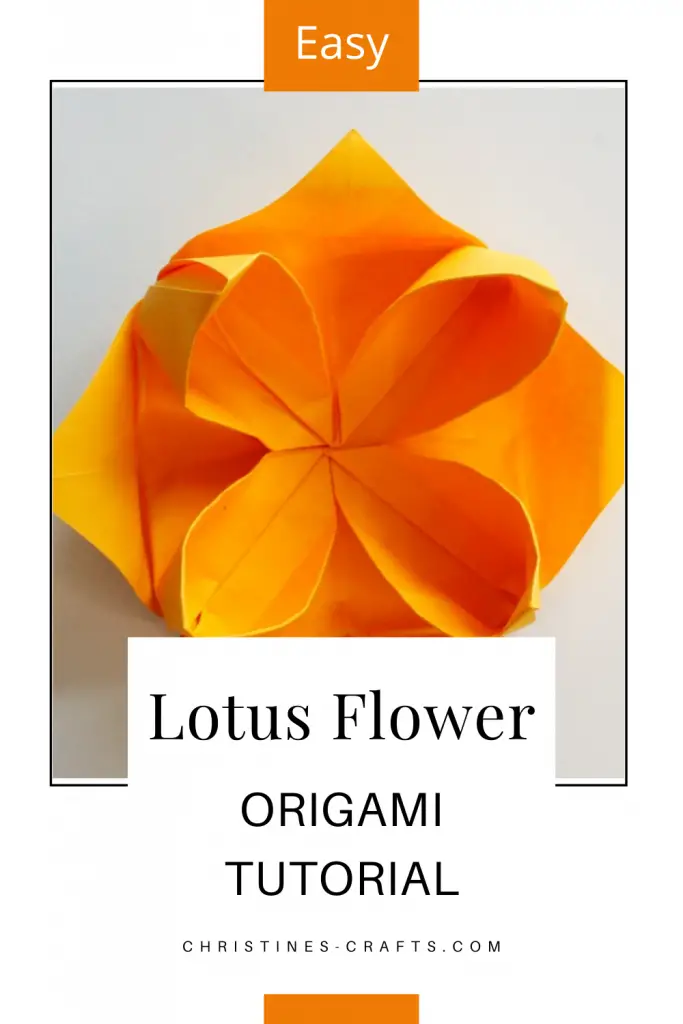
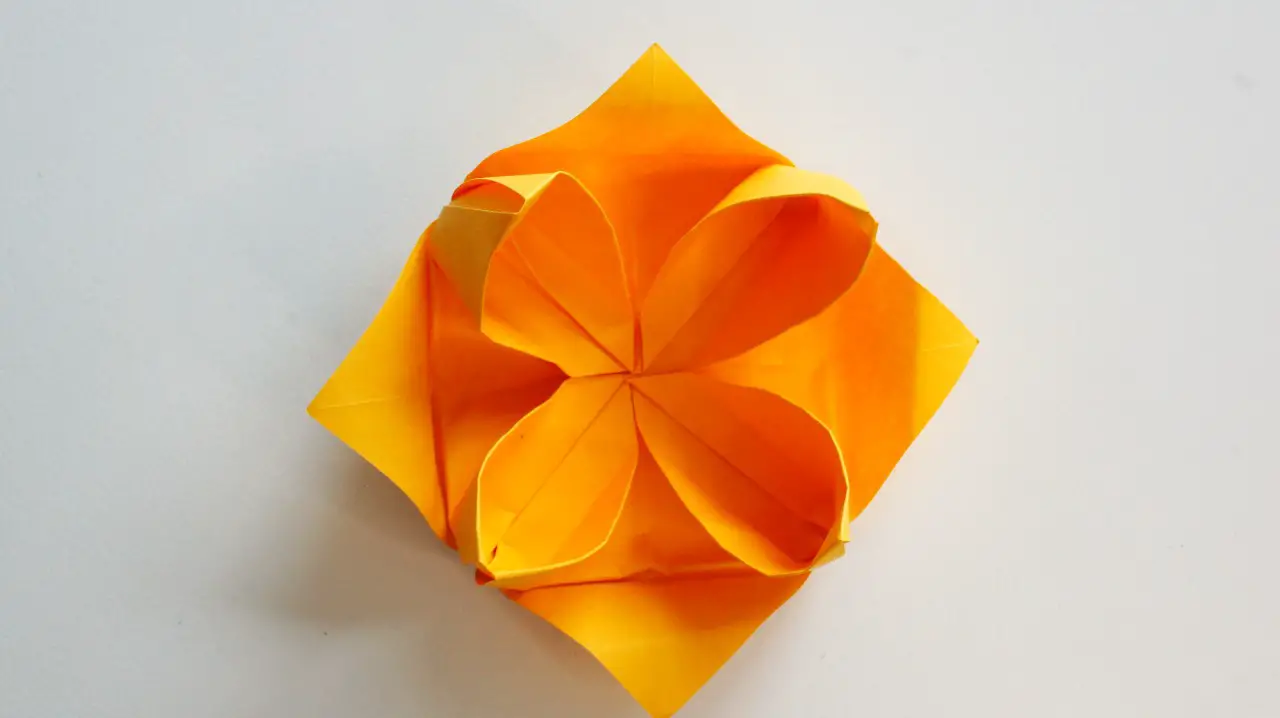
This Origami lotus flower is so quick and easy to make. They look fabulous on your table and you can use them to hold a few sweet treats or just as decoration. They can be made with Origami paper or just copier paper like I have used here. You could even use wrapping paper that matched your event. The only thing that matters is that it is square.
If you have a pattern on one side of your paper you will get a different effect. Experiment and see what you can make. These step by step instructions with photos will show you just what to do.
This page contains affiliate links meaning I earn a small commission if you use those links at no cost to you. I only recommend brands I use and trust.
You will need:
Square of paper – Copier paper or Origami paper
Your paper can be any size but they get very fiddly if it is too small. This one here is made using a 6″ square


General Origami Tips
- Ensure all folds are accurate
- Press all folds firmly
- Running your fingernail along a crease makes it a sharp crease
- Ensure your paper is the same way round as mine at every step
- If you want to learn some basic origami folds take a look at The Beginner’s Guide to Origami
Video Tutorial
This video is also available on my YouTube channel.
Making your Origami Lotus Flower
First Paper Folds
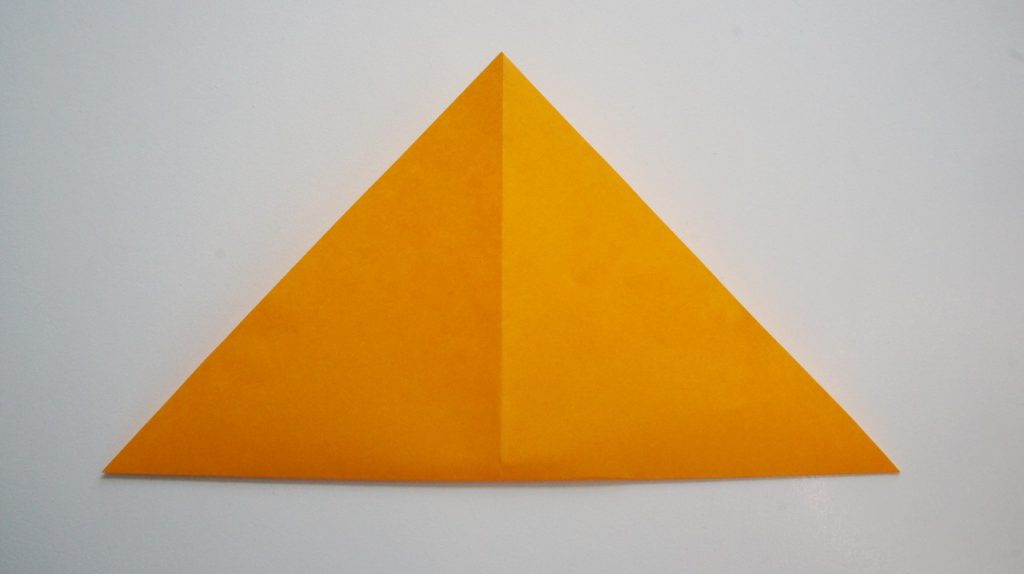
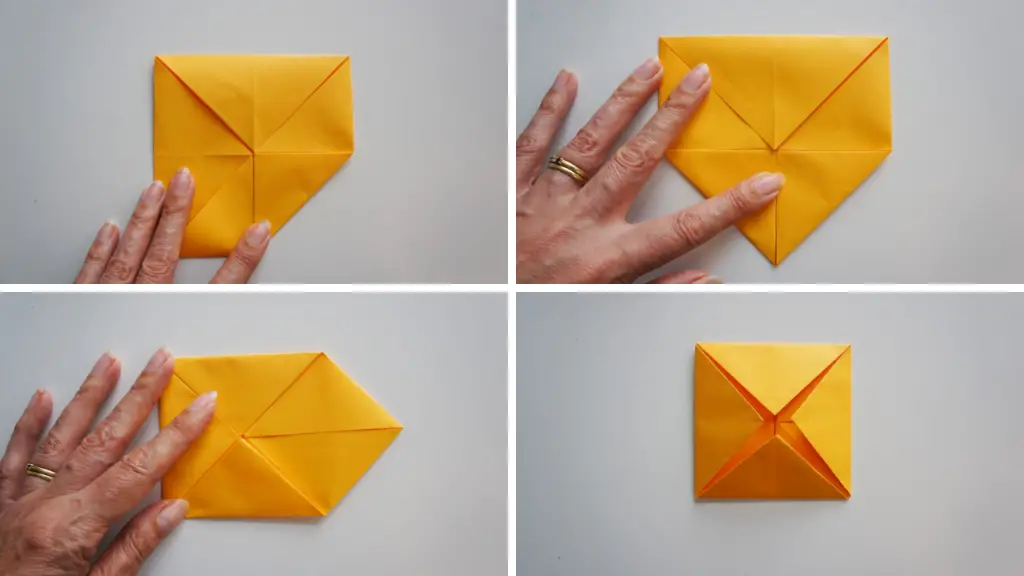
Take your square of paper and fold it in half so that one corner reaches the opposite corner. Open it out and repeat with the other 2 corners. You should now have diagonal folds across your square of paper. You have marked the centre of the square as where the two folds cross.
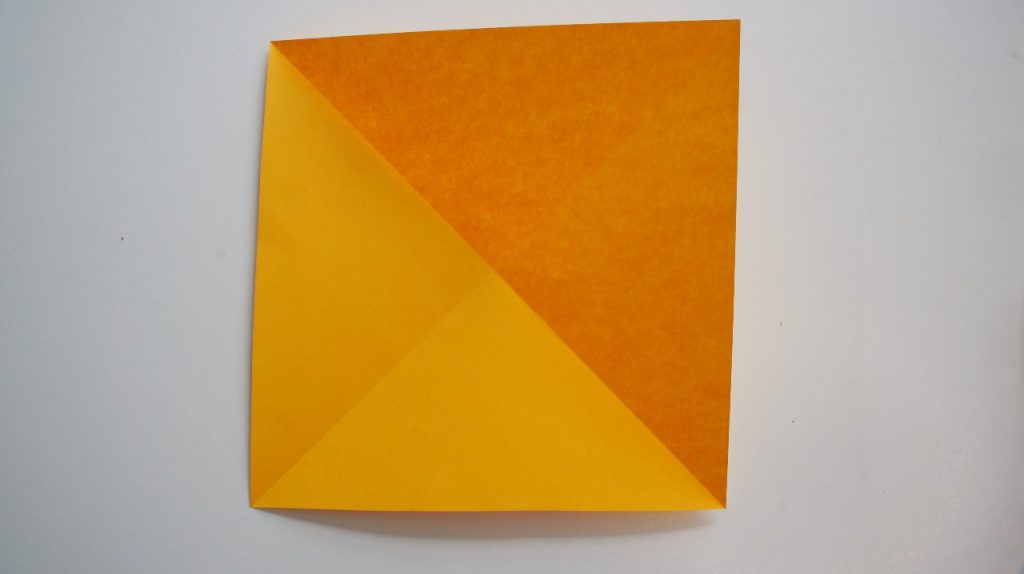
Take each corner in turn and fold it into the centre of the square. Once you have done them all you will still have a square of paper but it will be smaller. Leave them folded in.
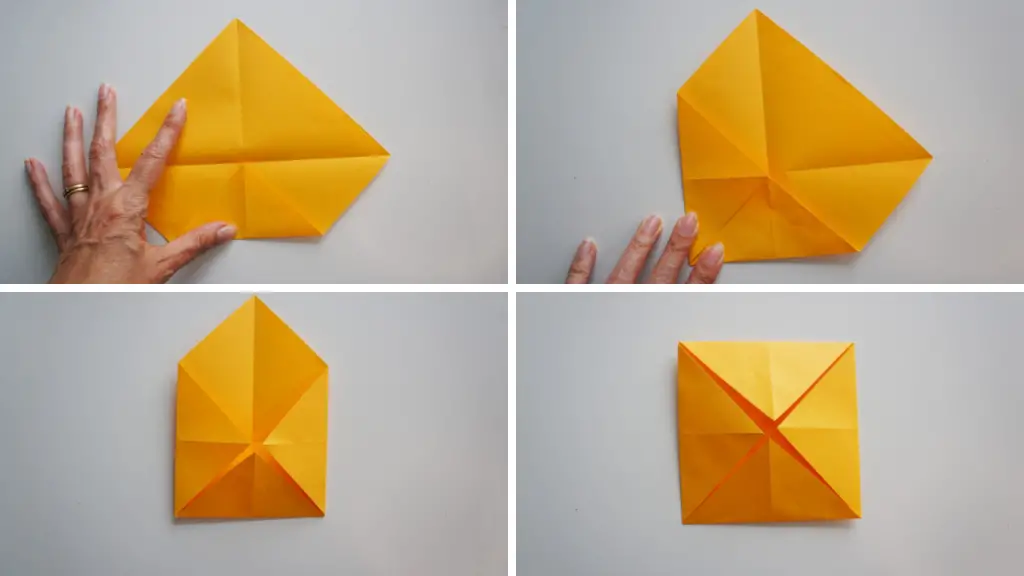
Now repeat the process again WITHOUT turning your paper over. You should still have a square after you have finished but even smaller.
Second Paper Folds
Turn the paper over and then repeat the step of folding all 4 corners into the centre. You will end up with an even smaller square!
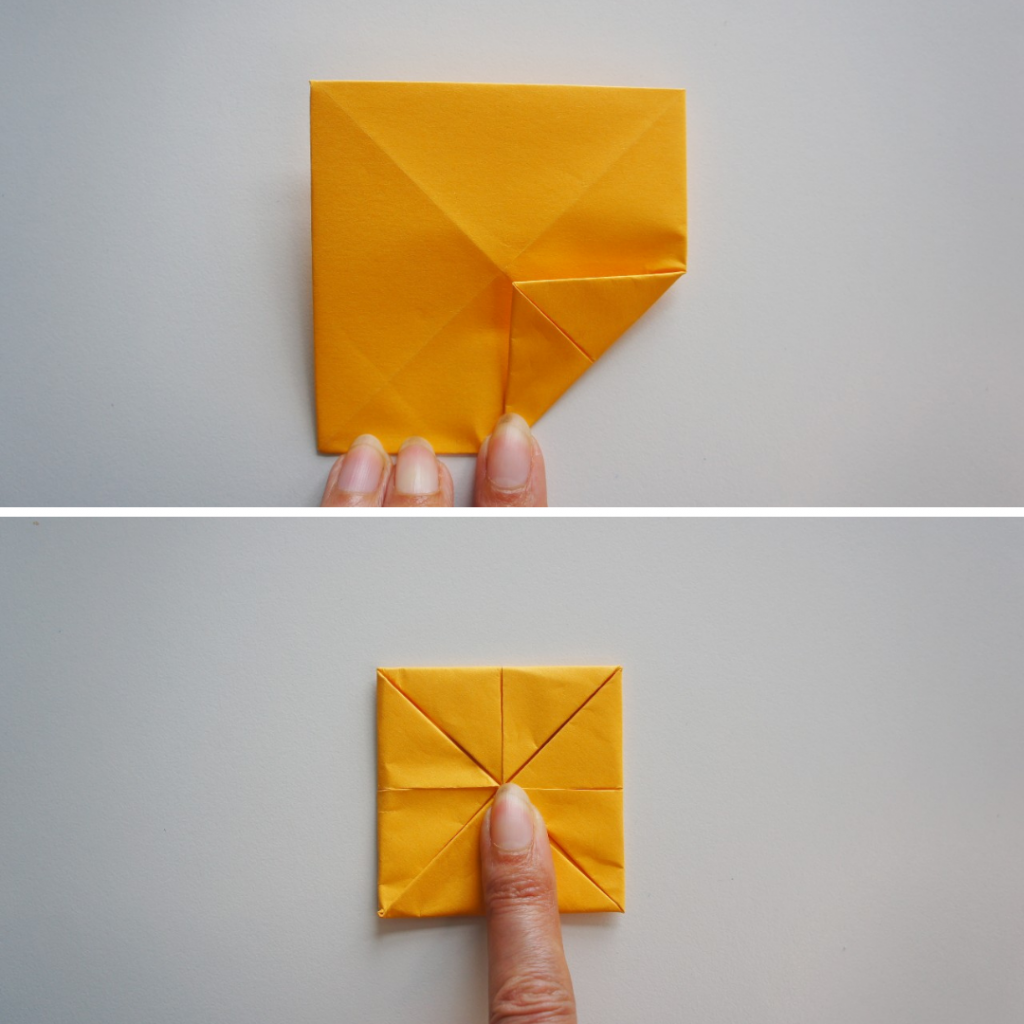
Now turn over your paper and open up the last set of folds that you made. It should look like this.

Preparing the Petals
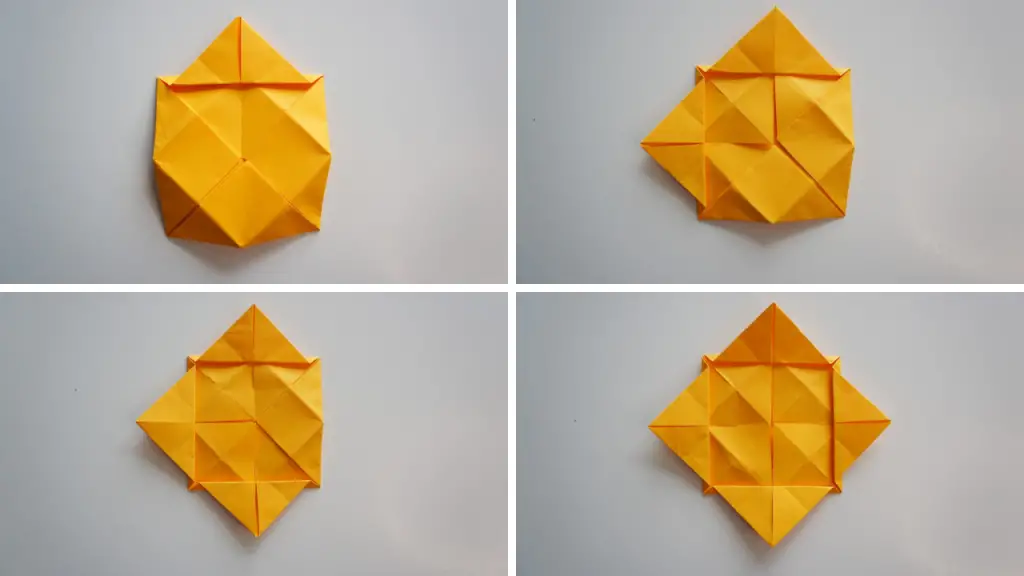
In turn, take each triangle and fold it outwards so that it sticks out beyond your square. Make the crease approximately a third of the way along the triangle from the edge of the square. This should be clearer from the pictures (hopefully).
Form the Lotus Flower
Turn your paper over. Now fold each of the uppermost points in to the centre in turn. This should form your basic flower. The corner petals that you form may need curling slightly with your fingers to help them form as they ‘rise up’.
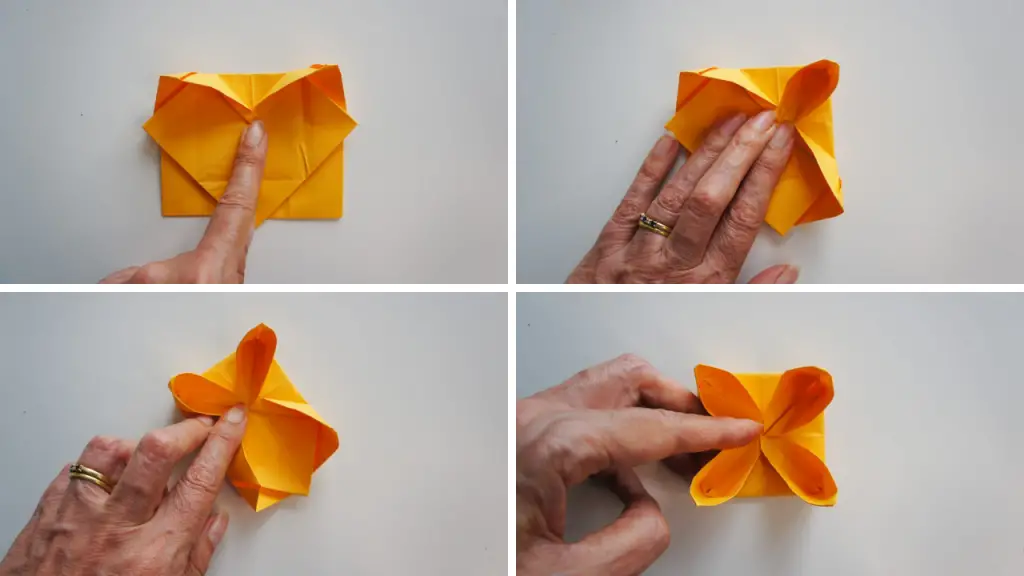
In turn, bring each of the triangles from the underneath of the flower (the bottom) and curl them over the side of the flower. This will pull your flower together and keep the last step from unravelling.
TAKE CARE: It is really easy to rip the paper as you curl it round so take your time.
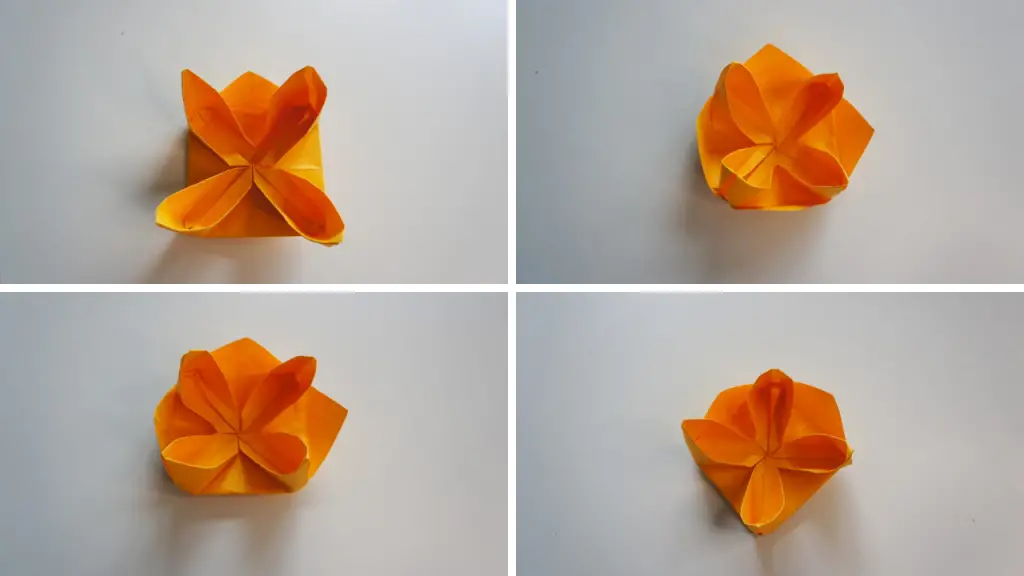
And finally, Curl the Petals
Finally use a pencil or something similar to curl the petals that you just formed so that they look more like petals. That is it, you have finished your Origami Lotus Flower!
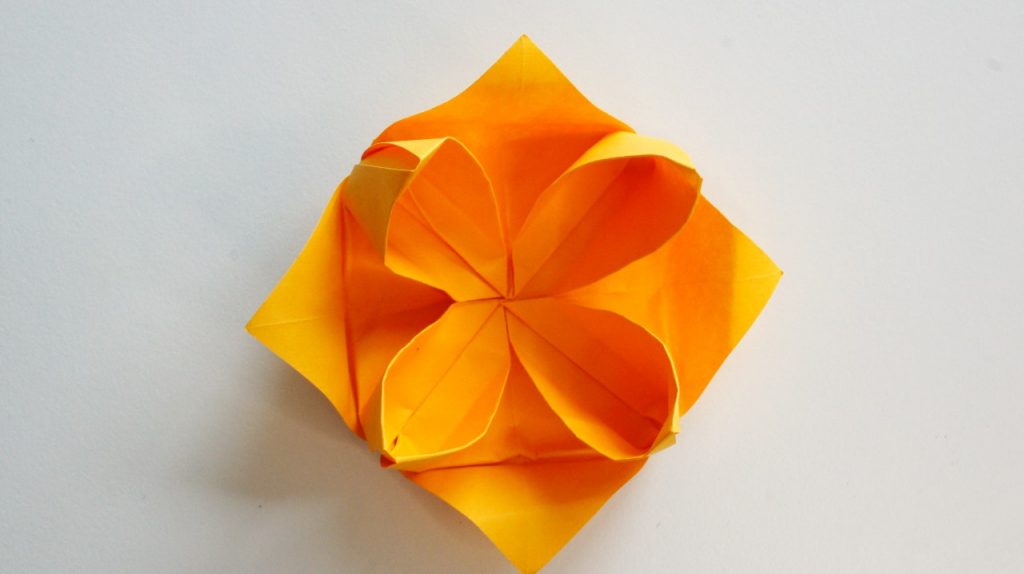
If you would like an Origami stem then check out the tutorial here.
And More Origami and Papercrafts
If you are enjoying your paper crafting then check out some more great simple Origami ideas just for you:
For even more great crafting ideas delivered to you inbox each week sign up to my regular newsletter and be inspired every week. Complete the form on this page or that pops up and enjoy ideas and offers delivered straight to your inbox.
