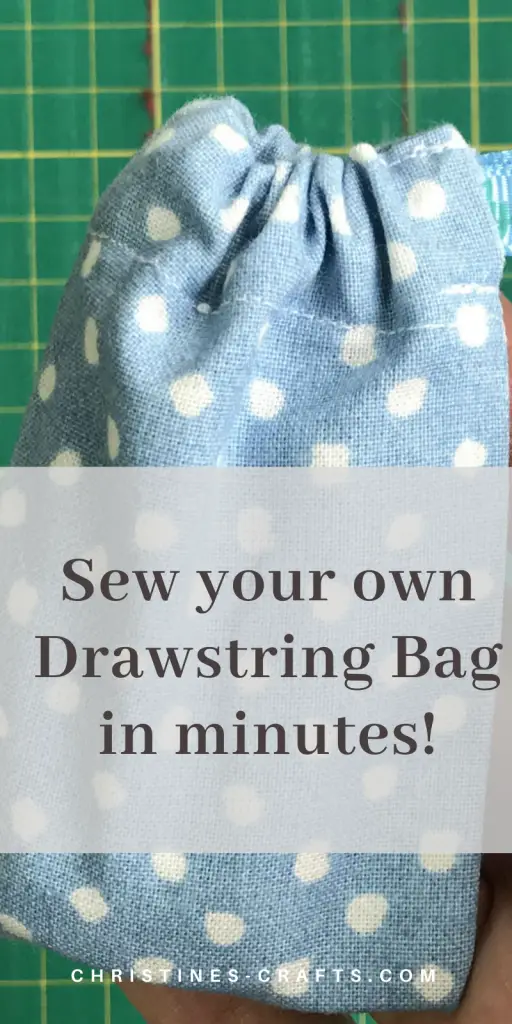
Easy Drawstring Bag to Sew- great for gifts
As an Amazon Associate I earn from qualifying purchases
Throughout this tutorial I will show you the instructions while making a little bag for a car key. Why not attach it to your house key I hear you shout? Well I share the key with my son so it is easier to keep it in a little bag. It protects it from damage and it means that I can find it in the bottom of my bag. Whatever you need a bag for this is for you. So let’s get started…
This page contains affiliate links meaning I earn a small commission if you use those links at no cost to you. I only recommend brands I use and trust.
You will need:
Fabric in your chosen design and weight. I used a craft cotton for this little bag similar to this from Amazon.
Ribbon (or of it is a large bag perhaps some cord)
Sewing supplies
Updated in 2021 to include a video so if you like to watch a craft project then scroll down to the video instructions at the end of this step by step tutorial
Making the bag
Cut out a rectangle of fabric that is the width of your required bag plus 2.5cm (1″) and twice the height of your required bag plus 6cm (2.4″) on the height measurement. This is to allow fabric for seams and to form the tube for the drawstring.
For Example:
For my bag I wanted it to end up 9cm x 6cm (3.5″ x 2.4″). I cut out a piece of fabric that was 24cm x 8.5cm (9.5″ x 3.3″)
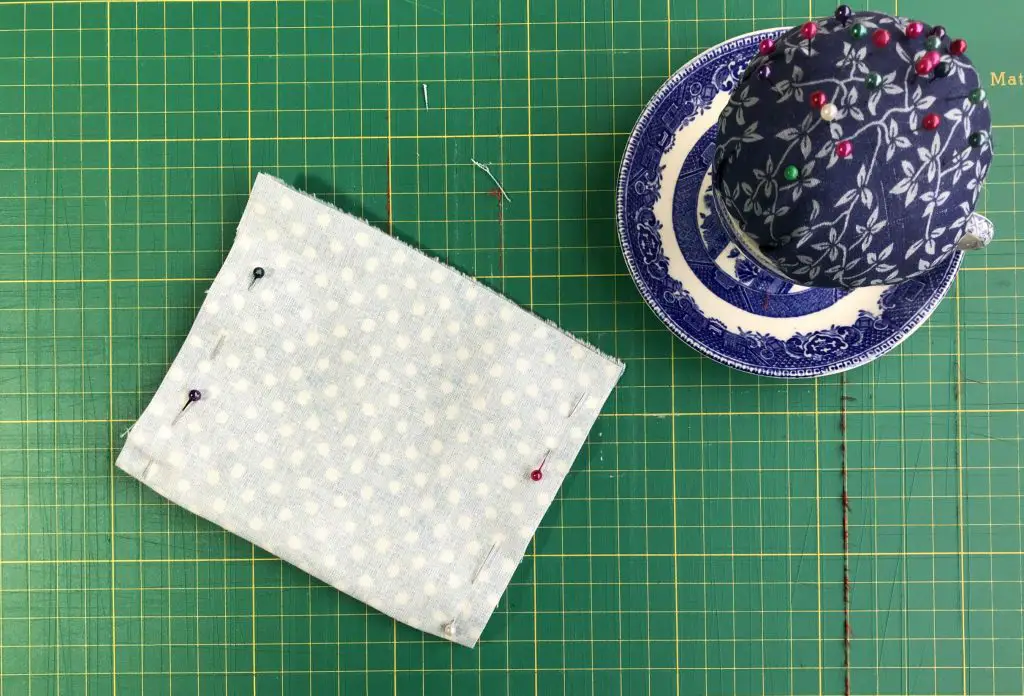
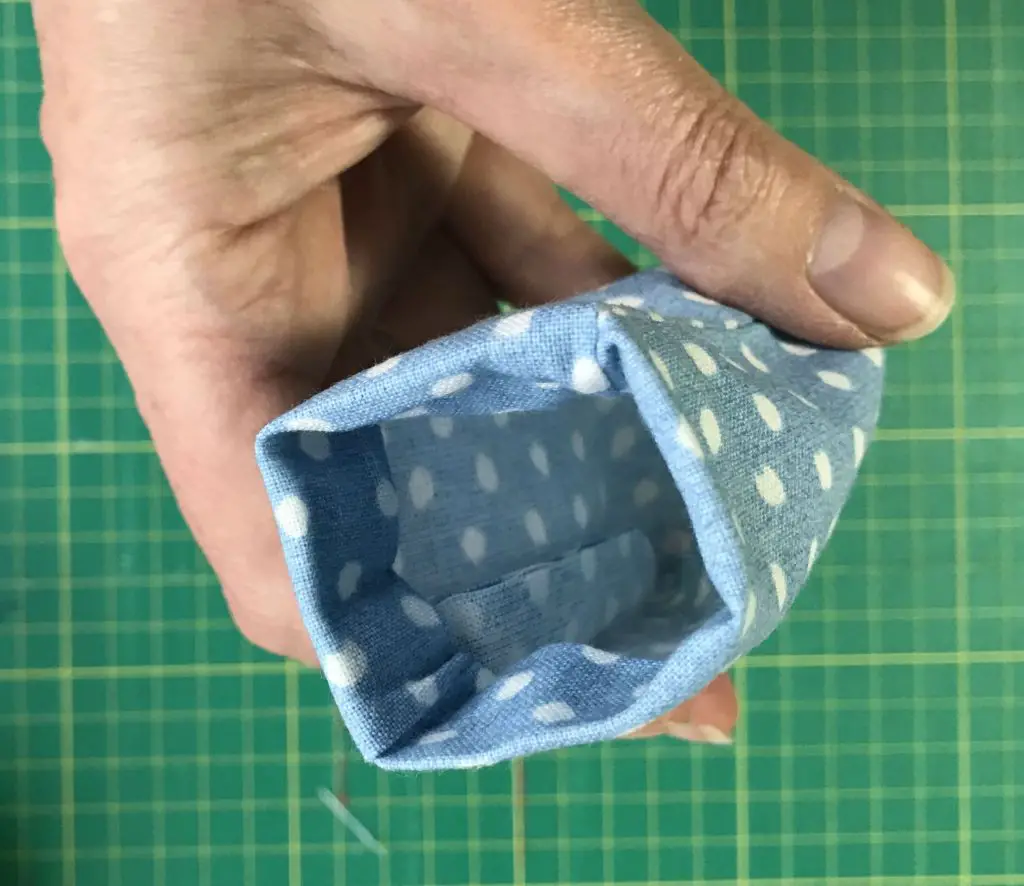
Then fold your fabric in half so the two top edges of the bag meet and pin the side seams.
At this point, stop and look at your bag. Is it the right size? I checked mine against the key and decided that it was too wide so I cut it down (to the measurements given above).

Sew your side seams making sure to secure either end.
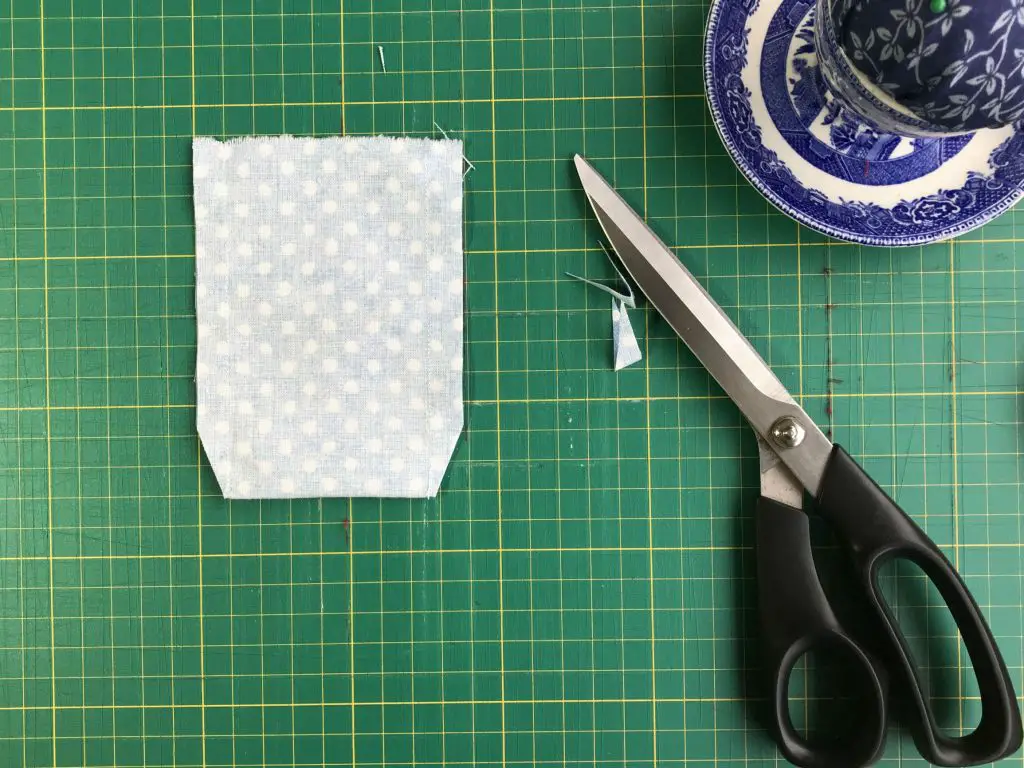
You can neaten your seam allowances but personally I did not. It depends how much wear the bag is going to get and /or how much the inside appearance bothers you. Now clip the corners so that when the bag turns out the correct way it is not too bulky on the corners.
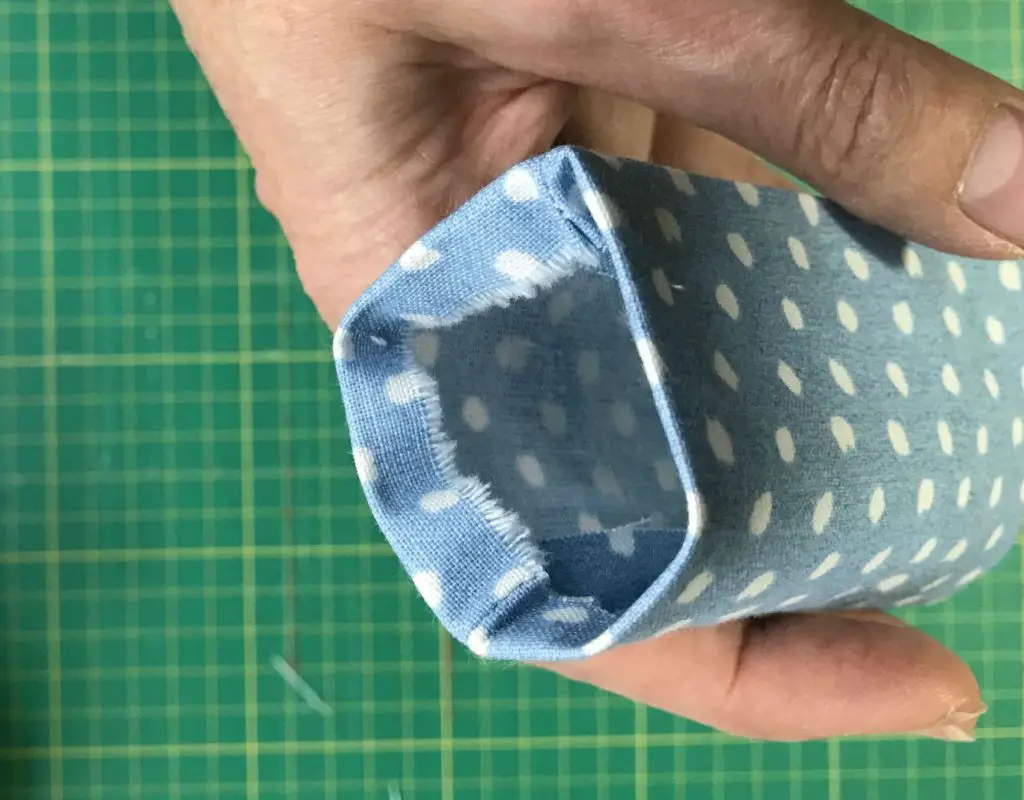
Press the seam allowances open. If, like me, you are making a tiny bag and pressing the seams is not a sensible option then open the seams and run your fingernail firmly along the seams. This should be effective too.
Making the drawstring tube
Along the top of the bag fold 1cm (0.4″) to the inside of the bag. Press it or again, run your fingernail along it.
Now, fold the top over again but 2cm (0.8″) this time.
Now carefully, sew around the fold right against the edge of the 1st fold so that you form a tube at the top of the bag.
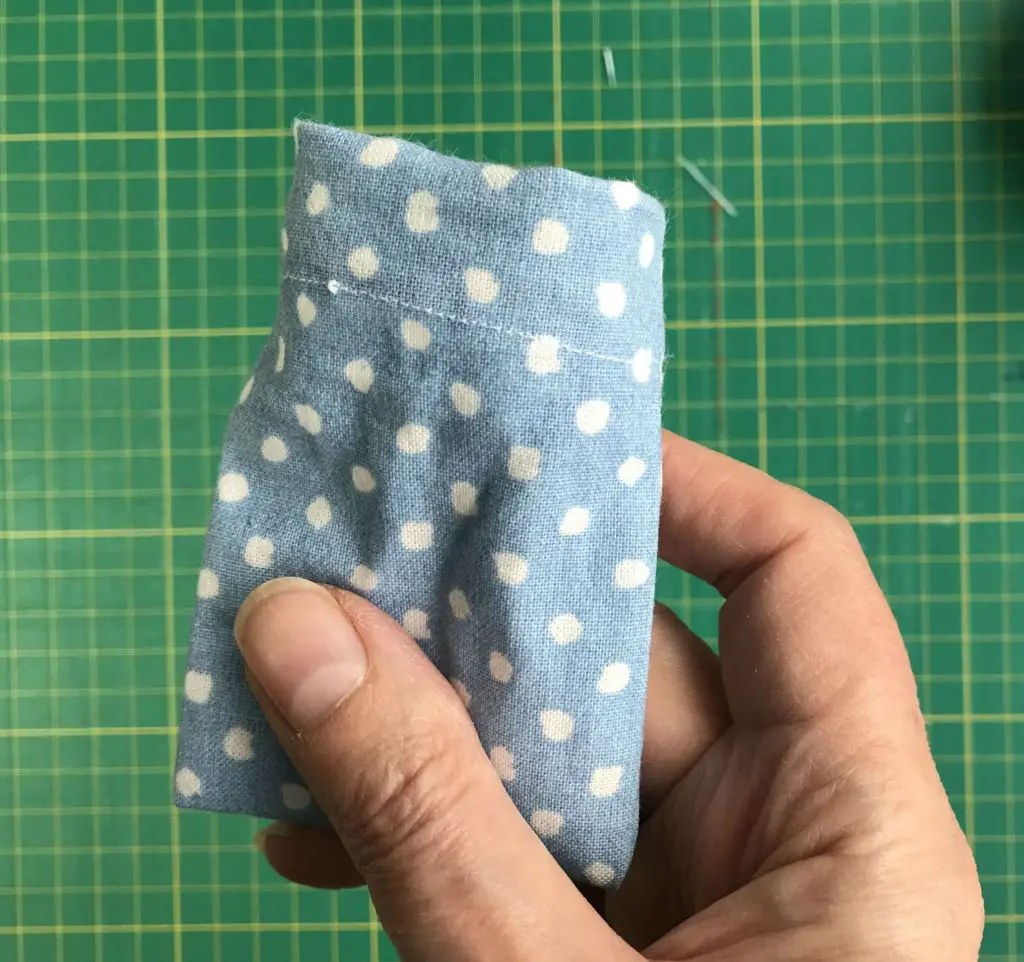
I will warn you that if you are making a small bag and using a sewing machine then this can be very tricky. Just make sure you do not catch any of the rest of the bag in as you sew.
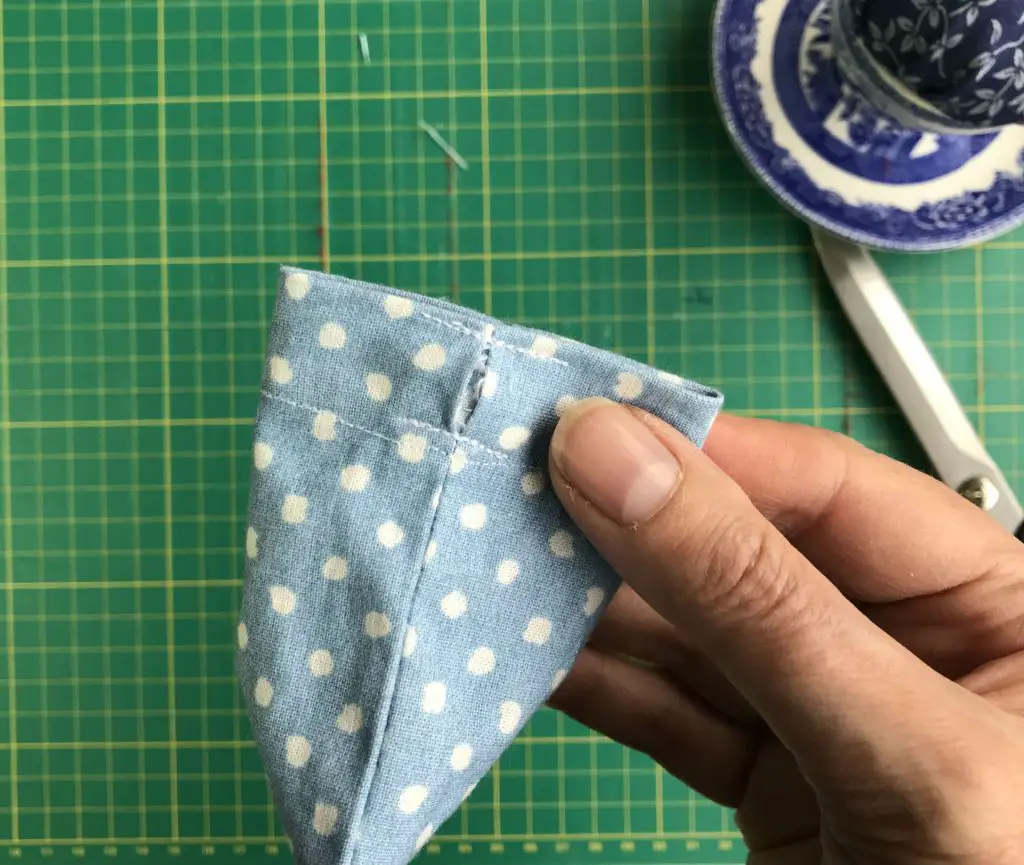
You will notice that you can not get into your tube. We will now address that! At one side of your bag where the side seam runs through your tube sew two small runs of stitches in parallel to the top of the bag. One should be at the top of the bag and one should be just alongside the row of stitching forming the tube.
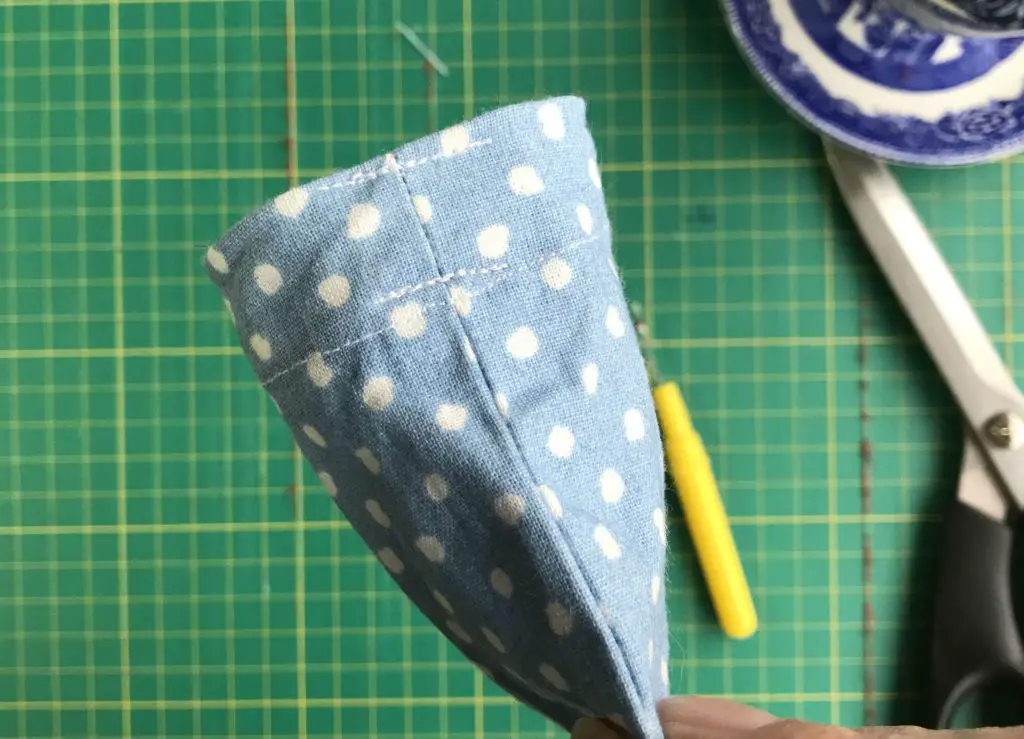
Now undo the stitches of the side seam between the 2 rows of stitches that you have just completed. I used a seam ripper (or as we used to call them ‘quick unpick’).
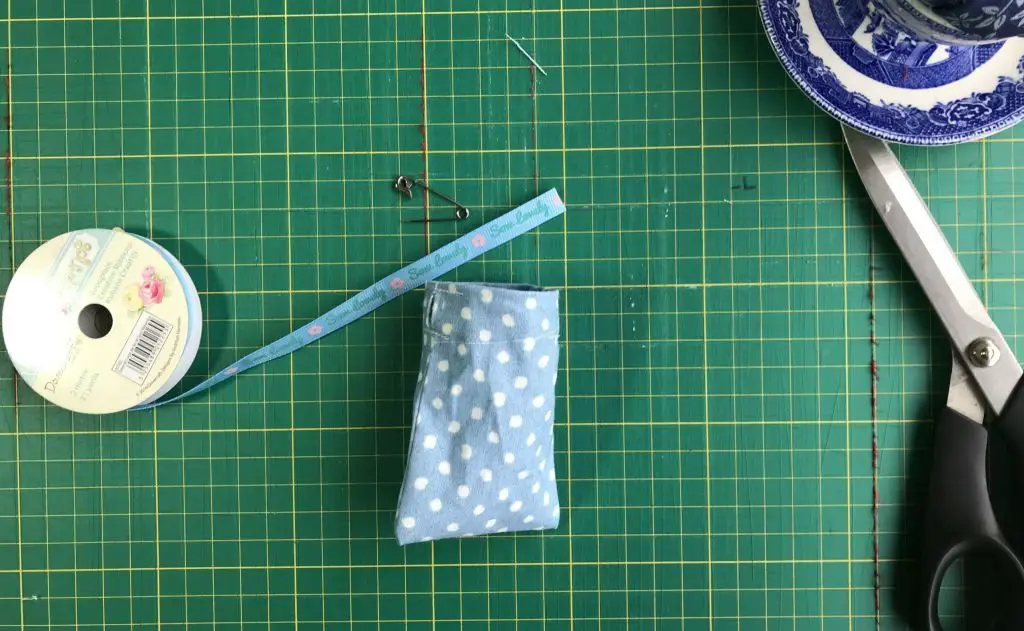
Adding the drawstring
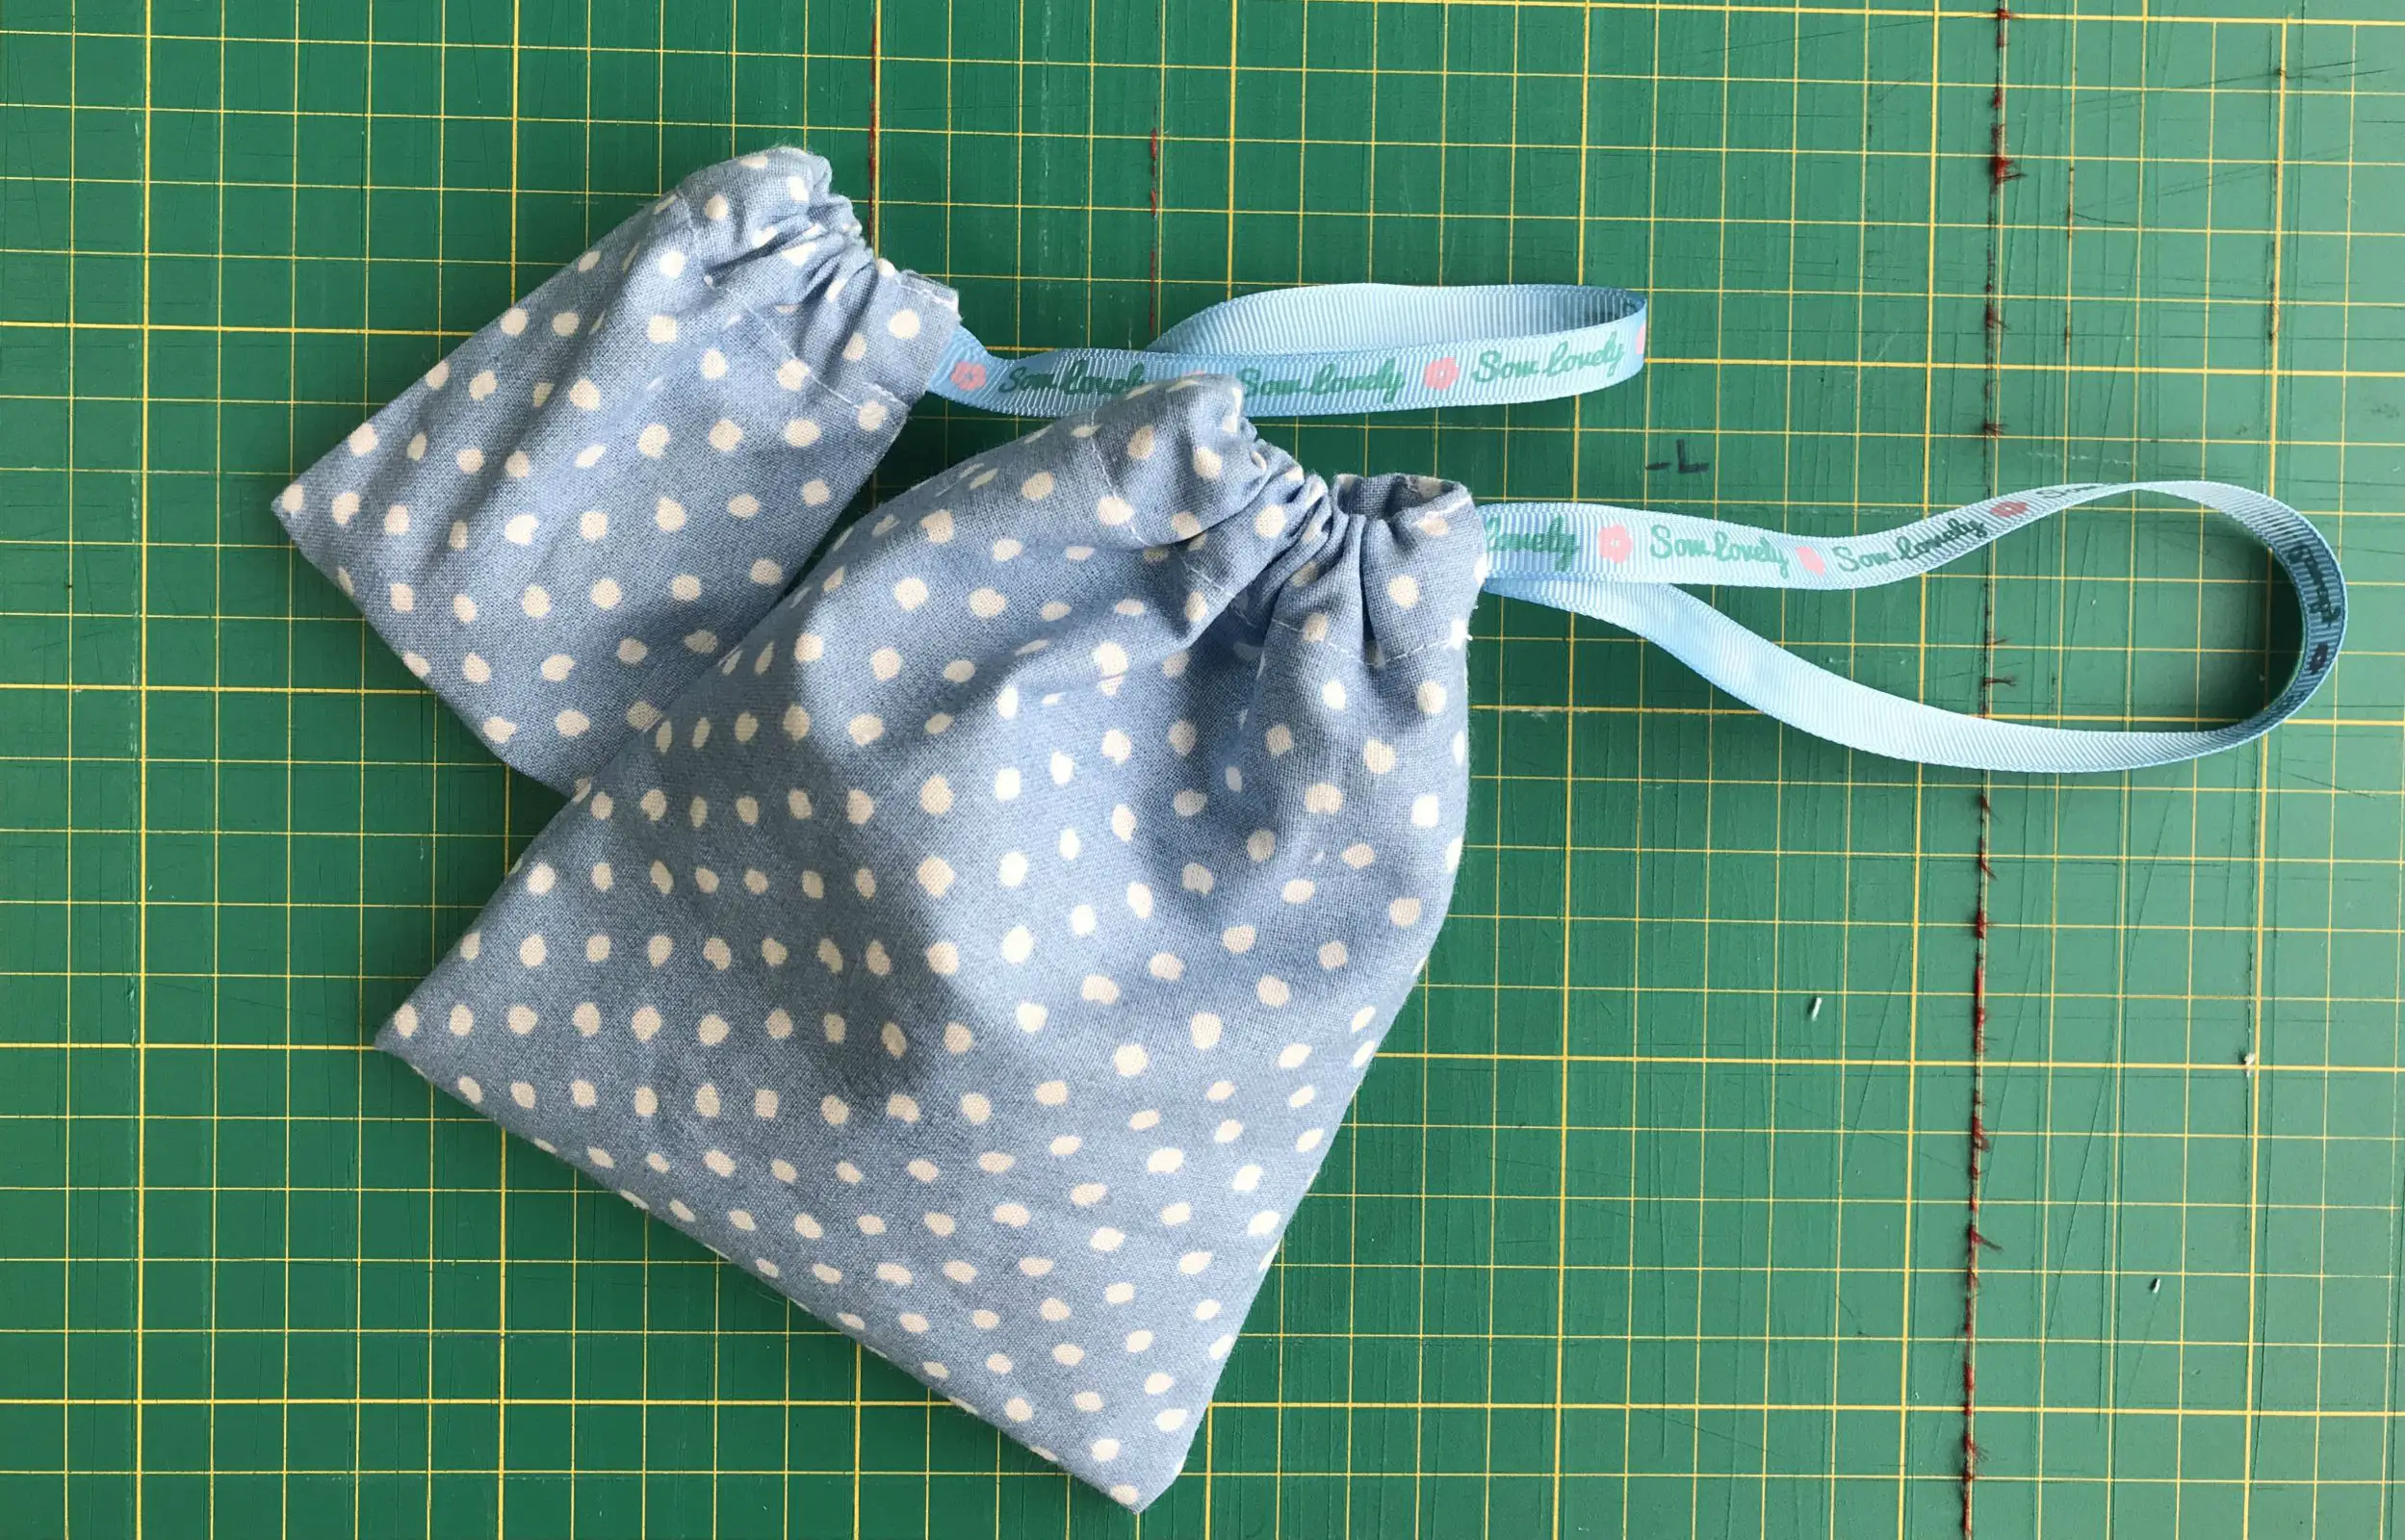
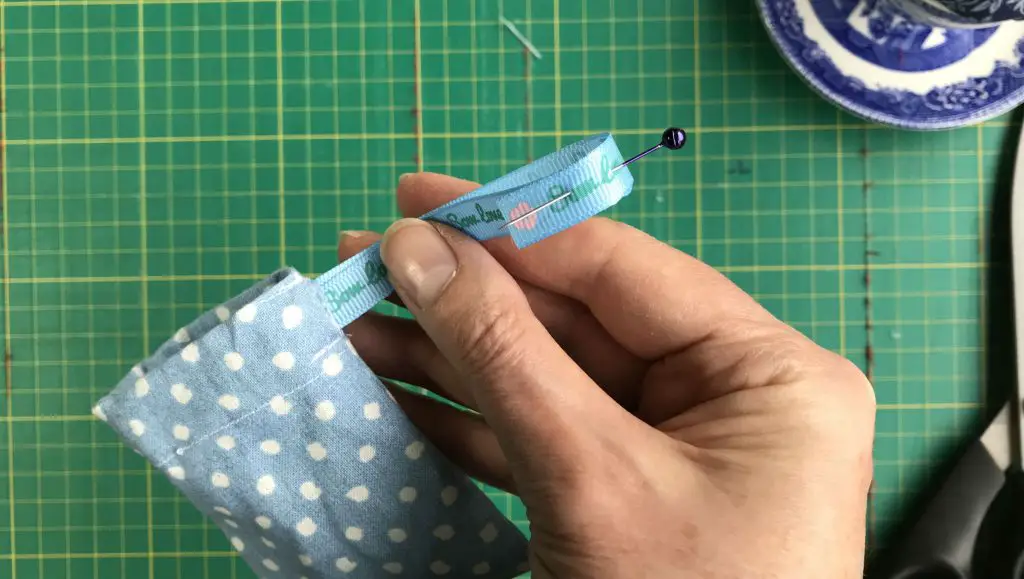
All you need to do now is feed your ribbon (or alternative) through your tube. I attached a safety pin to one end of my ribbon and used that to feed it through the tube.
Once through you need to decide on how long you want your drawstring to be. This is a personal preference but just make sure you are happy with the length when it is pulled and when it is not. Cut your ribbon to length and knot or sew the two ends together. I sewed mine together and then threaded the sewed section into the tube.
You have now finished your easy drawstring bag so enjoy using it!
Video Instructions
Summary
If you are wondering why there is a teacup and saucer in many of my photos, it is a pincushion that I use. You can see how I made it at How to make a Pincushion that Sharpens your Pins.
Now remember that you can make this easy drawstring bag any size you like and you can embellish it however you see fit. What about embroidering a person’s initials on a bag as a gift? Or how about making a set of matching bags in different sizes? I made two!

So, if you like sewing check out some of my other great free sewing tutorials:
Make your own fabric napkins in minutes
Doorstop to match your Home Decor
If you are looking for even more inspiration follow me on Pinterest and Instagram. Remember to pin this for later!