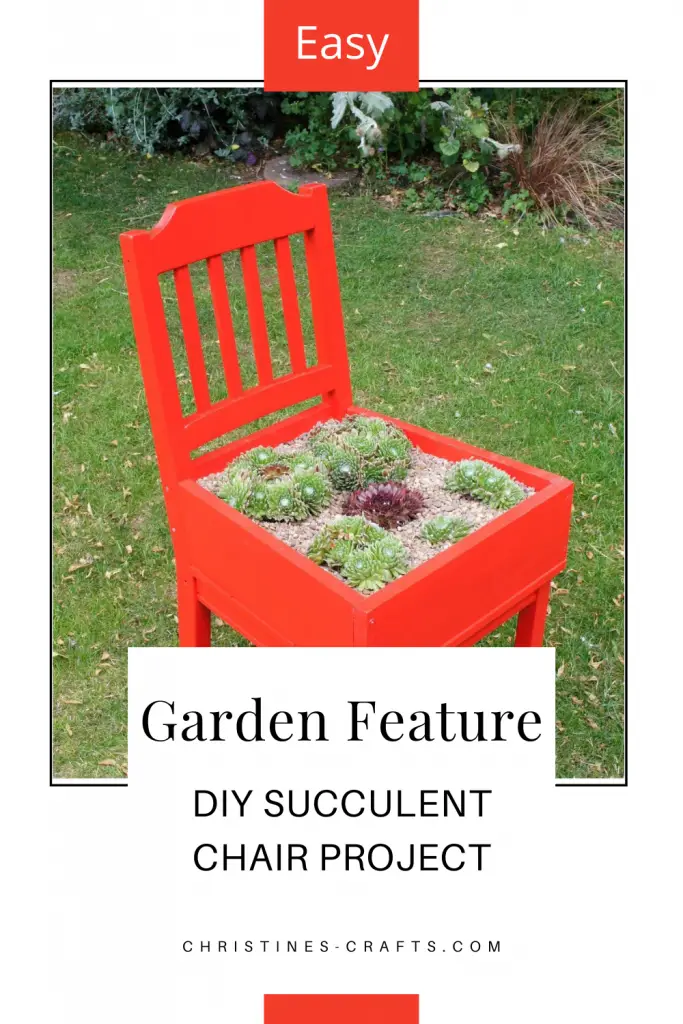
Succulent Garden Idea: Easy to Follow DIY Chair Upcycle Project
As an Amazon Associate I earn from qualifying purchases
This succulent garden idea is so pretty and so easy to do for many people. You can have one of these succulent chairs in a front or back yard or even on a small porch or balcony. You can squeeze one into your garden whatever the size. As they are succulents they require very little maintenance once they are planted.
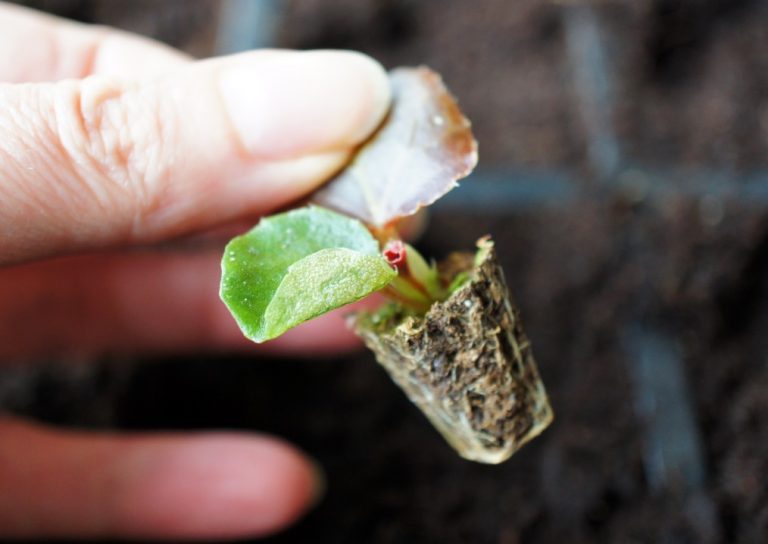
Before starting your project just check which succulents will grow happily in your part of the world. I am sure that your local plant supplier or garden centre will help you out. Here in the UK I am using Sempervivum Arachnoideums (Houseleek Spider’s Web) plants. They are fully hardy here but may not be where you are.
If you want to read all about the key steps to success with succulents then click here.
You could even use faux succulents like the ones I have linked to below on Amazon.
This page contains affiliate links meaning I earn a small commission if you use those links at no cost to you. I only recommend brands I use and trust.
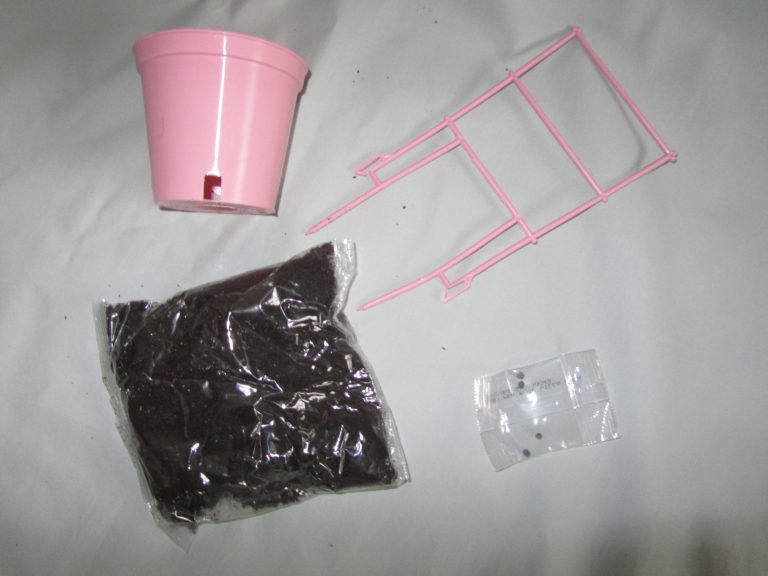
You will need:
Old chair
Wood planks to form the planter
Succulents
Compost
Screws
Various tools such as saw, drill, sandpaper, screwdriver


Form the Planter Box
If you are an experienced woodworker then you can probably skip this instruction but if not, I have included all the details of how we made this planter on the seat of the chair. Whether you are experienced or not take care at every step. Woodworking with tools can be hazardous and you must take appropriate steps to protect yourself and others. If in doubt, seek professional help!
Cut the Sides of the Planter
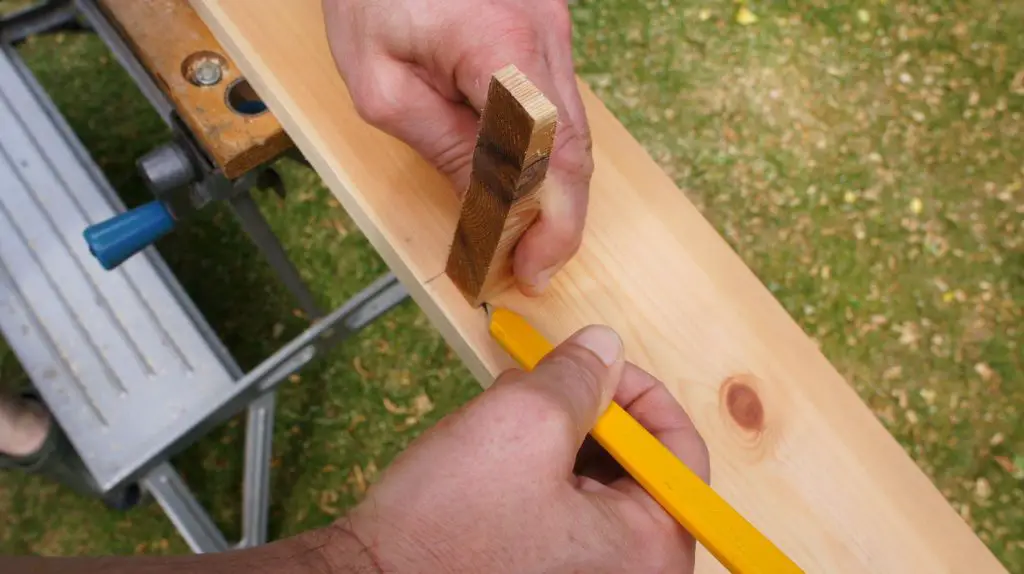
Take a piece of wood and place it on the seat of the chair where it will go but feed it through the back of the chair and mark where it meets the back of the chair. Cut along this line. This will ensure that it fits perfectly up against the back of the chair when assembled.
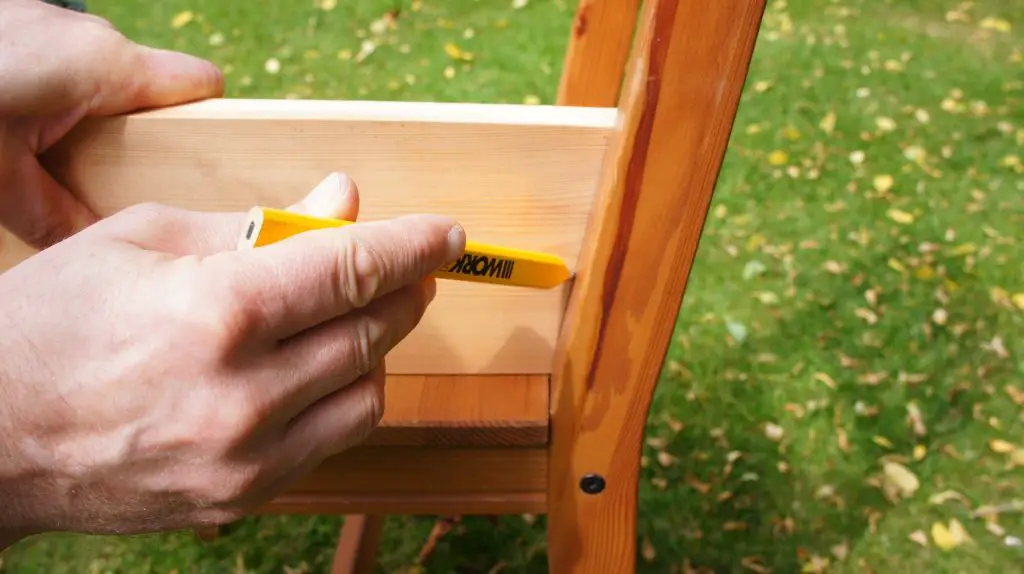
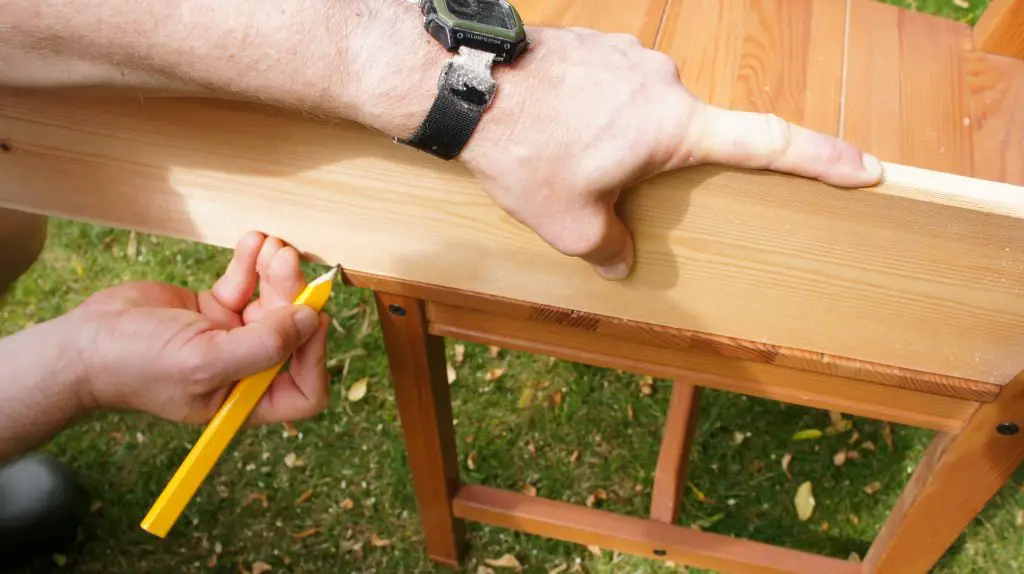
Place this piece of wood back onto the seat and it should sit perfectly against the back of the seat. Now mark where it reaches the front of the seat. Using a piece of the wood you are using mark a line that is exactly the width of the wood inside the position that you marked. This is to ensure that when you build your planter box it will sit on the seat and not over hang.
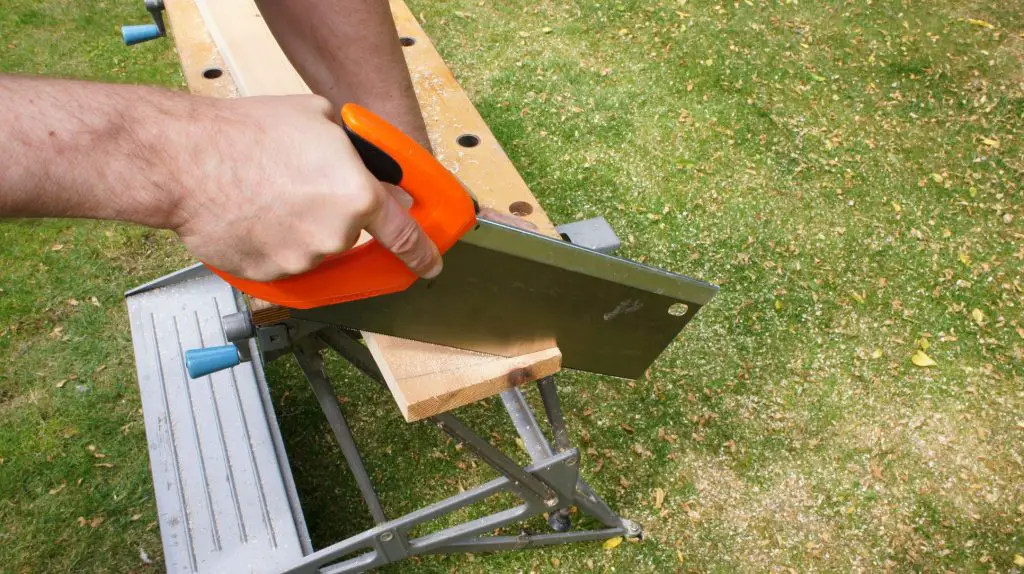
Now cut along that line to form your side piece. If necessary sand the edges so that they are smooth after cutting. Keep doing this throughout the project as applicable.
Repeat this step completely to make the other side of the planter box. You will now have the 2 sides of your box ready.
Cut the Front of the Planter
Place a piece of wood on the front of the seat in front of the side pieces which will just be standing there and not held in place so be careful. Mark the front piece of wood on the outside of the sides. Cut along these lines to form the front.
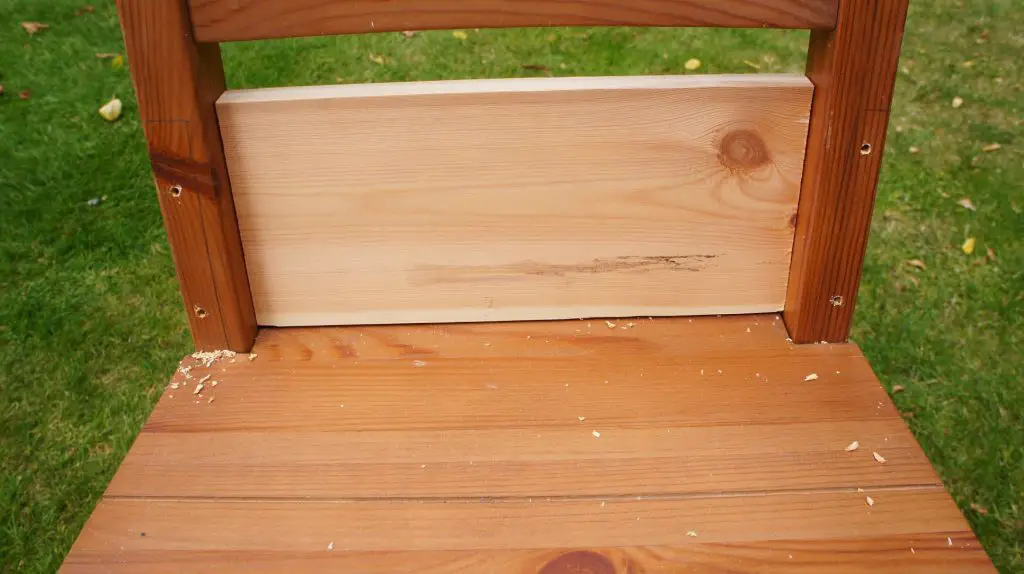
Cut the Back of the Planter
All you need now is the back piece. If your chair has a solid back then you are done but if, like mine, it is open then make a piece to fill it. Place your wood in the back of the chair and mark it at one end. Cut it and then place it back on the chair to mark the other side. Cut it again and then it should fit into the gap. If it is a bit too tight then file or sand it down to fit.
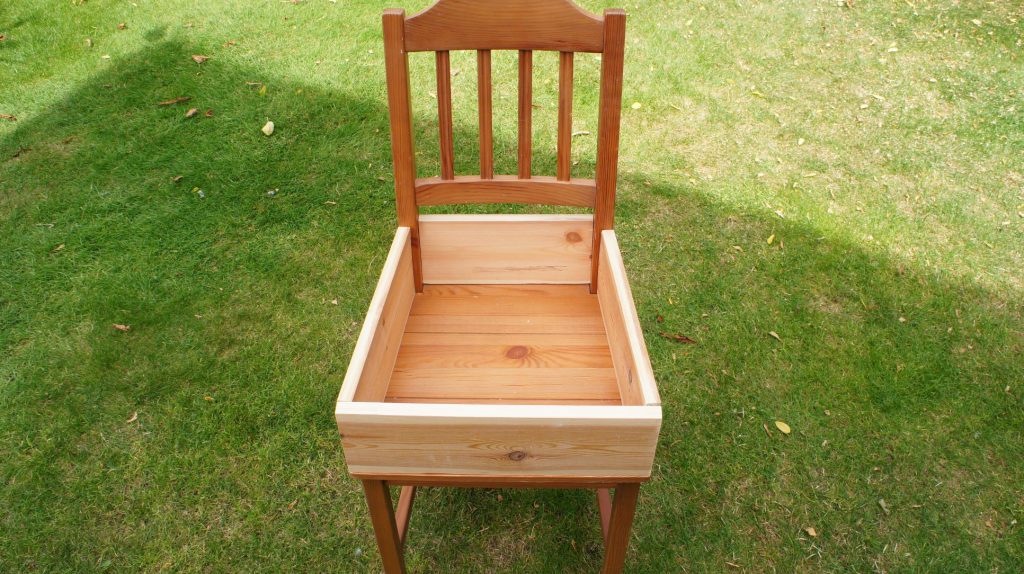
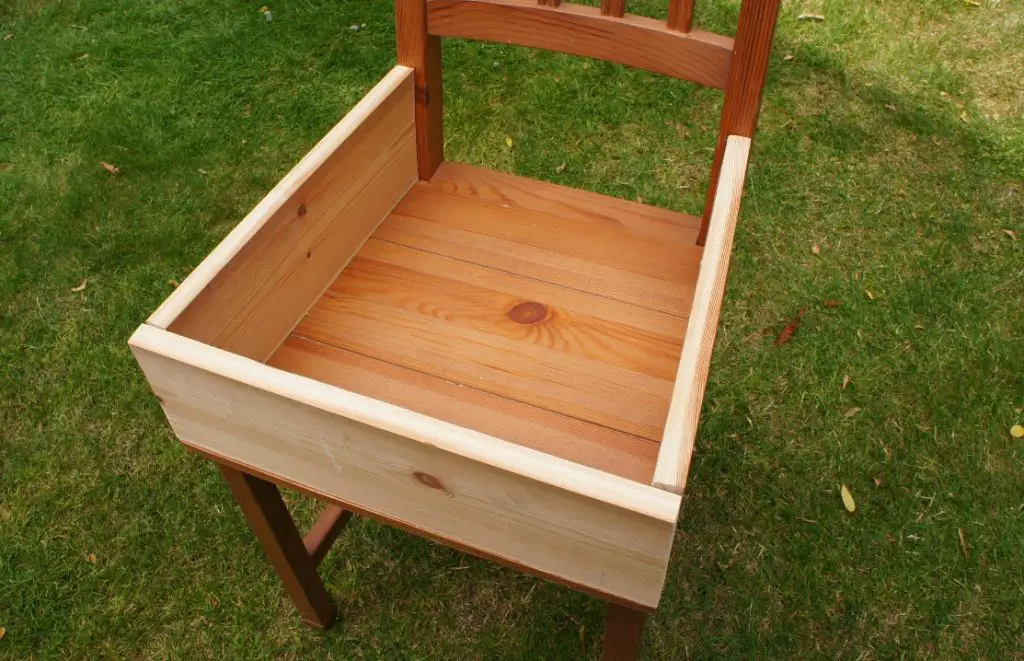
You now have all your parts made and you are ready to build your planter box on the seat.
Assemble the Planter
I chose to assemble the planter and then undo it and add glue to the joints as I re–assembled it. If you prefer, you can glue your joints as you work through the assembly. I will only refer to the building of the box and you need to add glue to the joints when you want to (or leave that step out all together).
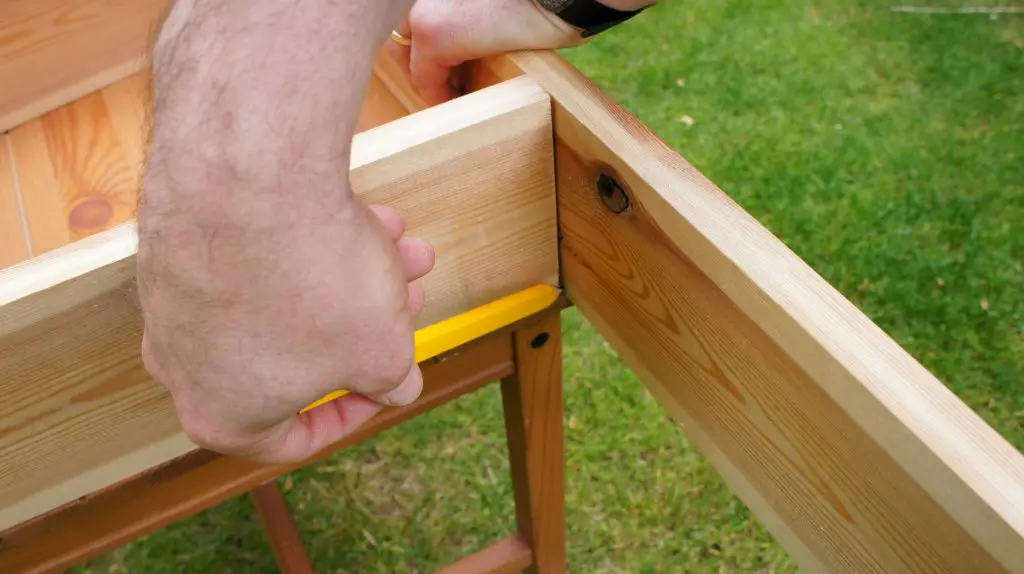
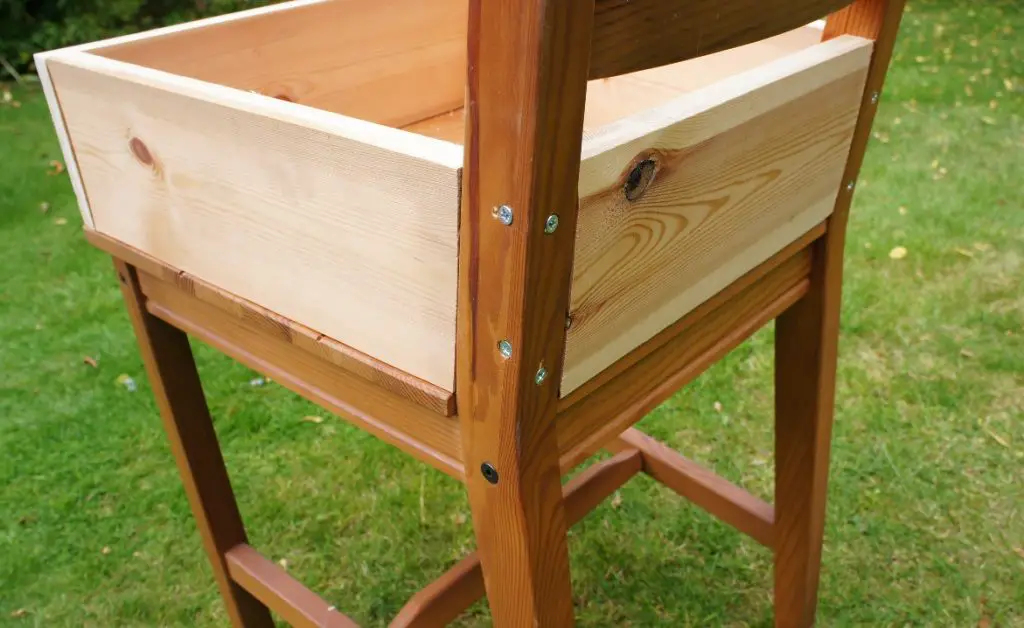
Place the 2 side pieces onto the chair seat in the correct place and mark where they meet the chair back. Simply draw around the side pieces. Then drill 2 holes on each side all the way through to the back of the chair.
Do not worry about the back in these pictures, it is just resting there, not fitted yet!
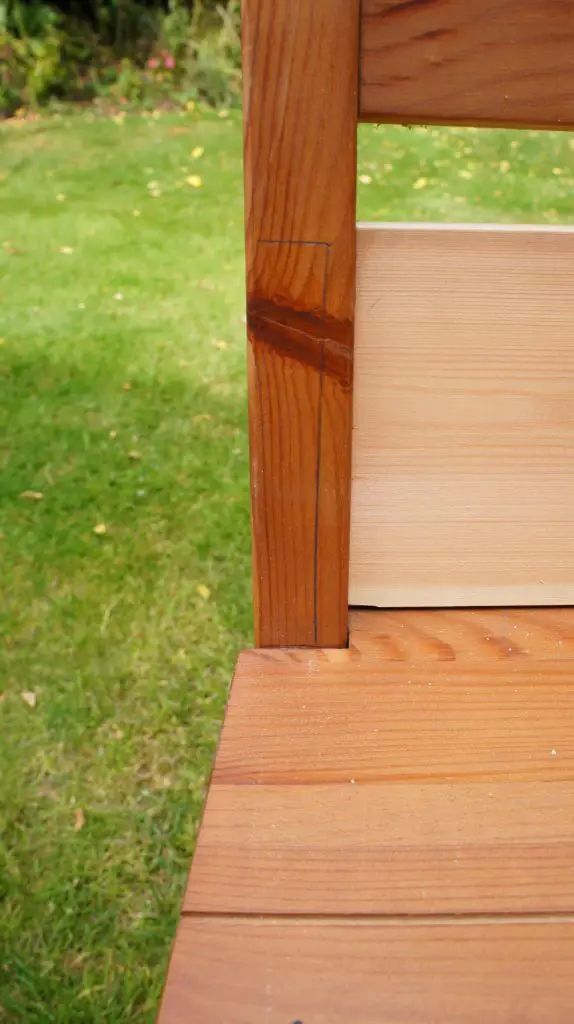
Then drill 2 holes on each side all the way through to the back of the chair.
Then screw the side pieces to the back of the chair using long screws which reach all the way through the chair back and into the sides.
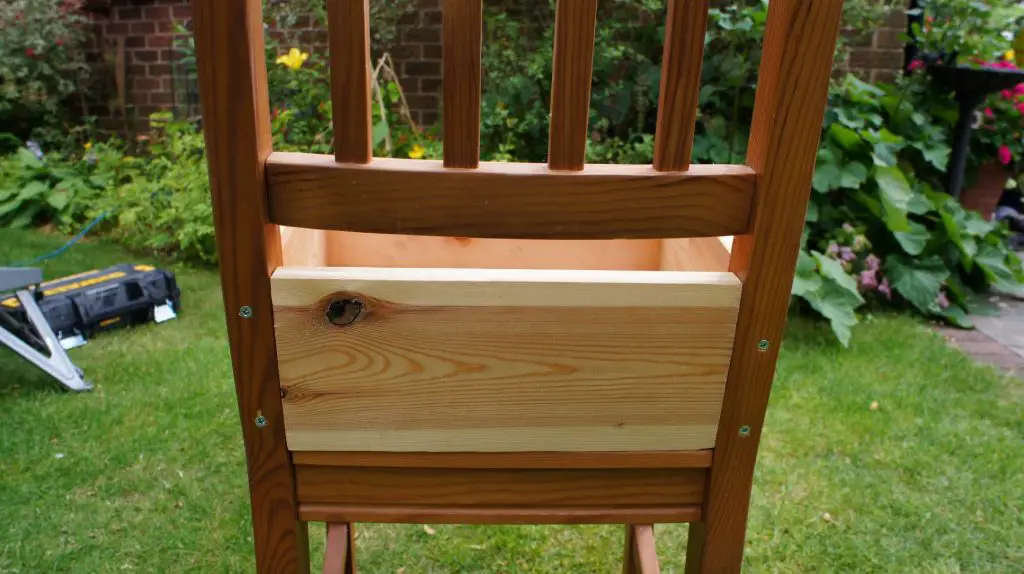
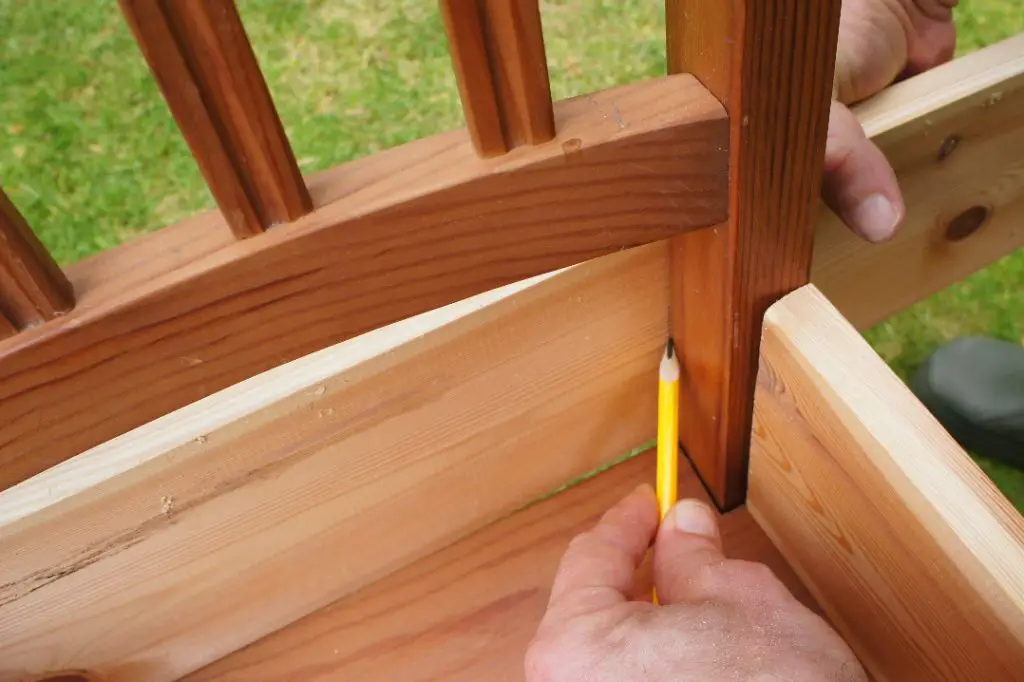
Now complete a similar procedure to attach the back section. Place the back section in the right place and then drill through from the side of the back into the end of the new piece twice on each end. Be careful to drill in between the other screws! Then screw them together as you did before.

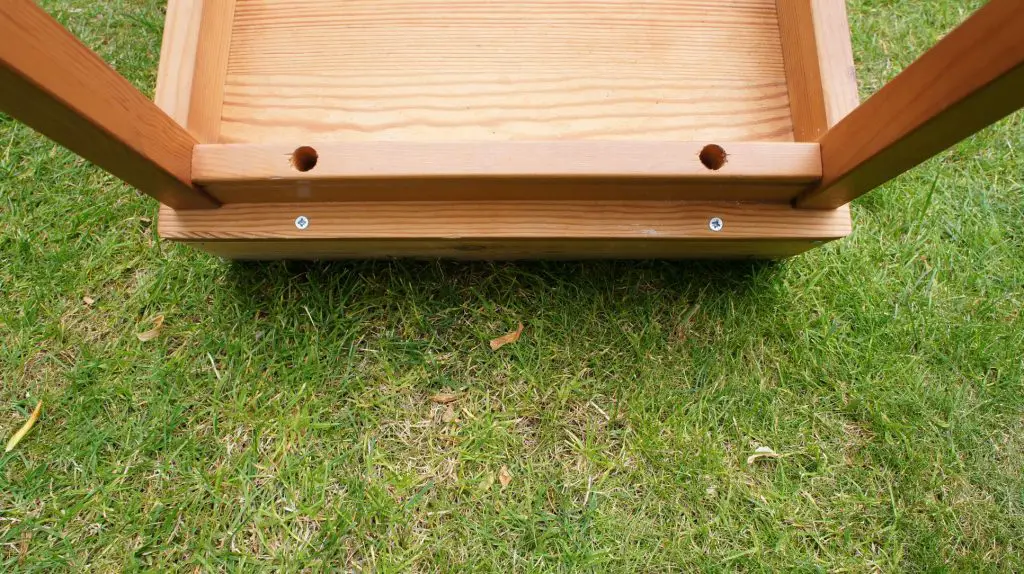
Now simply add the front section. You could screw it on in a similar way to the other sections but I actually screwed mine on from underneath the seat so that it would not have screws showing on the front of the finished chair.
To complete your planter box make sure that there are drainage holes in the planter. Your chair may already have holes in it but as you can see mine does not. If yours doesn’t then simply drill some drainage holes, As we are planting succulents drainage is very important.
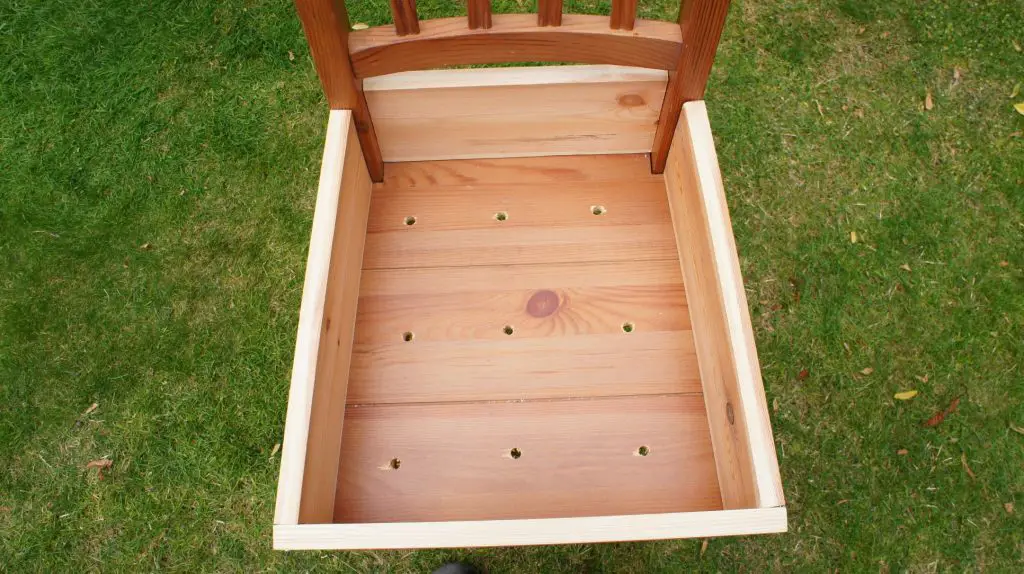
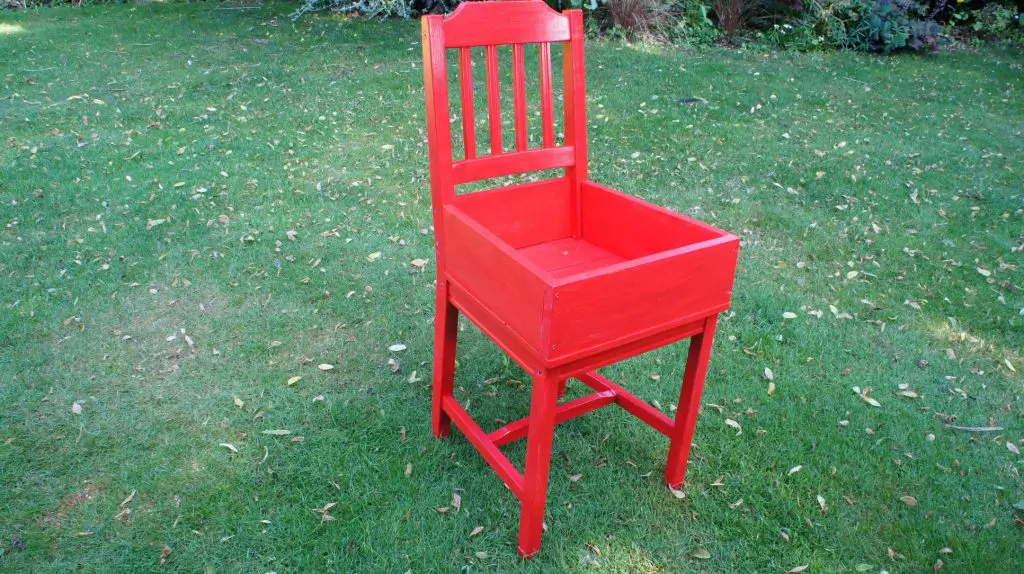
You now have a completed planter box. Remember that if you want to glue your joints you must do it before you move on from here.
Paint your Succulent Garden Chair
Firstly make sure that your chair is ready to paint. It is highly likely to have been painted, varnished or polished in the past. Remove this by giving the whole thing a light sanding and preparing it for painting.
I recommend a good quality primer paint for the first coat on your chair . This will help protect it and make sure that your colour is even when you use it.
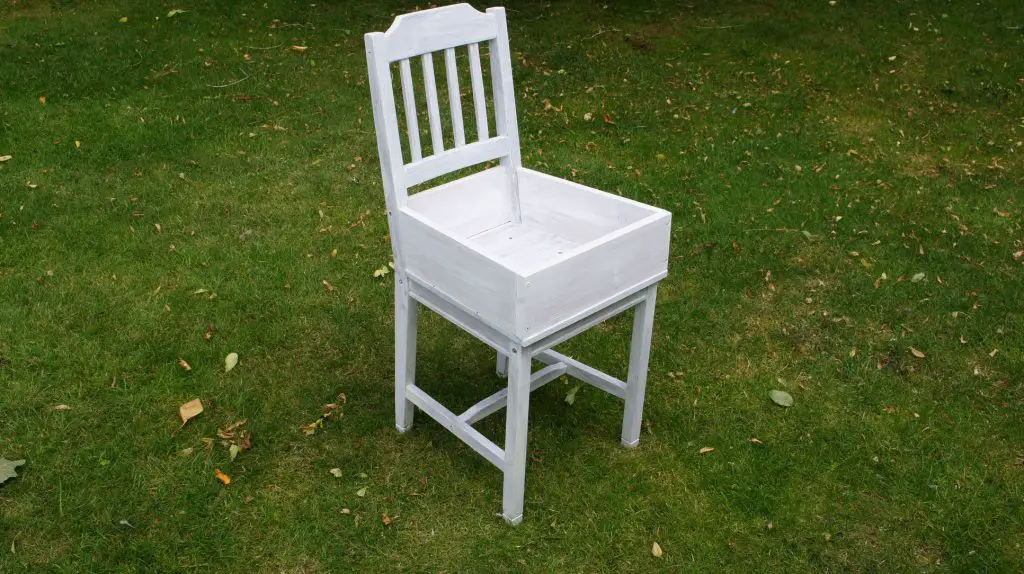
Simply paint your chair whatever colour you like using a paintbrush. Ensure that the paint you use is suitable for outdoor use. I used a gloss paint that is suitable for outdoors. You may need 2 coats, I did. This will ensure good coverage and protection from the weather.
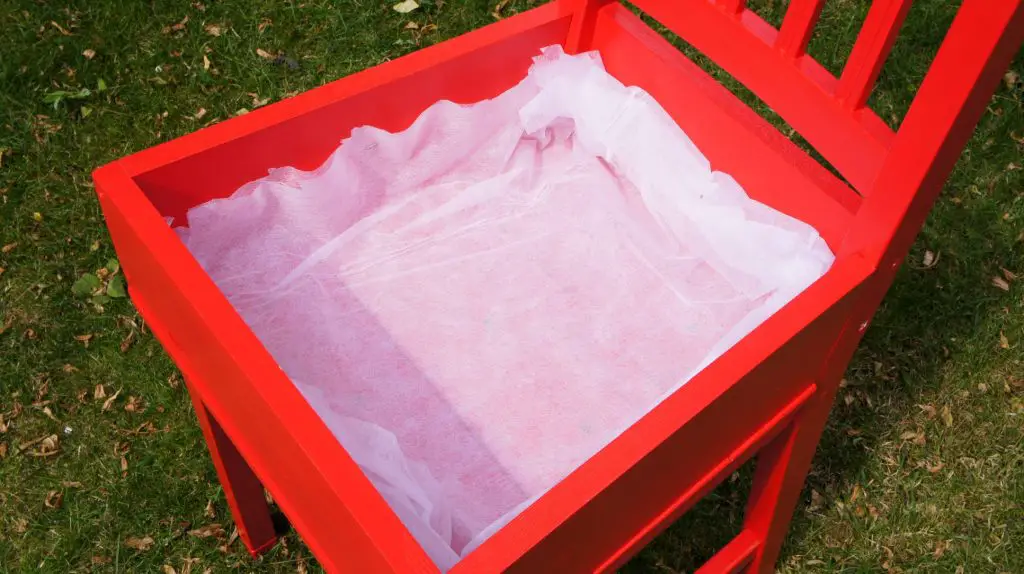
Plant your Succulents in your Garden Feature
Now all you have to do is plant up your chair! I recommend lining your seat to prevent compost being washed out through the drainage holes. You can use some old plastic with holes punctured through it or some garden fleece as I have done here. There is no need to go right to the top of your planter box so no-one will ever see it. I stapled mine in place but you do not need to.
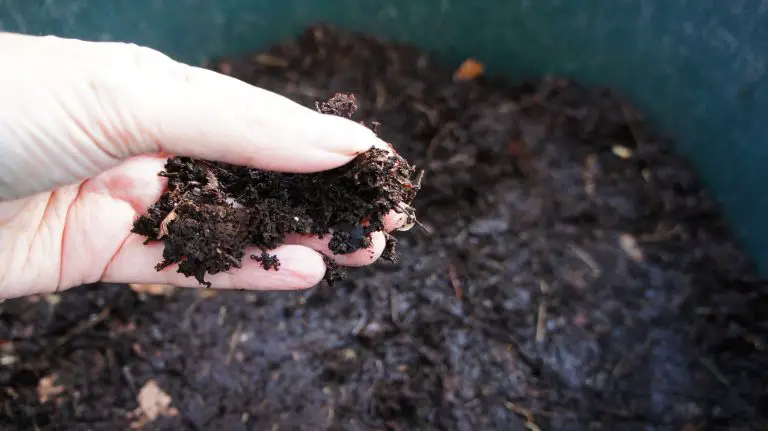
Next, add your compost. I recommend a very gritty mix. I have used ordinary multi-purpose compost but with a lot of perlite mixed in. You could use gravel if you prefer. It is vital that the compost drains freely as succulents hate sitting in water.
Do not fill it right to the top of the box, just enough for your succulents to sit on.

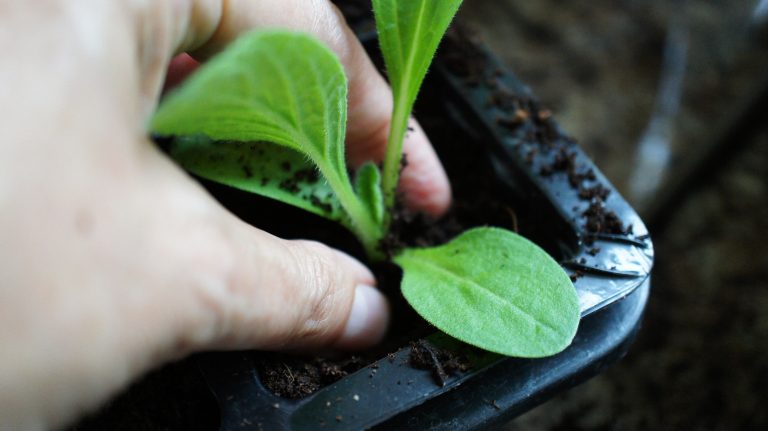
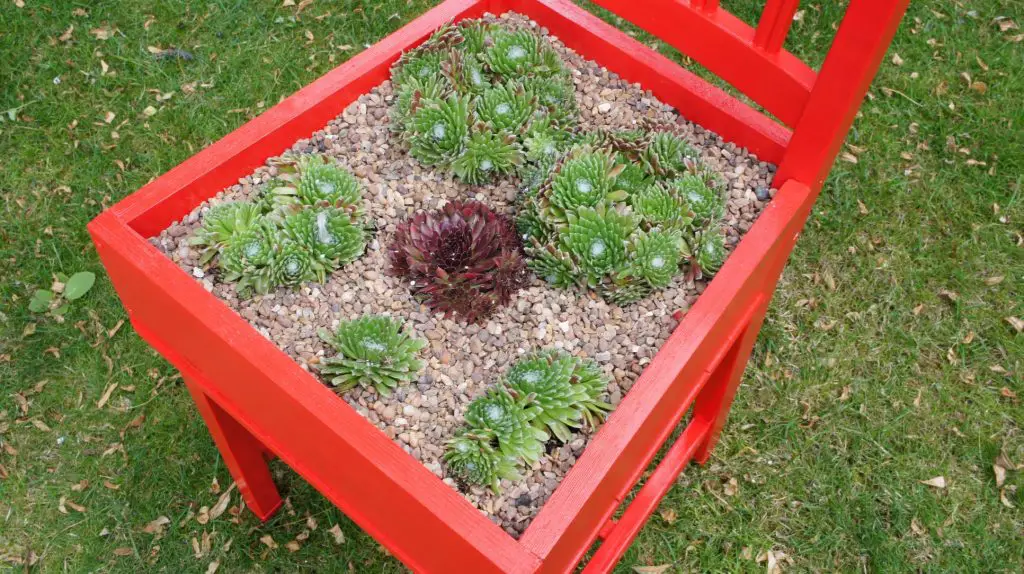
Then, position your succulents wherever you want them. You could fill the whole planter box or, as I have done here, plant a few and wait for them to grow and fill in the box. Fill in around the succulents with some more compost mix so that they are secure.
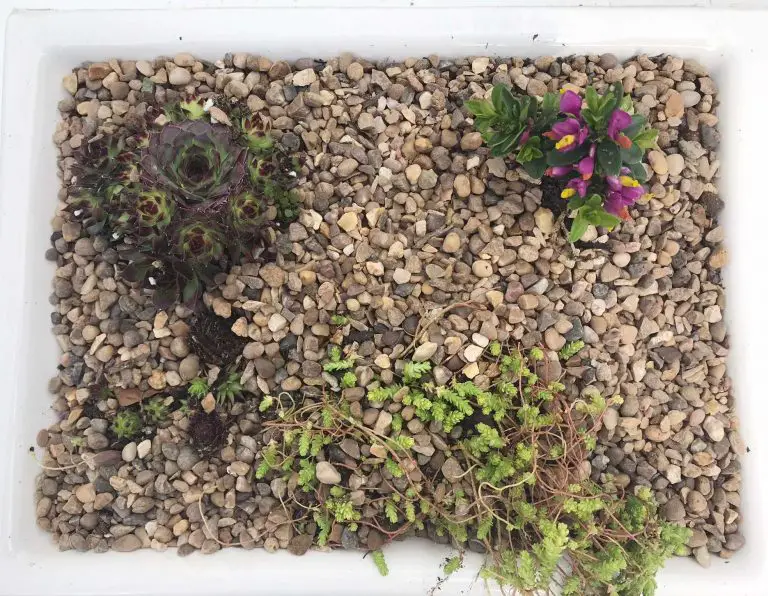
Finally add a layer of gravel in between the plants. This will make it look prettier and stop any rain splashing compost up onto the plants.
Give it a drink of water as you have just planted the succulents and you are finished!
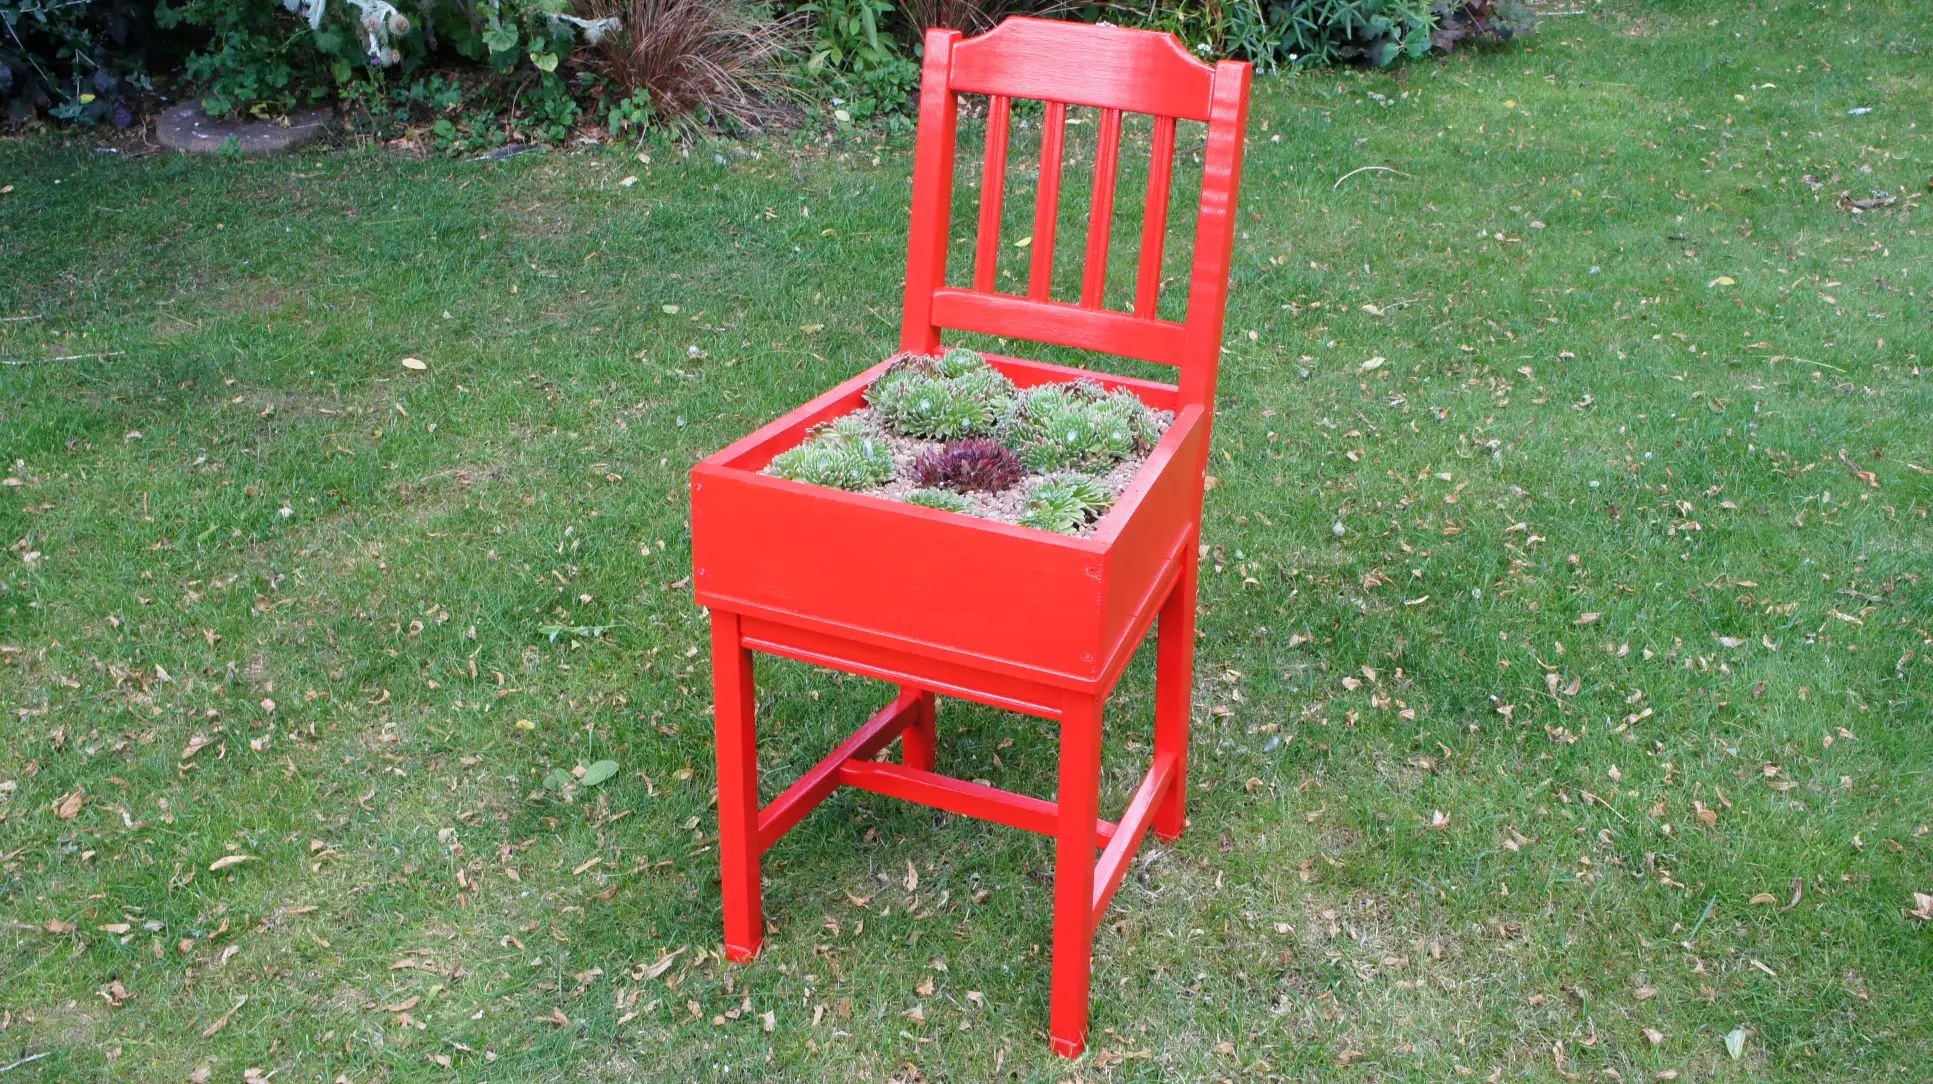
Your Succulent Garden Feature
So now you have a unique succulent garden feature that you can enjoy wherever you place it. It is small enough that you can move it around as you like to add variety to your garden too. If you live in a place with a lot of heavy rain it may be a good idea to position it in a porch or at least with some protection. Enjoy your brand new garden feature and let me know in the comments below how it went or if you have any other ideas for succulents.
If you are looking for other garden projects then check out a few of my other ideas:
Soothing Solar Powered Water Feature in 10 minutes
Plant a Lasagna Bulb Pot for Spring Colour
Upcycle an Old Sink with Fabulous Planting
Enjoy your garden whatever you are doing and pin this tutorial on Pinterest so that you can always find it. You can also follow me there as Christine’s Crafts.