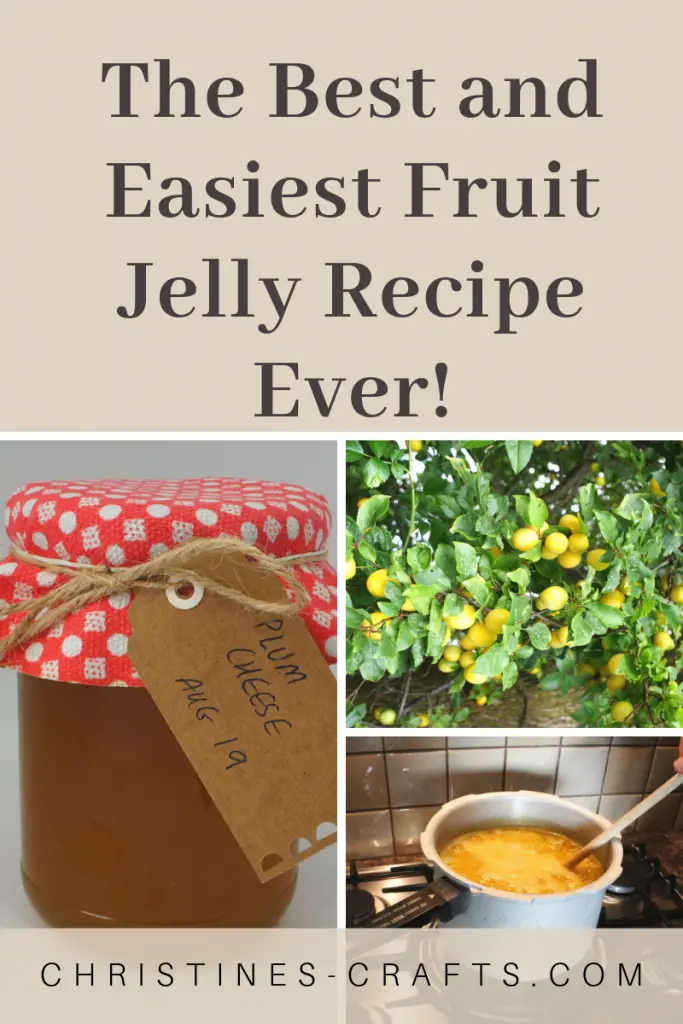
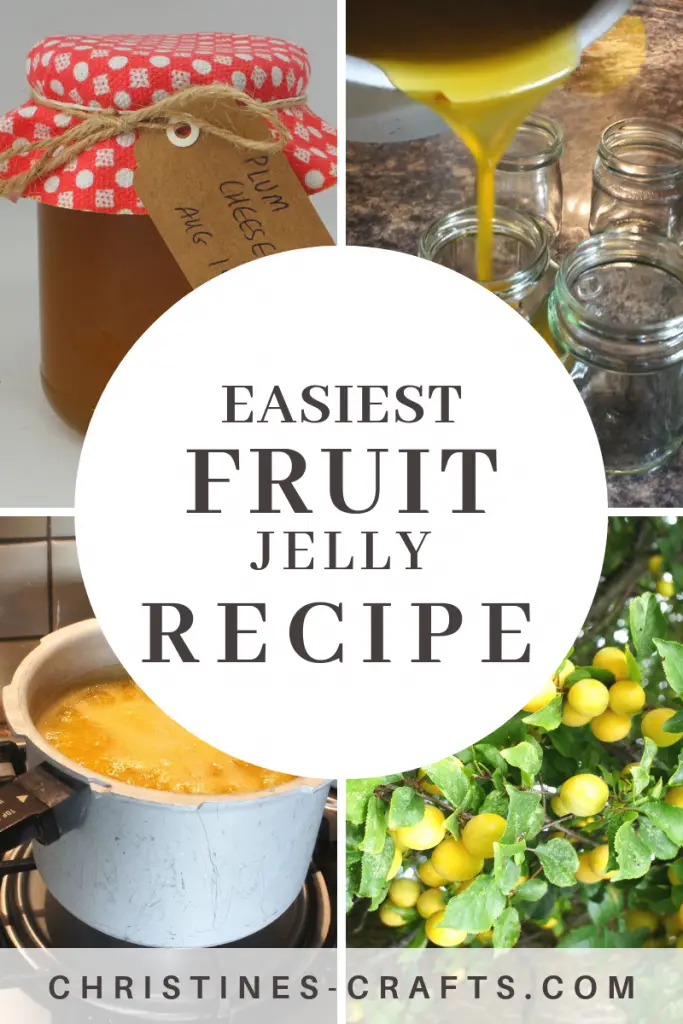
Best Fruit Jelly/Jam Recipe Ever!
As an Amazon Associate I earn from qualifying purchases
Obviously I am English and I call it jam but I do appreciate that many countries call it jelly so I will try and use both terms!
This page contains affiliate links meaning I earn a small commission if you use those links at no cost to you. I only recommend brands I use and trust.
You will need:
Fruit
Equal amount of jam (jelly) sugar
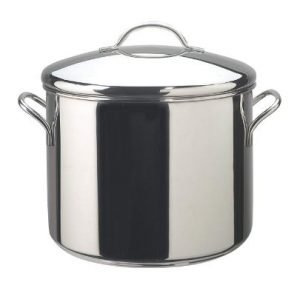
Large saucepan or jelly/jam pot
Amazon Links:
Step 1: Pick your fruit
Pick your fruit when it is at its best. Do not wait until it is going too soft. The best fruit jam (fruit jelly) comes from the best fruit.
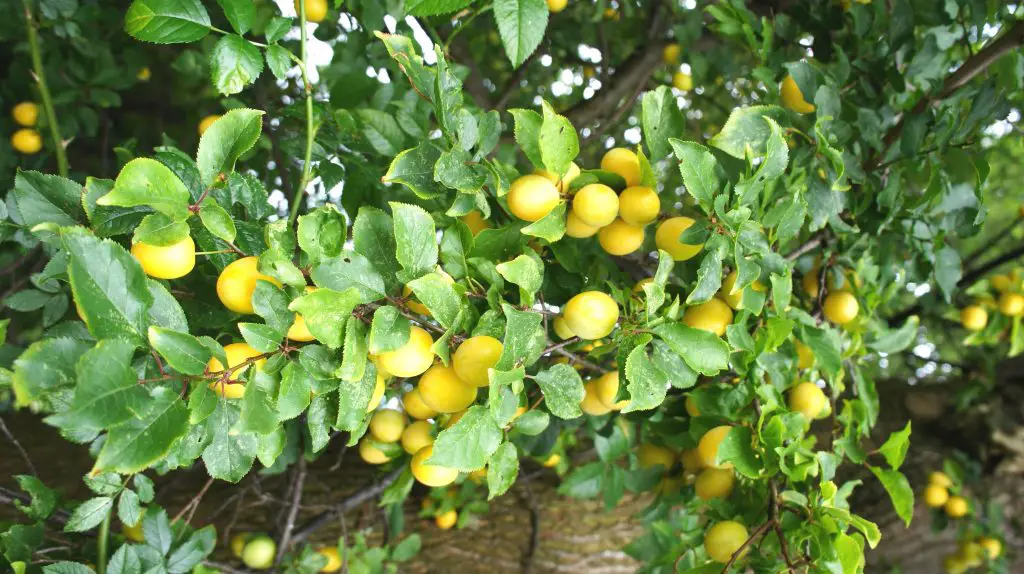
We grow gorgeous small yellow plums as you can see!

Step 2: Cook your fruit
Cook your fruit with a small amount of water just to soften it and allow you to remove any stones or seeds.
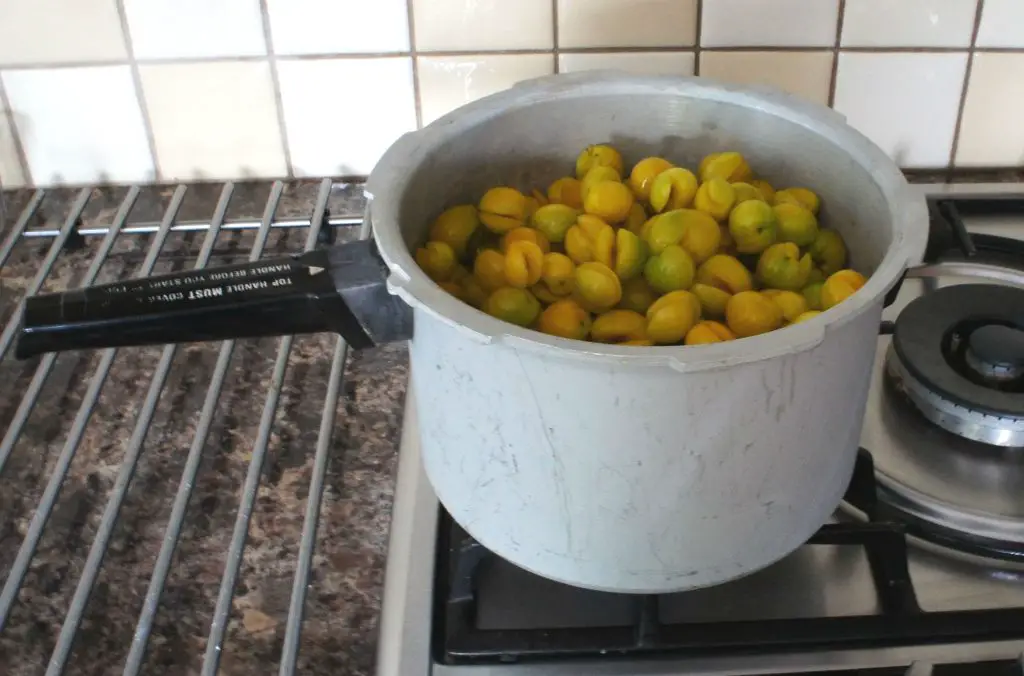
You are not boiling it up yet so remove from the heat as soon as it is soft enough to put through the sieve.
Leave it to cool to avoid burning yourself. I must confess that I only allow it to get to warm (not cold).
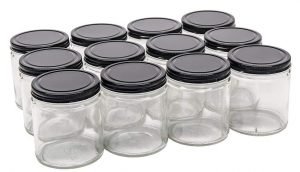
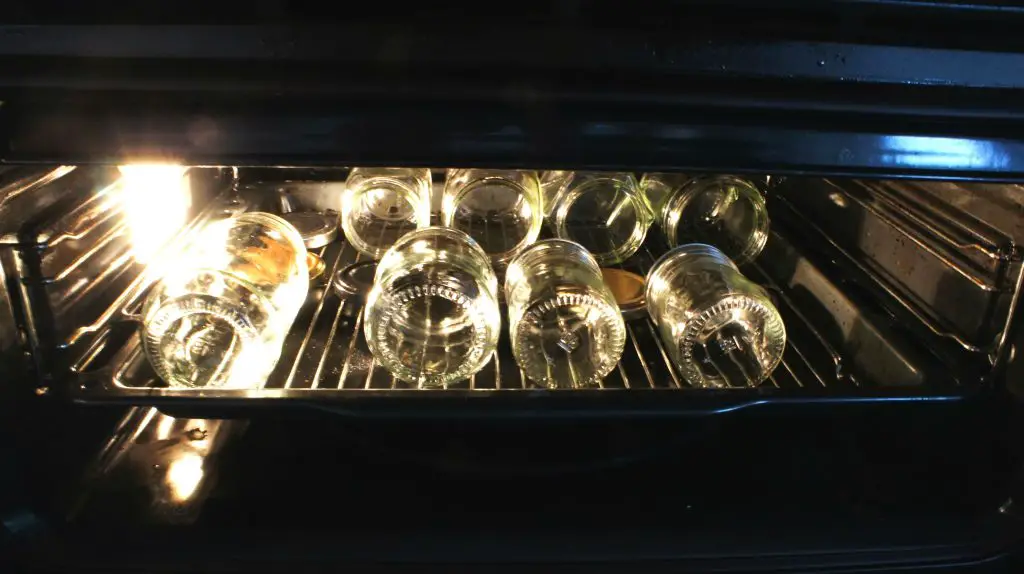
Step 3: Sterilise your jars
Place your jars and their lids into an oven and heat them to at least 100°C. Make sure that your lids are safe to that temperature! This will ensure that they are sterile for your jam to prevent it going mouldy whilst in storage. We regularly keep our jam / jelly for up to 12 months.
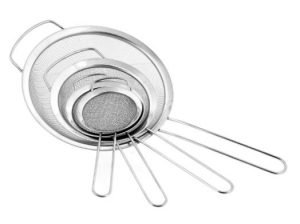
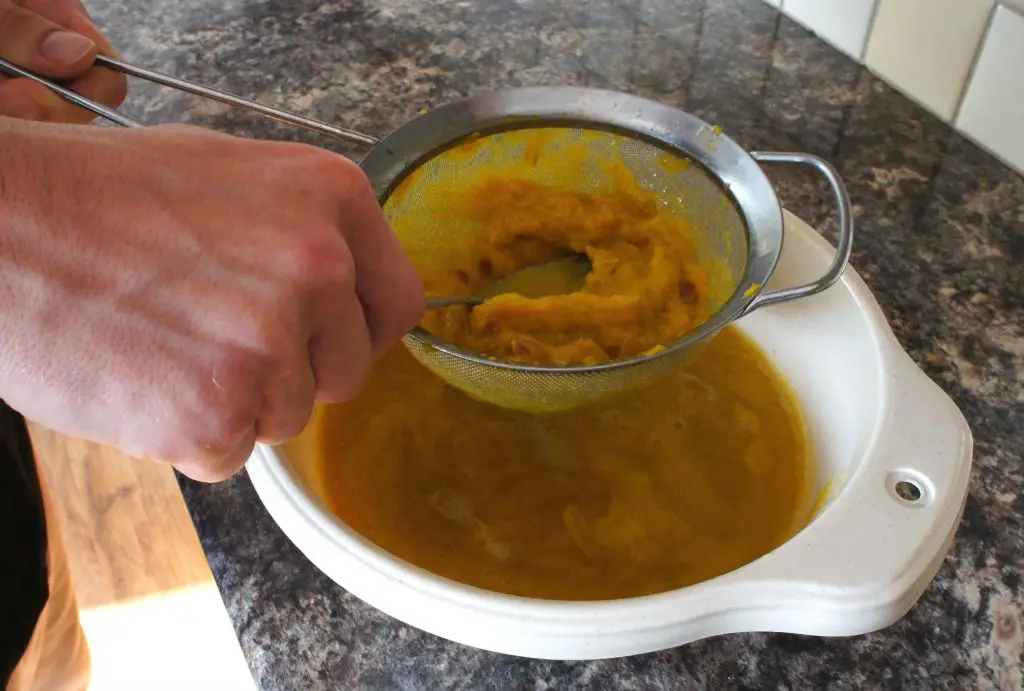
Step 4: Sieve the mixture
Push all your mixture through your sieve using a large spoon so that you remove all the skin, stones, seeds, etc. This should result in a beautiful puree of fruit. If you are happy to have a bit of texture in your jam you may be able to use a tool with larger holes eg, a steamer.
Step 4: Add ingredients and boil
Weigh your fruit puree. You are going to add the same amount of sugar to cook the jam (jelly). Return your puree to the pan and stir in the same amount of jam sugar. Now heat the mixture whilst stirring it continually.
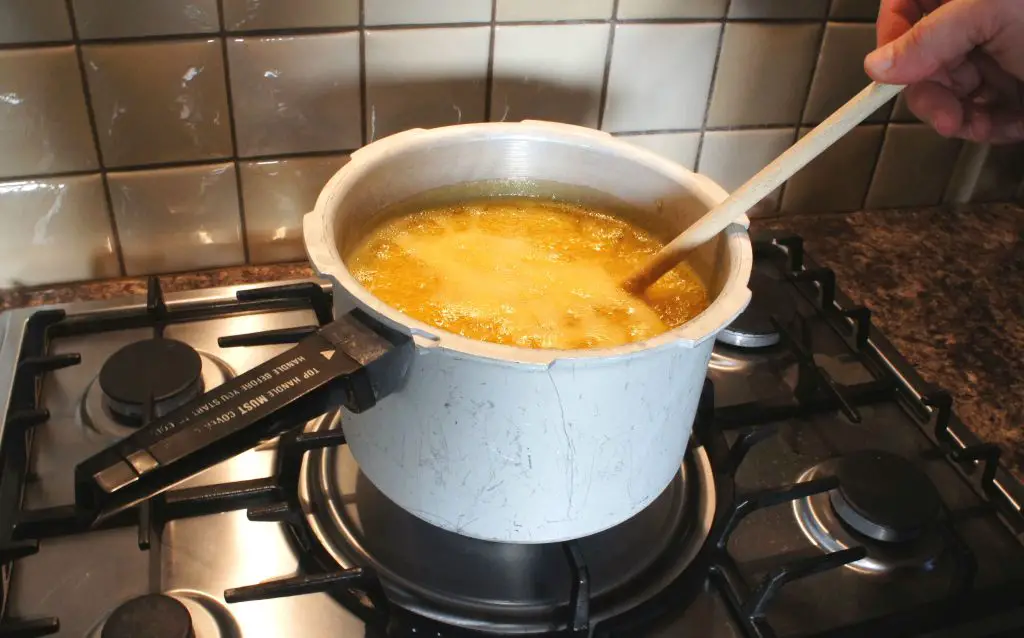
It is essential to boil the mixture the correct amount. You can use a jam (jelly) thermometer to ensure the correct temperature is reached. Jam (jelly) thermometers normally state the correct temperature required. There is a lot of talk about that and people worry about it. Personally I get it to the boil and then check it every couple of minutes using the following method.
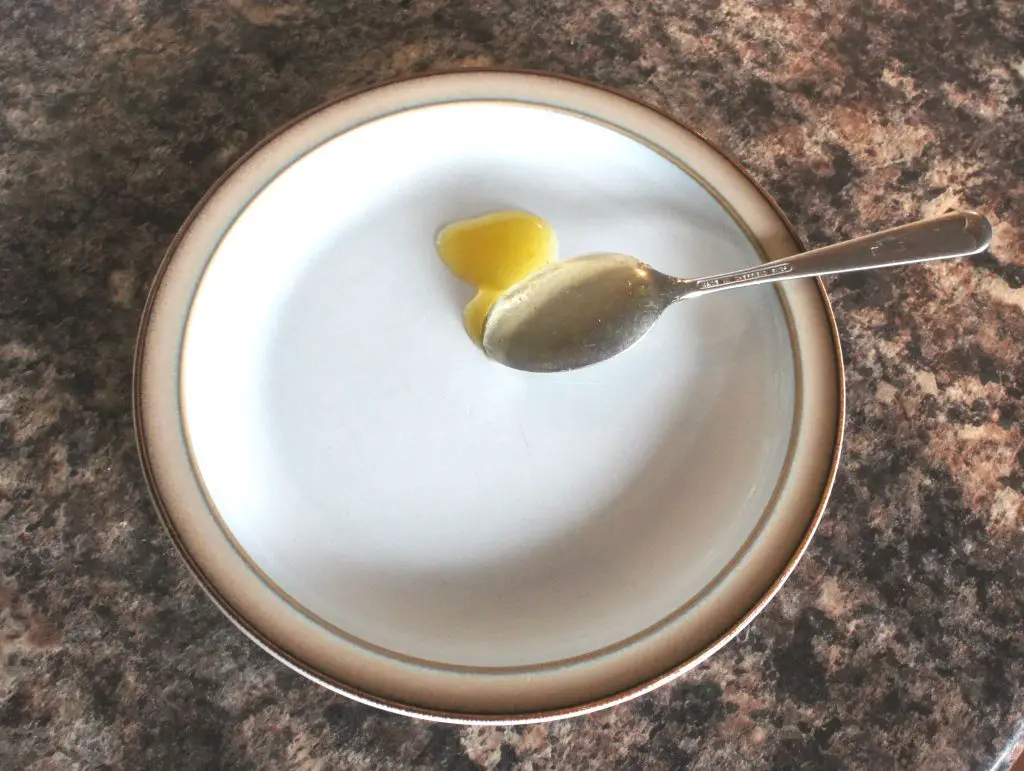
To check the mixture simply take a small amount out with a teaspoon and place it onto a cold plate. As the mixture cools it should thicken and form a jam (jelly) rather than run off as a liquid. As soon as it reaches this state you are ready to put it into jars.
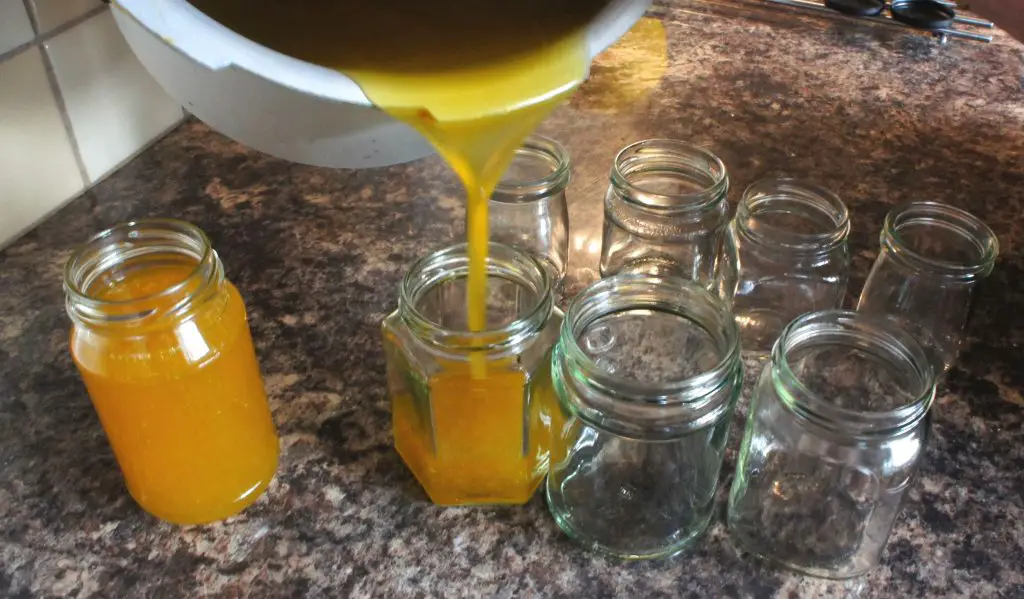
Step 5: Pour mixture into jars
Carefully pour the mixture into the jars. Remember that the mixture is very hot and will burn you if it touches your skin, Take care!
Carefully add the lids. I add a layer of greaseproof paper under the lid to ensure a good seal but it is entirely optional. I suspect that I only do it because my mum did. Many people use waxed discs to improve the seal. The heated jars and lids should ensure a good seal.
Leave the jars to cool.
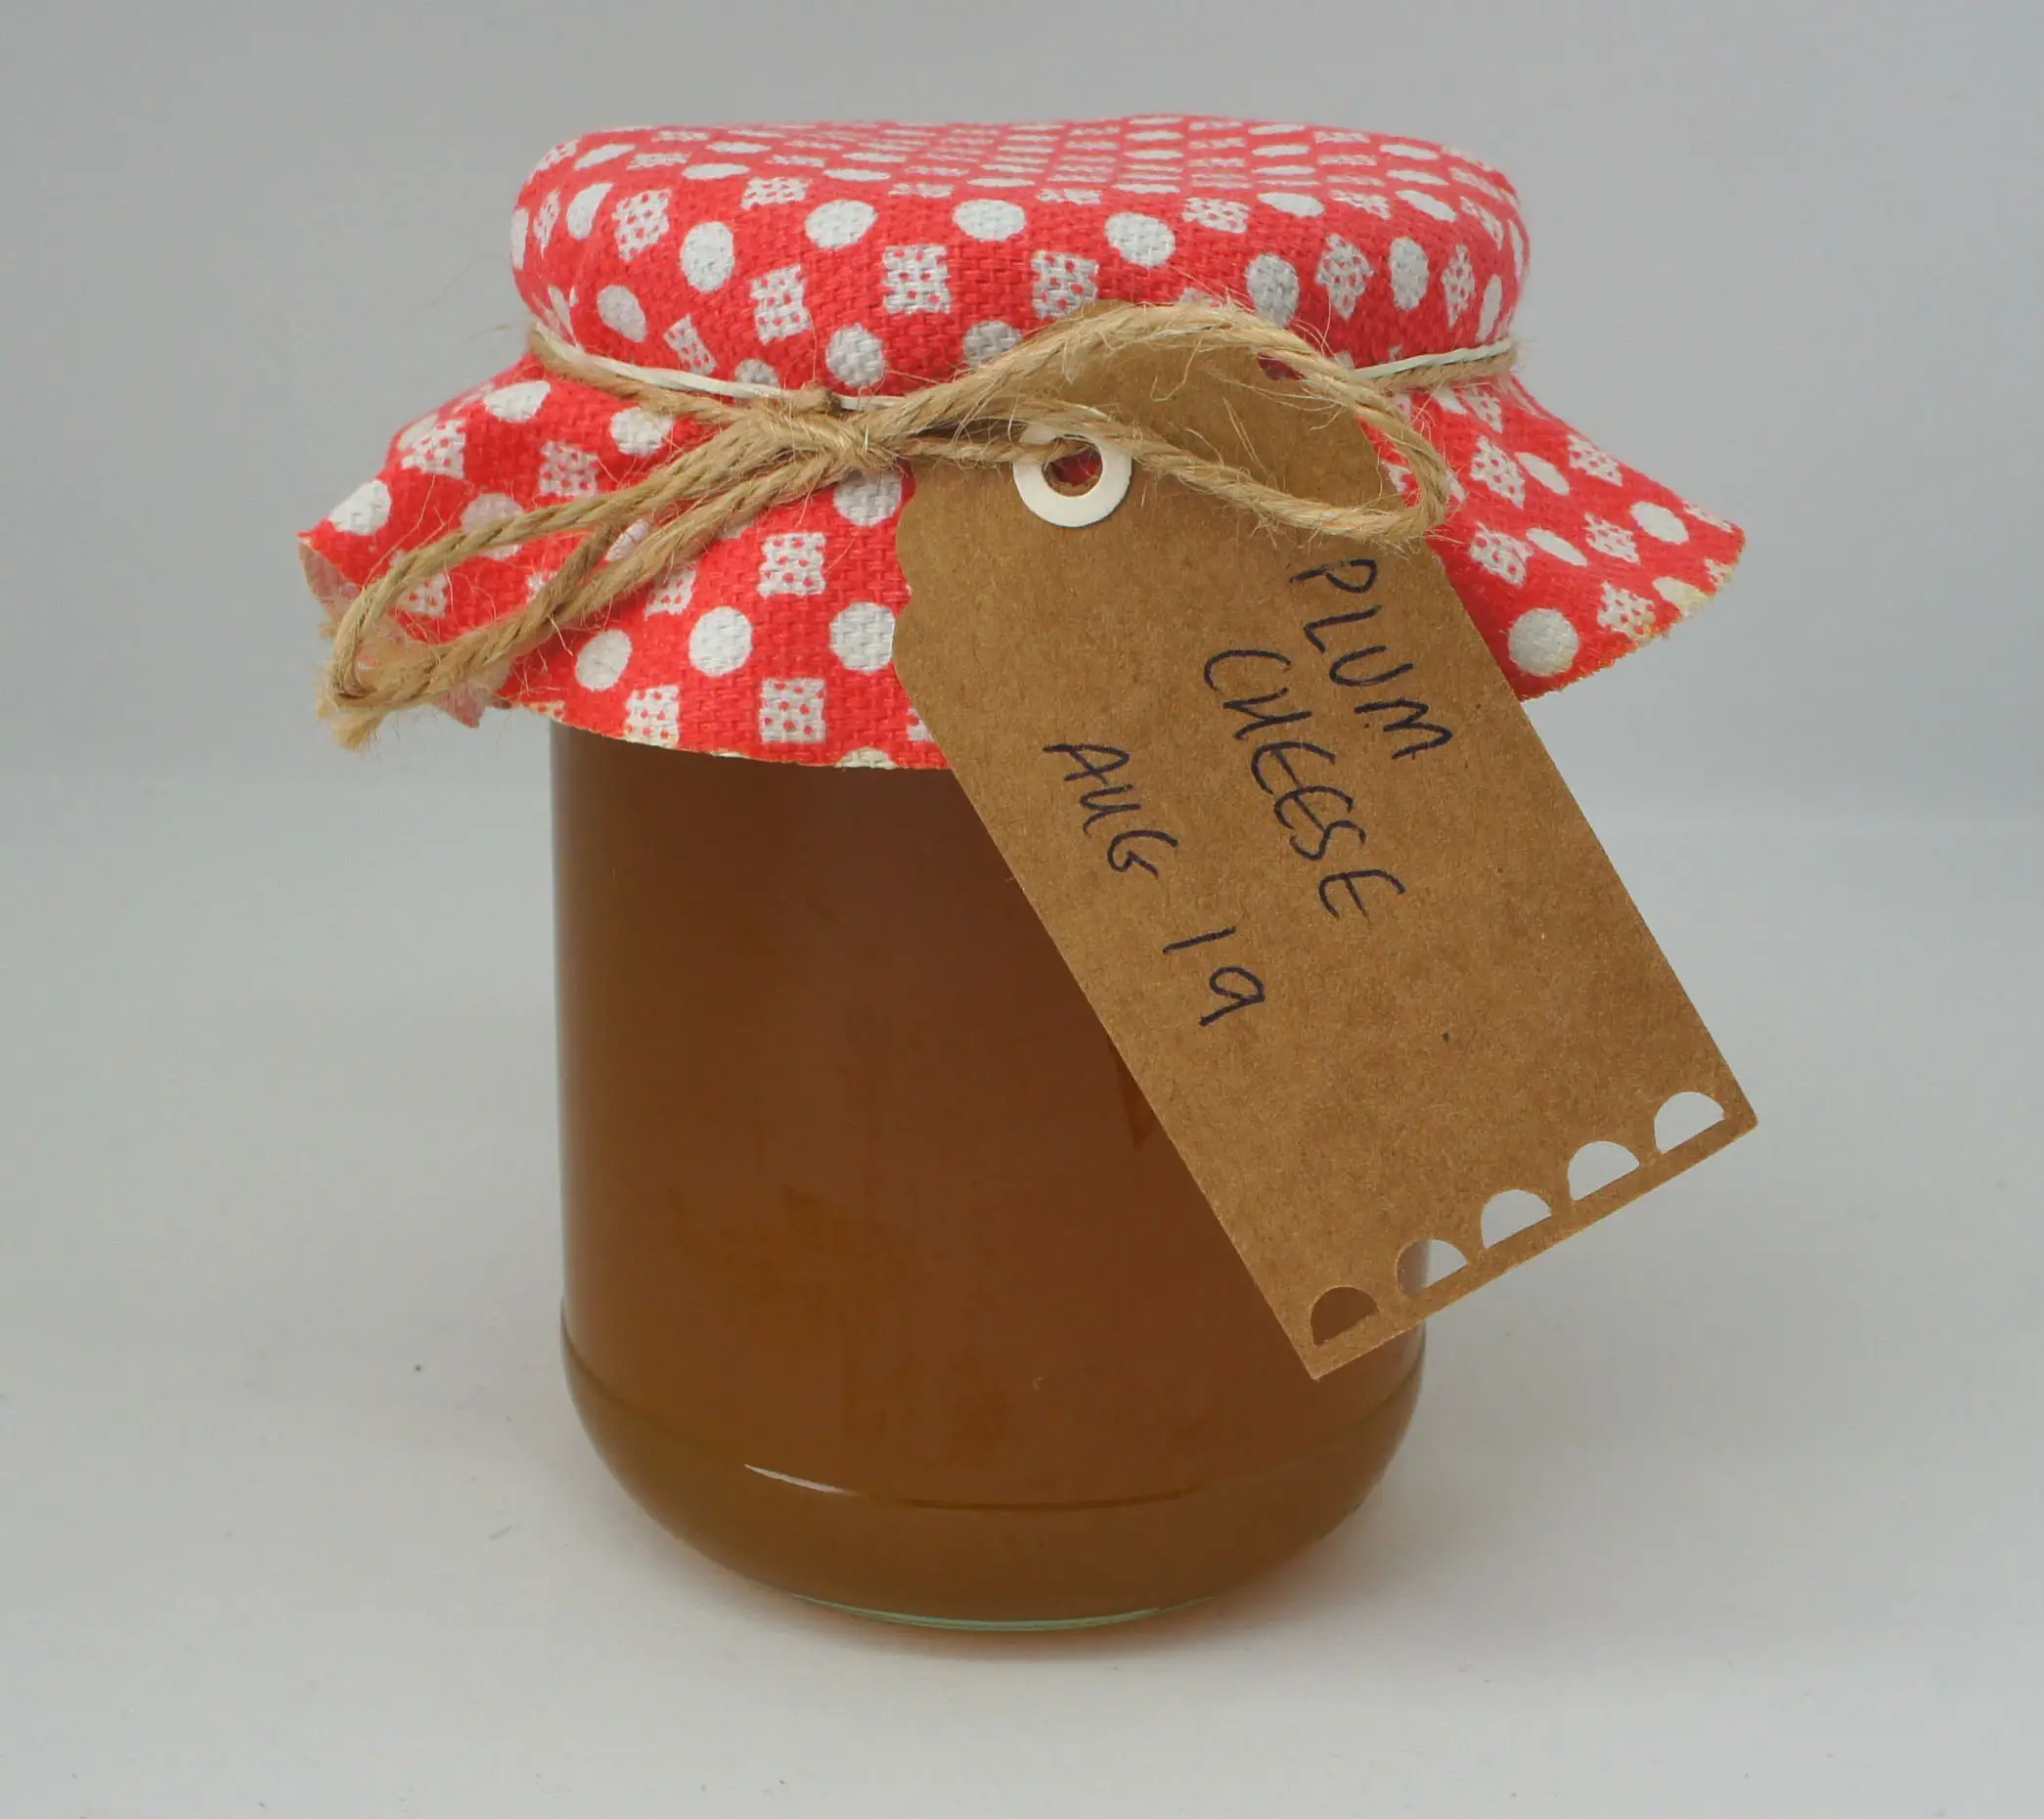
Step 6: Label jars
Once the jars have cooled label them including the date and decorate them however you like. If they are for gifts then you could add fancy frills and tags. Enjoy your fruit jelly / jam!

You will notice that my jelly / jam is labelled as cheese. Fruit cheese should be very thick, maybe even sliceable. Mine isn’t quite that thick although some batches have been close but I just like calling it cheese as it is an old-fashioned name.
Please leave me comments in the section below to let me know what fruit you use and if you have any tips.
If you like making gifts for people then take a look at some of my other tutorials:
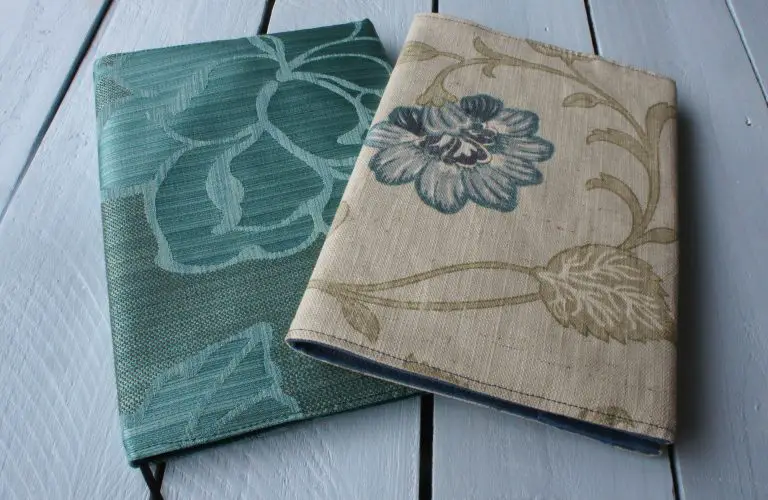
How to make a fabric corner bookmark
Bracelets to make in under 30 minutes
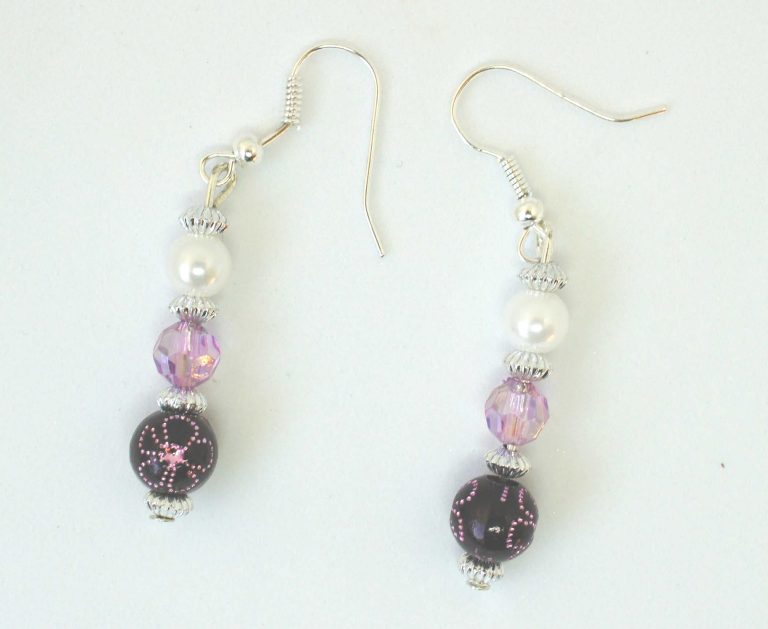
Bead Earrings – super quick method
Fully lined Drawstring Bag to Sew
Remember to pin this article so that you can make your own fruit jelly / jam!