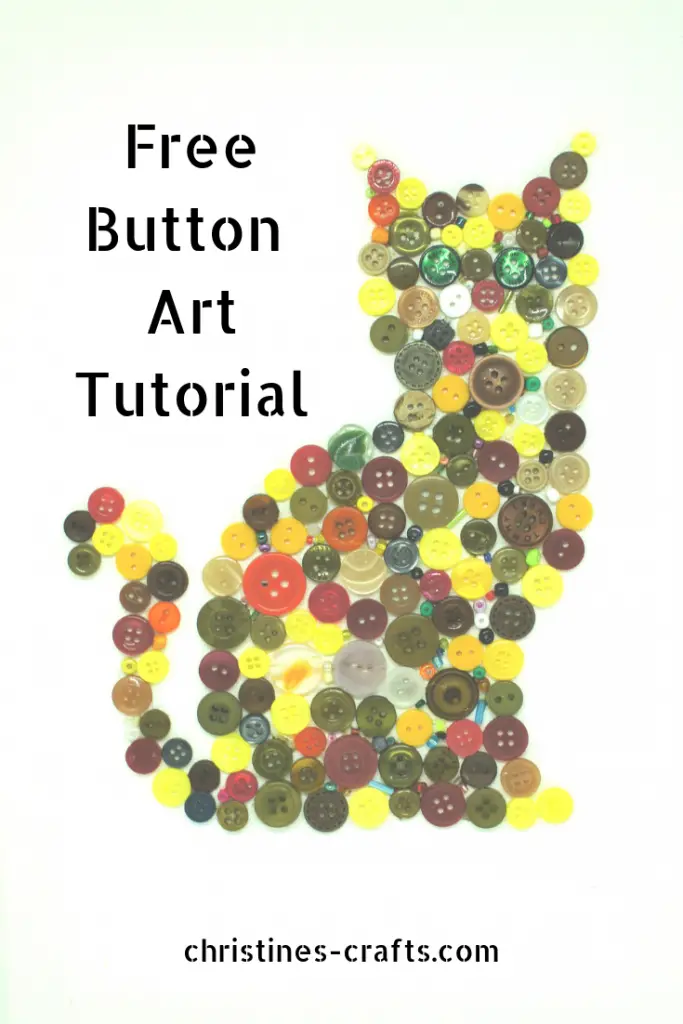
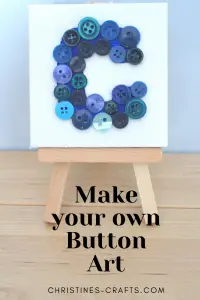
Button Art – DIY
As an Amazon Associate I earn from qualifying purchases
Keep reading and you will see how I developed onto a larger canvas. I have also completed a simple but effective Valentine’s Day heart picture. So simple but so effective. There is a note about this and a picture of it towards the end of the article.
I have now included a video tutorial which shows me making a beautiful flower picture.
This page contains affiliate links meaning I earn a small commission if you use those links at no cost to you. I only recommend brands I use and trust.
You will need:
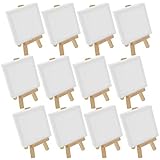
Canvas of whatever size you want (these from Amazon are the same as mine with easels)
Buttons in the right size and colour
A plan or design
Acrylic Paint and paintbrush (optional)
Amazon links below:


Video Instructions
This video is also available on my YouTube channel.
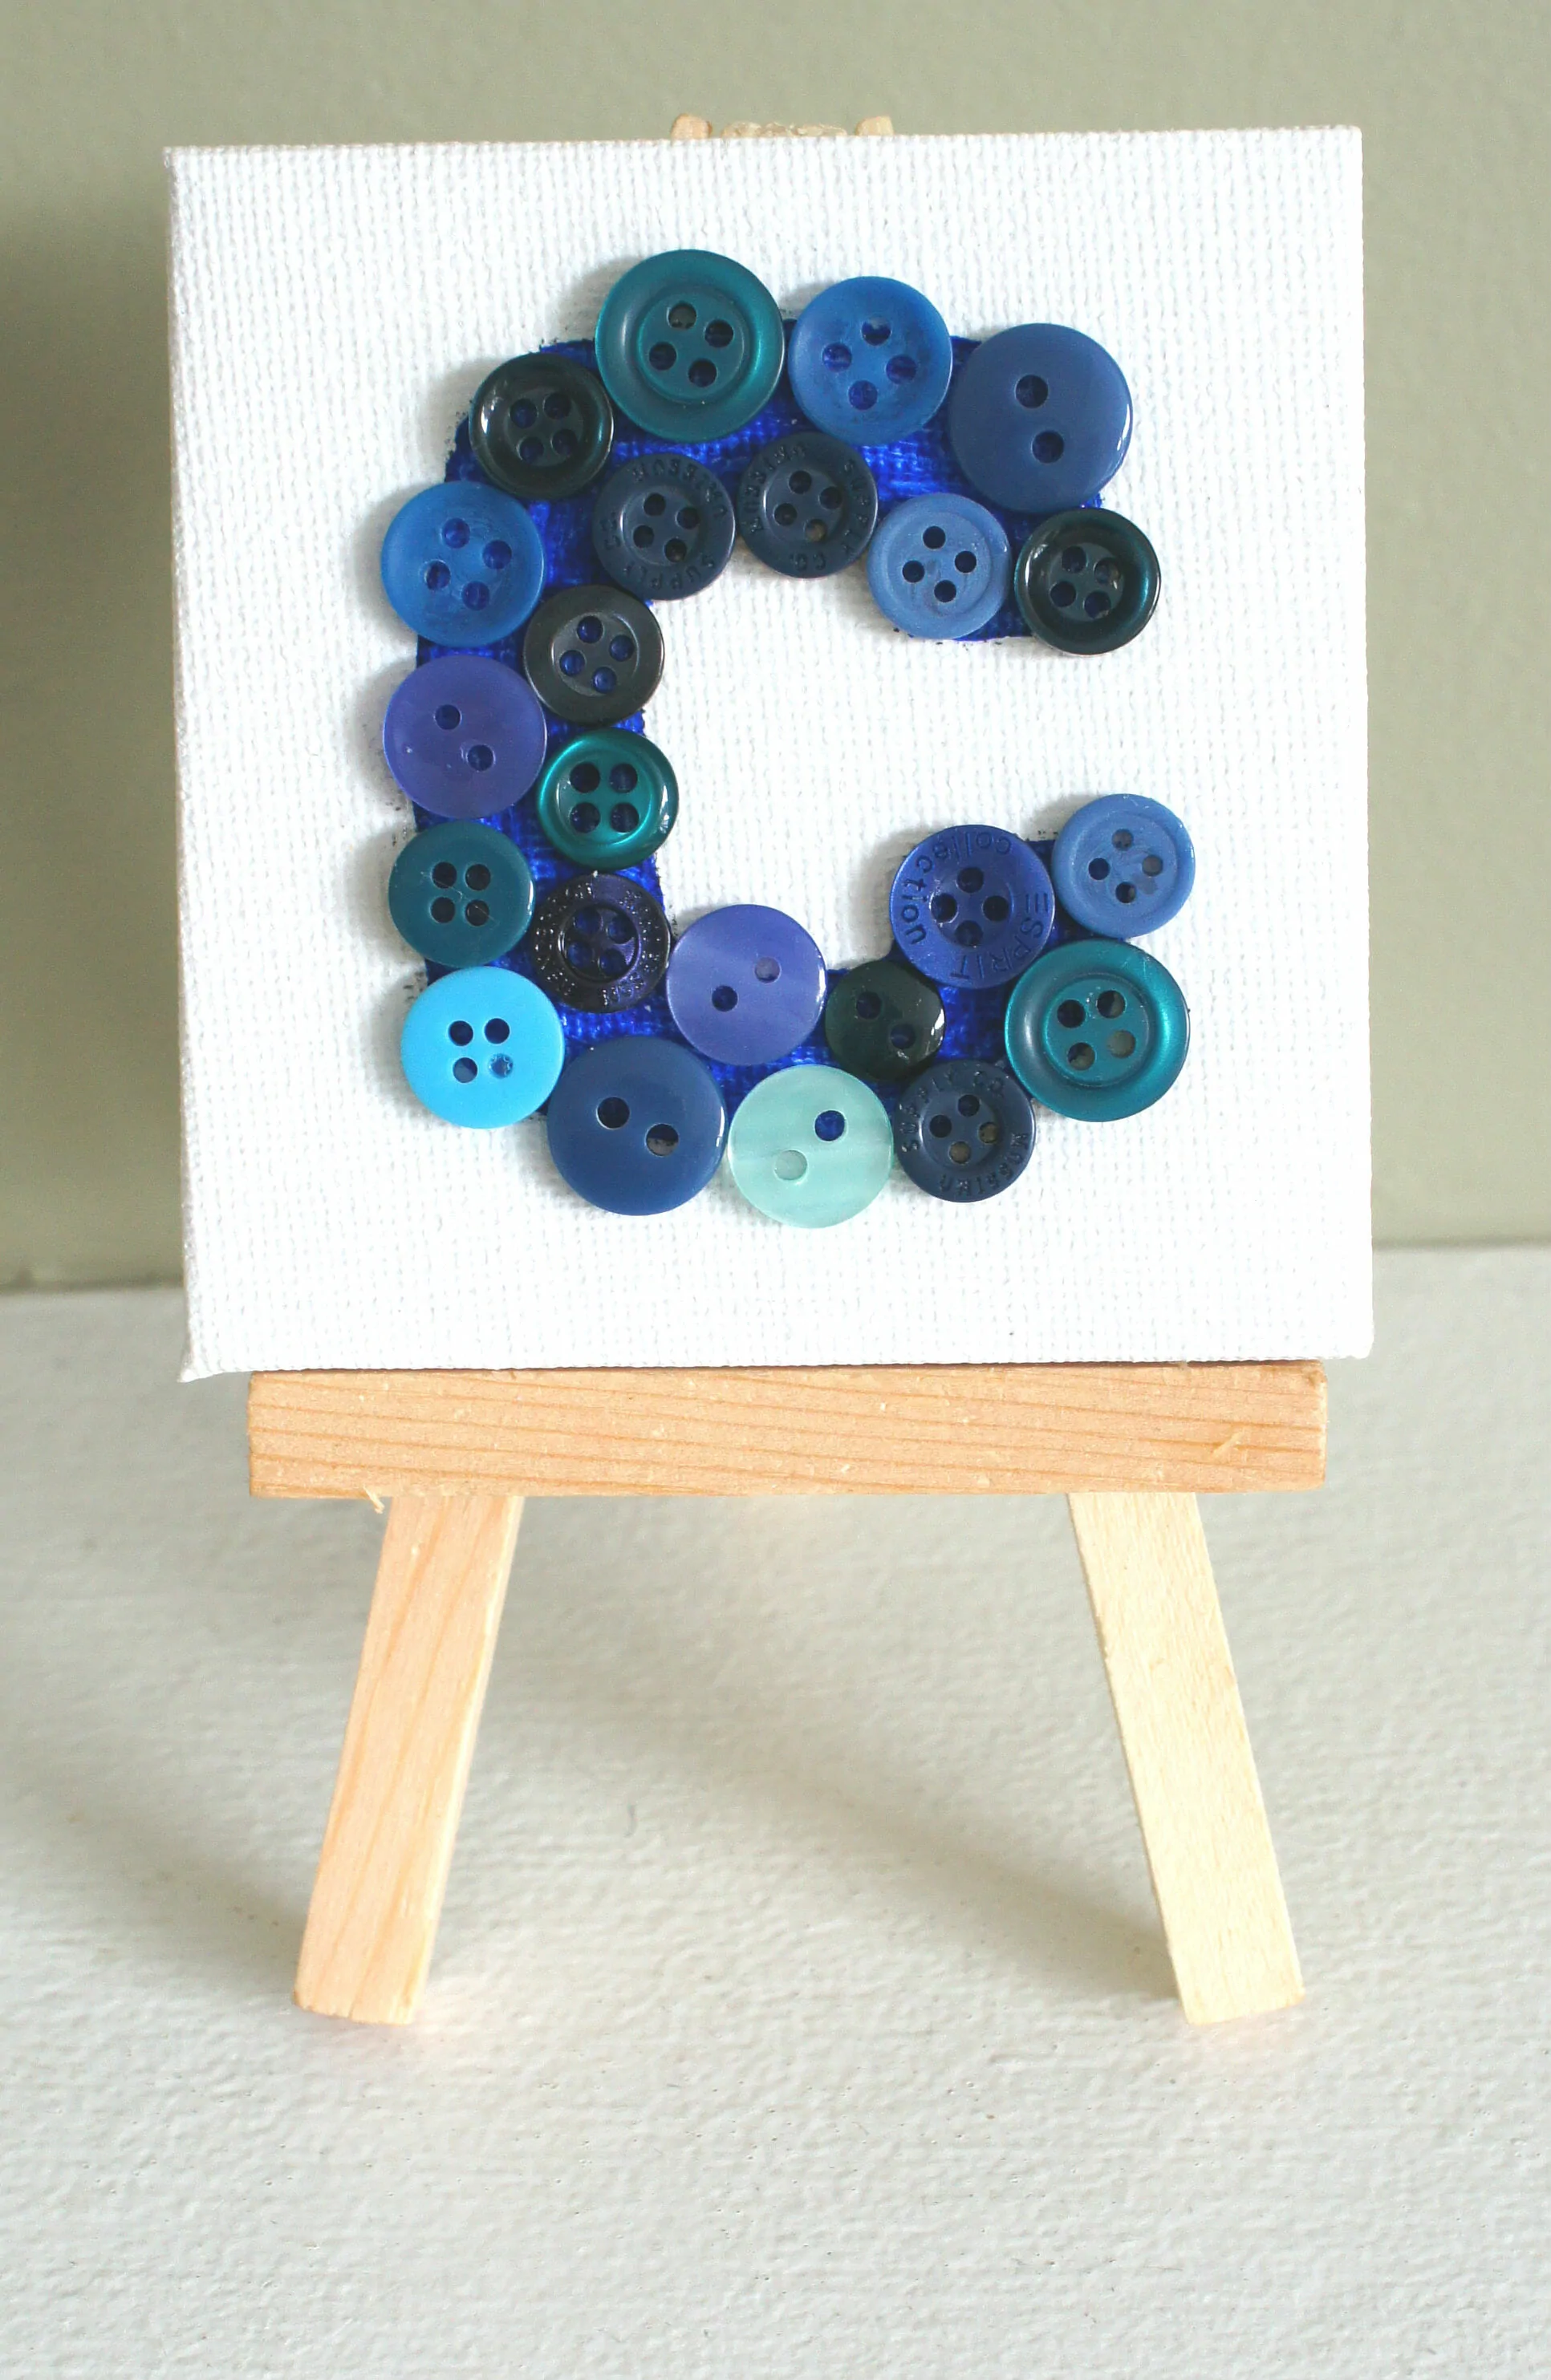
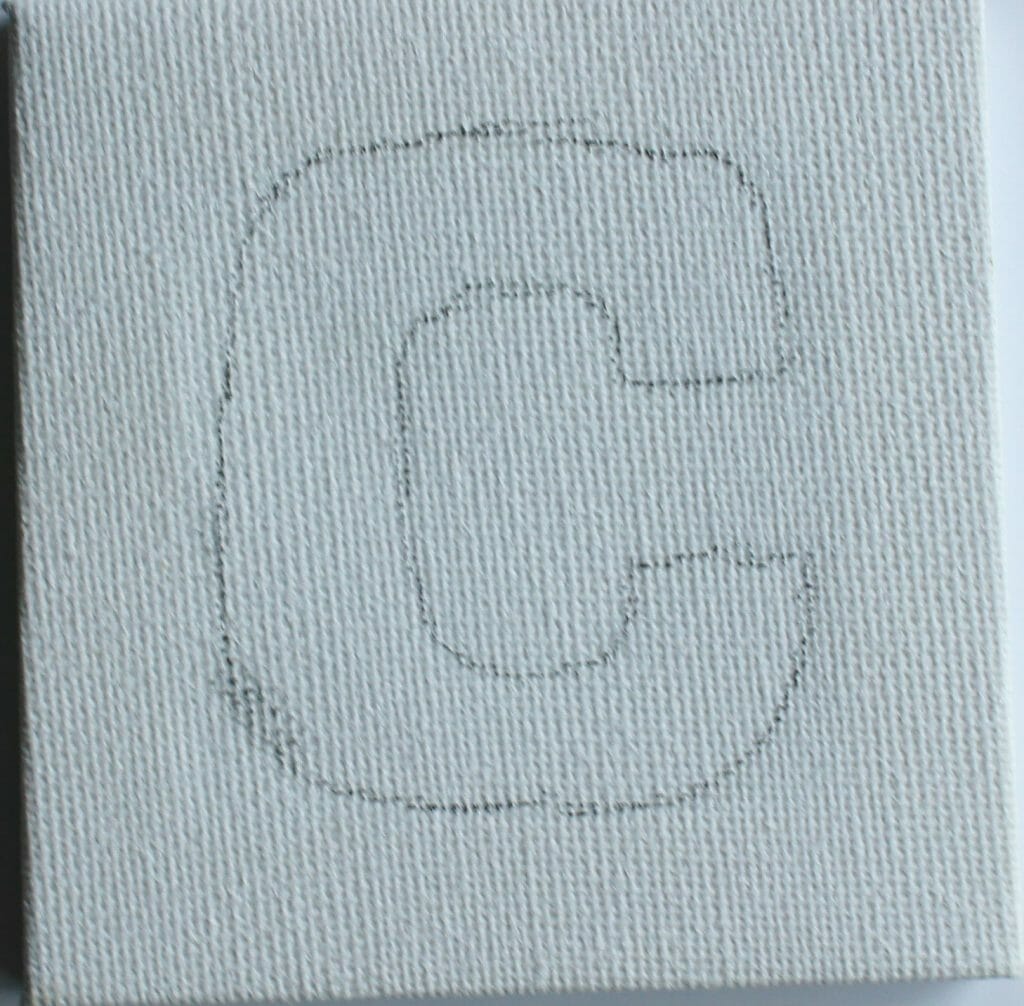
Step 1: Draw your design
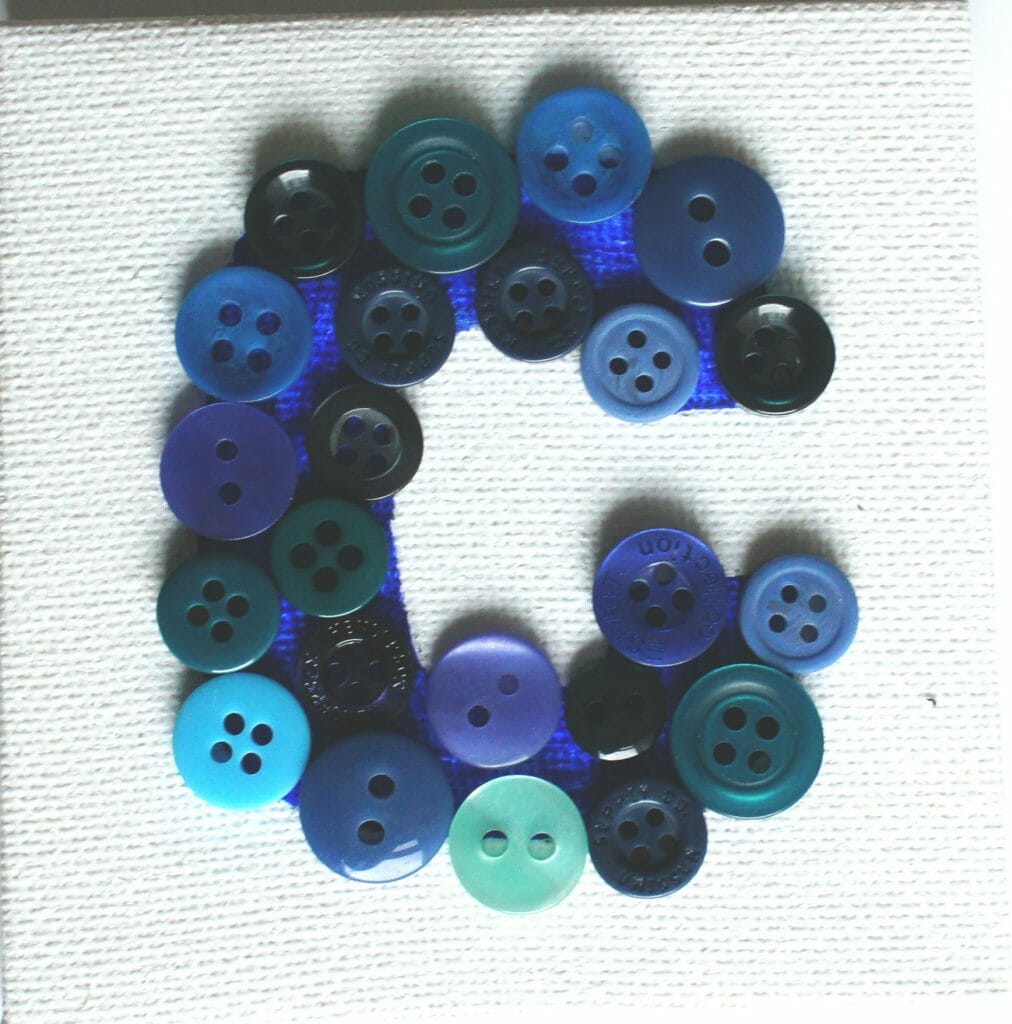
Decide on your design. If necessary draw it on your canvas lightly using pencil. I used a ‘bubble’ C from the internet. If you like working freestyle then ignore this step.
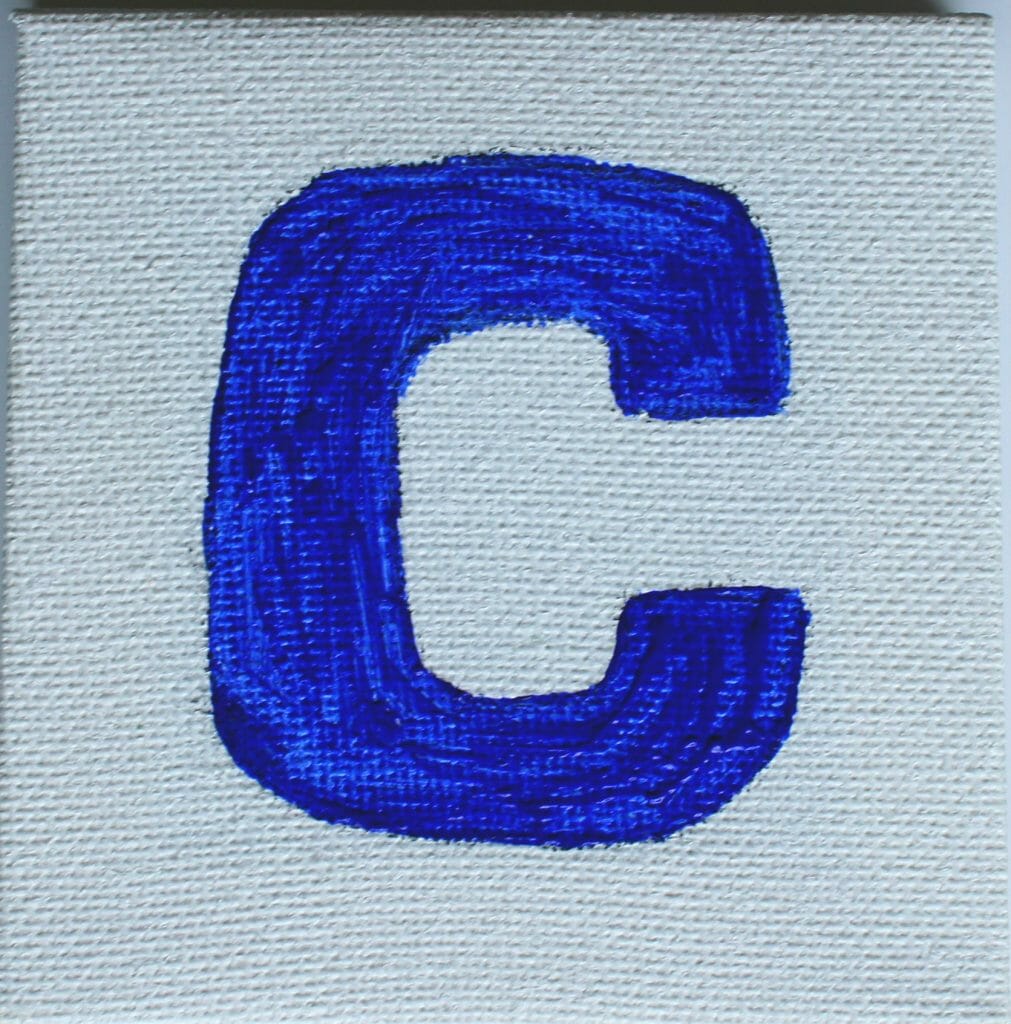
Step 2: Paint background
Decide whether you want your buttons to have a coloured background. I decided that I wanted all blue buttons and a blue background. I painted my ‘C’ using blue acrylic paint. This also covered my pencil lines.
Step 3: Arrange buttons
Place the buttons on your canvas and design what you want. Take your time to move them around and try different buttons until you are happy with the layout.
Step 4: Glue buttons down
Glue your buttons down one at a time using a small amount of glue on the back of each button. Make sure that the glue you use dries clear so that it will not show. Leave it to dry and then you are finished.
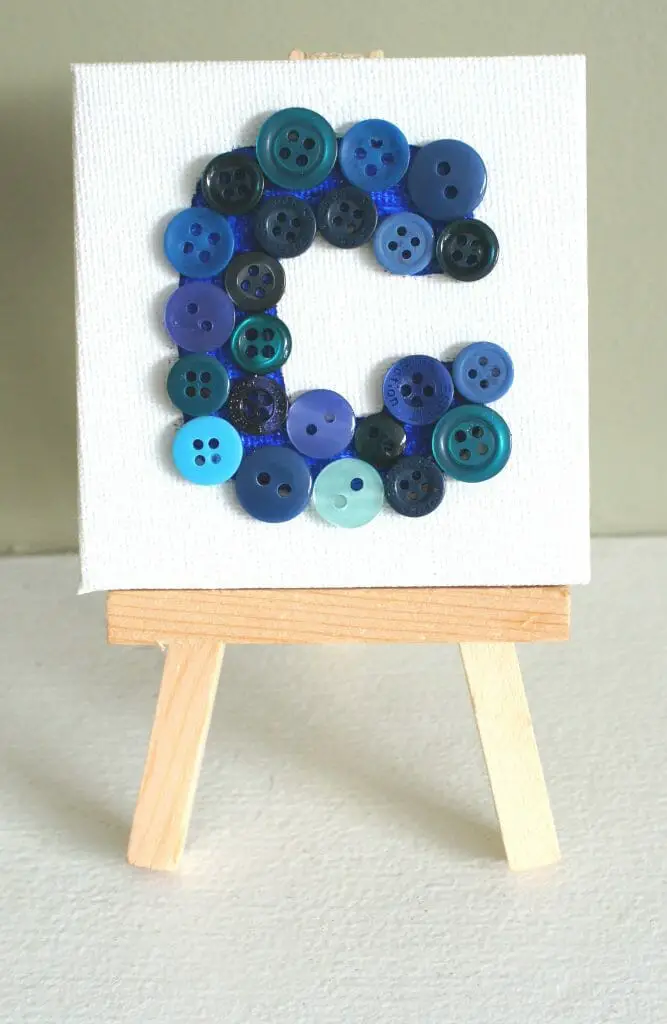
So there you go – all finished. The options for what you could create are endless You are only limited by your imagination. If you are artistic produce your own design button art pictures but if not there are lots of outlines and ideas on the internet.
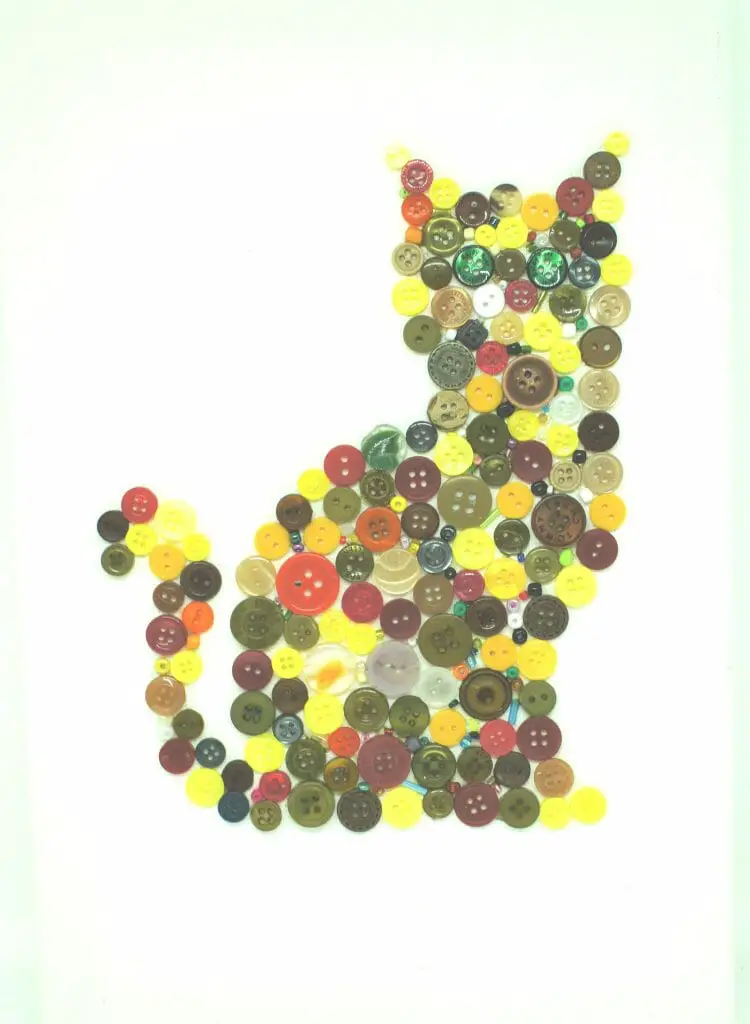
This is the next picture I made and I love it. It is 20cm x 30cm (8″ x 12″). I also filled some of the gaps with small beads, personal preference. So have a go and see what you can create.
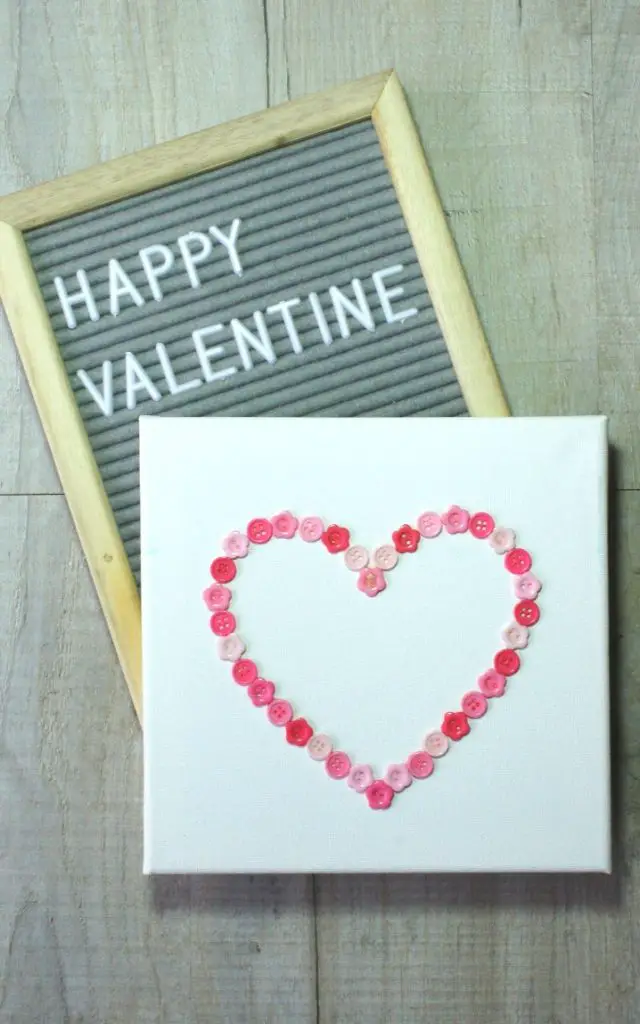
I also produced this heart on a square canvas for Valentine’s Day. Simply draw around a heart in pencil, arrange your selection of buttons along the line and then glue them down. Really quick and simple but very effective!
If you want to keep creating then take a look at these other great tutorials on this blog:
- Make a quick inspirational piece of art
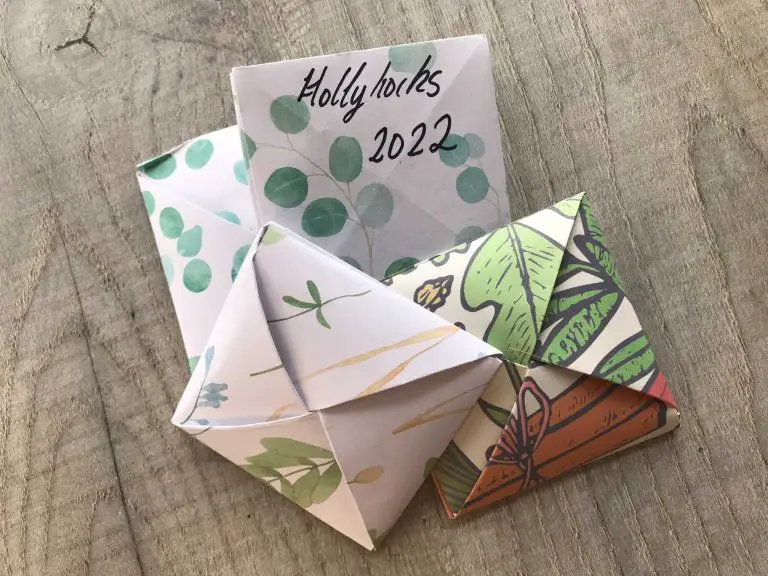
- Make your own Teabag Wallet
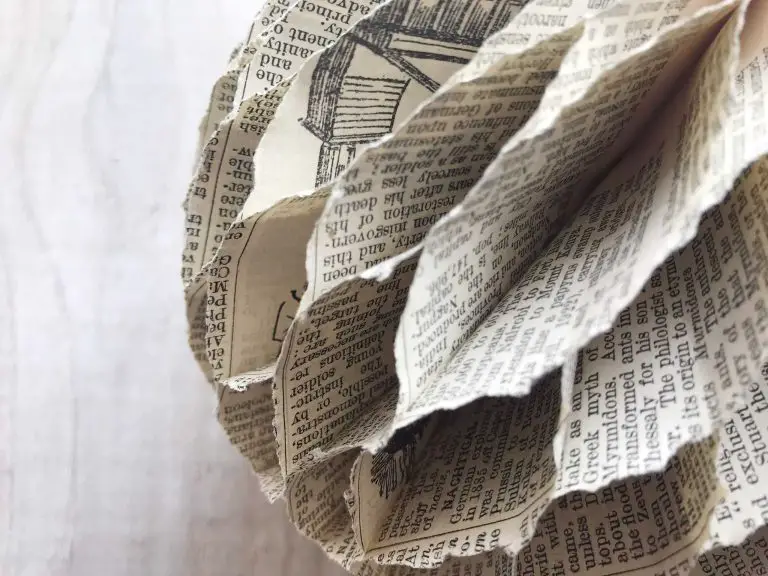
- Gorgeous Flowers from old magazines
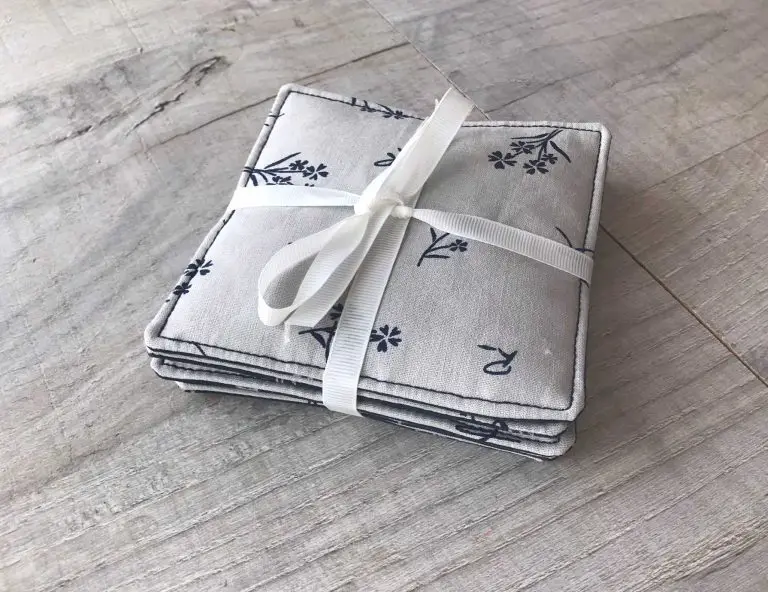
- Fabric Corner Bookmarks in 15 minutes
- Christmas Tree Decorations made from Buttons
Take a look around on the Internet and you will find lots of great project ideas for your button art. Pinterest is a great source of inspiration and you can follow me on there as Christine’s Crafts. Remember to pin this tutorial for later too!