Easy Burlap Autumn Wreath
As an Amazon Associate I earn from qualifying purchases
Do you look at autumn wreaths and think I would love one of those but they can be a bit expensive? If so, then you are in the right place. With a few basic supplies you can make your own DIY autumn wreath for indoors or outdoors.
I will show you how I made mine and give you ideas for adapting it to what you have available. You can even add items to make it ready for Halloween. That is what I will be doing!
This page contains affiliate links meaning I earn a little commission if you use those links at no cost to you. I only recommend brands I use and trust.
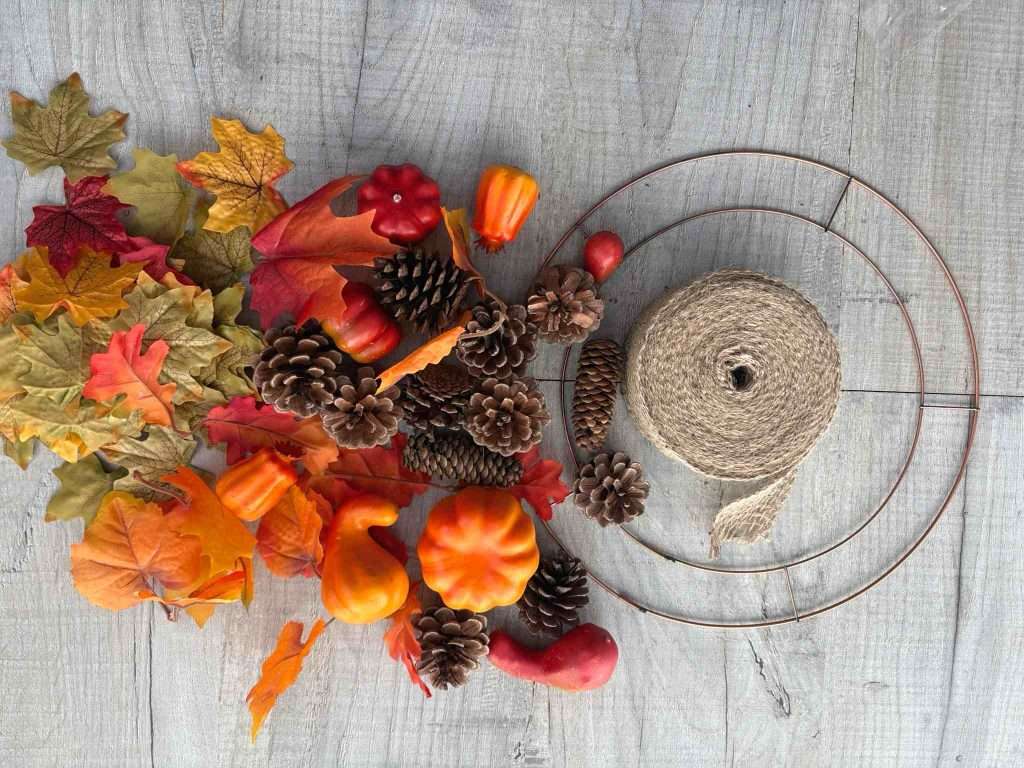
You will need:
- Wreath ring (or cardboard ring if indoor wreath)
- Burlap (or any fabric, including sheets, cut into strips)
- Hot melt glue
- Fake autumn leaves, etc
- Optional – Halloween items


Video Tutorial for Burlap Autumn Wreath
This video is also available on my YouTube channel.
Create your Base Layer
If you are using a wreath ring you are ready to go. If you don’t have one simply find an old cardboard box and a plate the size that you want. Draw round the plate and cut it out. Find a smaller plate and place that in the centre, draw round that. Cut out that inner circle and you will have a homemade wreath ring. Obviously, this is only suitable for wreaths that will be protected from the weather.
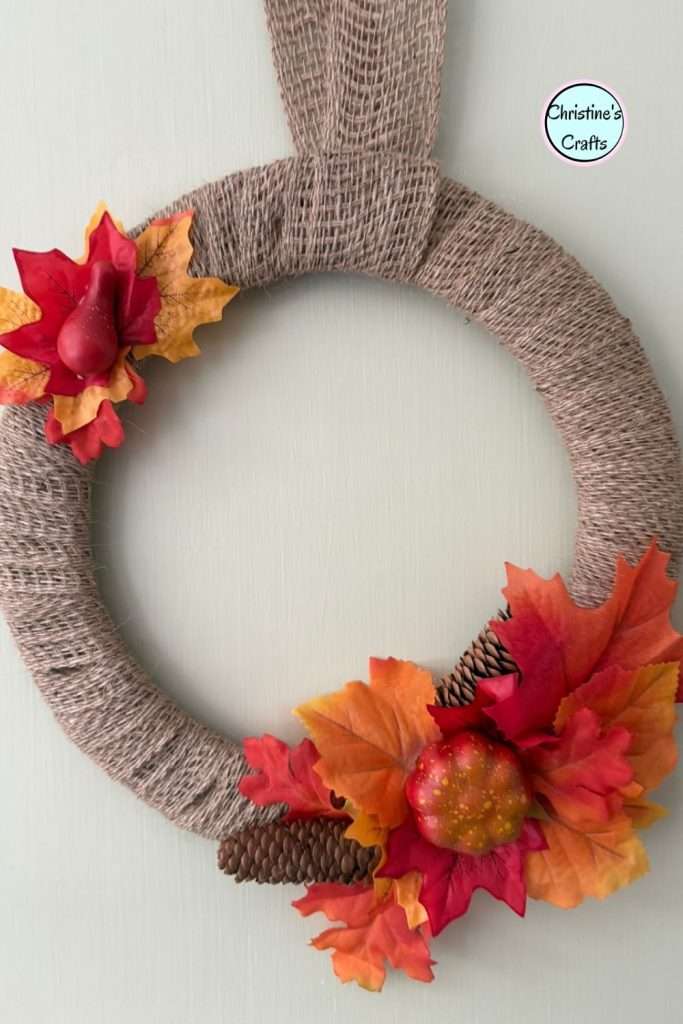
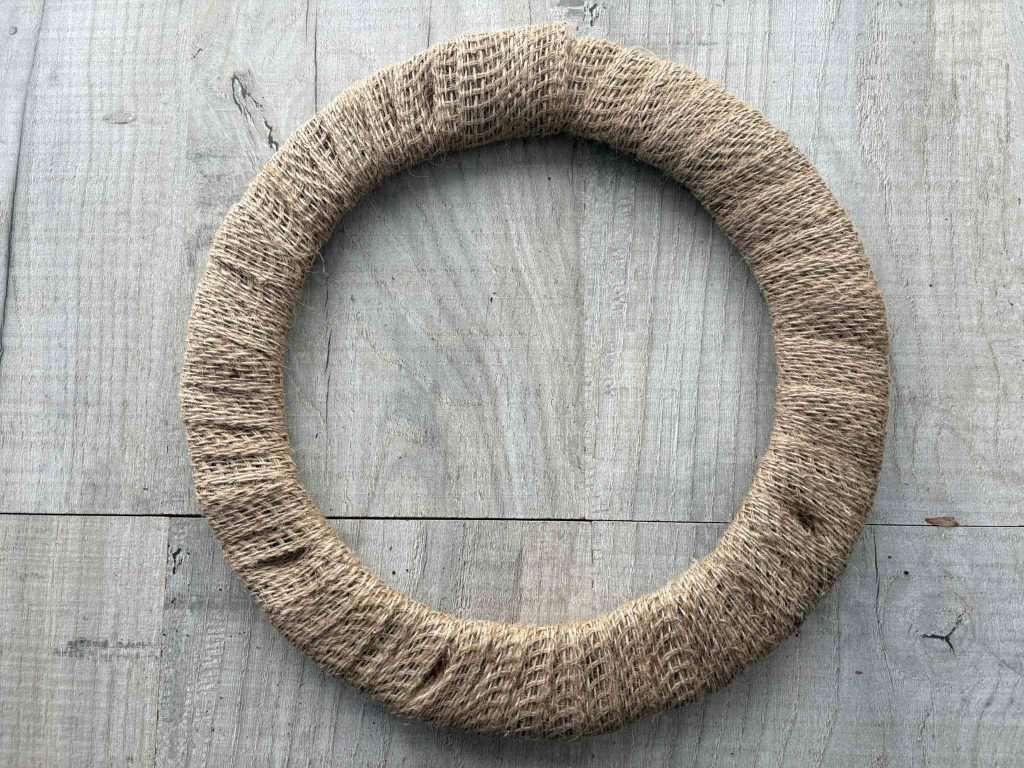
Take your burlap (or equivalent) and start wrapping it around your ring. I recommend starting at the top of your ring and securing it in place on the first wrap around. Then, keep wrapping your burlap as you move around the ring. I overlapped it half the width of the burlap but you can overlap it as much as you like – just don’t leave any gaps.
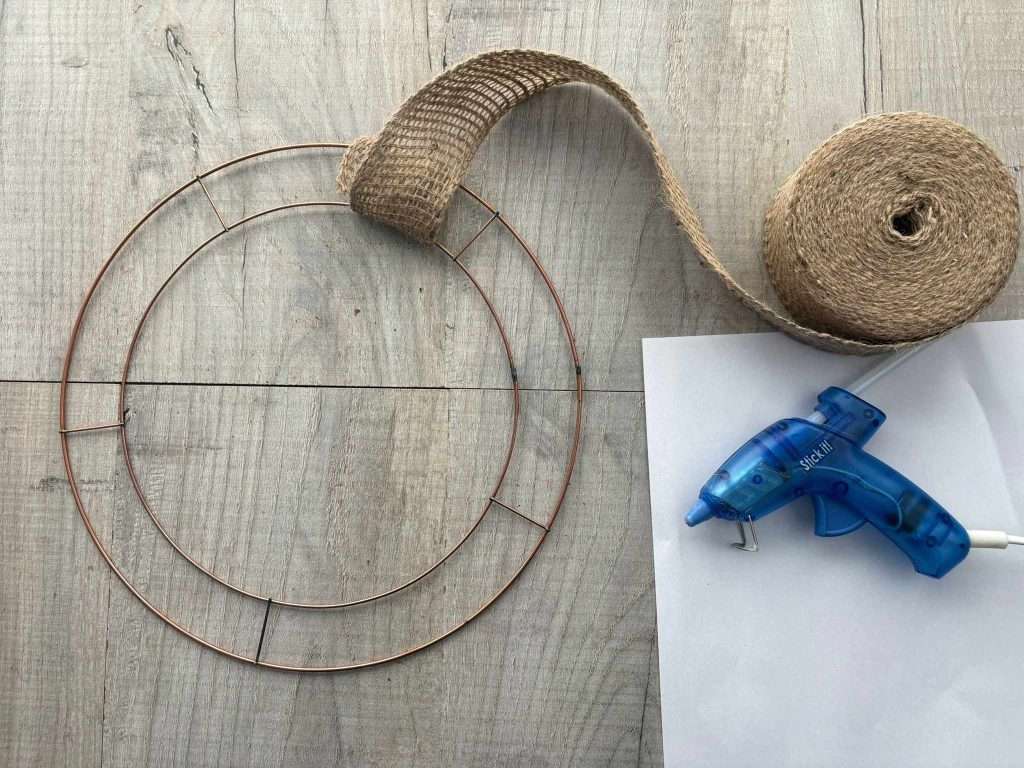
Add a little hot melt glue whenever you feel you need to. I only added a bit at the bottom. When you get back to where you started, make sure you overlap the burlap thoroughly. I did a couple of extra turns to make it a little thicker and stronger at the top.
Then, cut off your burlap and glue the end to the back of the wreath ring. Now, you have a base!
Decorate your Autumn Wreath
Now, it is time to get creative. You can do whatever you like. Many people cover the whole wreath in as many bits and pieces as possible so if that is your style, go crazy!
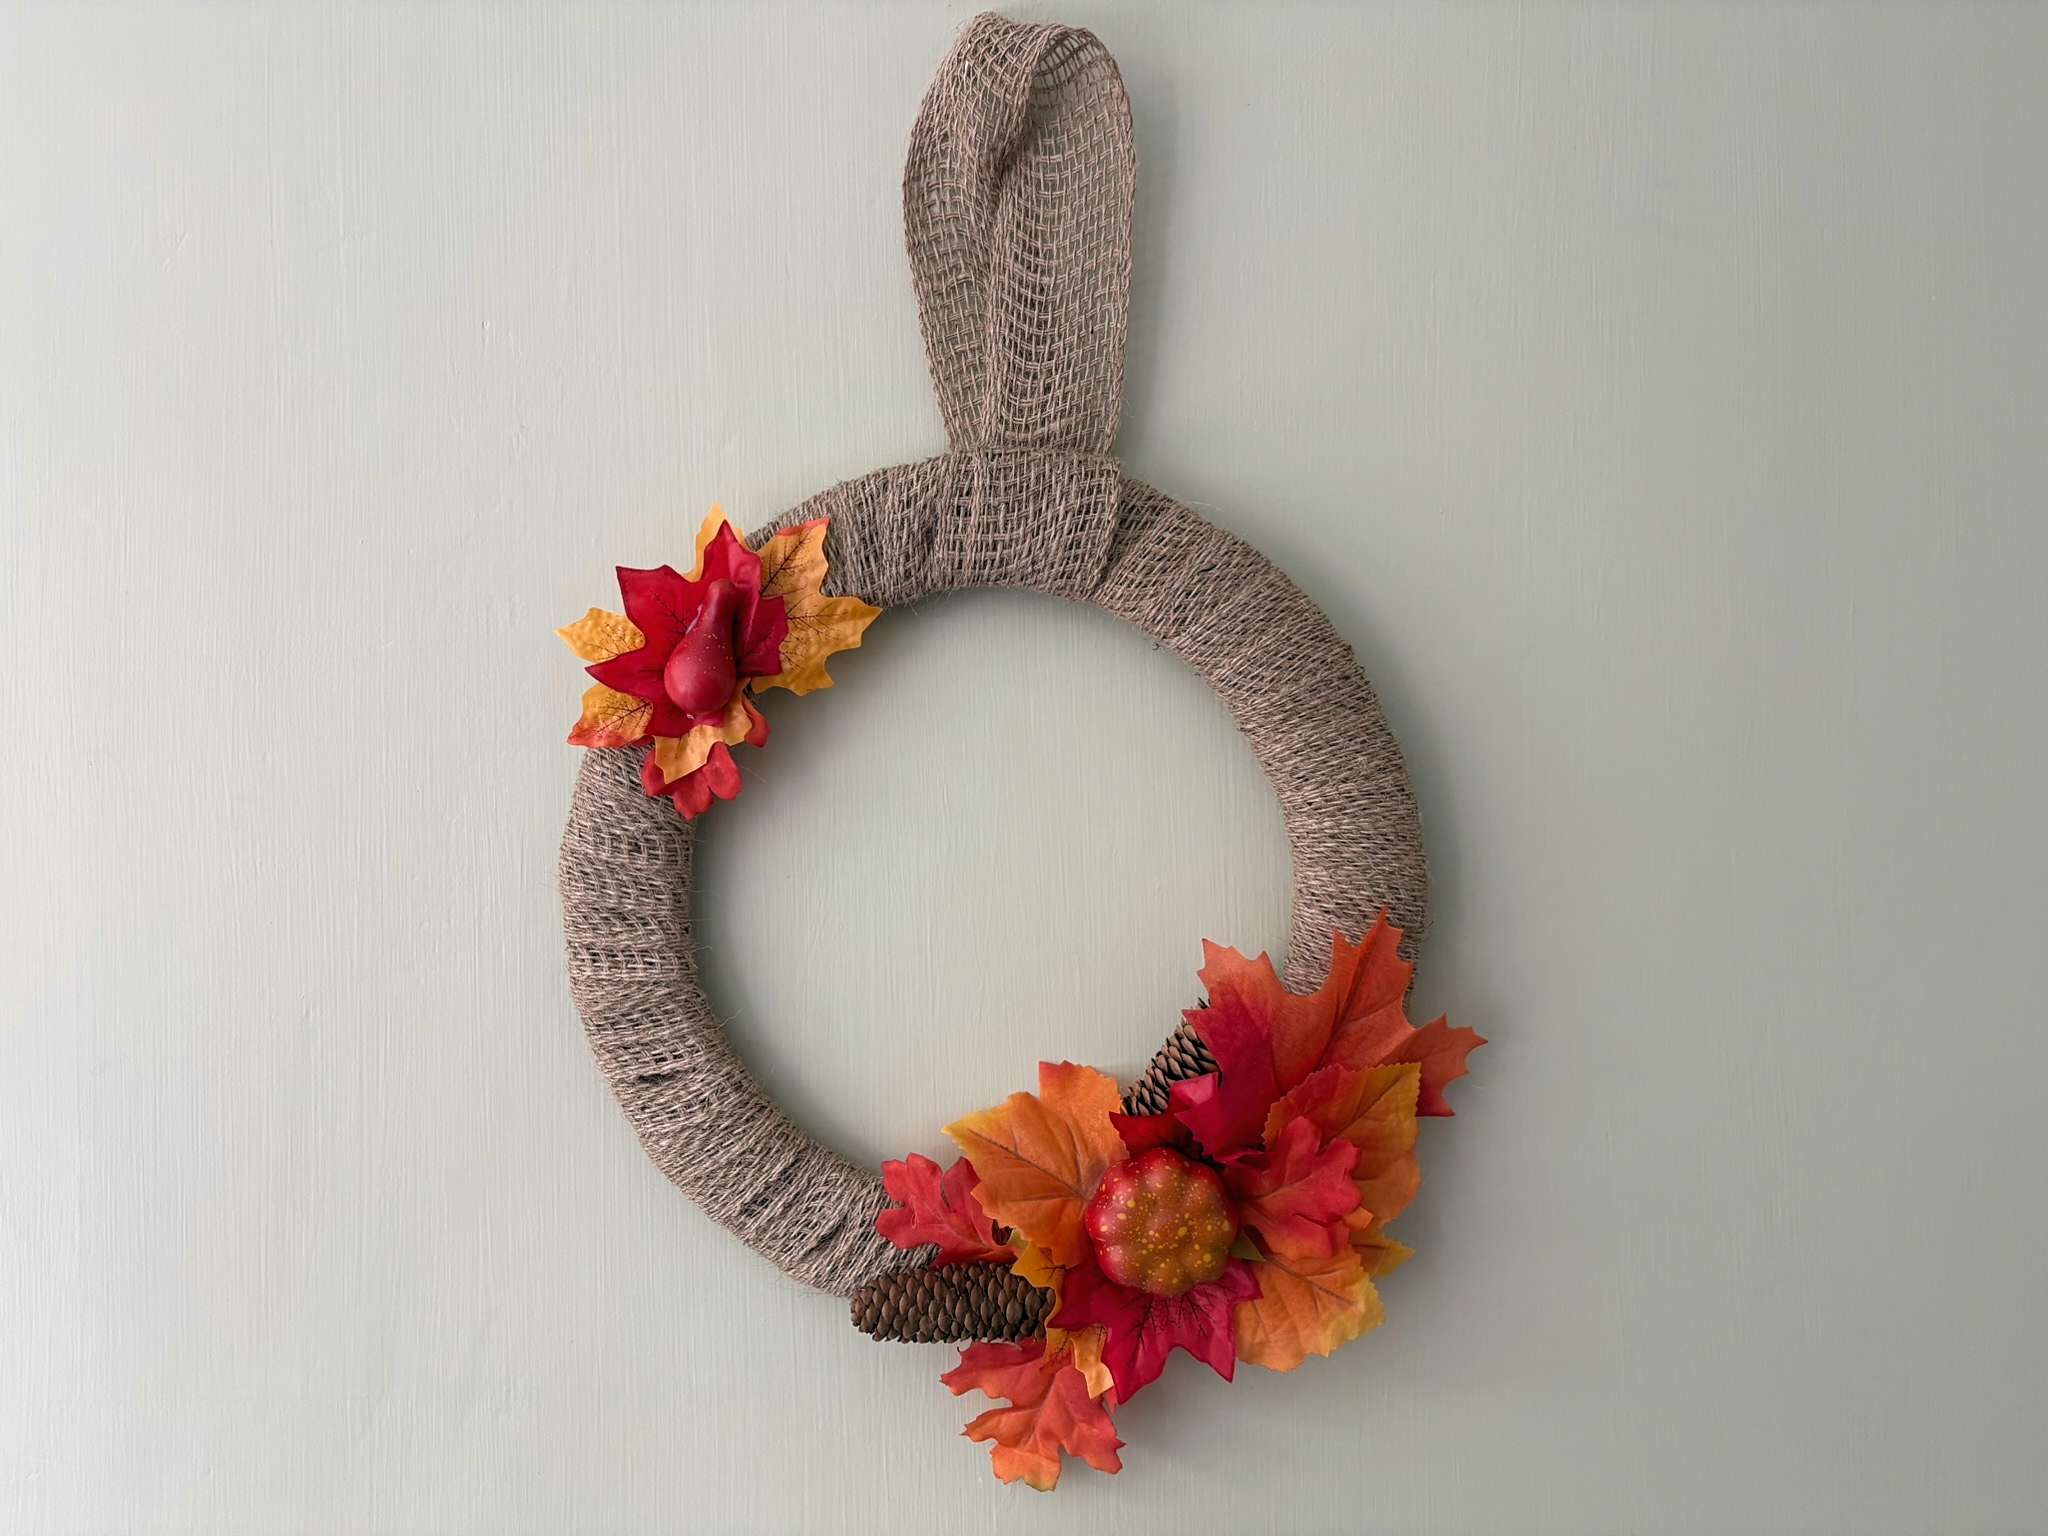
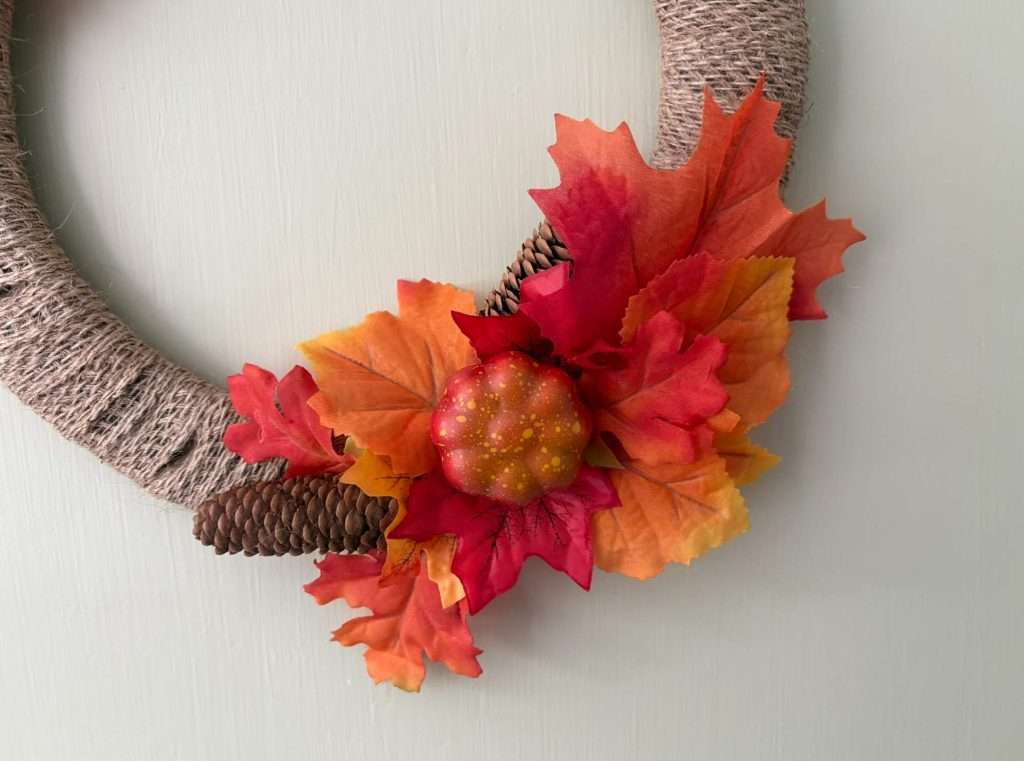
If you want to make one like mine then look at the bottom right hand corner of your ring and build an arrangement there. Think about filling that bottom right hand quarter with items. I used fake leaves as a base and then added in a fake pumpkin and real pine cones.
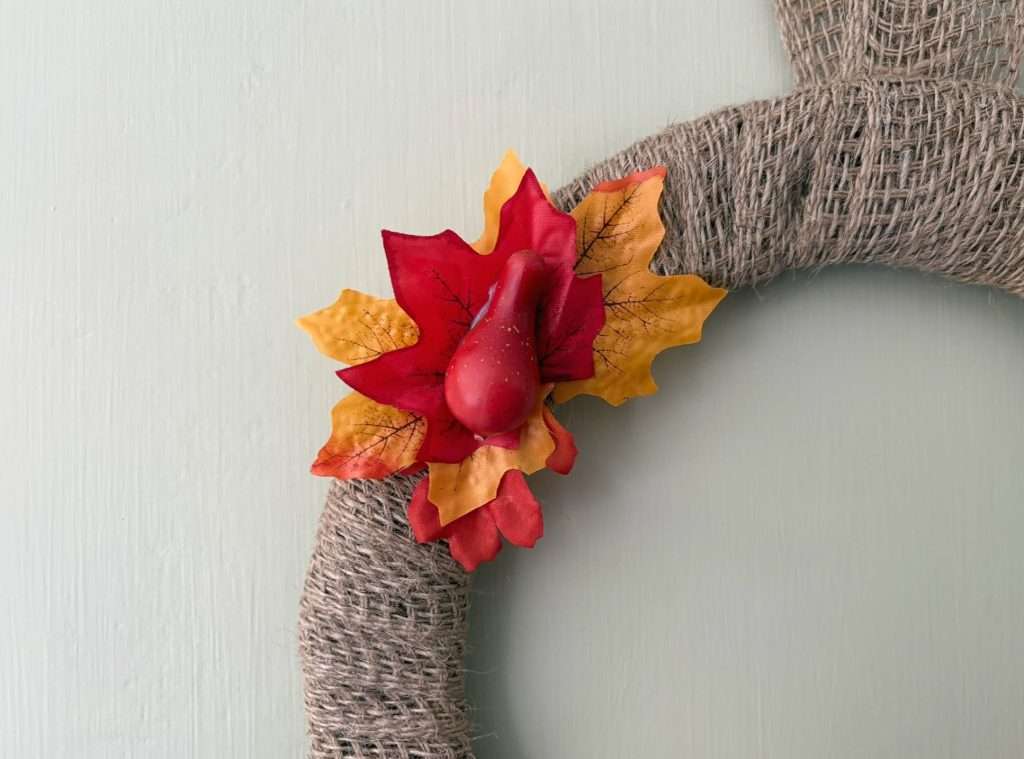
Then, look at the top left hand corner of your wreath and build a smaller arrangement. For your wreath to look in proportion this arrangement must be smaller than the bottom right one. I built mine in the same way as the bottom one.
You will see that I got a bit of glue in view around the plastic gourd. Learn from my mistake and be careful not to add too much glue to your items!
Add a Wreath Hanger
Now, your wreath just needs a hanger. You can use anything you like – an orange or brown ribbon would look nice but, I used the burlap. I simply cut a length and glued both ends to the back of the wreath at the top.
Congratulations you have a completed wreath that you can use every year!
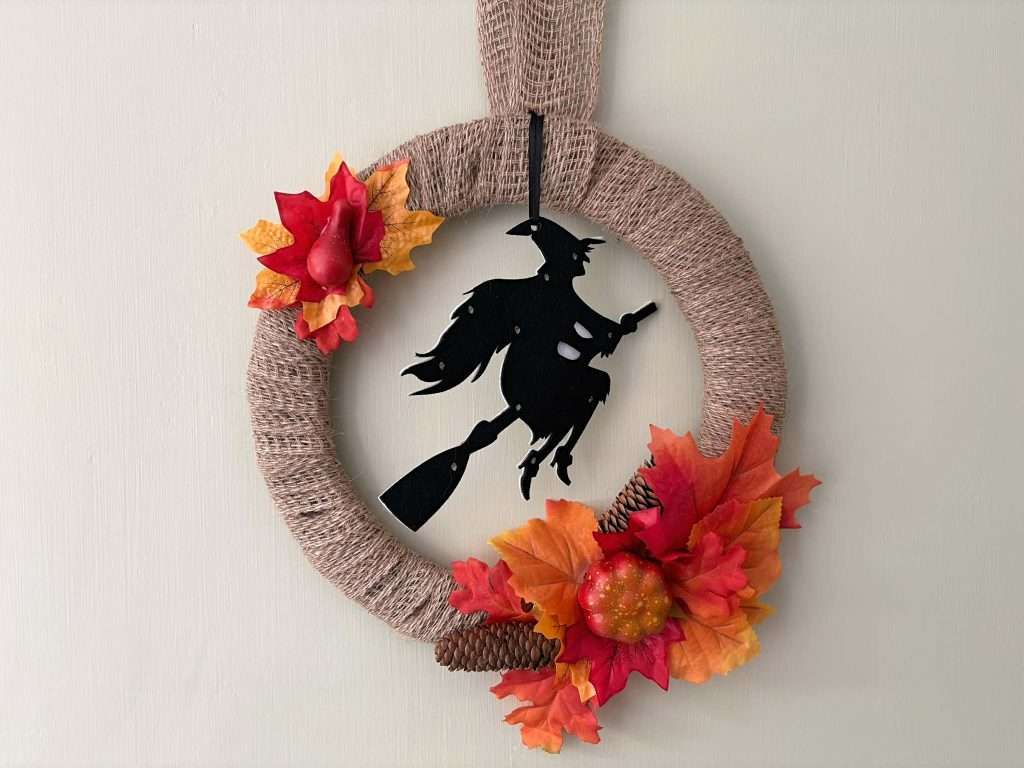
You can even add spooky elements and turn it into a Halloween wreath! My spooky witch is simply pinned in place so that I can use it as an autumn wreath and a Halloween wreath. She lights up too!
More Autumn Decor
Obviously a wreath is not all you want for autumn and Halloween. How about using some of those fake autumn leaves for a cute bowl. Kids will love helping you to make these as you can get covered in glue!
Or how about some simple garlands from old book pages and fake leaves?
Acorns are a great decoration for autumn. If you would like some that you can bring out every year then how about making these cute needle-felted acorns?
Whatever you decide to create, embrace the cozy season and enjoy those autumn colours. Let me know in the comments below what you love about autumn.