How to Sew a Cute Lined Christmas Stocking with Free Template
As an Amazon Associate I earn from qualifying purchases
An adorable lined Christmas stocking is so easy to make and you can keep it to use for years or even gift it with it’s contents to your friends and family. Make loads of them for all your special people. They look so cute hanging on the Christmas tree or the mantelpiece. They are beginner friendly yet the cutest Christmas stockings so keep reading and make yours today.
If you like to watch a video tutorial then there is one of those too!
You will need:
Main Fabric
Lining Fabric
Stocking Template available here
Matching thread
Sewing Supplies
Video Tutorial for the Christmas Stocking
This video is also available on my YouTube channel
Cut out Your Christmas Stocking Pieces
Cut out the stocking template. It is in 2 halves and you simply need to tape the 2 pages together and cut out the stocking shape..
Take your main fabric and fold it in half. Pin your template to the 2 layers of fabric. Make sure that your pattern (if you have one) is the right way up. Cut around the template to form your main stocking pieces.
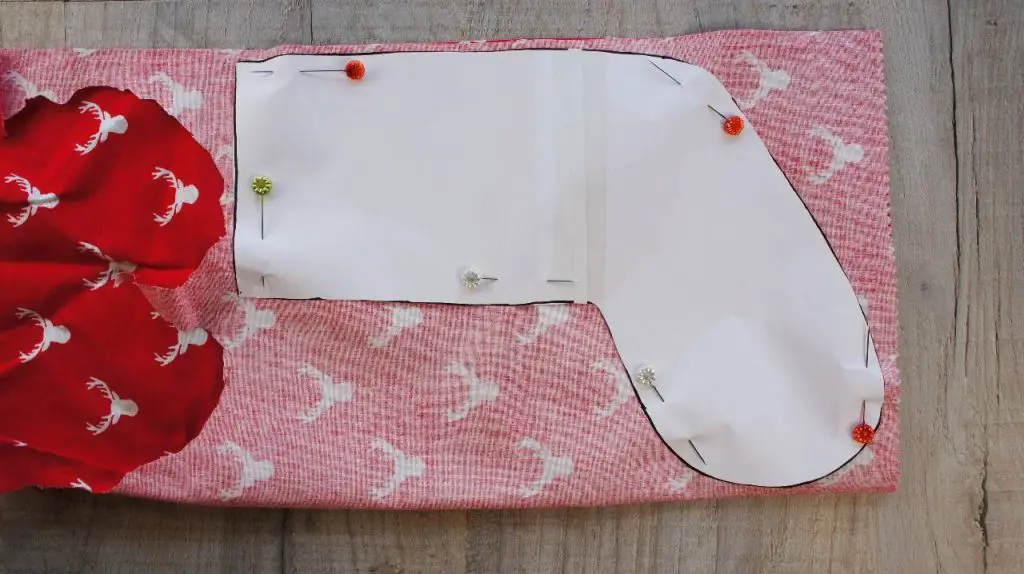
Repeat this process with your lining fabric so that you have 2 main fabric pieces and 2 lining fabric pieces.
From the main fabric also cut out a rectangle to form your hanging loop. It needs to be 4 times as wide as you would like your loop to be and twice as long. Mine is 6cm by 12cm.
Sew the Main Christmas Stocking Pieces
Lay the two main fabric pieces on top of each other with right sides facing. Pin or clip around all but the top edge of the stocking. Repeat for the lining pieces.
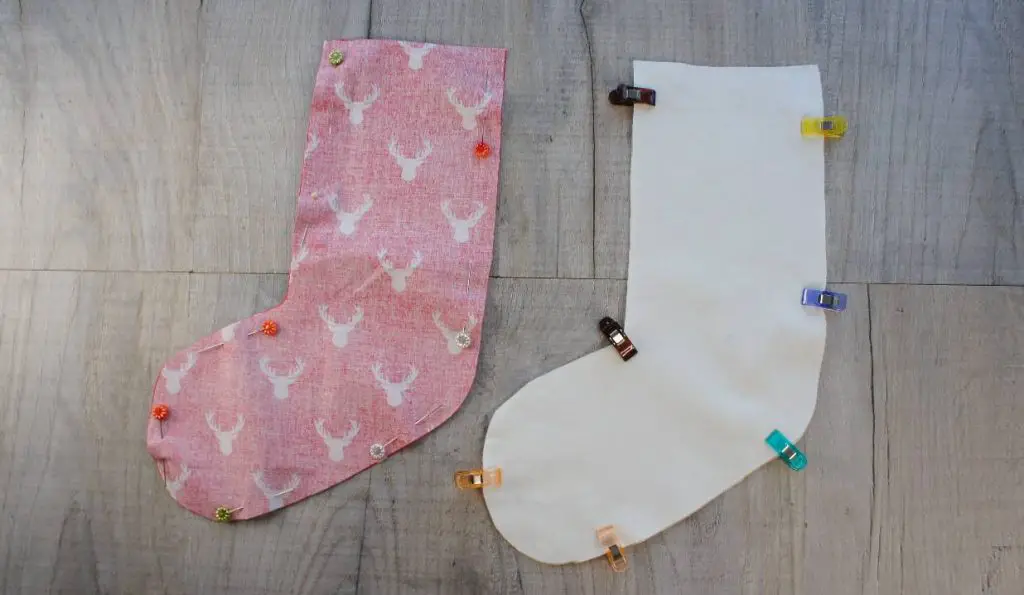
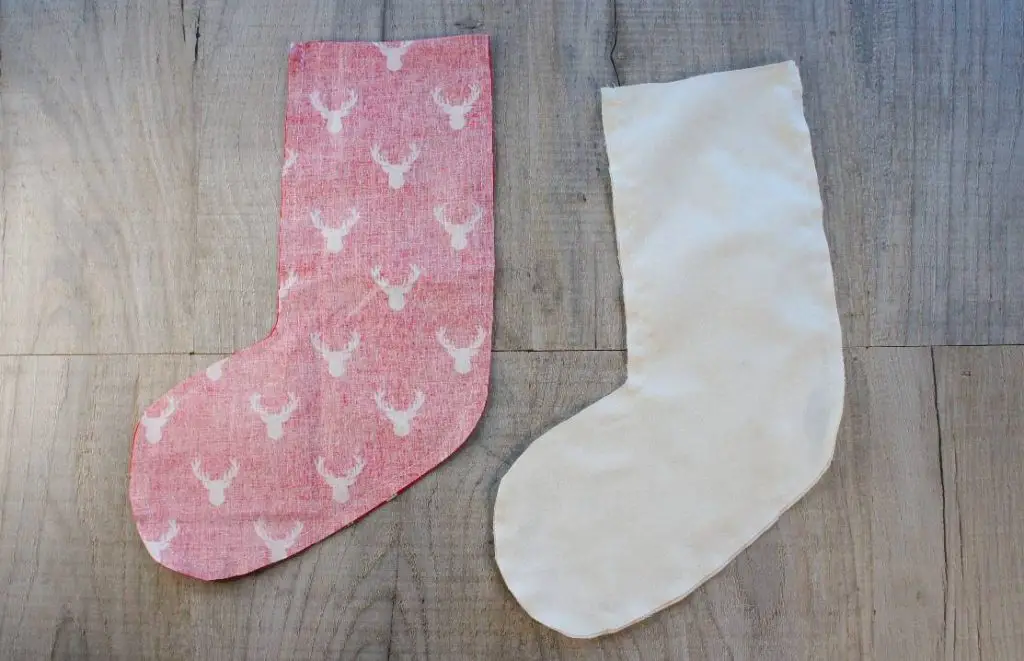
Sew along the pinned edges leaving approximately 1cm or 0.5″ seam allowance. This is not a crucial amount. Make sure you finish your seams off at either end so that they do not come apart and leave the top of each stocking open.
Clip around the seam allowance round the curved edges of the stockings. Be careful not to clip your stitches! This will help your seams to lie flat.
Make the Hanging Loop
Take your rectangle of main fabric and fold it in half lengthwise. Press it. Now open it up and, in turn, press each long edge in to the centre fold.
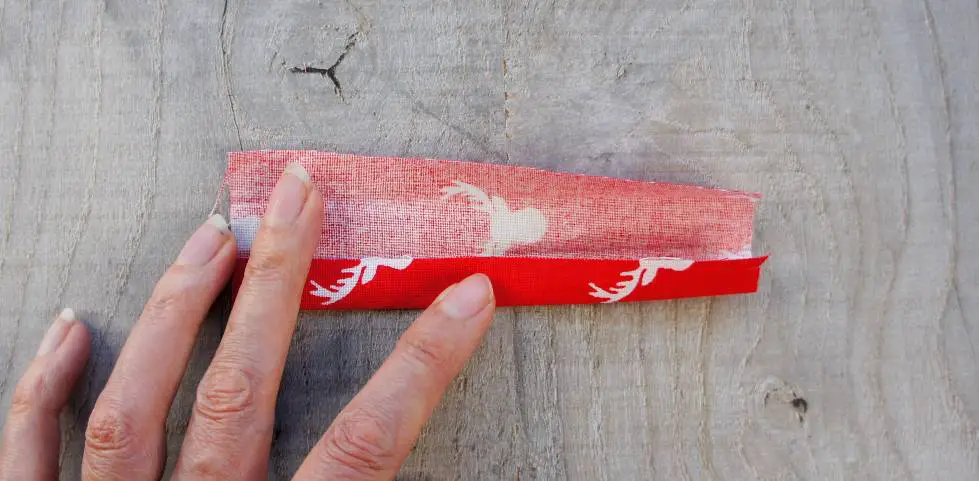
Now fold along all the creases and you should have a tab that has no raw edges apart from on the short ends. These will be hidden when we sew the hanging loop into the stocking.
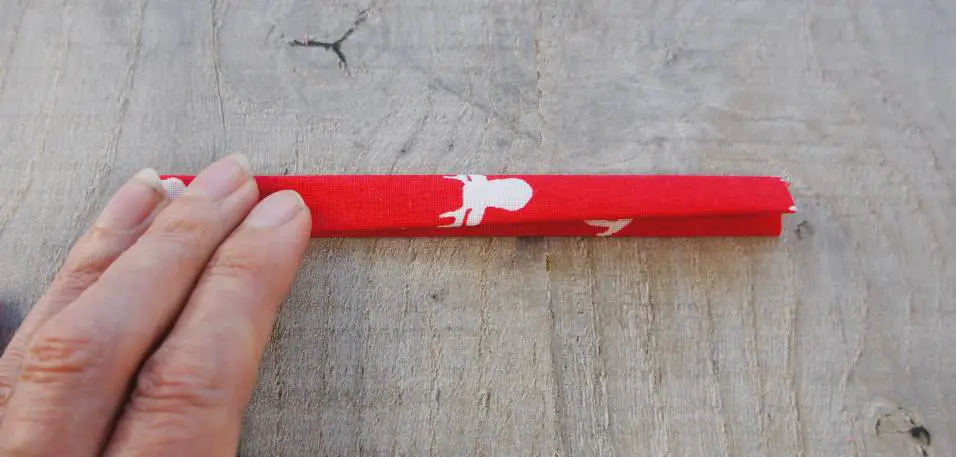
Now sew a line of top stitch along either long side of the tab to hold it in place and make it look smart.
It is now ready to be sewn into the stocking.
Sew the Christmas Stocking
Turn the lining stocking the right side out and place it inside the main fabric stocking. The right sides of each stocking should be against each other.
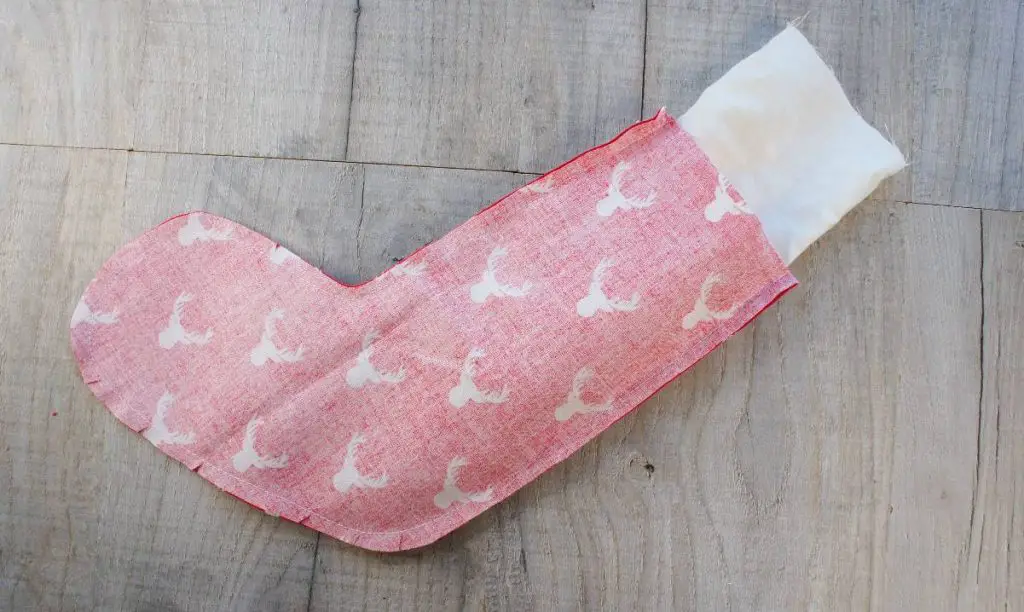
Line up the top of the stockings so that they match perfectly. Ensure that the seams are lined up. Pin or clip around the top of the stockings. At the same time, fold the hanging loop in half and insert it between the stockings so that it lines up with the back seam. The loop should be inside the gap between the main and lining stockings.
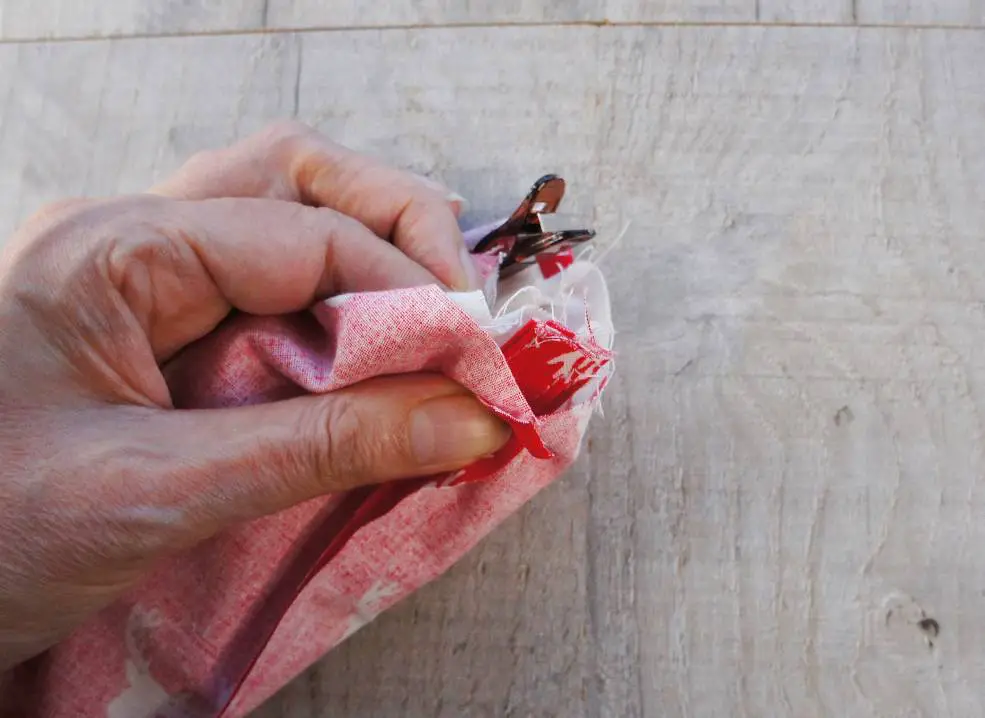
Sew around the top of the stockings BUT leave a gap approximately 8cm or 3 inches. This will allow you to turn the stockings through the right way.
Turn the stockings out through the hole that you left. Make sure that you turn the main fabric stocking out well and are happy with it.

Push the lining stocking into the main fabric stocking. Make sure that you line the stocking well and that it is sitting neatly. Press the stocking.
All that is left to do is to close up the hole that you left to turn the stockings through. Simply sew a topstitch around the top of the stockings that sews through both the main fabric stocking and the lining.

And next?
Congratulations you have completed your lined Christmas stocking! Isn’t it the cutest Christmas stocking? Now how many more are you going to make? They really are quick and easy and you could easily make a few in one afternoon.
If you enjoy creating for Christmas then check out these other great Christmas tutorials:
- Traditional Norwegian Christmas Coronets
- Easy to Make Folded Book Christmas Angel
- Woolly Hat Tree Decorations
- Christmas Paper Polish Star
- Christmas Tree Sled Decoration
- Christmas Tree Diamond Decorations
- Hanging Christmas Tree Angels
- Tissue Paper Stained Glass Windows
Comment below any more great ideas you have for a DIY Christmas on a budget!

