Easy DIY No Sew Pin Cushion Using a Pine Cone – yes really!
As an Amazon Associate I earn from qualifying purchases
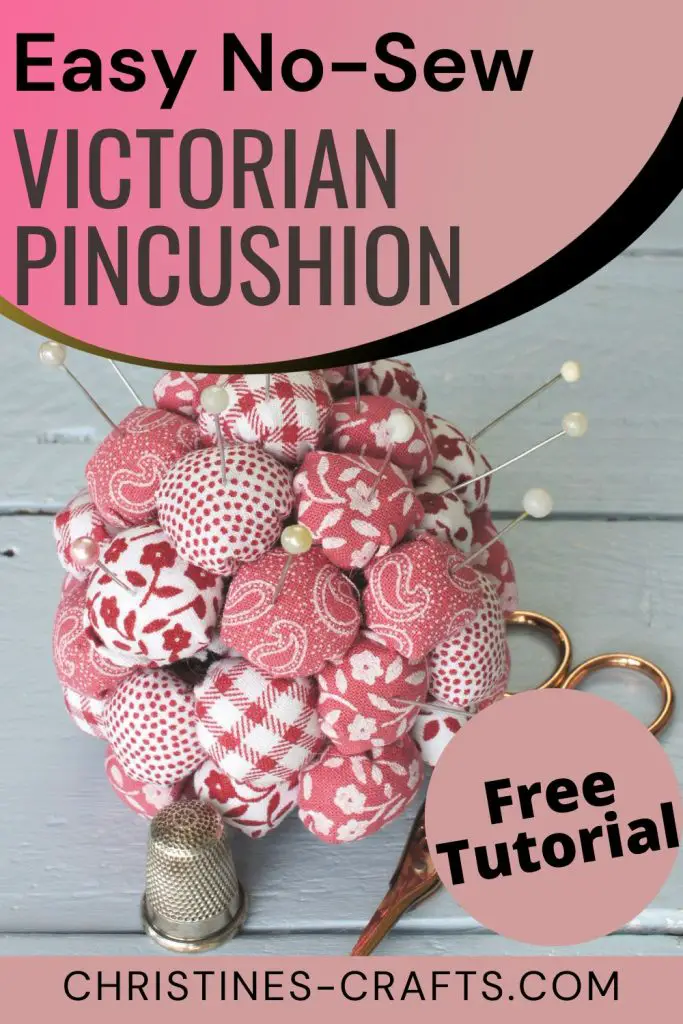
Would you like to create a Victorian pin cushion without sewing a stitch today? Then, this is the tutorial for you. Perhaps you have a friend who sews and would love this no sew pin cushion or you could make them to sell at a fair. Whatever you want them for you will be amazed how easy they are. Plus for all of us who love saving up fabric scraps this is a great way to use them up productively.
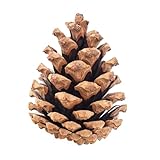
If you are lucky enough to have access to pine cones then these are virtually free to make. However if you don’t have access to any you can always buy some online or in your local craft store.
So, let’s get started.
This page contains affiliate links meaning I earn a little commission if you use those links at no cost to you. I only recommend brands I use and trust.
Supplies You Will Need
- 1 Pine Cone
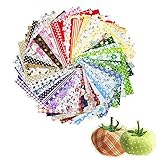
- Fabric Scraps
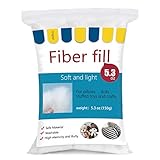
- Polyester Filling (or similar)
- Any thread that you have
- Glue – Multi-purpose is just fine (as is hot melt glue)

Video Tutorial for Pine Cone Pincushion
This video is also available on my YouTube channel.
Prepare your Pin Cushion Mounds
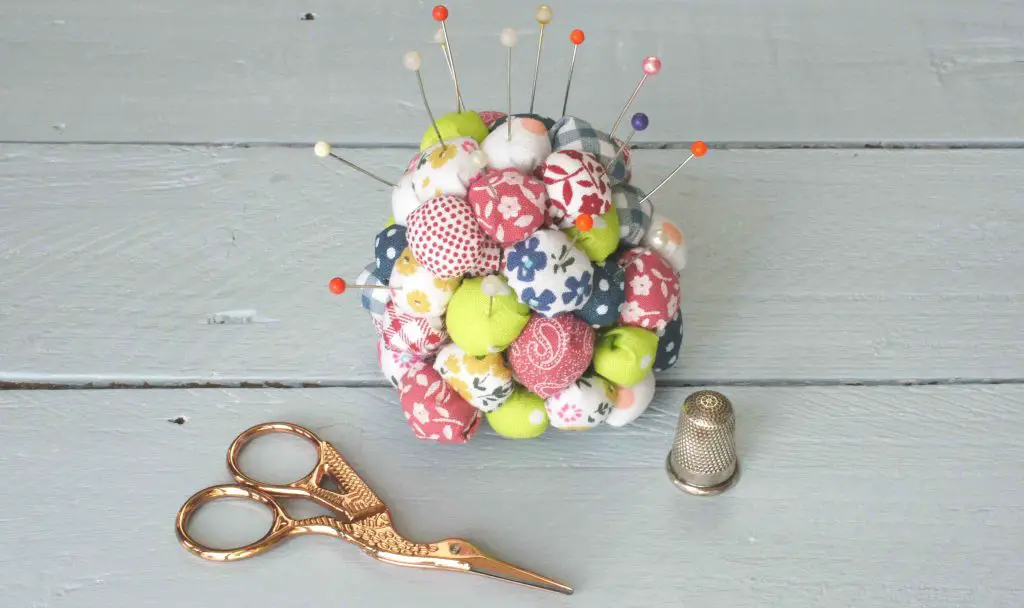
Cut your fabric scraps up into squares that are 2.5″ by 2.5″ (6cm by 6cm). Now, how many is a really difficult question. My pine cone is 3″ tall and I used about 40. These look great in coordinating fabrics but in my opinion they look even better in a mixture of fabrics and colours.
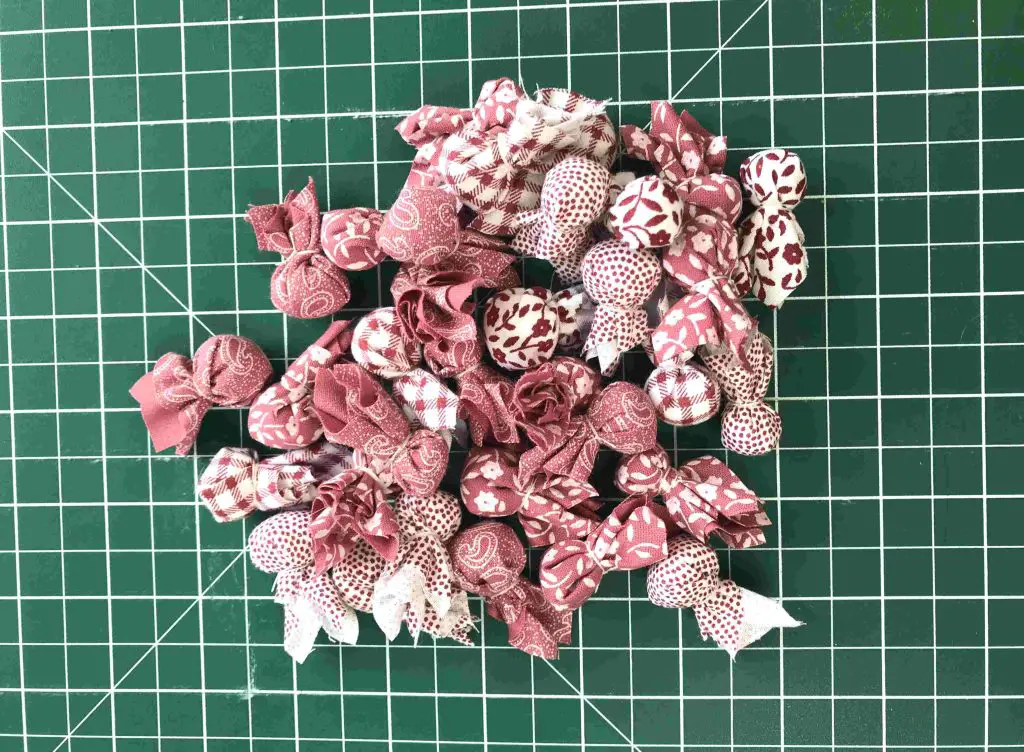
In turn take each square of fabric and place a little filling onto it in the centre. Pull the fabric up around the filling, wrap some thread around it and tie it off. Then trim off the excess fabric so that your ‘mound’ fits into your pine cone.
Repeat for as many as you think you need. It can help with assembly if some end up slightly larger than others. You can squeeze the smaller ones into gaps! Don’t worry you can always make more if you run out. I found this part of the project really relaxing to do in front of the television!
Assemble your No Sew Pin Cushion
It could not be easier to assemble your DIY pin cushion. Simply take each ‘mound’ that you made in turn. Put some glue onto the raw fabric edges and then poke those edges into one of the gaps in the pine cone. I recommend starting at the bottom and working your way up.
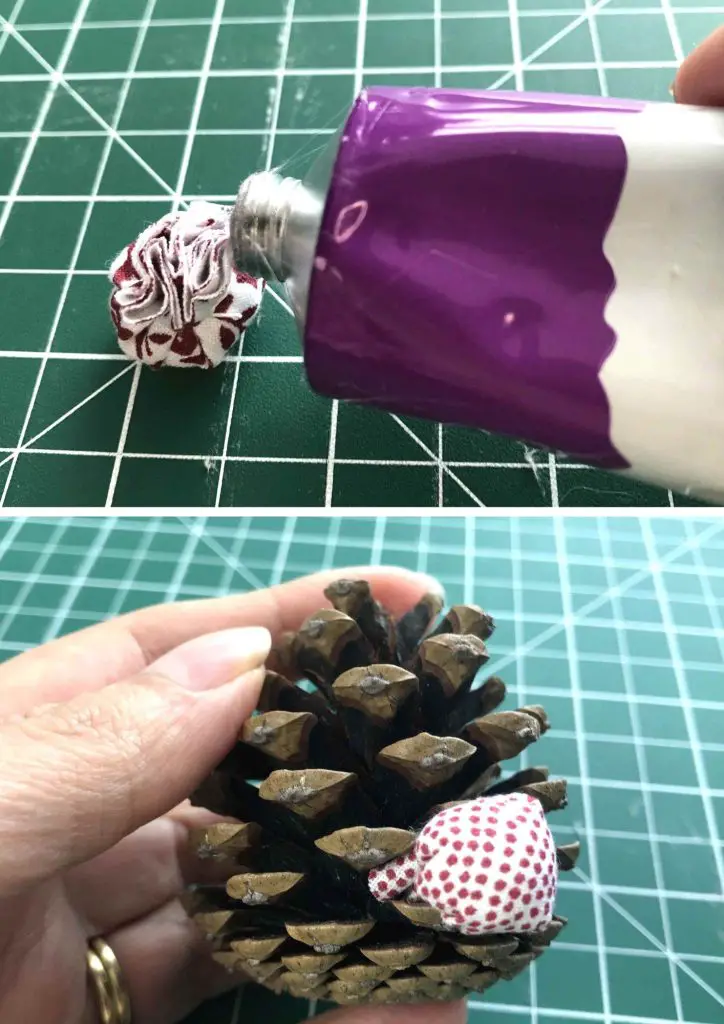
Simply keep going like this until you have filled your pine cone. Keep squeezing your ‘mounds’ into the pine cone to make sure the glue is pressed against both the fabric and the pine cone. At the end give the whole thing a good squeeze and then leave it to dry.
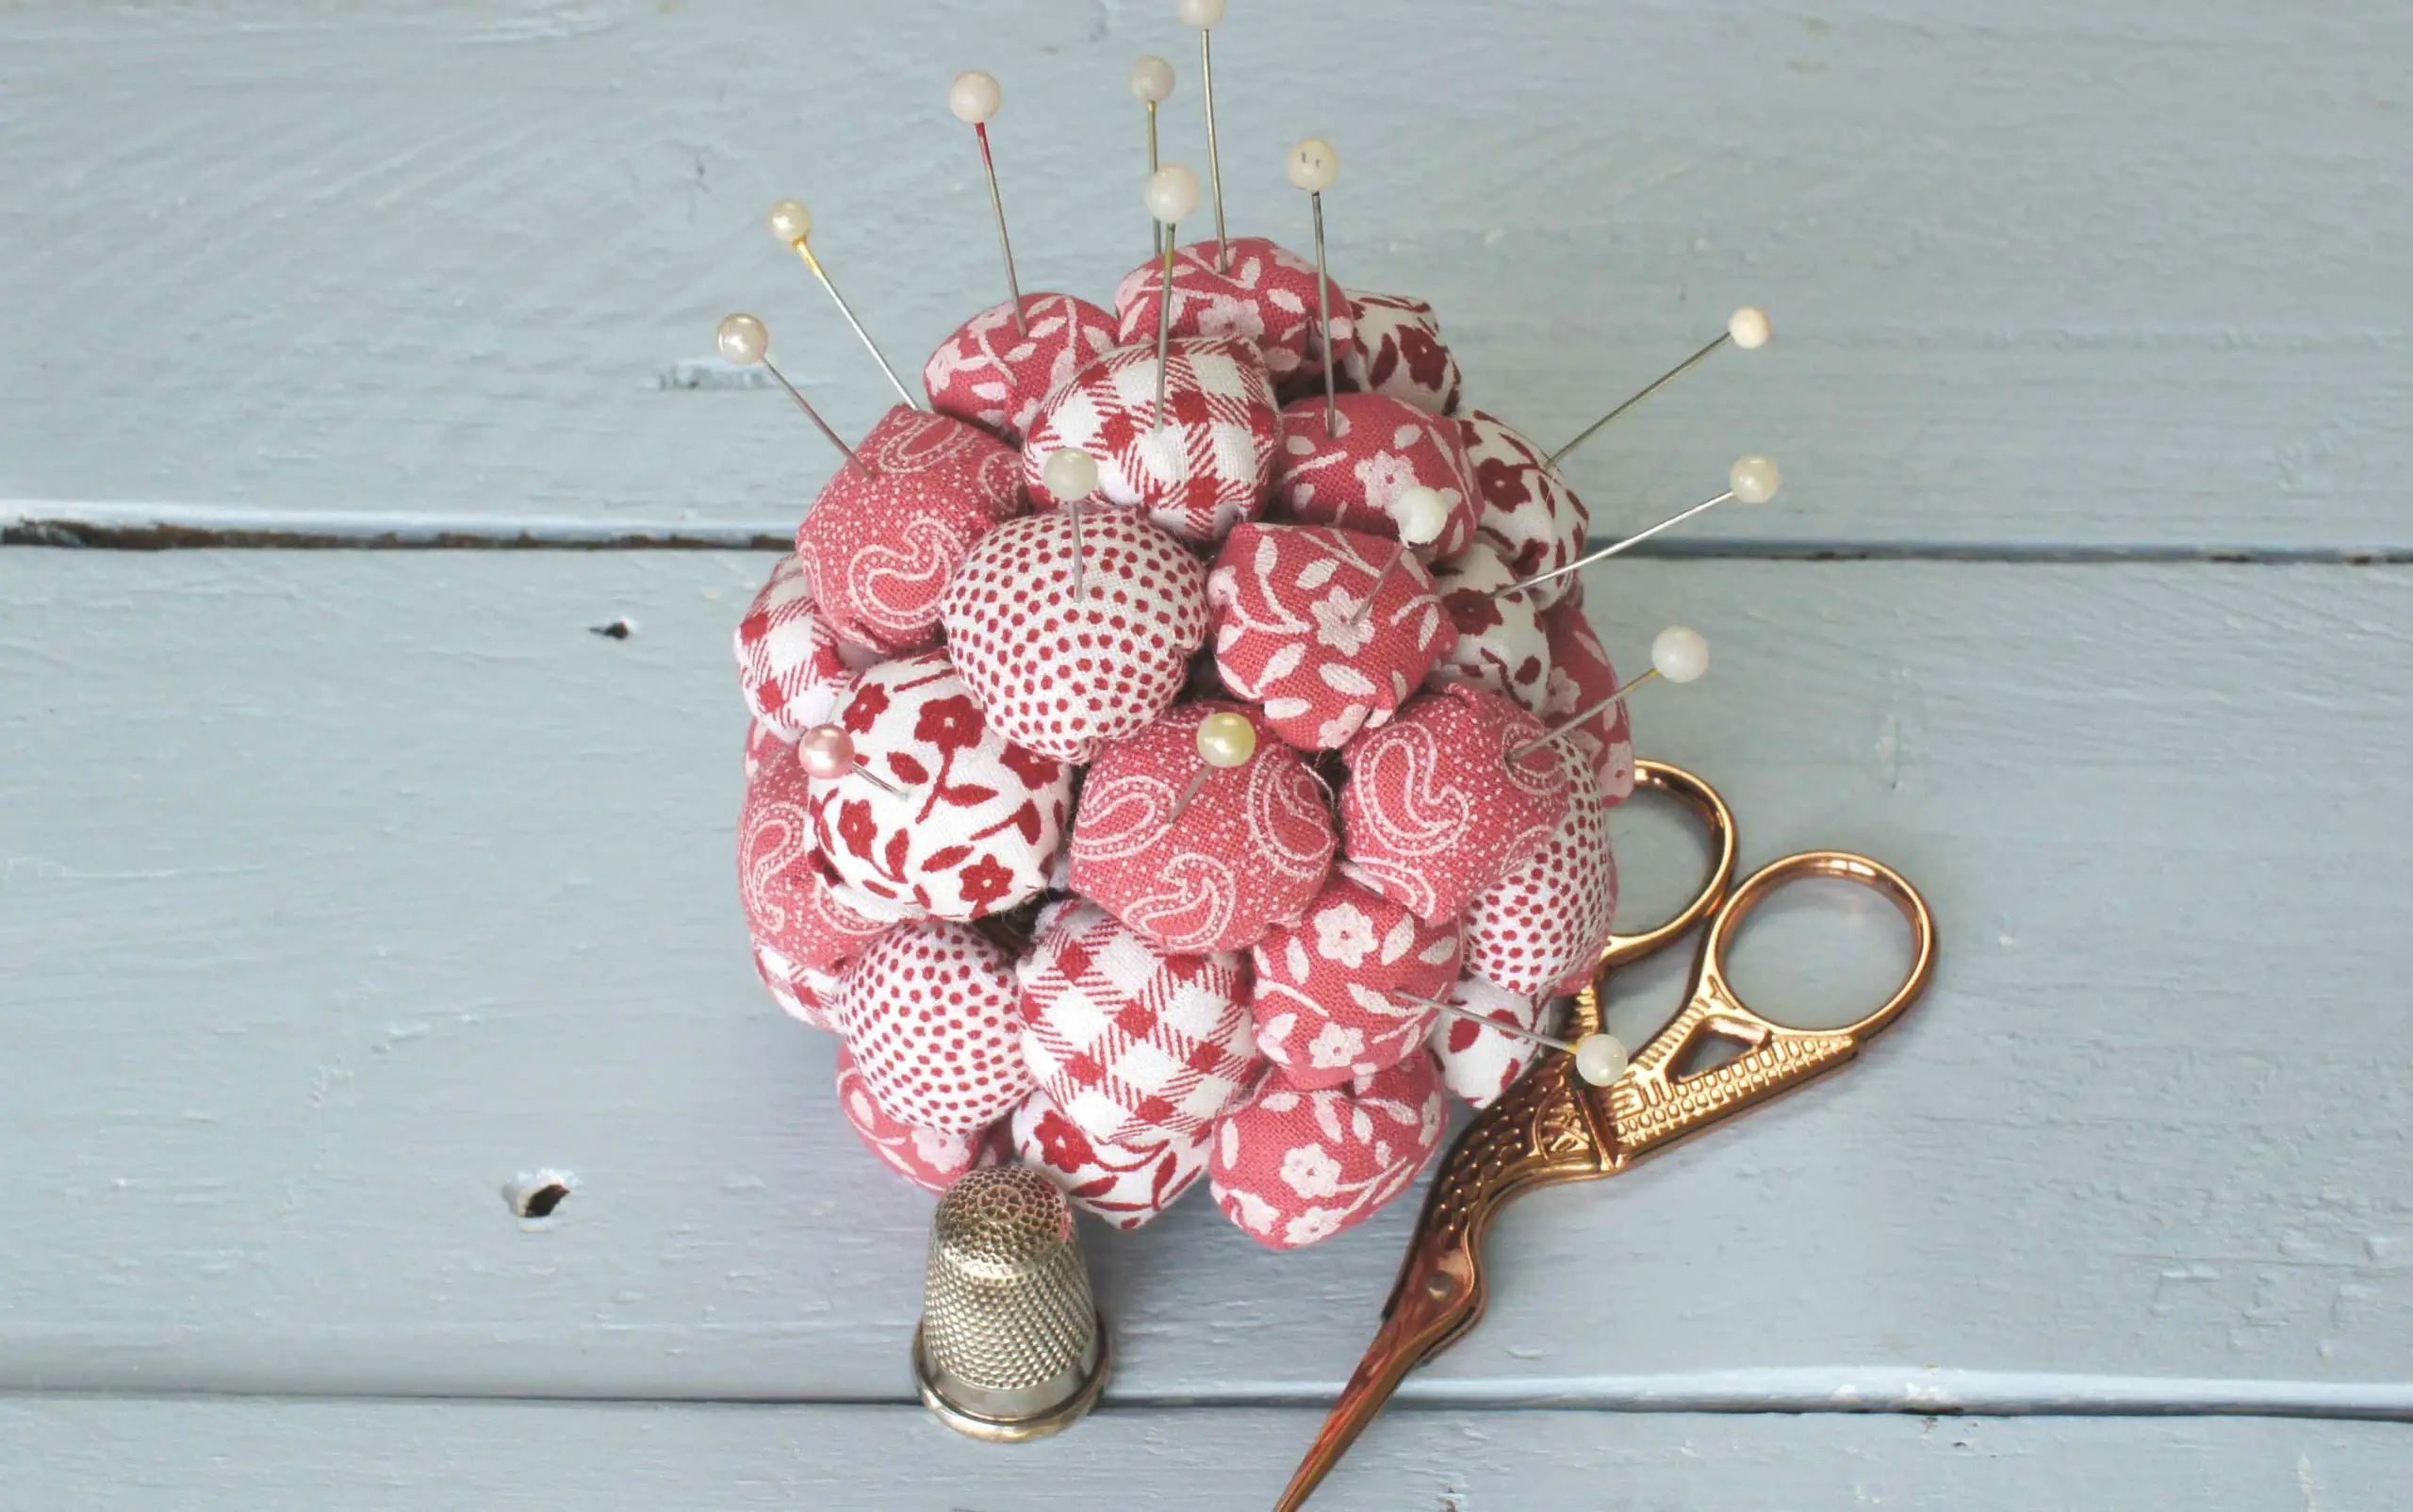
Well done! You have completed your first Victorian no sew pin cushion. I hope you enjoy using it or gifting it to a friend.
And next …
Are you looking for some more great sewing related craft projects. Perhaps you want some ideas to gift with your no sew pin cushion.
How about sewing a cute needlebook to hold all your needles safely and tidily? These are really easy to make and very practical to use too.
Or perhaps you use paper patterns and want an alternative to always using pins. If so, how about making a set of pattern weights to hold down your pattern pieces. No more pin holes in your fabric.
If you are looking for some sewing projects in general then check out my sewing section full of projects that you can undertake, many using fabric scraps.
Be sure to let us all know in the comments below how you get on with your DIY pin cushion!