Ribbon Weaving Lavender Sachets – Easy DIY Make
As an Amazon Associate I earn from qualifying purchases
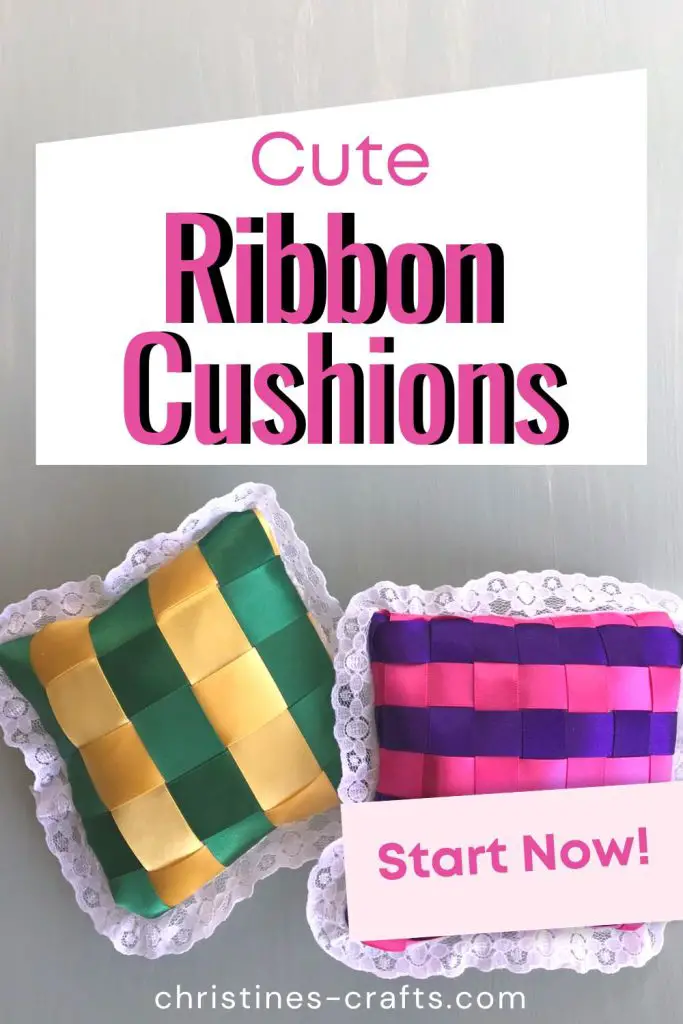
Lavender sachets are a simple and elegant way to add a touch of fragrance and beauty to your home. I have other styles as well as ribbon weaving on this website. You could try ‘teabag style lavender bags‘ or ‘cute heart lavender bags‘. They are also a great gift for friends and family.
These instructions will show you how to make ribbon weaving lavender sachets using a beginner-friendly technique. Ribbon weaving can be used for many projects but these ribbon cushions are a great way to get started.
This page contains affiliate links meaning I earn a little commission if you use those links at no cost to you. I only recommend brands I use and trust.
Supplies you will need:
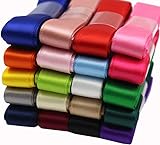
- Ribbon (width and colours are up to you – more detail below)
- Iron on interfacing (medium weight works best but use what you have got!)
- Fabric for back of cushion
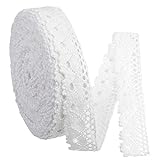
- Lace or similar for the frill
- Filling
- Lavender (optional)
- Basic sewing supplies

Ribbon Cushion Video Tutorial
This video is available on my YouTube channel.
Prepare your Materials
Obviously you can make your cushions whatever size you like but here are the dimensions you need to make one like mine.
Cut a square of interfacing and a square of your backing fabric – 5.5″ by 5.5″
Cut your ribbon into 6″ lengths. They are slightly longer than the side of the cushion to make the whole weaving process a little easier. My ribbon is 5/8″ wide and I needed 18 lengths of ribbon. In the video I use ribbon that was 1″ wide and I needed 10 lengths.
You will need approximately 24″ of your lace trim. Do not cut to length until you are sewing it on.
Weaving with Ribbon
Place your interfacing square on your workspace so that it is glue side up. This is very important. The best place to work is on a padded ironing board as you are going to pin the ribbon in place and then use your iron to glue it in place.
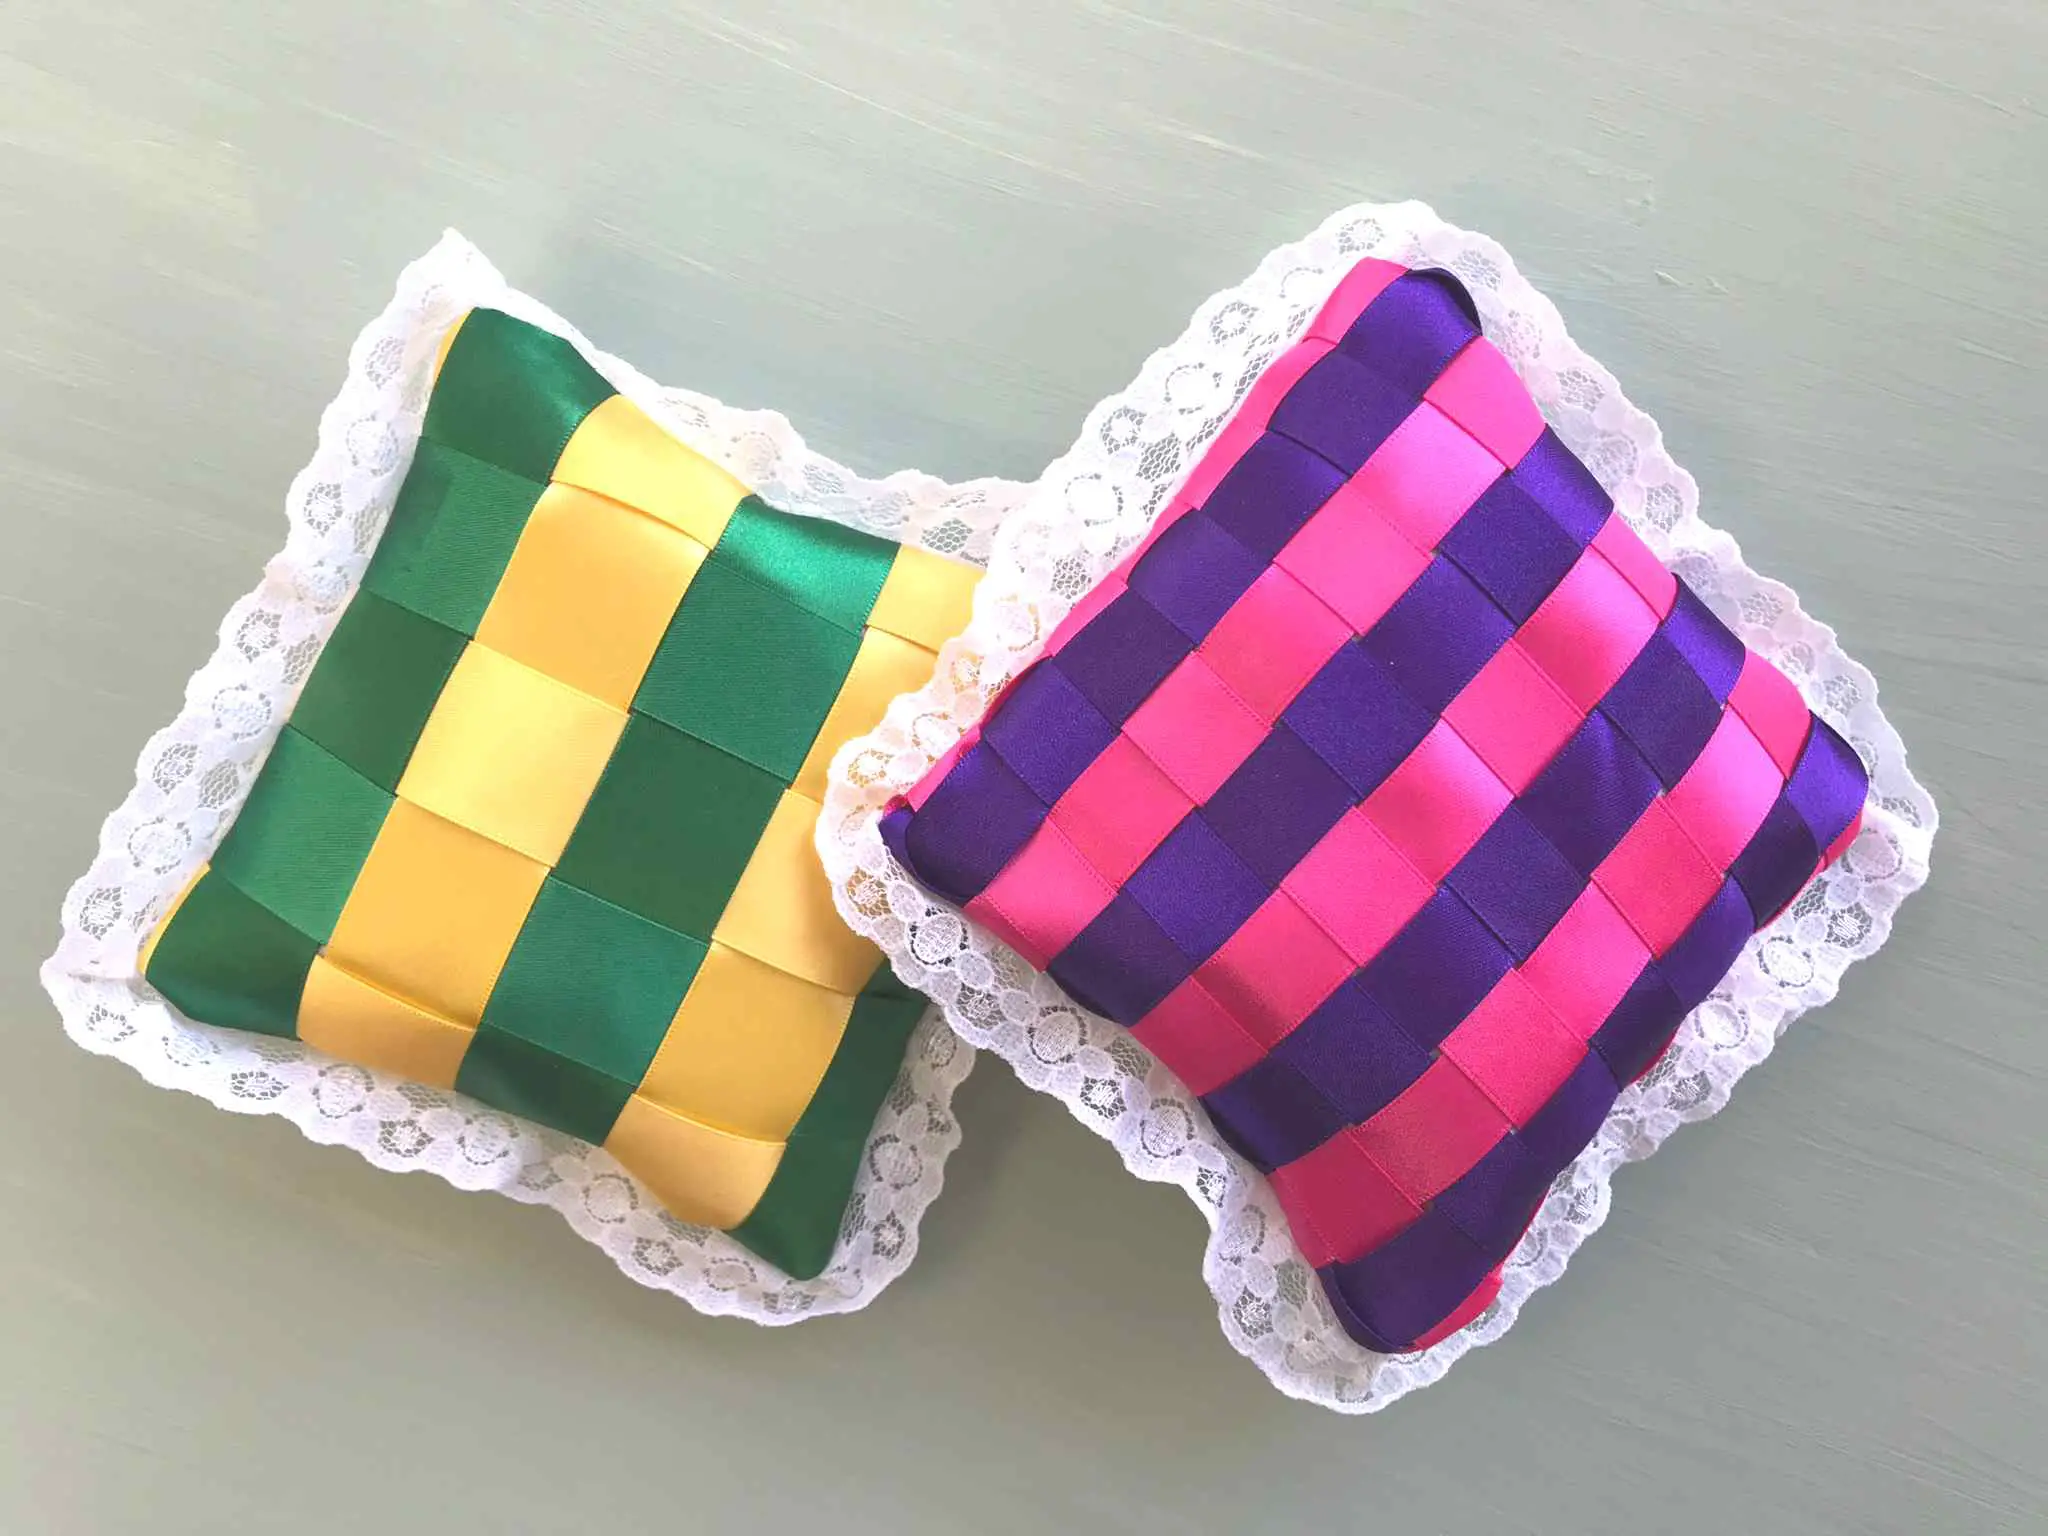
I will instruct you as if you are using 2 different colours but obviously you could use all the same colour ribbon or even a wider variety of colours.
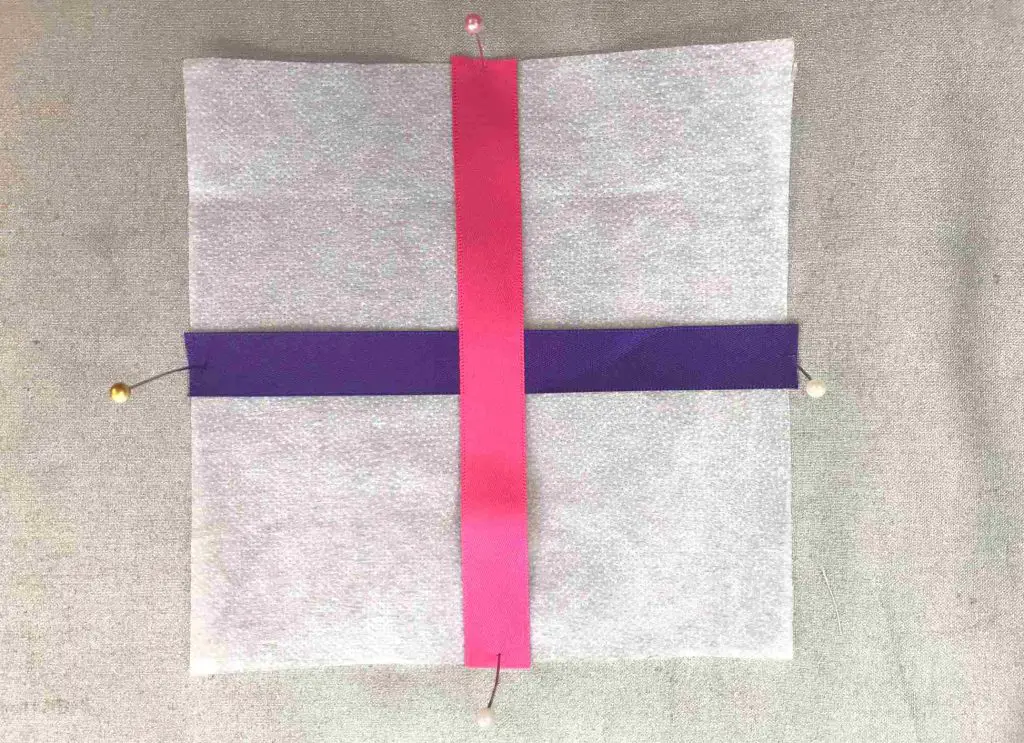
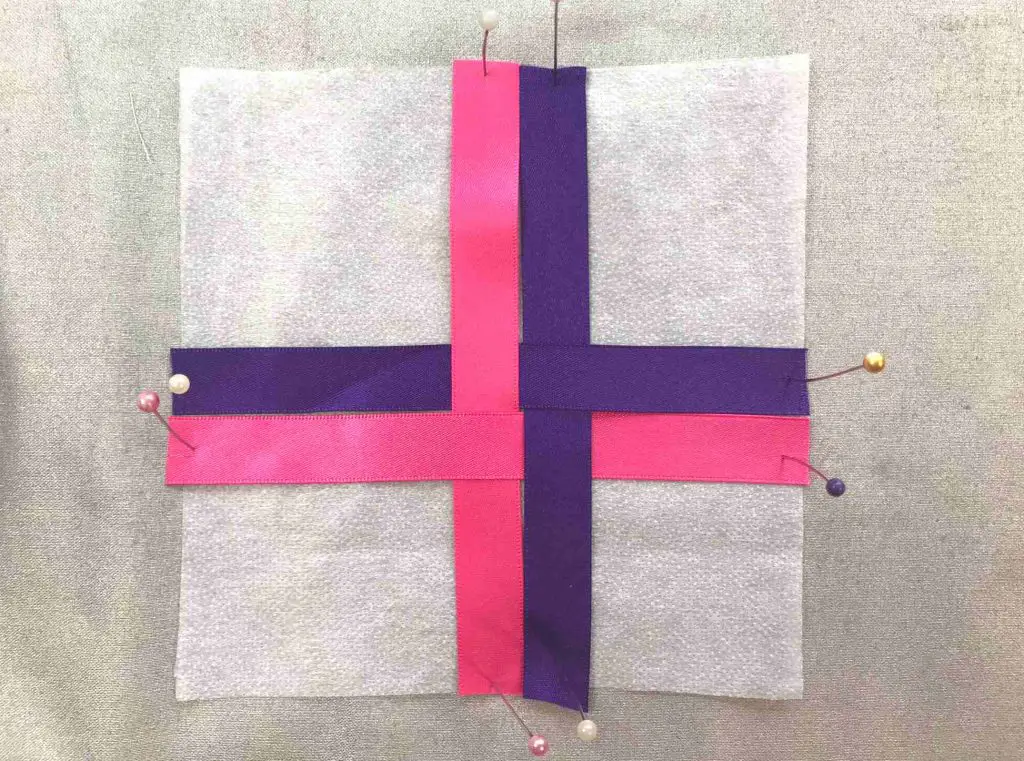
Place one length of ribbon directly across the square from one side to the other in the centre of the square. Take the other coloured piece and place it running from the top to the bottom of the square in the centre. You should have formed a cross. Pin the ribbon pieces in place at their ends.
You will notice in my pictures that the ribbon lengths are not longer than the square. I learnt from that and that is why I recommended you cut yours longer!
Then take a length that is the opposite colour and weave it next to the existing ribbon Do this for both the horizontal and the vertical.
In my case, take a pink ribbon and lay it below the purple one making sure it goes over the pink vertical one. Pin it in place. Then take a purple one and lay it next to the pink vertical one threading it so that it lies underneath the horizontal purple one and over the horizontal pink one.
You are now ribbon weaving!
Now repeat that whole step again, making sure that your new piece of ribbon that you apply does the opposite of the one next to it. If the last one went over you go under and if it went under you go over. Pin them in place.

Keep going until your whole square of interfacing is covered. Check you are completely happy with how it looks. This is why we pinned it – you still have time to change it!
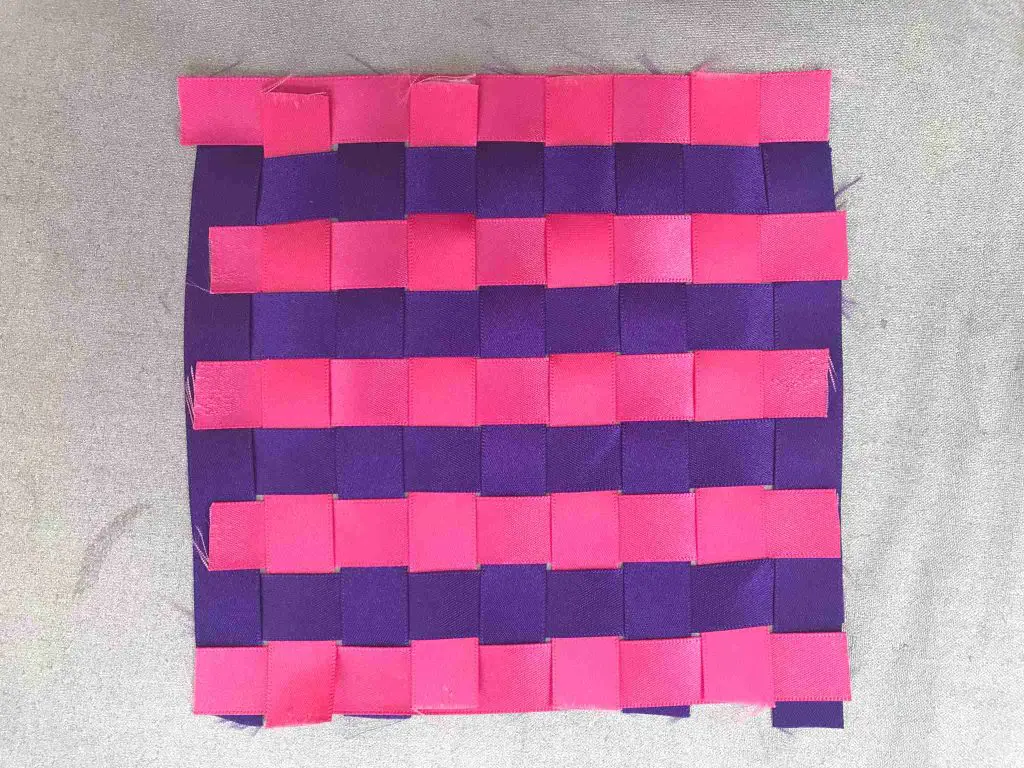
Once you are completely happy with it carefully remove each pin and press the end of the ribbon to the interfacing to glue it in place. Take your time and be careful not to burn your fingers or the ribbon. Start with a very cool iron and hopefully that will work. If you have to increase the temperature to melt the glue do it very slowly. Ideally test your iron on a spare piece of ribbon first.
Once all the ribbon pieces are glued around the edge of the square turn the whole thing over and press it all to glue the whole square to the ribbons. It should start to feel a lot more stable.
Assemble your Ribbon Weaving Cushion
Now it is time to add your lace trim if you are using it. Simply place your trim around the edge of the ribbon square with the fancy edge facing inwards. Pin it in place. Personally I overlap my trim by an inch with itself so that there are no gaps.
If you would like to add a hanger to your lavender bag then now is the time. Simply cut a length of ribbon, fold it in half and pin it in place where you want your hanger to be. The loop should face in onto the ribbon square. I have not added hangers to mine but they can be very convenient to hang them in cupboards and wardrobes.
Sew it in place carefully making sure that you get a good corner point and do not catch the lace in anywhere you shouldn’t.
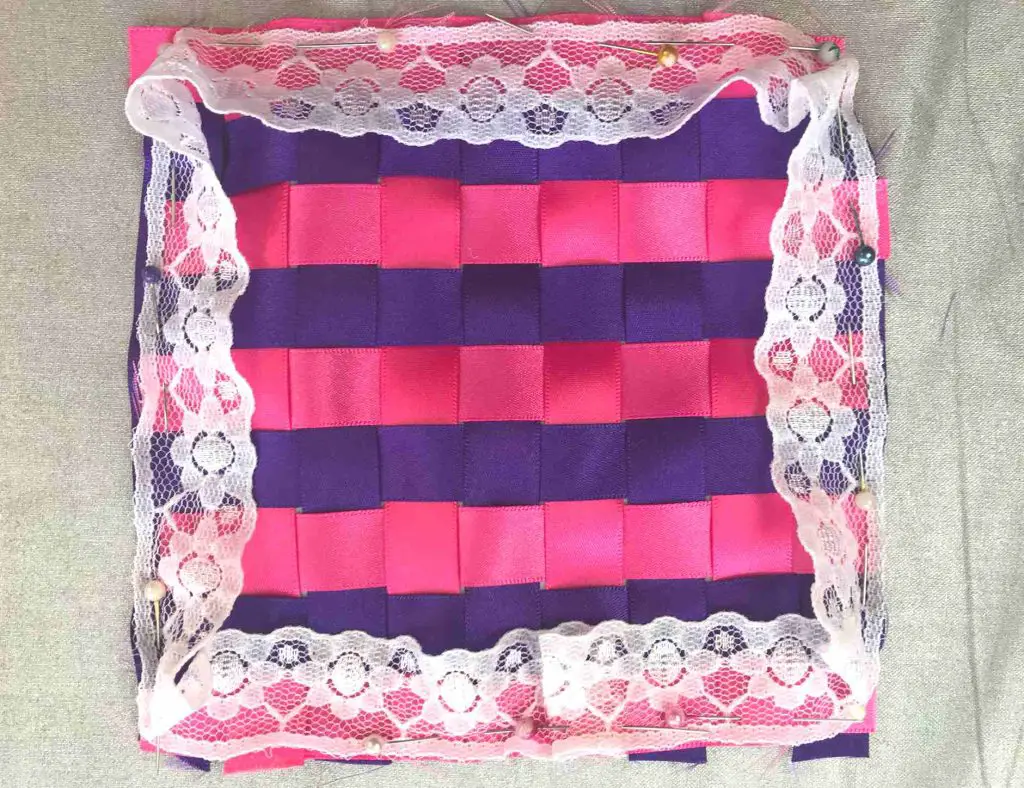
Then place your square of backing fabric on top and pin it in place. Ensure that you are pinning through all the layers and that you do not catch the lace in anywhere you shouldn’t. You want to sew through the interfacing as well as the ribbon to ensure a strong seam.
Sew around where you have pinned leaving a gap of between 2″ and 3″ to turn your cushion out through. Clip the corners to reduce bulk.

Turn your cushion through so that it is the right way out. Carefully poke the corners out with a blunt object such as a chopstick.. You are now ready to fill your cushion. If you want to include lavender add that as well.
Once you are happy with how plump your cushion is sew up the hole that you left using a ladder (or slip) stitch. Make sure that you fold your edges over so that your seam will be invisible.
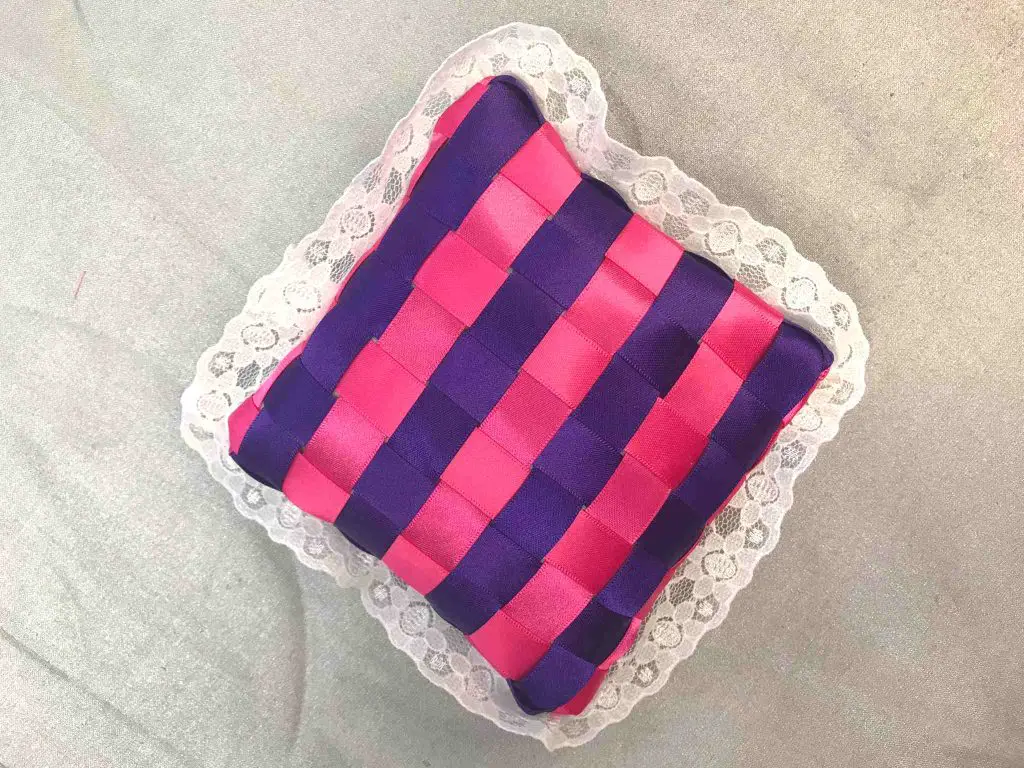
Congratulations you have finished your first ribbon weaving lavender bag. Now you can create ribbon weaving any size you like and get creative with designs. Please let us know below how you get on and if you have any great ideas for ribbon weaving projects.
More Sewing Inspiration
If you enjoy sewing projects then there are lots of tutorials on this website for you to enjoy. In fact there is a whole sewing section.
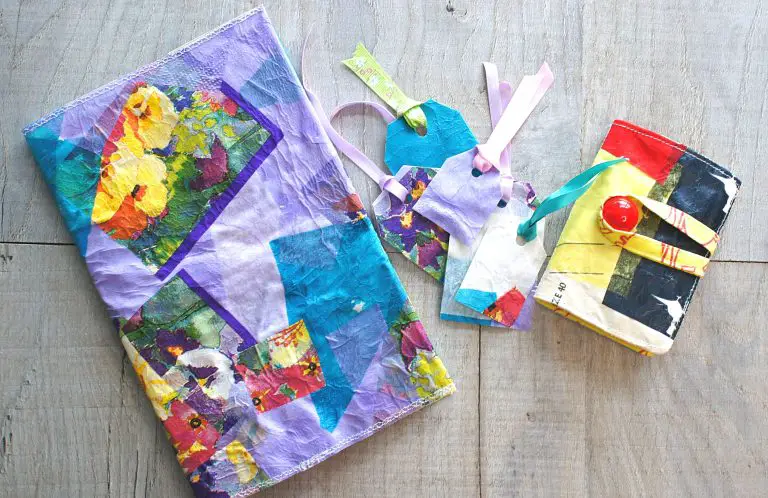
How about sewing a make up bag for you or as a gift? They are really straightforward and you do not need a pattern!
Or perhaps some environmentally friendly make up remover pads? Great for a gift, perhaps to go with the make up bag!
Whatever you want to sew there is something for everyone. If you are looking for clothes to make then you could try You .Make who have some fabulous patterns that you download and get started straight away. I have made quite a few of their patterns and they were all easy to follow.
Whatever you are making, enjoy the process!