Bracelets to make in under 30 minutes
As an Amazon Associate I earn from qualifying purchases
Make one to match every outfit and wow all your friends.
This page contains affiliate links meaning I earn a small commission if you use those links at no cost to you. I only recommend brands I use and trust.
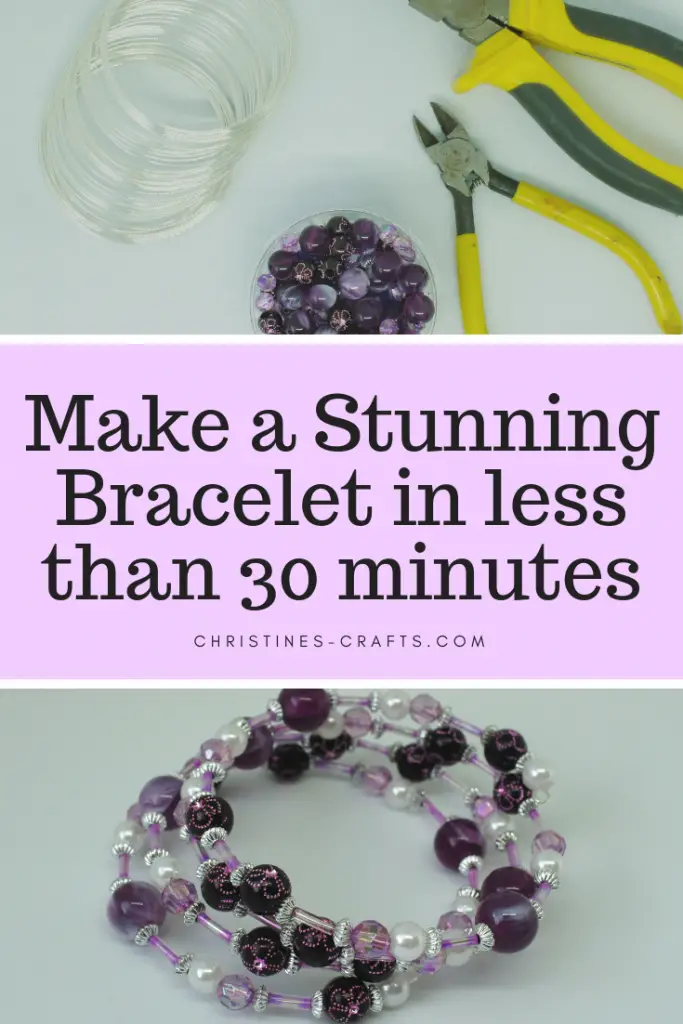
You will need:
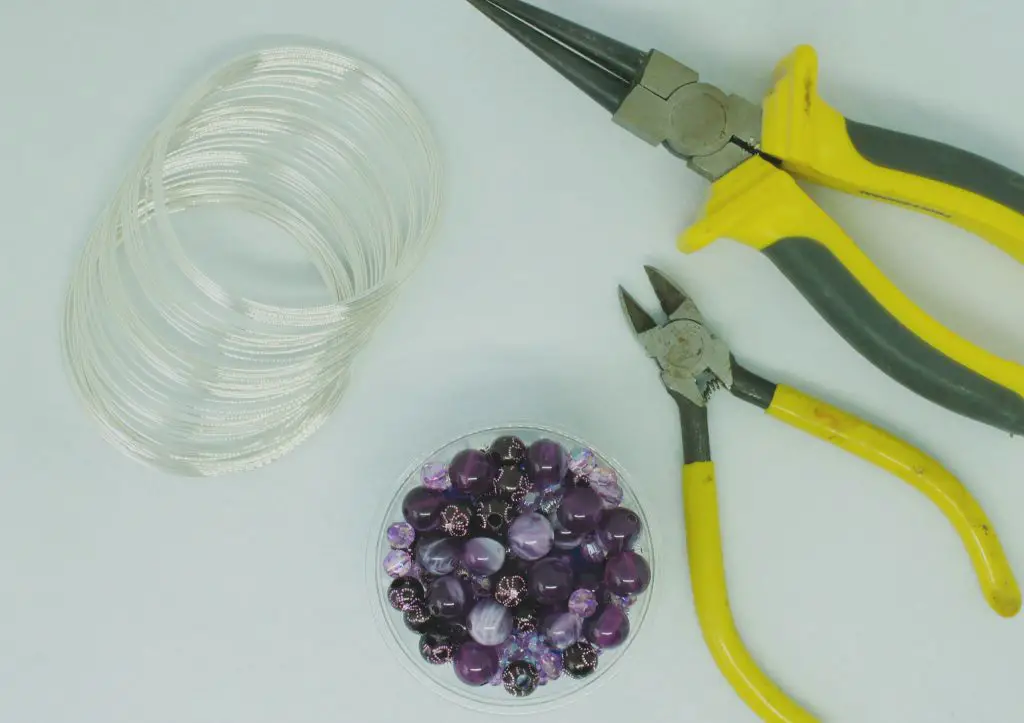
Memory bracelet wire (available from Amazon)
Beads of your choice (many available from Amazon)
Round nosed pliers and wire cutters (starter set from Amazon)
If you like to watch as you learn scroll down for a video tutorial too.
Video Tutorial for Bead Bracelets
Step 1: Design
Lay out your beads that you want to use so that you can see clearly what you have and decide upon a design. You will notice that mine are all laid on a piece of felt. I recommend a piece of felt or fabric so that your beads do not roll away.
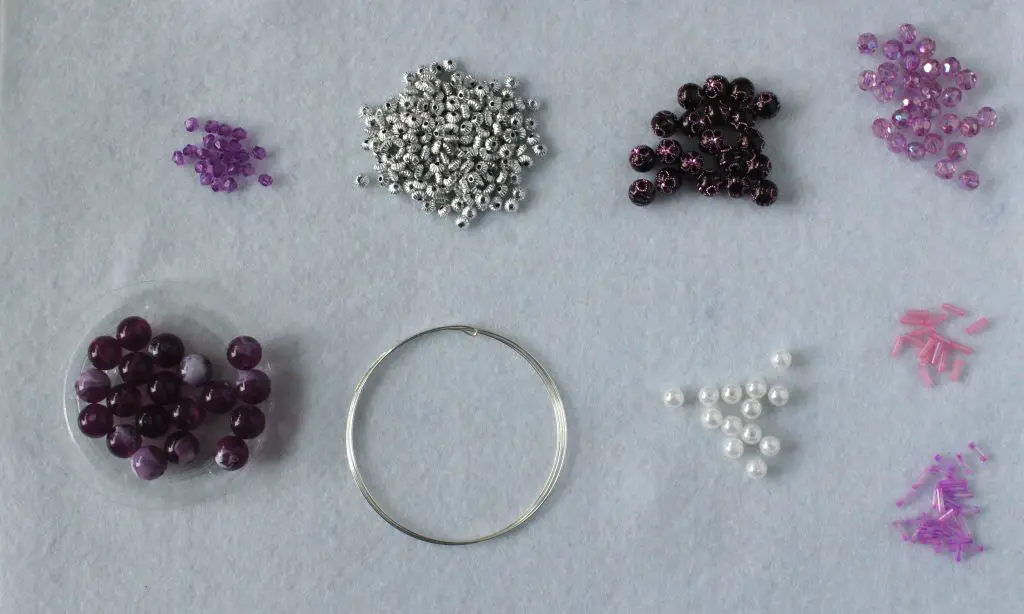
Unless you are doing a random design now is the time to lay it out so that you can check that you have enough of each bead and copy it throughout the build process.
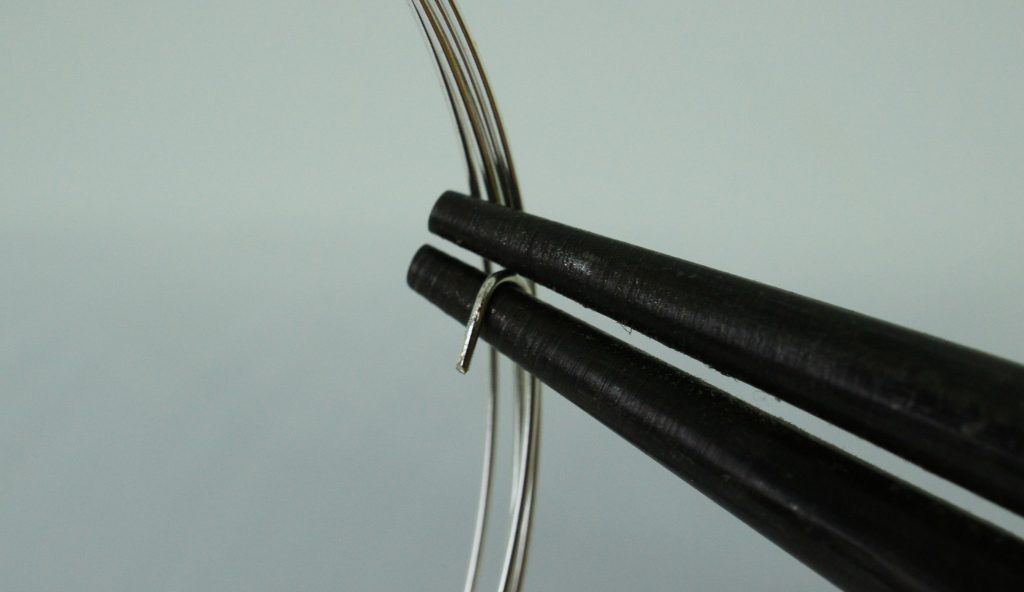
Step 2: Bend the end of the wire
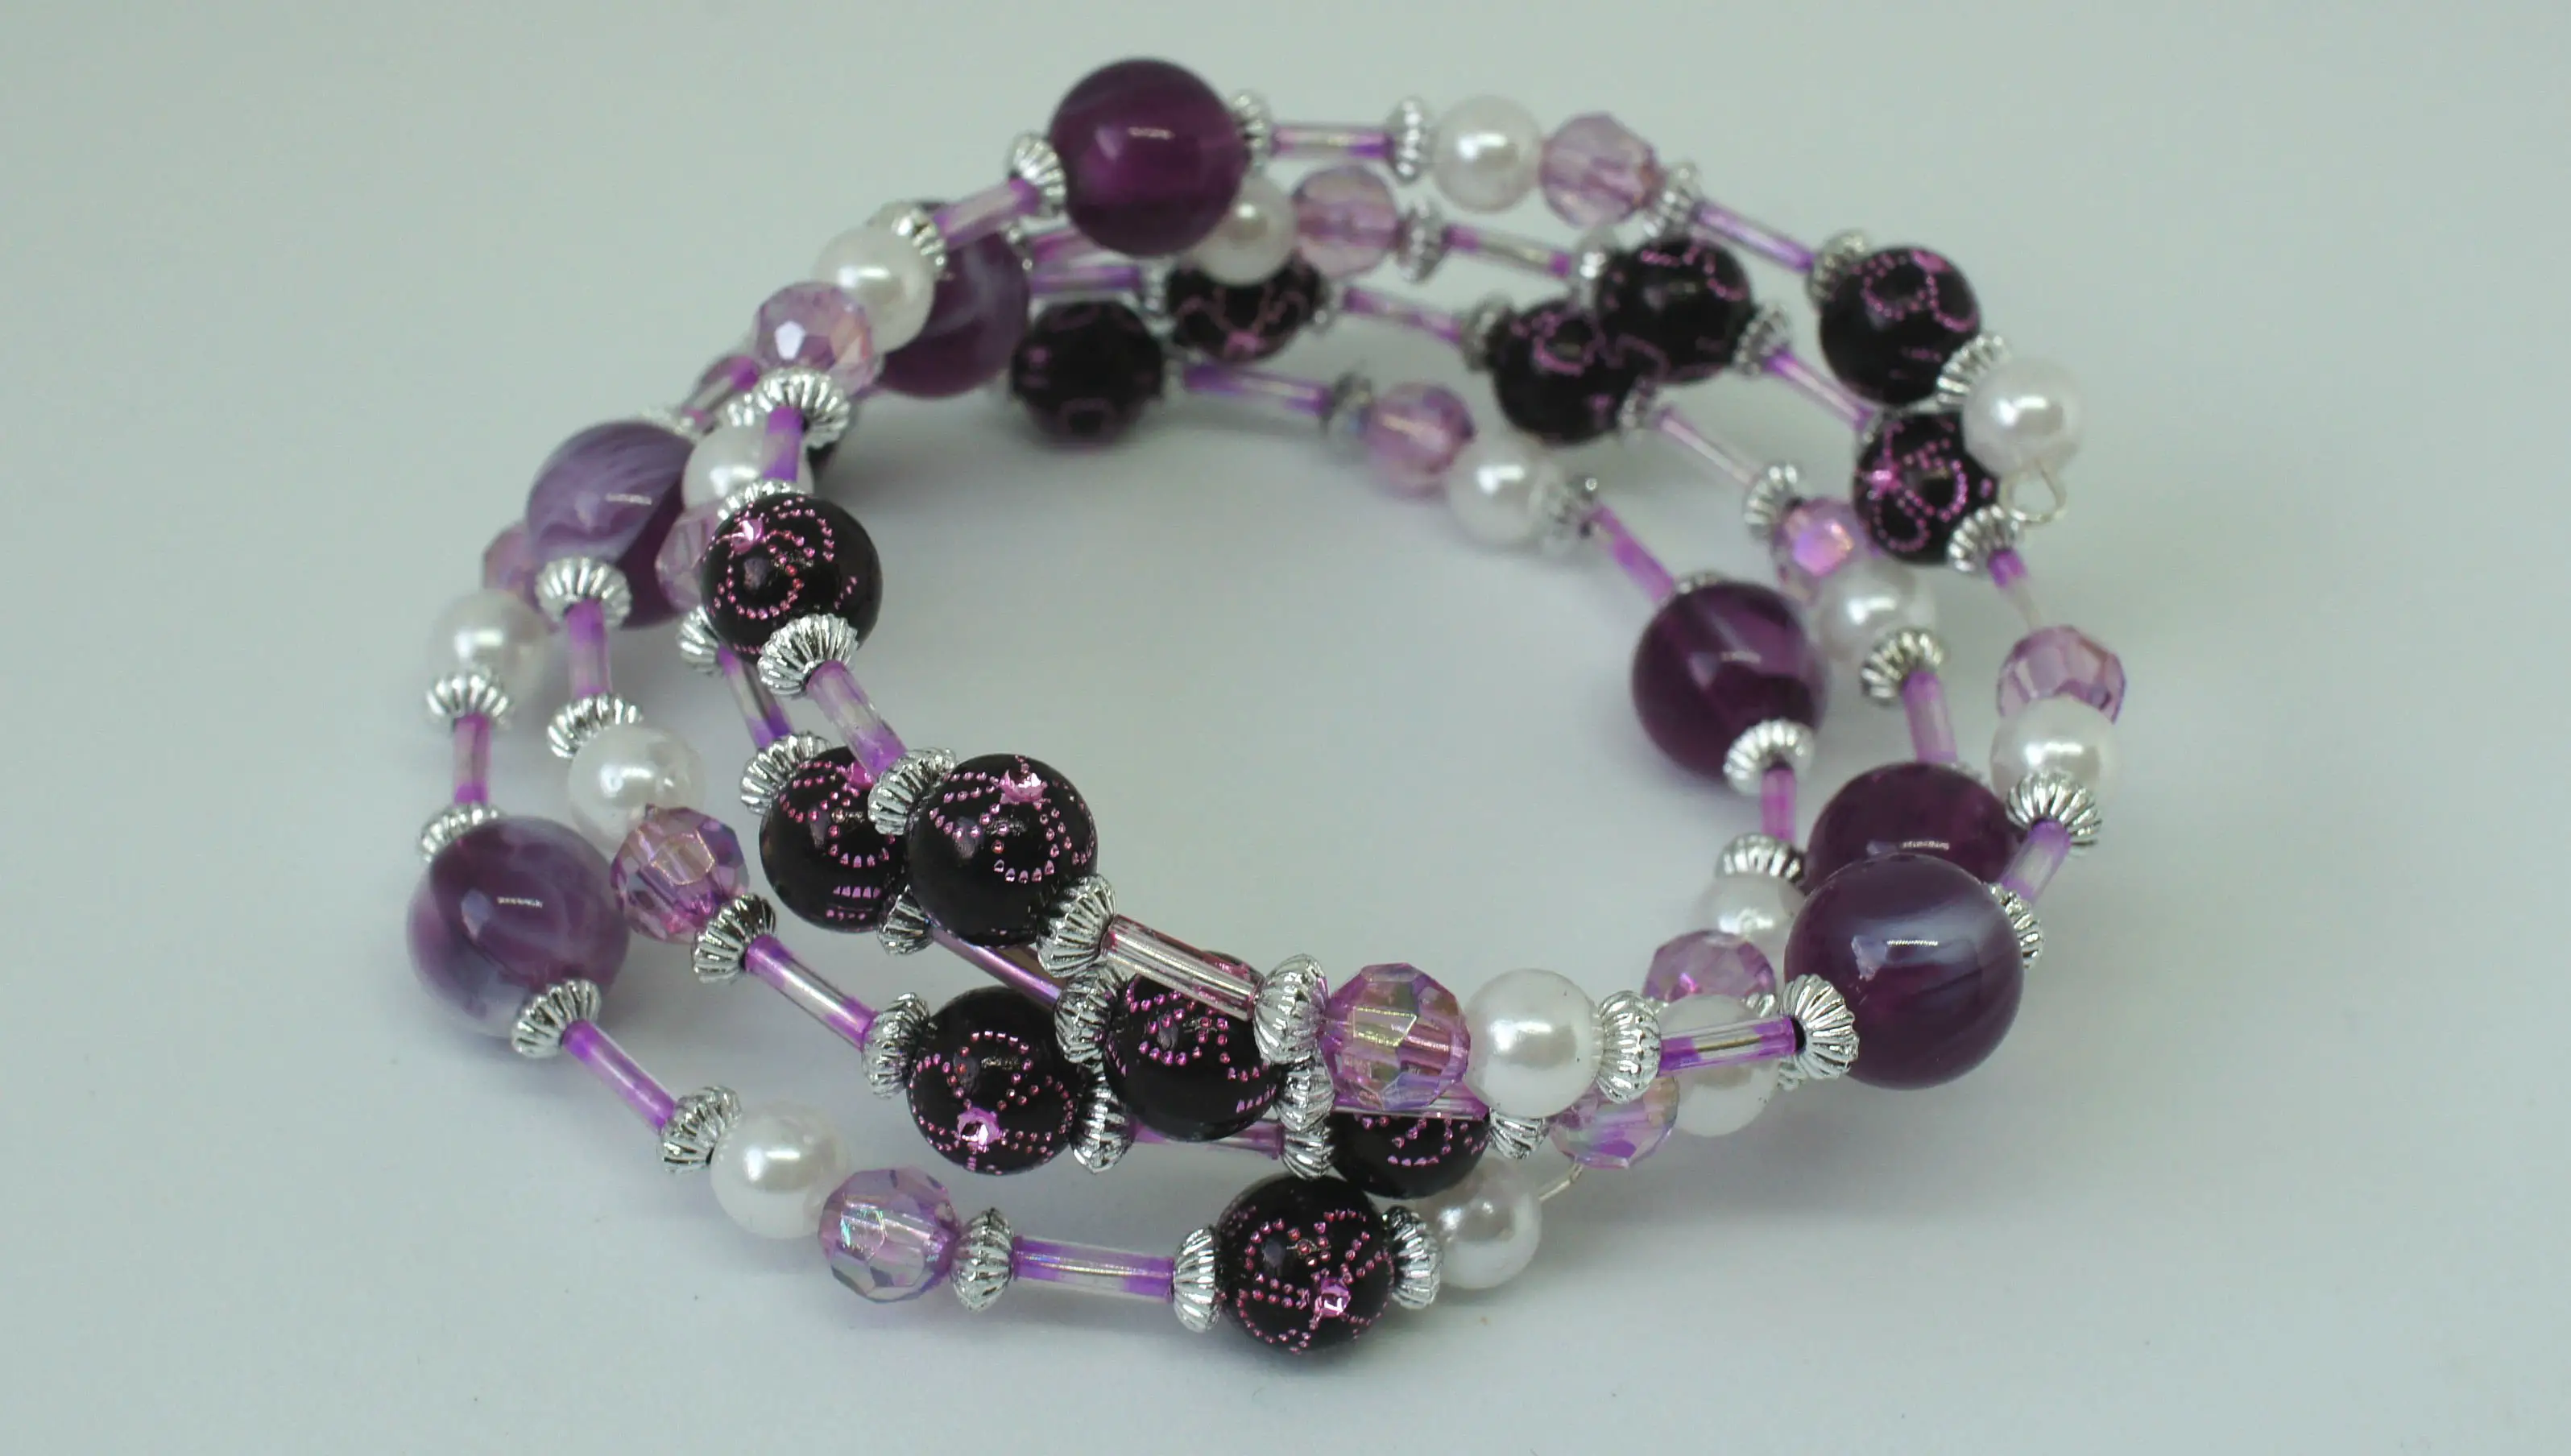
Cut a piece of the memory wire with as many turns as you would like. My pink bracelet here has approximately 4 turns. If you want to finish with 4 turns then cut about 4.25 turns to allow for finishing the ends.
Use the round nosed pliers to bend one end of the wire into a circular shape. This will prevent the beads from falling off the wire. Once you have bent the wire use pliers to squeeze the wire circle closed.
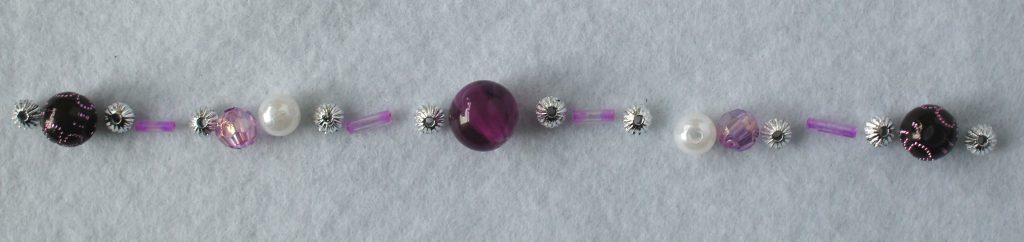
Step 3: Feed the beads onto the wire
Start feeding the beads onto the end of the wire that has not been bent. The easiest way, particularly with small beads, is to pick the bead up off the felt using the wire so that it ends up on the wire.
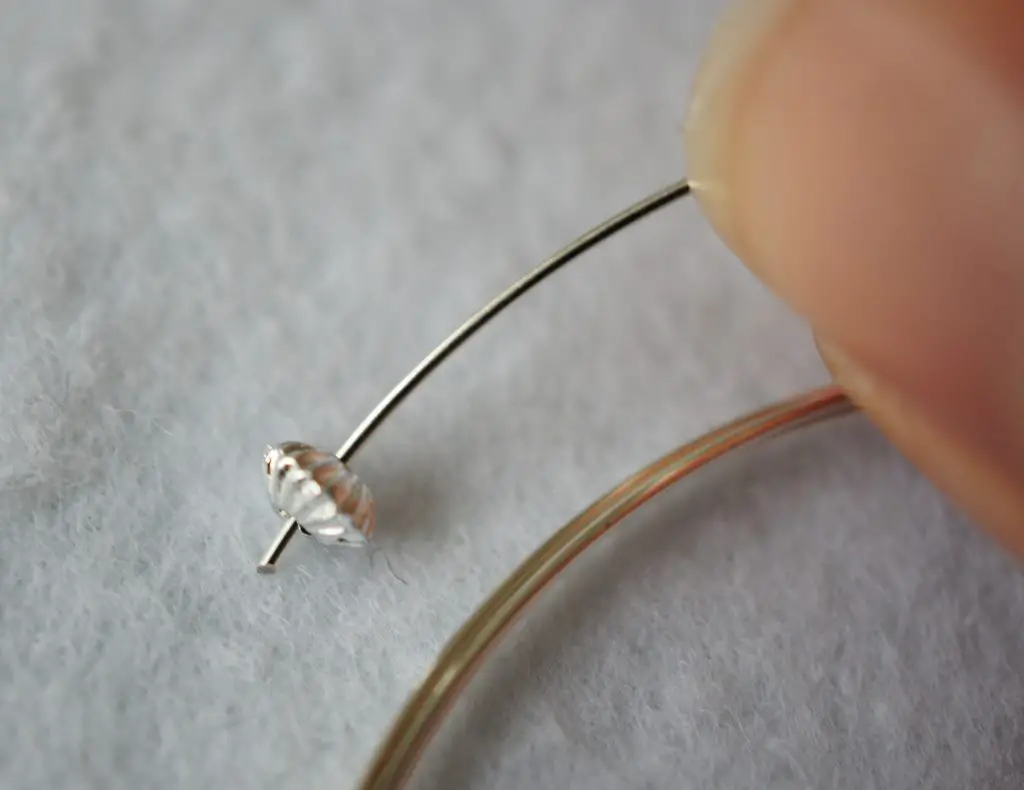
Continue until you have completed your pattern.
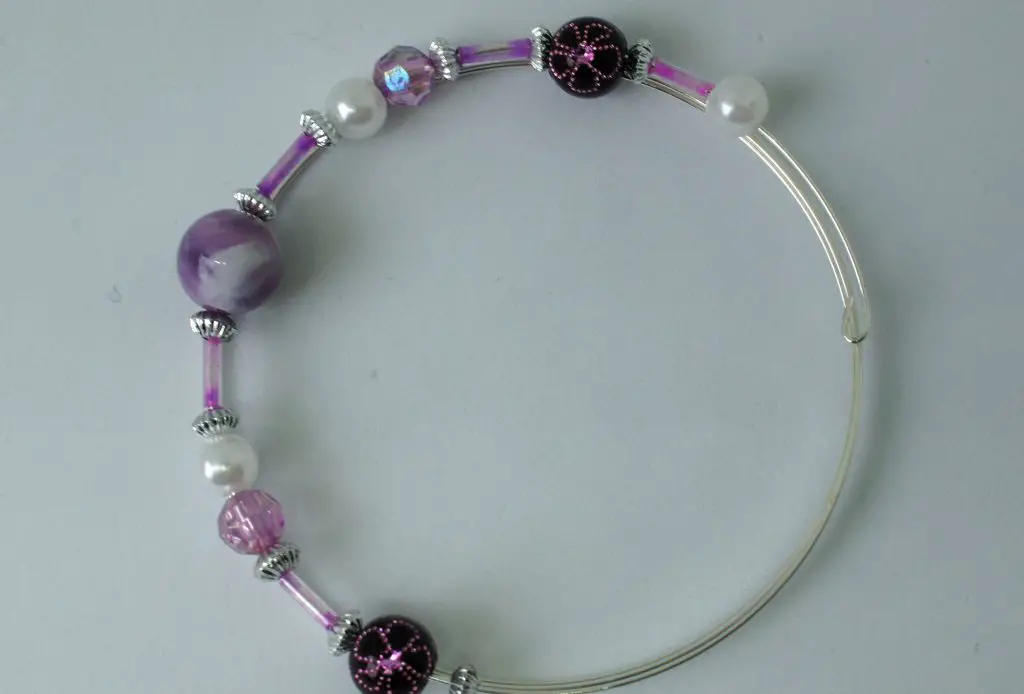
Check that you are happy with it and then repeat until you have filled your wire or decided you have enough. Take a look at your bracelet and make sure you are happy with it before moving onto step 4.
Step 4: Bend the end of the wire
Using the round nose pliers form a circle on the final end of the wire. This will prevent the beads from escaping off either end of the bracelet.
Over to you:
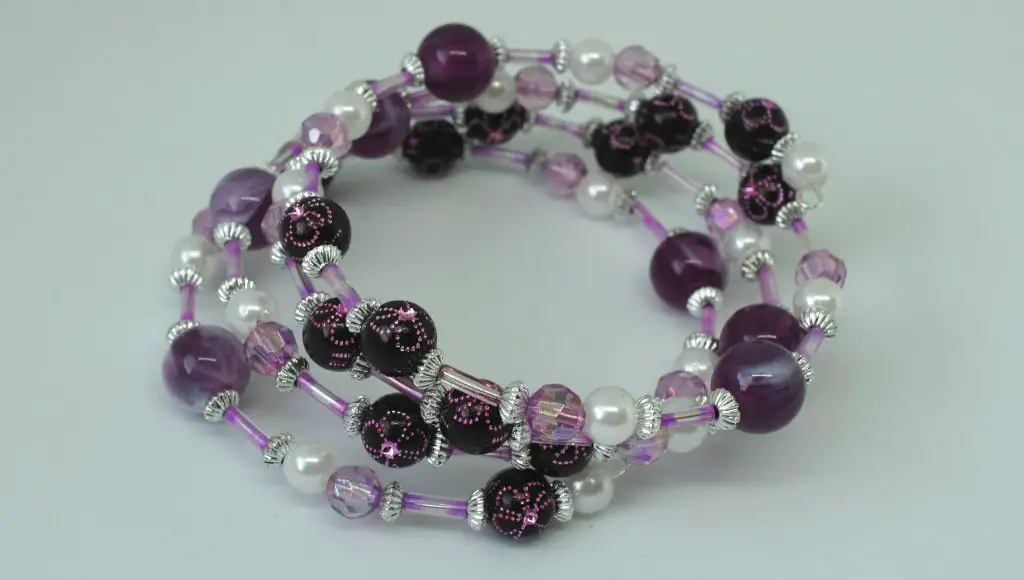
You have completed your first bracelet and how easy was that? You can make these bracelets so easily that you can make lots of different colours and you can make them for quick gifts. Perhaps you could make them for a charity sale event.
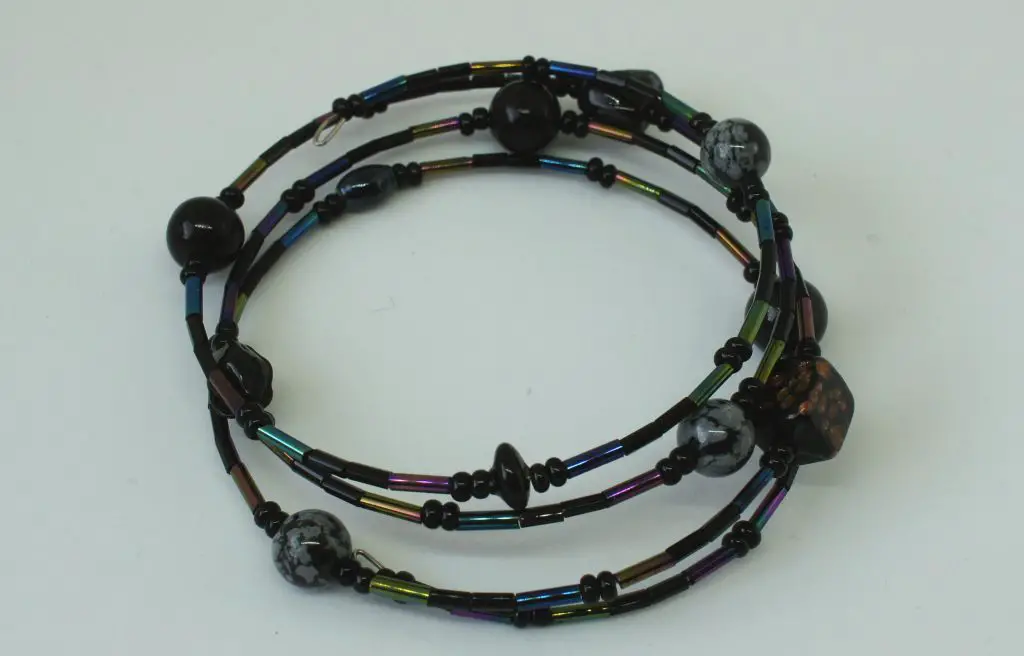
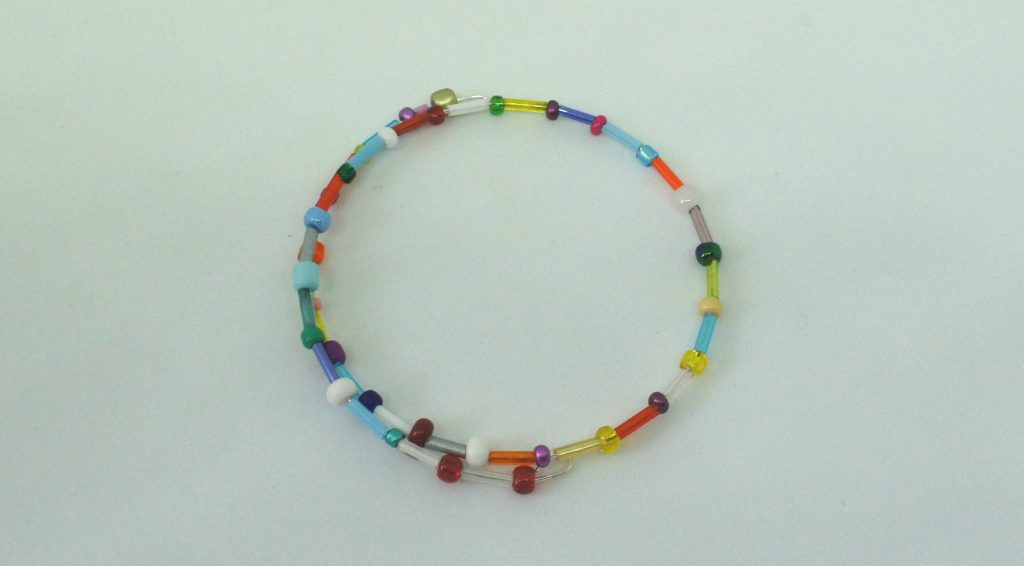
I have made several bracelets and used different beads and different lengths of wire to give different effects. Take a look for some inspiration:

You can make earrings to match your bracelets and I will be doing a tutorial on that next week. Here it is at Bead Earrings – super quick method.
How about making a cute gift bag for your bracelet using an envelope. It only takes a few minutes!
If you enjoy crafting and making gifts then also take a look at:
How to make fabric greeting cards
How to make gorgeous flowers from old magazine pages
The best fabric flower tutorials on the internet
If you are always looking for inspiration then subscribe to Christine’s Crafts for weekly ideas and tutorials. Remember to pin this article on Pinterest for later and follow me on there for even more inspiration.