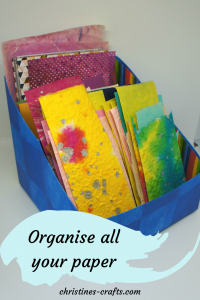
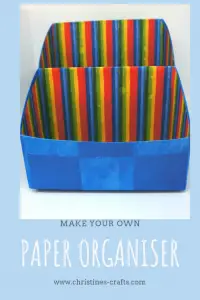
Paper Organiser from a cereal box
As an Amazon Associate I earn from qualifying purchases
This page contains affiliate links meaning I earn a commission if you use those links at no cost to you. I only recommend brands I use and trust.
You will need:
One cereal box (check it is the right size for the paper you want to put into it)
Paper to cover (good quality wrapping paper or scrapbook paper works well)
Marker pen and ruler
Scissors
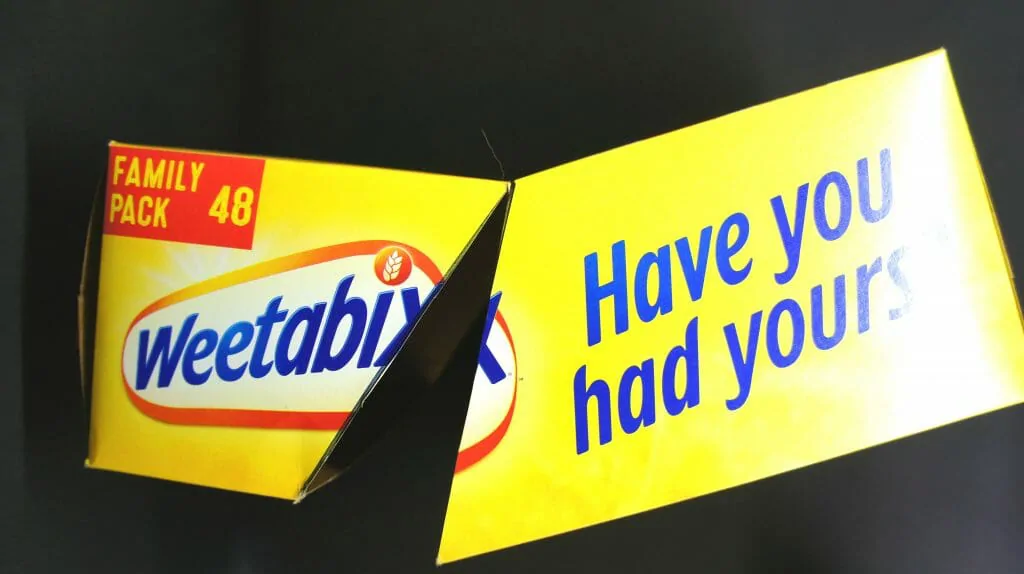
Step 1: Mark the box
Seal the top of the box using tape. Mark the front of your cereal box across the centre using the ruler and pen.

On the opposite side mark a line across the box approximately 6cm (2.5”) from the centre.
On each side of the box join the two lines you have already drawn.

Step 2: Cut the box
Cut along the line you have drawn EXCEPT for the line drawn half way down the box on the front of the box.
Step 3: Form organiser
Fold the box along the line that you did not cut so that the two sections of the box line up.
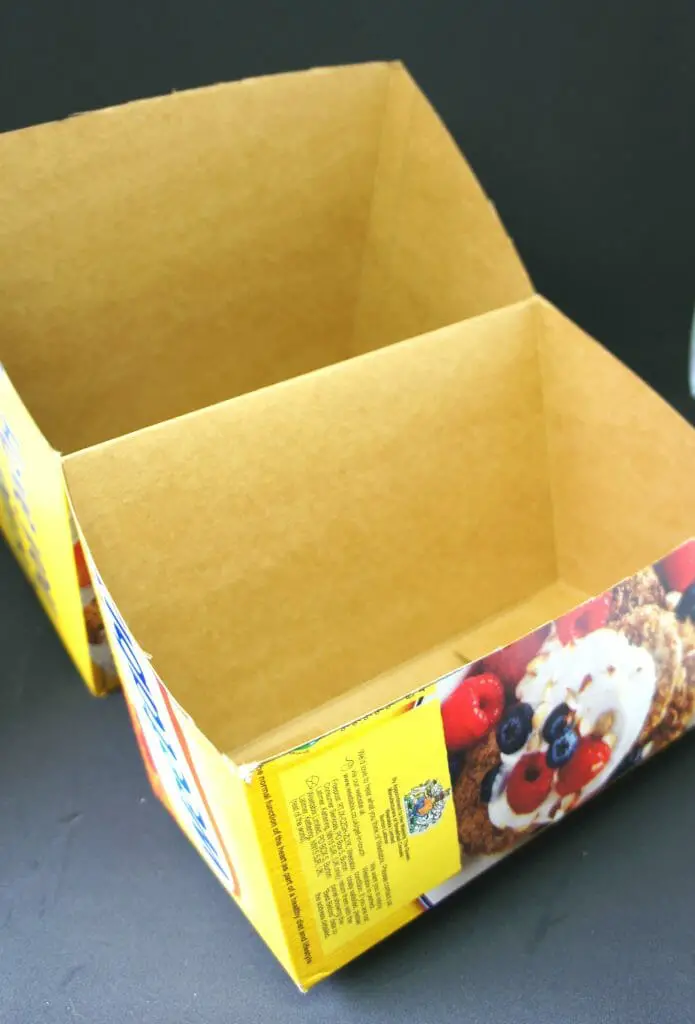
Apply double sided tape to one section and then stick the two sections together. You now have your organiser and it just needs decorating.

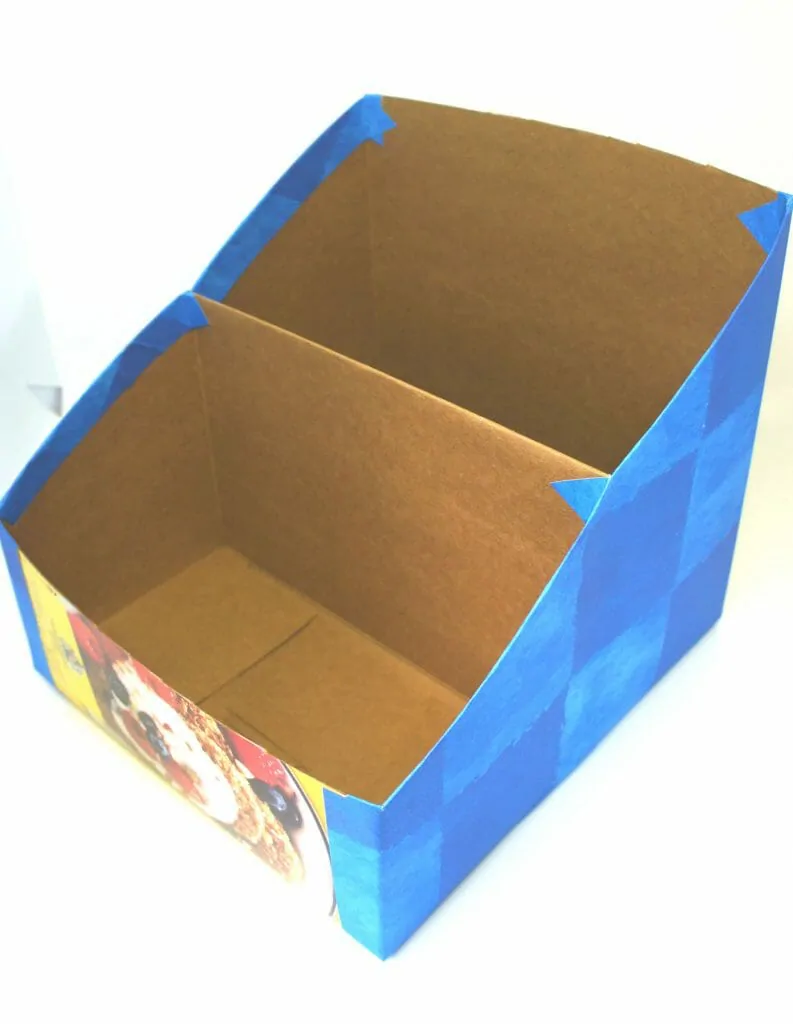
Step 4: Cover the organiser
Place the organiser on its side on top of your chosen paper and draw around it leaving approximately 1.5cm (0.5”) all the way around. Cut out this shape and do the same for the other side. Put double sided tape all over one side of the organiser and then place it on top of the paper. Press it to secure it. Then apply double sided tape to the overlapping edges and secure them over the edges of the organiser, clipping them as necessary. Repeat for the other side.
Step 5: Continue covering
Measure the front and back of the organiser and repeat the process from step 4. Measure the inner front faces and repeat the process with them. Make sure that the top of the cardboard is covered with a generous overlap secured with tape.
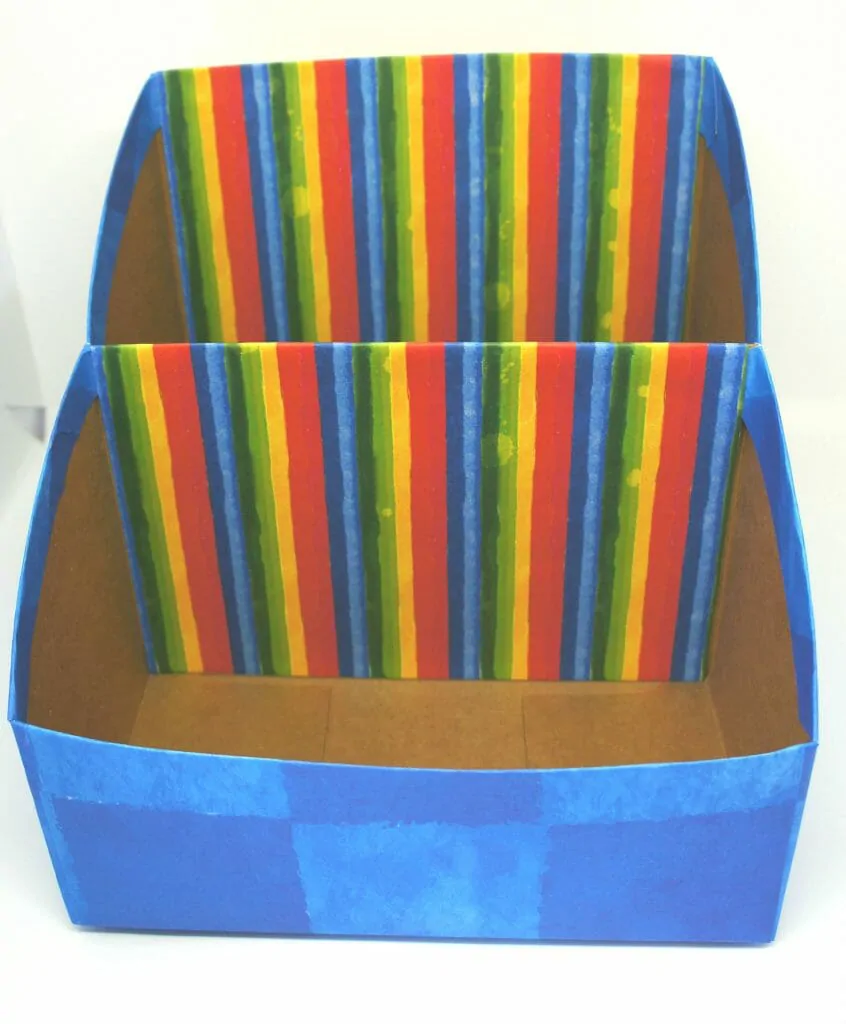
Step 6: Complete covering
Repeat the measuring process with the internal sides of the organiser. This time it is important that the paper covers the inside but does not protrude above the organiser. It is only required to cover the paper that overlapped from the outside.
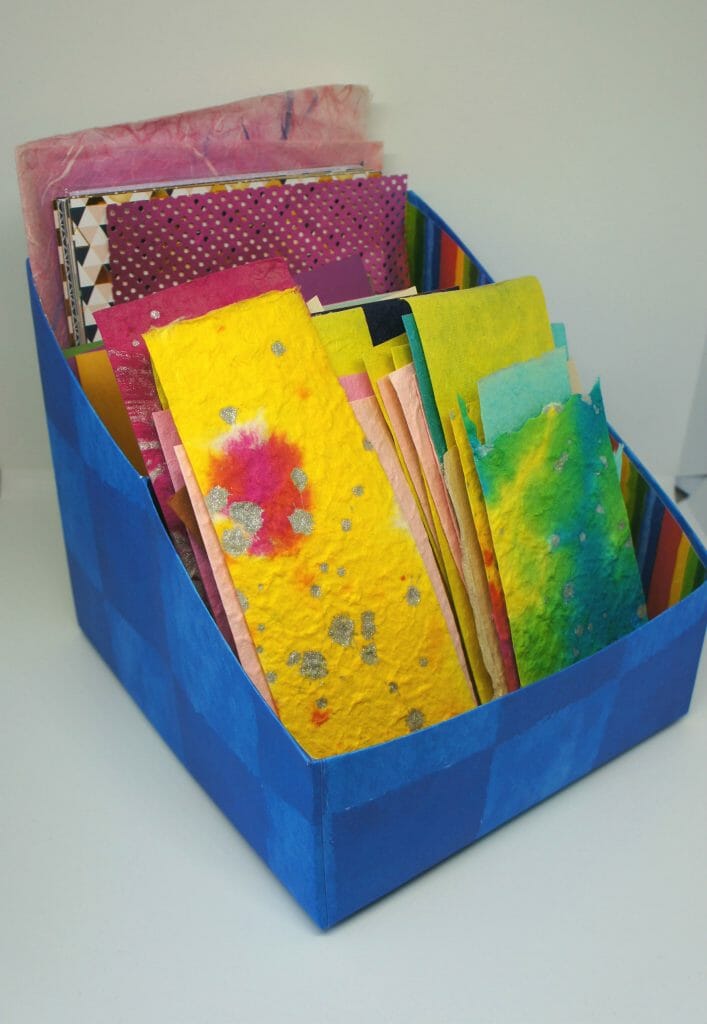
I did not cover the bottom of the organiser either inside or outside as it would not be seen once it was full of my paper supplies. You could choose to cover all the faces.

You could make one of these from any box, any size depending on what you wanted it for. As you can see, this was just perfect for my paper supplies.
So good luck with your cereal box recycling project and feel free to let me know how you get on in the comments section below.
Just moved home and unsure what to do with all those moving boxes? Check out the Rent.’s 10 Ways to Get Rid of Moving Boxes article we were featured in here!
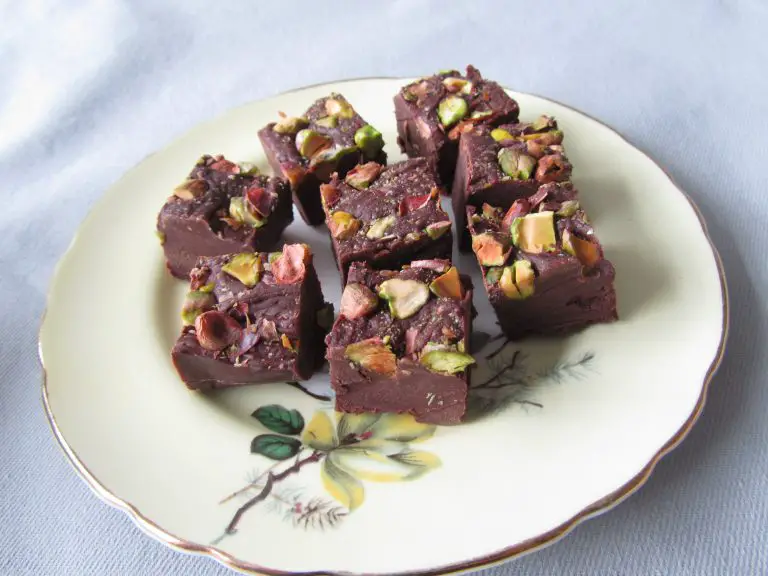
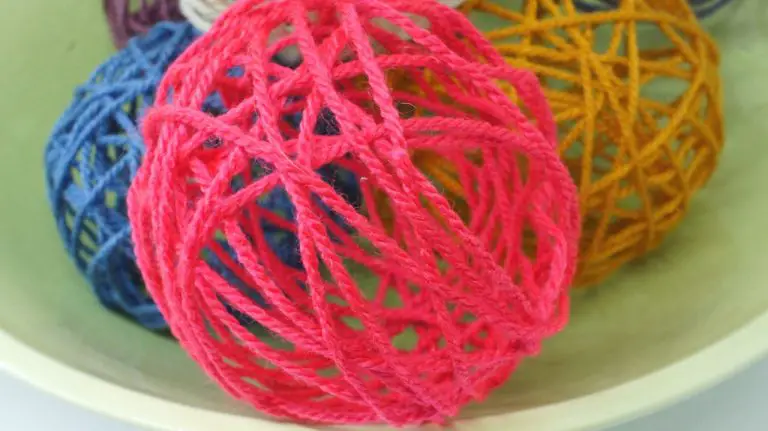
If you like papercrafts then try out some of my other tutorials:
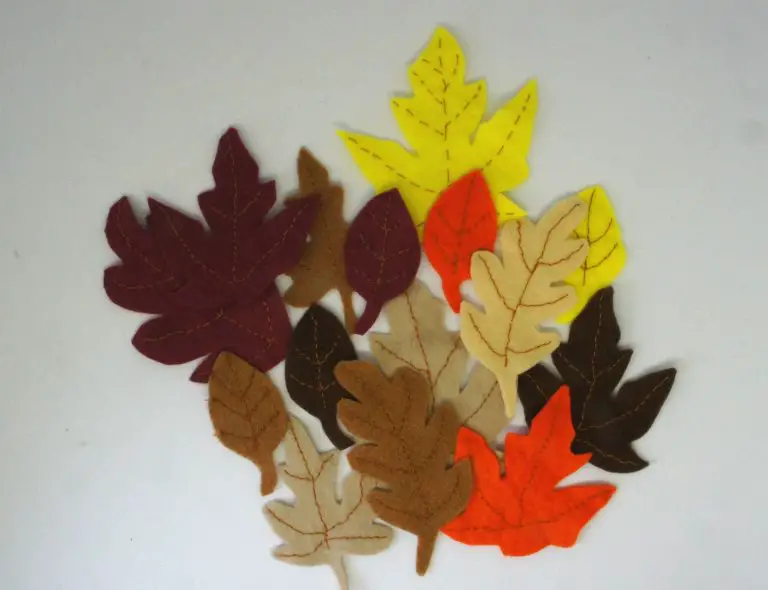
Gorgeous paper flowers from magazines
Organised storage from a shoebox and takeaway containers
Remember to pin this article on Pinterest so that you can find it later!