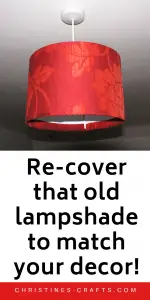
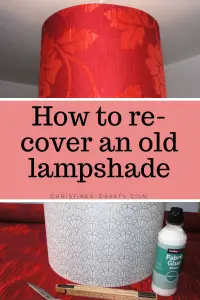
Re-cover a lampshade – coordinate your room on a budget.
As an Amazon Associate I earn from qualifying purchases
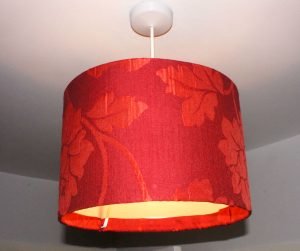
So instead of buying new what about upcycling the ones you already have. This tutorial will show you exactly how to re-cover a lampshade to match your new decor. This lampshade is being covered with a beautiful burgundy fabric to match my bedroom curtains (that I made)!
Tip: If you buy your curtains ask if they have fabric to purchase or look for matching cushion covers, tablecloths, etc. that you can use the fabric from to cover your lampshades.
This tutorial is for a cylindrical lampshade. If you have an intricate shape then look around for a different tutorial with more detail for intricate shapes. You may well need a template to match your shade.
This page contains affiliate links meaning I earn a small commission if you use those links at no cost to you. I only recommend brands I use and trust.
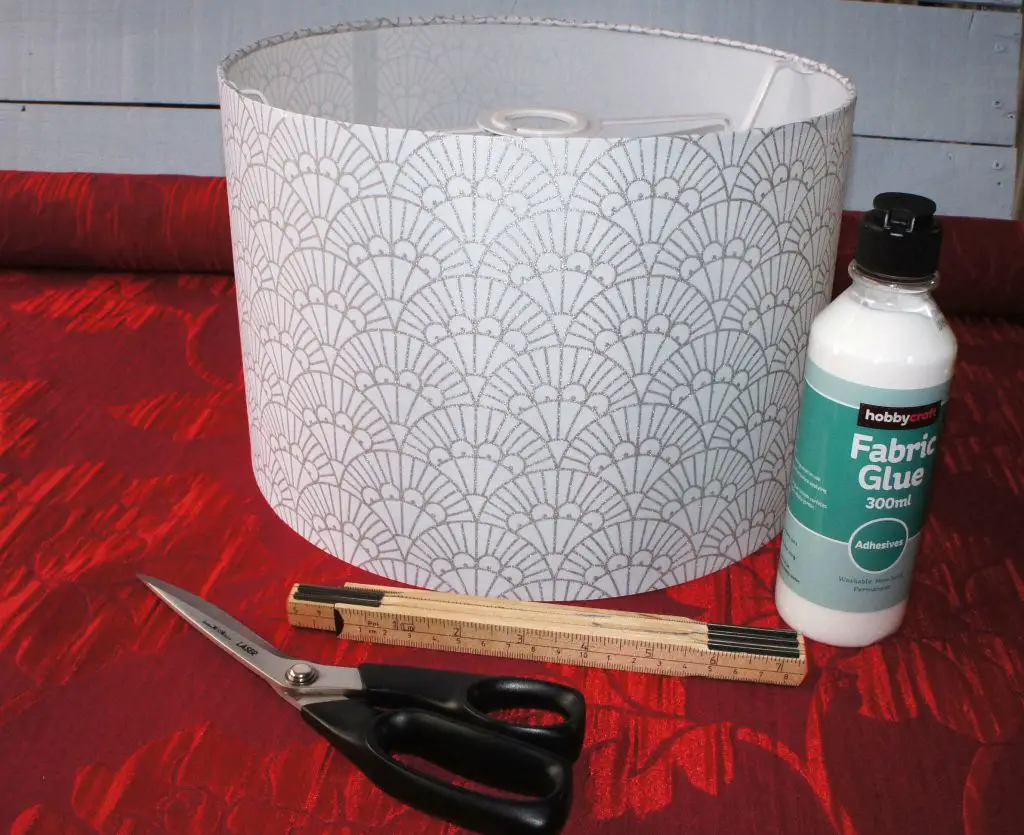
You will need:
Lampshade
Fabric to cover it
Fabric Glue (from Amazon or Hobbycraft)
Ruler / Tape Measure
Clothes pegs (or equivalent) to hold the fabric in place while the glue dries.
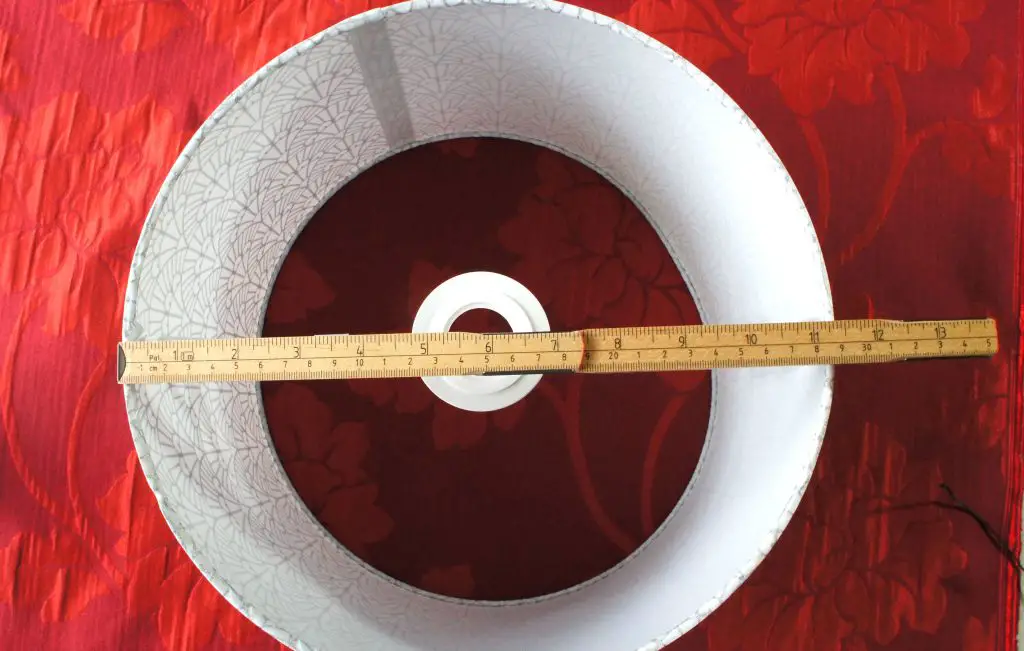
Step 1 – measuring:
Measure the height of your lampshade and it’s circumference (the distance all the way around it). You can measure this with a flexible measure or measure the diameter (distance all the way across the lampshade) and workout the circumference.
The circumference is simply the diameter multiplied by π (pi). In my case this was 11.5″ (29cm) x π = 36″ (91.8cm) approximately. Do not panic if maths is not your thing, just measure the circumference!
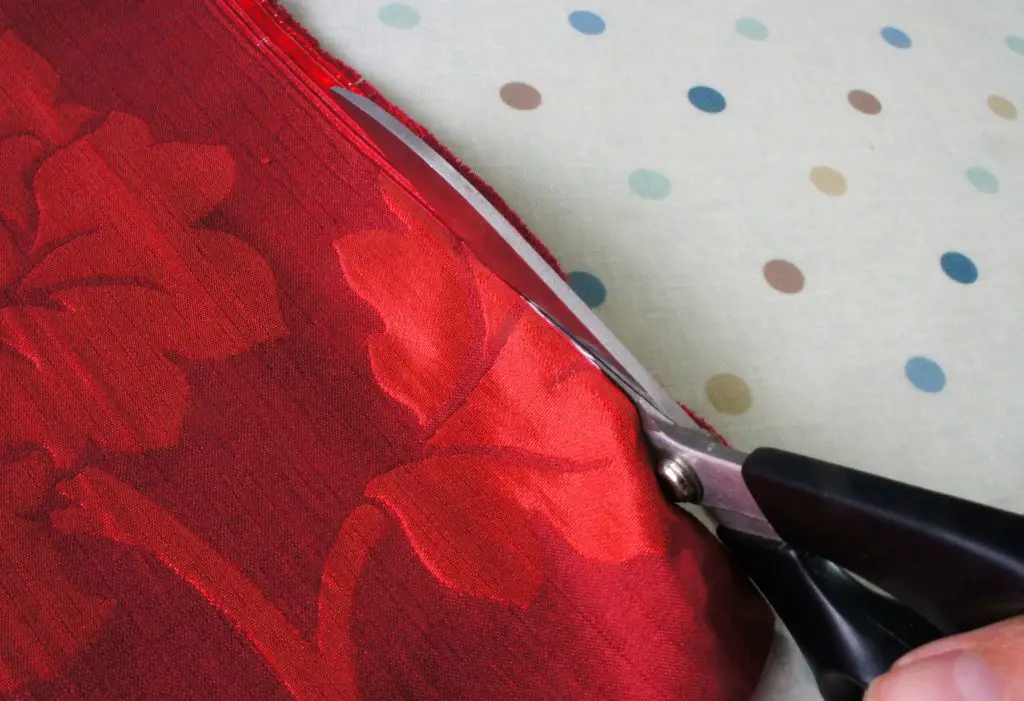
Step 2 – fabric cutting:
We can’t avoid doing a little maths for this project. I suggest that you work out the size of your fabric as follows:
Take the height of your lampshade and add on 3″ (7.5cm). That is the height of the fabric you will cut.
Take the circumference of your lampshade and add on 2″ (5cm). That is the length of the fabric you will cut.
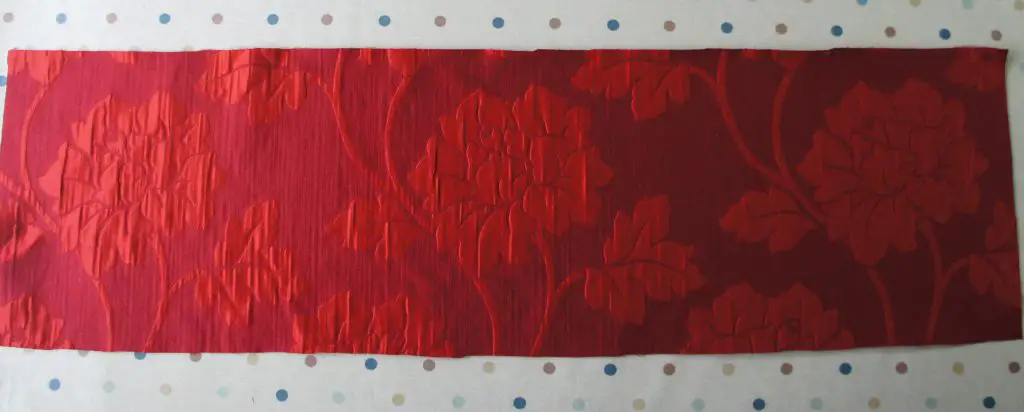
Example – my lampshade:
I cut out a rectangle of fabric that measured 11″ x 38″ (28cm x 97cm)
Height = 8″ + 3″ = 11″
Length = 36″ + 2″ = 38″
Mark out this rectangle on your fabric making sure you have it the correct way around so that your pattern will look good upon completion. If necessary, move the fabric up or down to get a good finish on the lampshade.
Cut out your rectangle.
Use a spare piece of fabric to test your fabric glue. Apply some to the wrong side of the fabric, fold it in half and apply some pressure. Check that the glue does not show through to the right side.
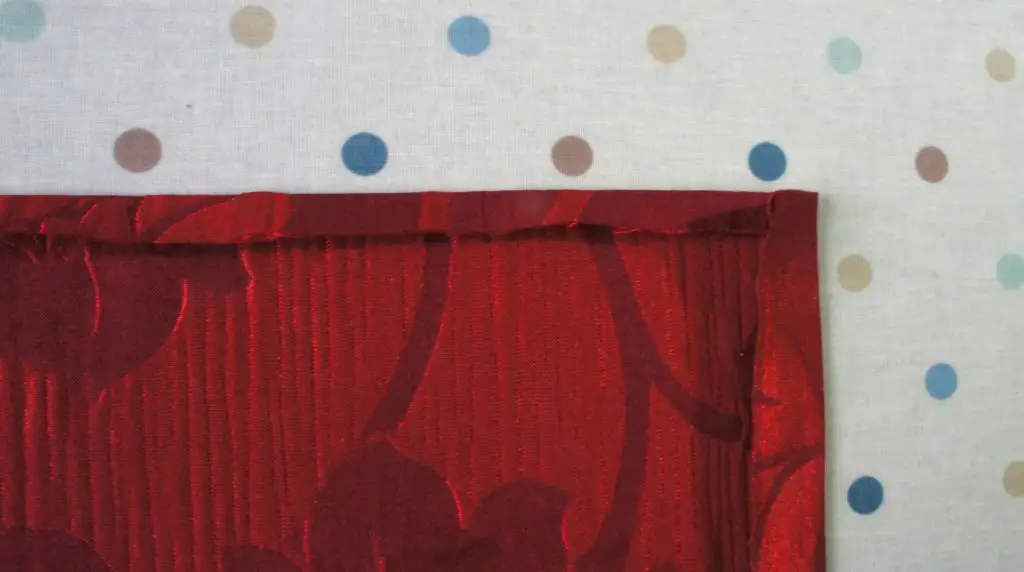
Step 3 – pressing:
On one end of your piece of fabric (a short side) fold and press a hem (approximately 1″ (2.5cm). The hem should press onto the wrong side of the fabric. Then turn and press a hem of approximately 0.5″ (1.25cm) along the long lengths (top and bottom) of your fabric.
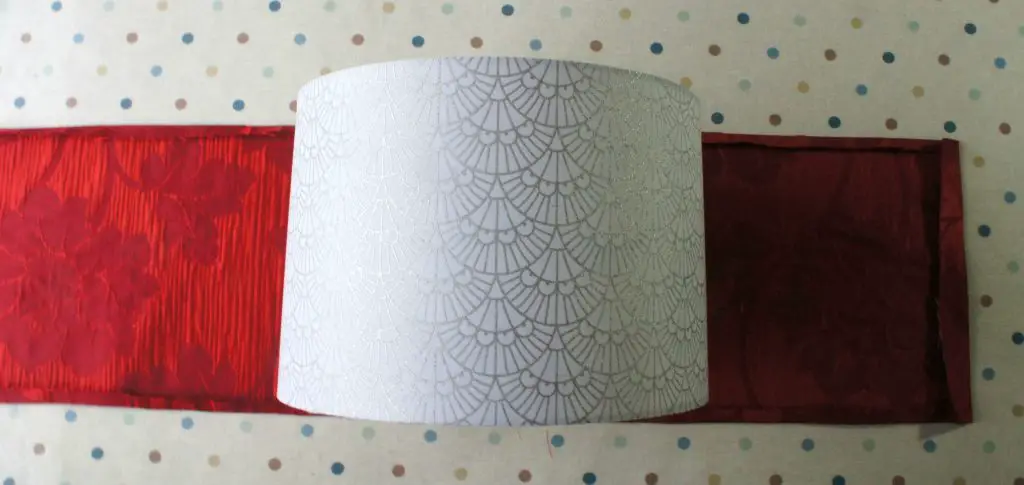
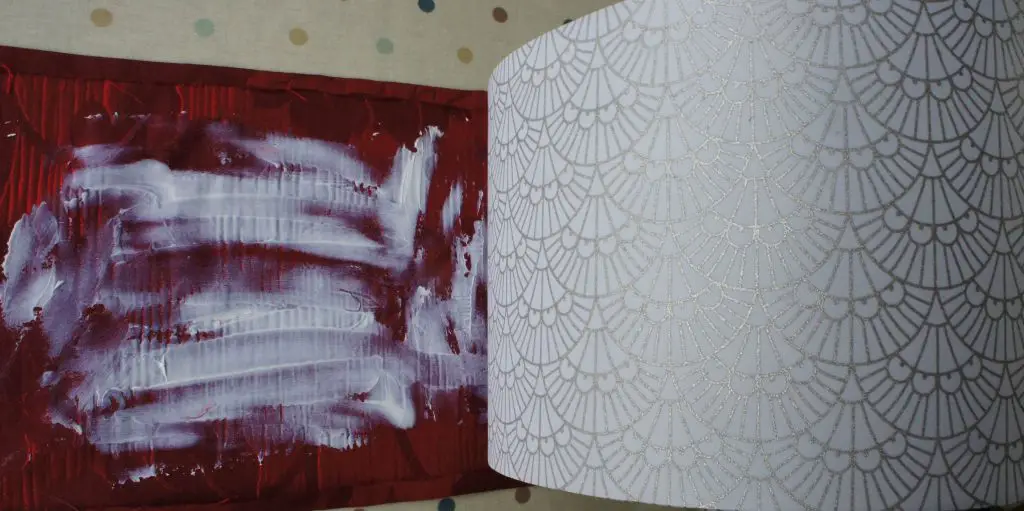
Step 4 – gluing:
Lie your fabric on a flat surface with the hems facing upwards, right side of fabric down. Place the lampshade onto the middle of the fabric. Measure the fabric above and below the lampshade to ensure it is in the middle. Tip: Make sure any seam on the original lampshade is not going to line up with the new seam as it will end up very bulky.
Apply some fabric glue to approximately 6″ to 8″ of the fabric and roll the lampshade onto the fabric ensuring that the amount of fabric at top and bottom remains the same. Do not apply glue all the way to the edges as they will be glued in place later.
Continue adding glue and rolling round the lampshade until it is all covered. NOTE: Make sure that you finish with the neatly pressed edge so that it shows and not the raw edge from the other end.
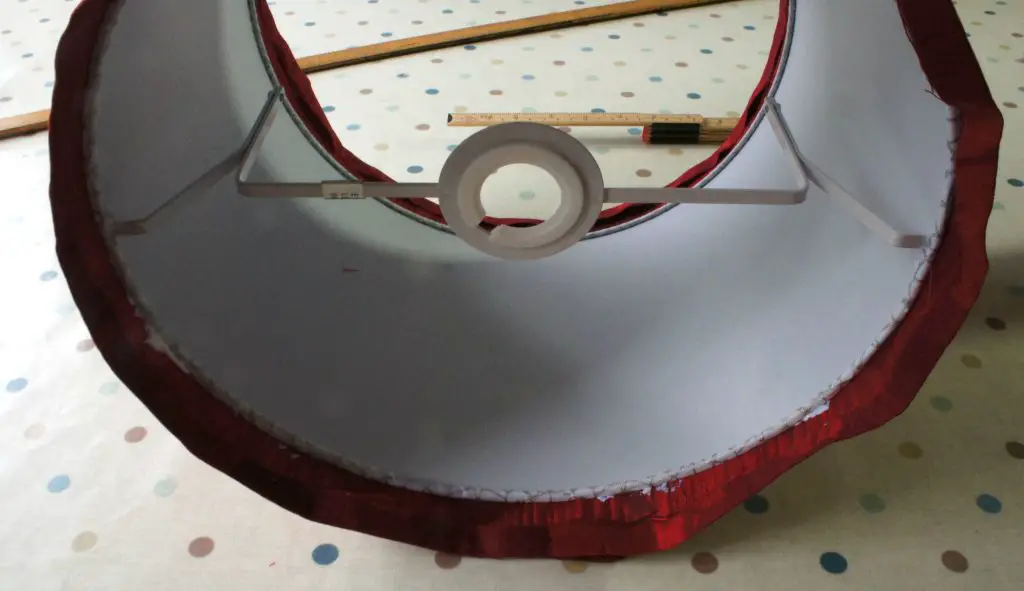
If you encounter some supports simply cut a small slot into the fabric and glue it down. The glue will prevent it from fraying.
Ensure that the fabric is smooth with no wrinkles and that the overlapped edge is firmly glued down.
Step 5 – finishing off re-covering your lampshade:
Now you just need to tidy up the top and bottom edges. You should have a neat section of fabric that has a hem on it. Starting with the top of the lampshade select a short section, approximately quarter of the way around and apply fabric glue to the fabric on the wrong side and the hem. Fold the fabric inside the lampshade and press it down flat. Repeat all the way round the lampshade.
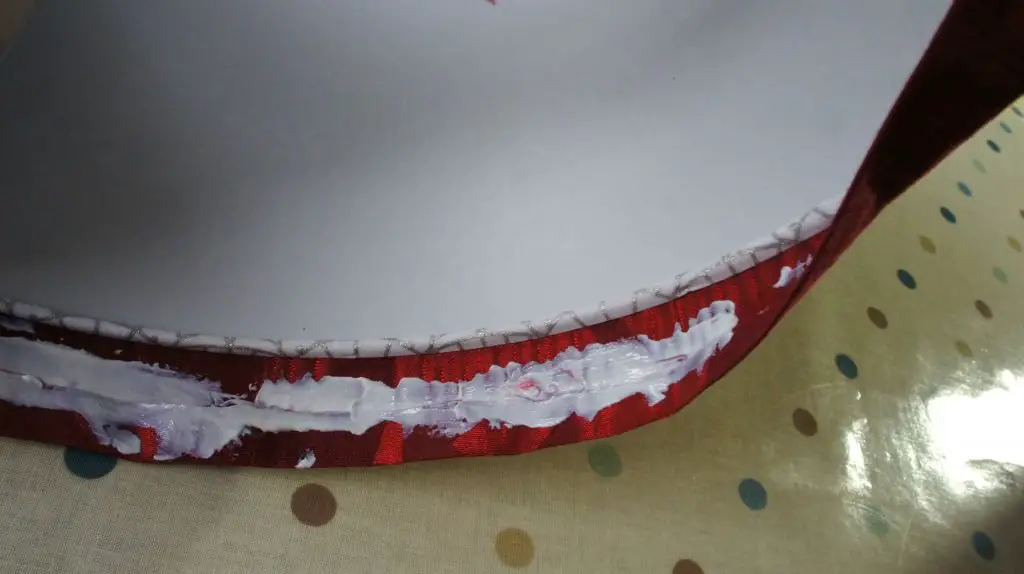
Repeat for the bottom of the lampshade.
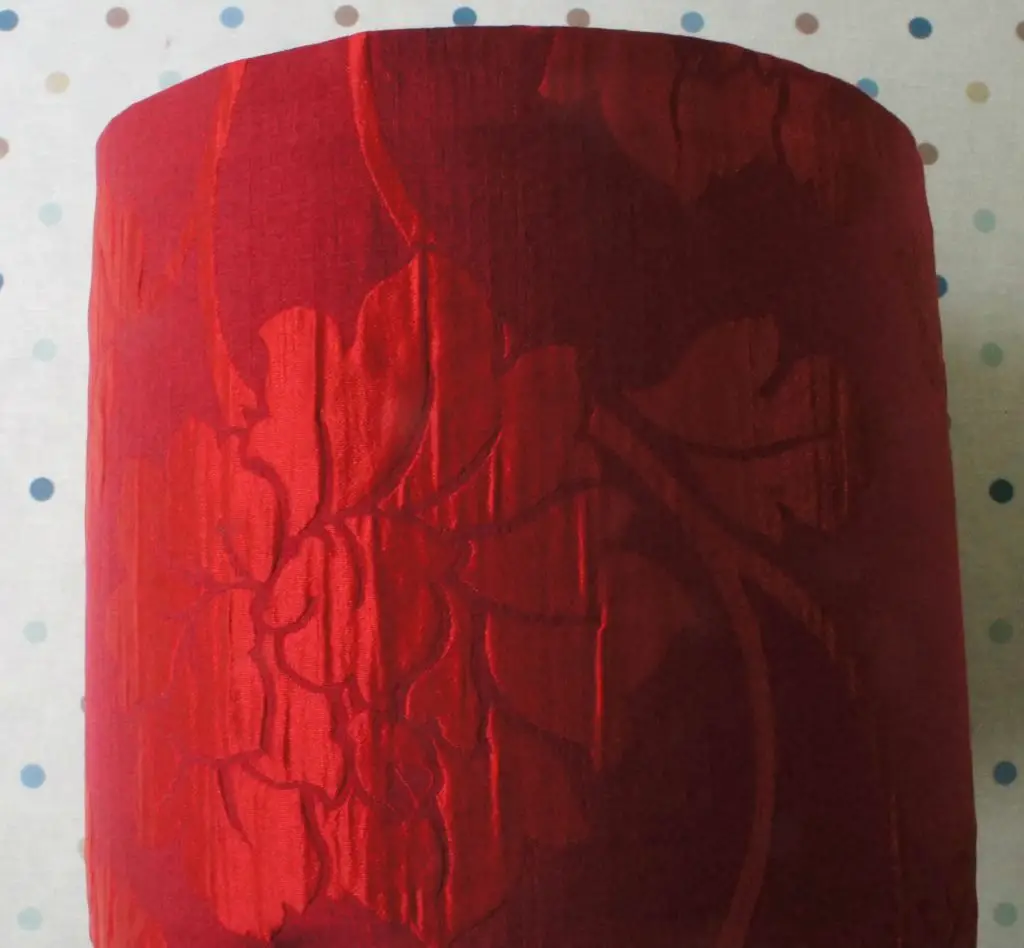
It is now finished. You have re-covered your lampshade. However the glued fabric may need holding in place while the glue dries. I found soft grip clothes pegs worked really well for this (and I had enough of them).
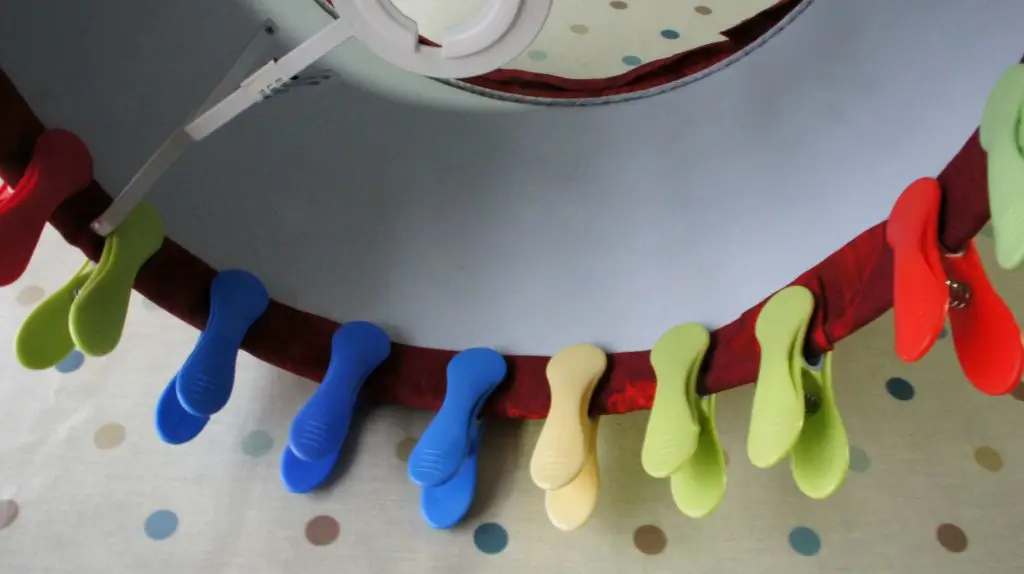
Once the glue is dry, remove the pegs and hang your lampshade where you want it. You can now re-cover a lampshade with confidence.
Well done!
It is very satisfying to complete something that saves you money and the environment. Every time we re-use something we are saving the planet. In all honesty I was also struggling to find anything to match my new bedroom decor so this was my best solution all round!
Good luck with your lampshade renovation project.
If you are working on your home then take a look at these other great tutorials to help you:
Gorgeous flowers from old magazines
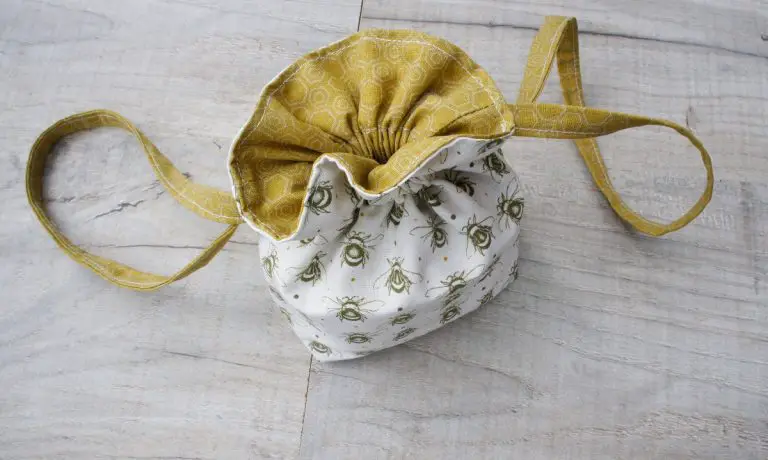
Make your own co-ordinating doorstop
Remember to pin this tutorial (and the others) on Pinterest so that you can find it later.