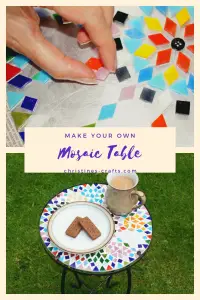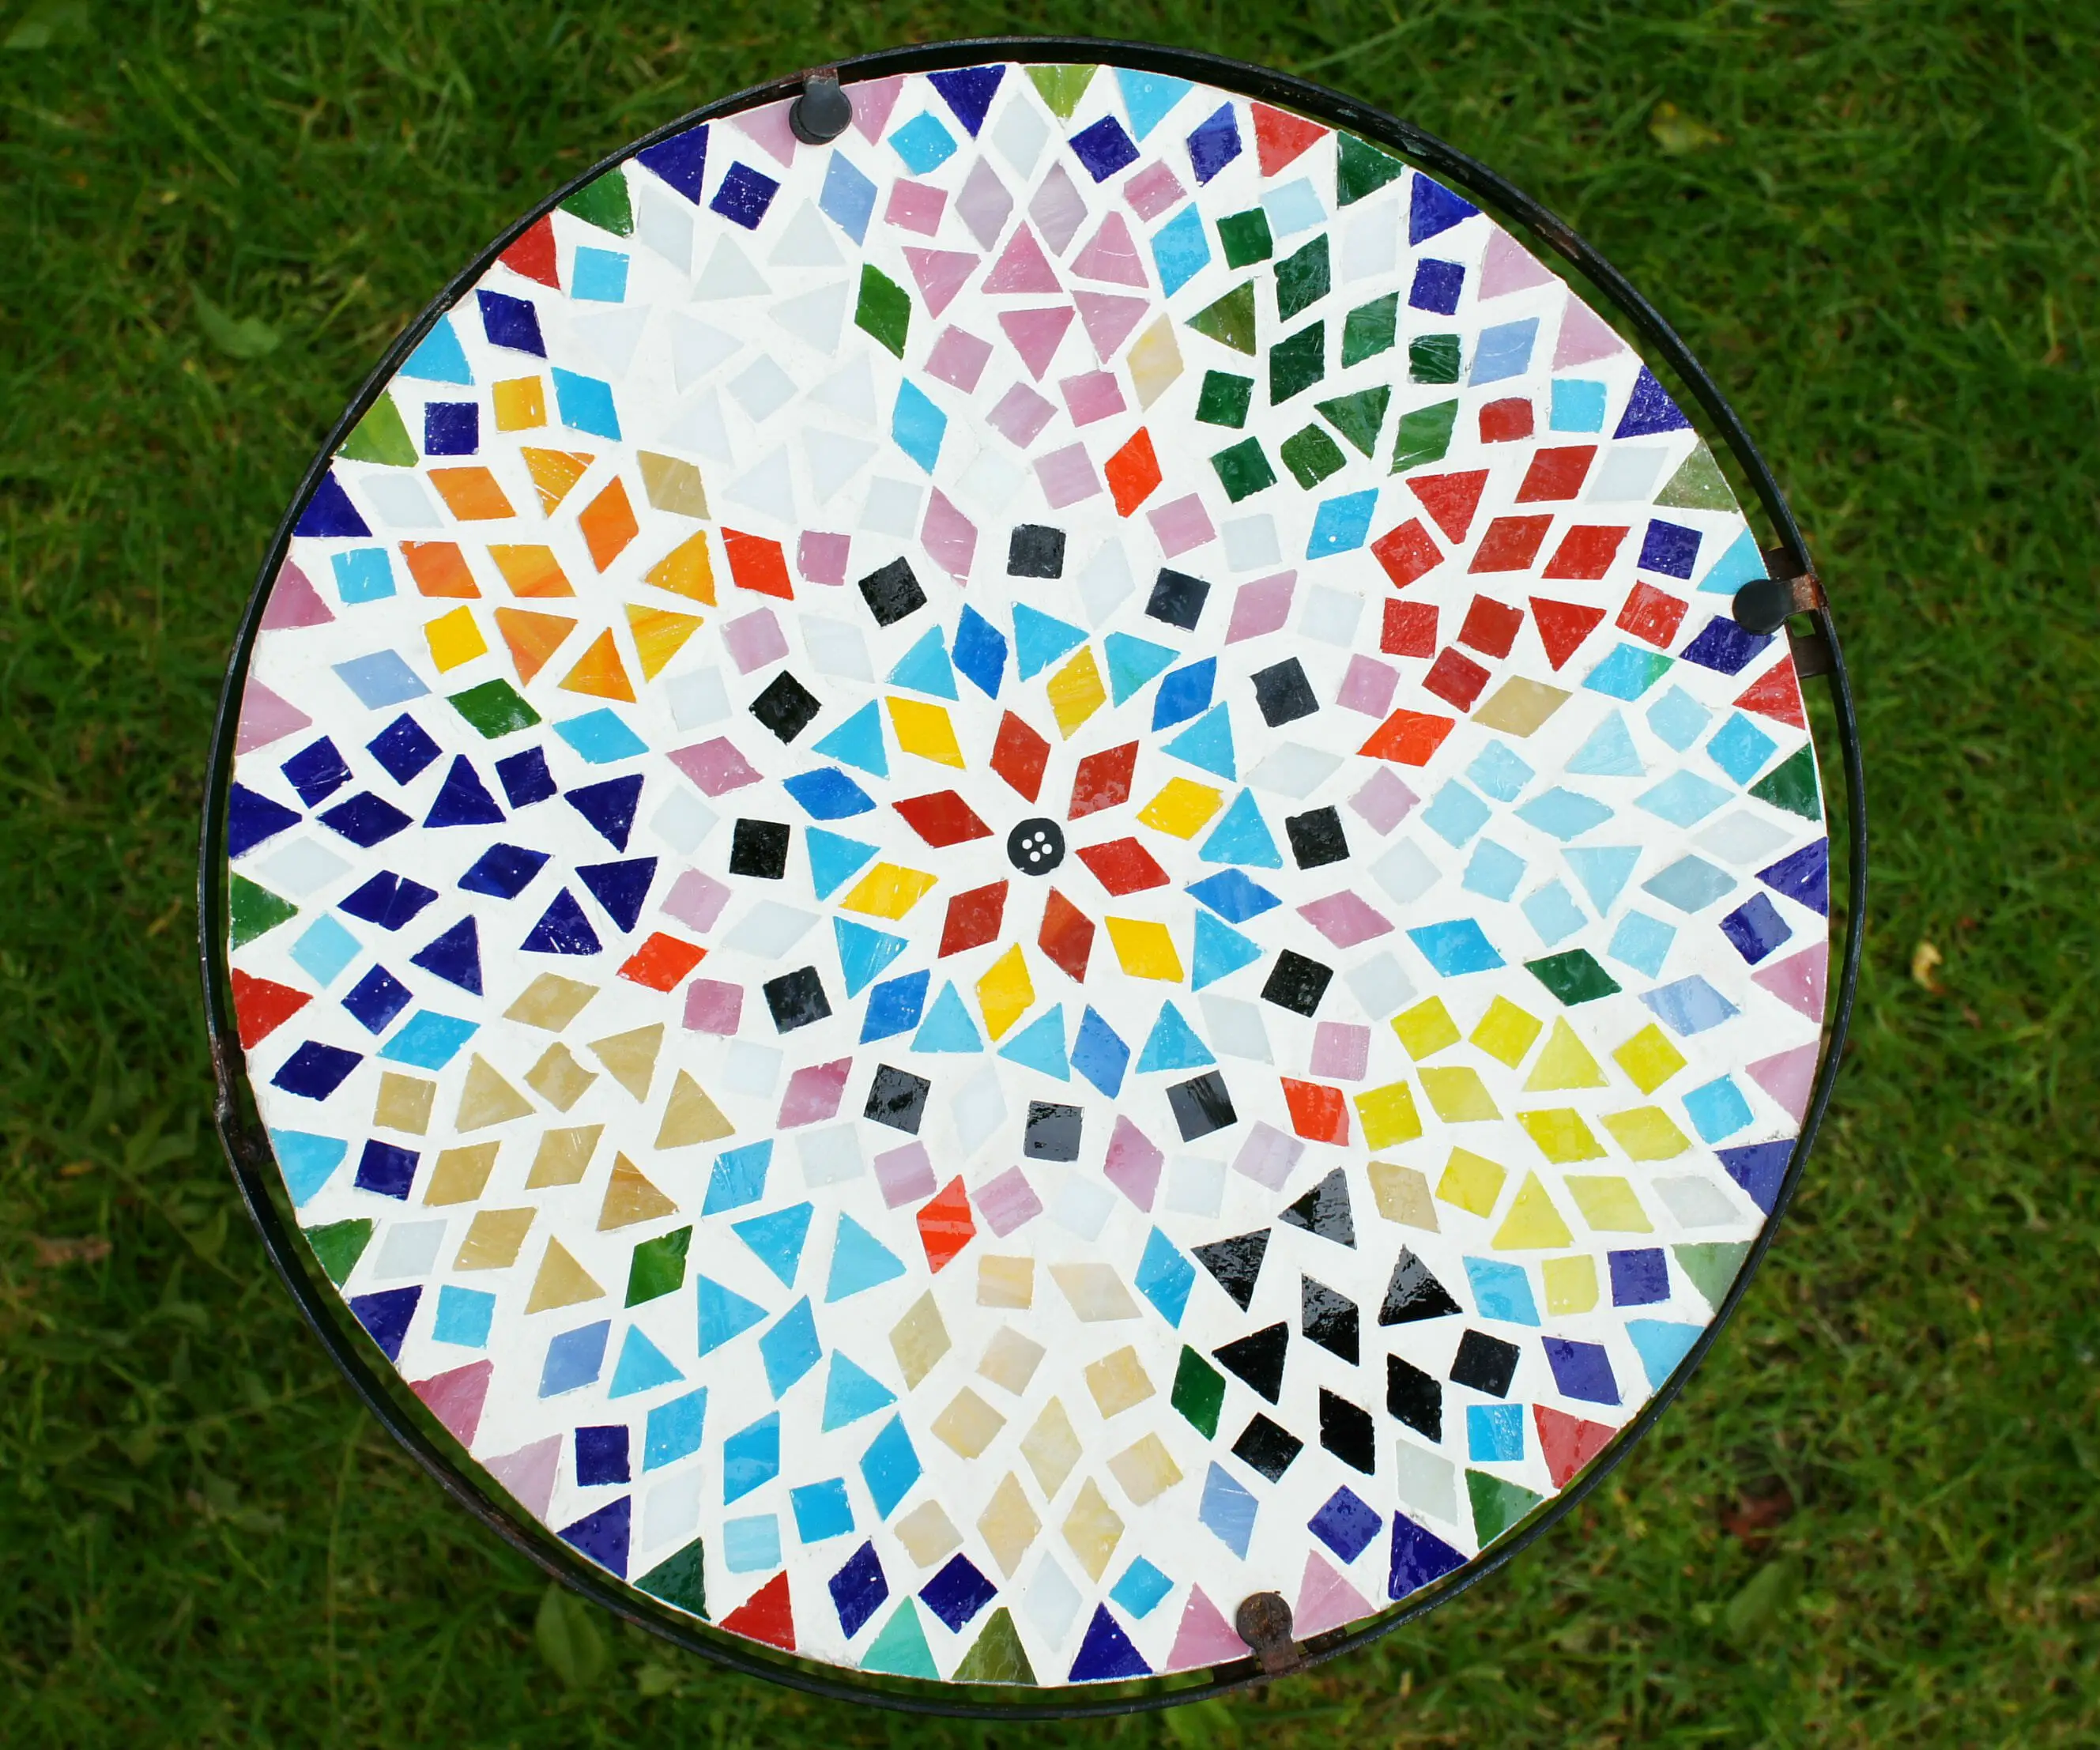
How to Make a Mosaic Table
As an Amazon Associate I earn from qualifying purchases
This page contains affiliate links meaning I earn a small commission if you use those links at no cost to you. I only recommend brands I use and trust.
You Will Need:
Table frame (mine is similar to this one in Amazon)
Aluminium sheet (or similar backing material)
Tools to cut the backing sheet to size
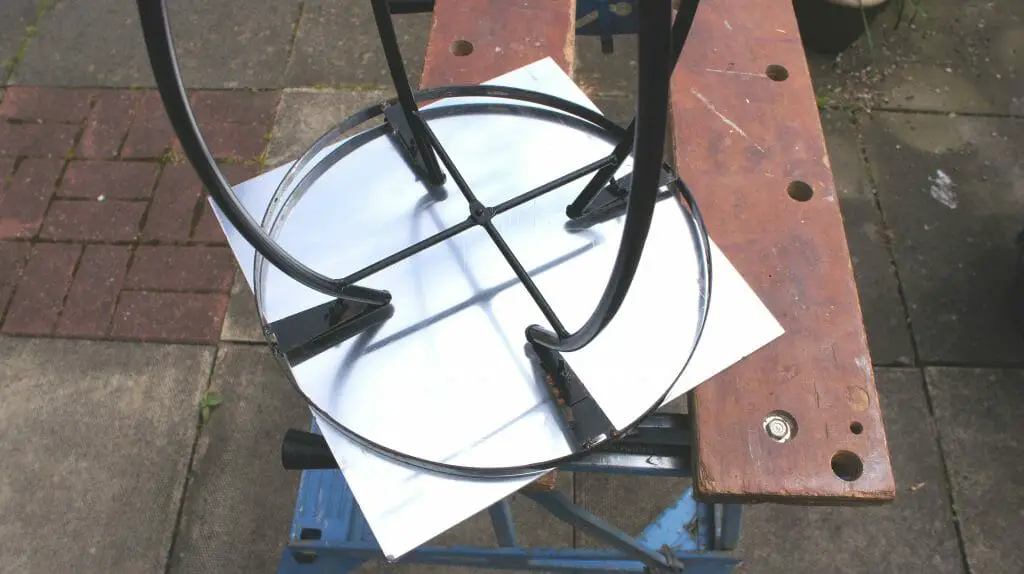
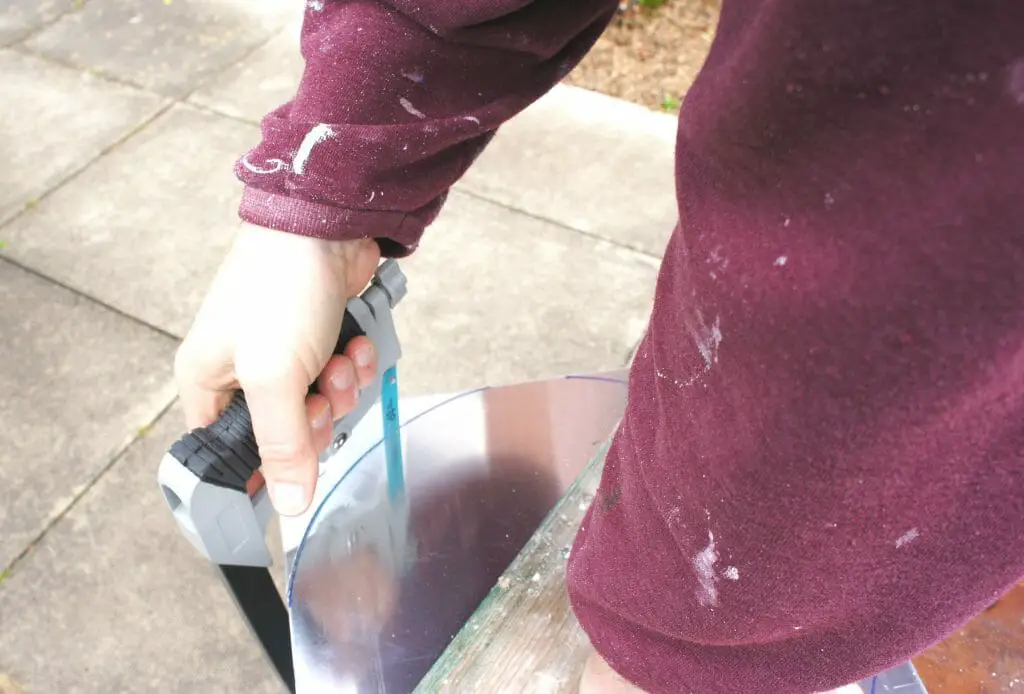
Step 1: Cut out backing material
You need to cut your backing material (in my case aluminium sheet) to size. As my frame is approximately circular we placed it onto the backing material and drew around it (on the inside) with a permanent marker.

We also marked an arrow on the circle so that we would know which way round to place it back in the frame as it is not a perfect circle.
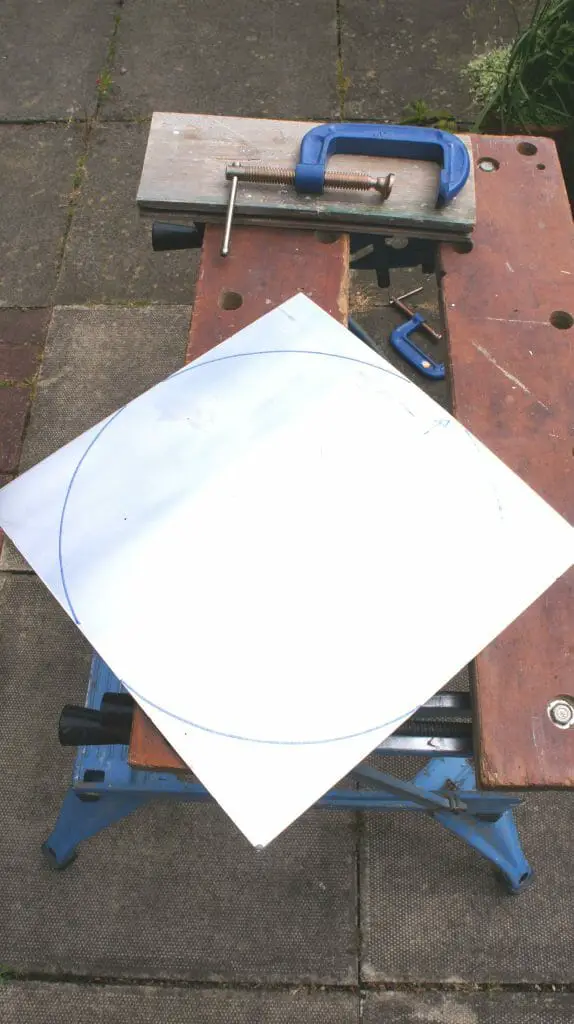
Once the circle was clearly marked we cut it out using a saw. Note: painted clothes are not essential but I do recommend old work clothes for this whole project.
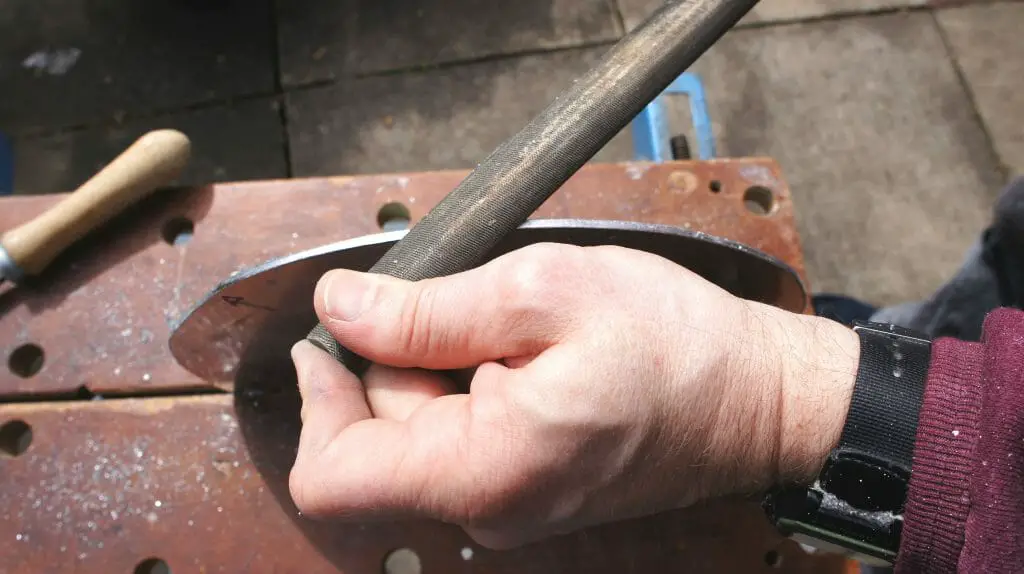
Once the circle was cut out from the sheet, we filed its edges to make sure they were smooth and then checked that the circle fitted into the frame. It was then filed down until it fit well.
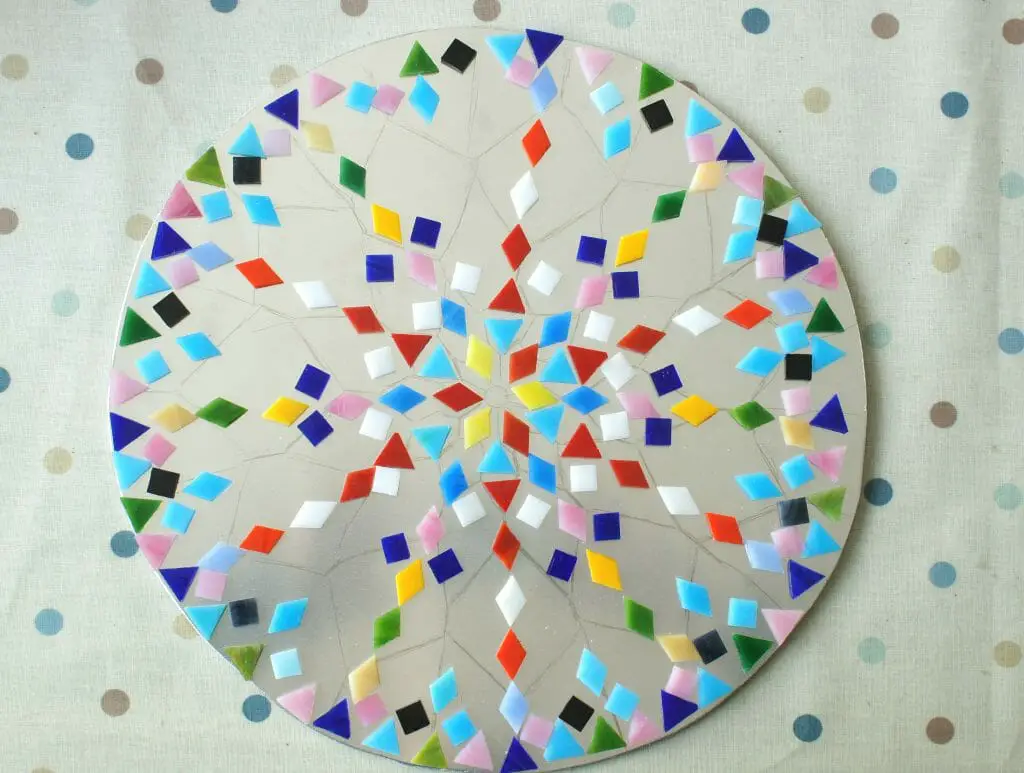
Step 2: Plan the mosaic
Now for the exciting part. You need to plan your mosaic. There are lots of free patterns available on the internet and to start with I used one and traced it onto my aluminium sheet. Then I changed my mind and decided to do my own pattern. I laid some of it out, shown below, and then felt confident I could proceed. You can see the old pattern from the internet underneath my layout.
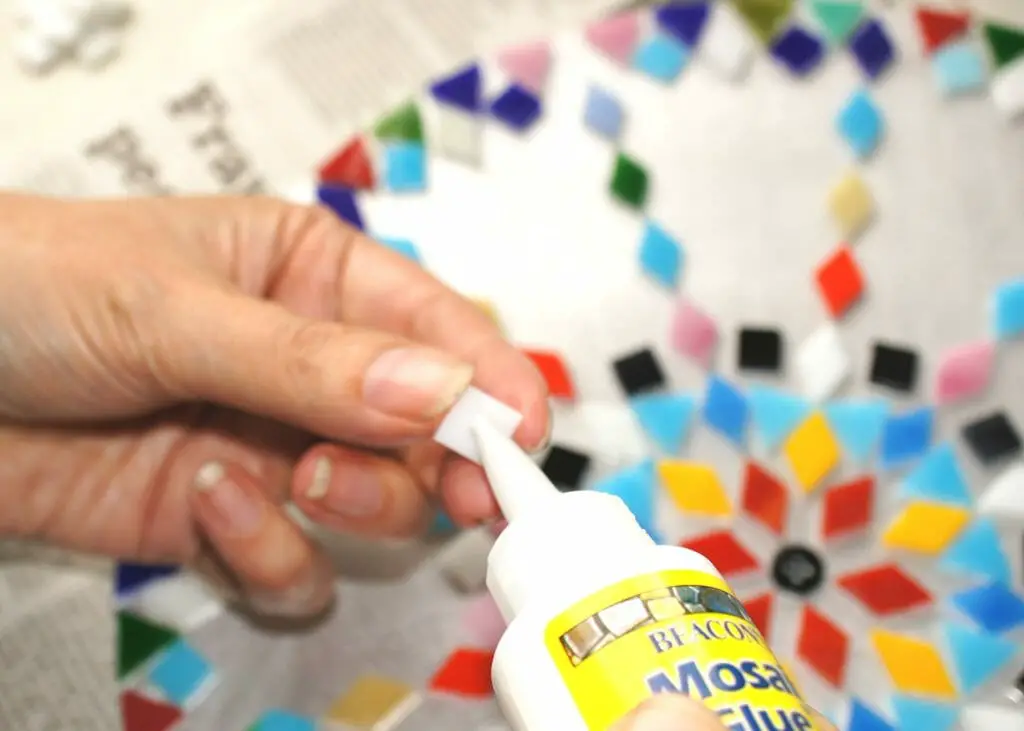
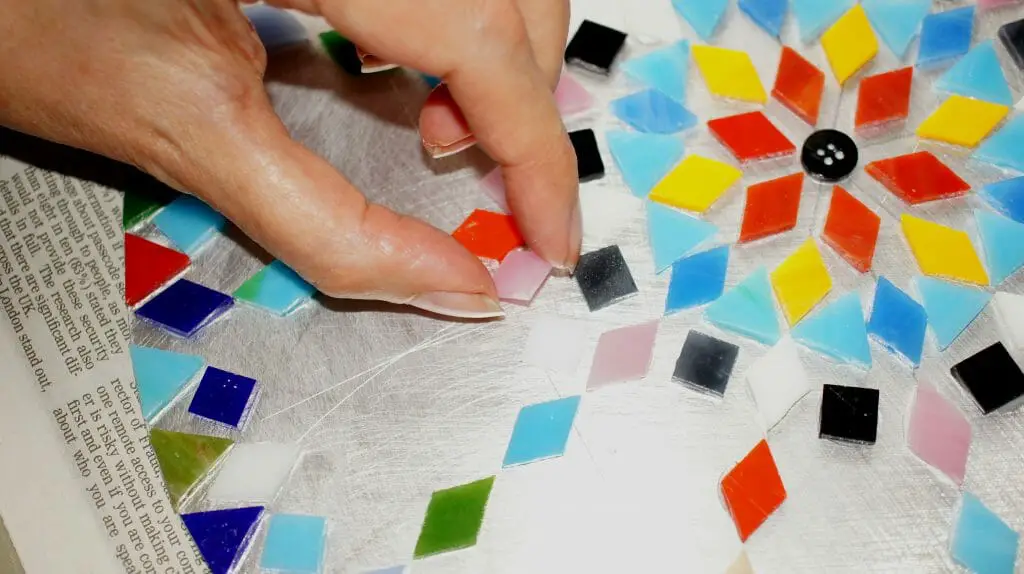
Step 3: Glue the mosaic
Glue down all your tiles one at a time. This sounds really laborious but I actually really enjoyed it. I was completing my planning and creating my design as I went. Simply apply a small amount of glue to the bottom of a tile and then place it where it should go. This glue does allow you some time to move tiles around a little before it sets fully.
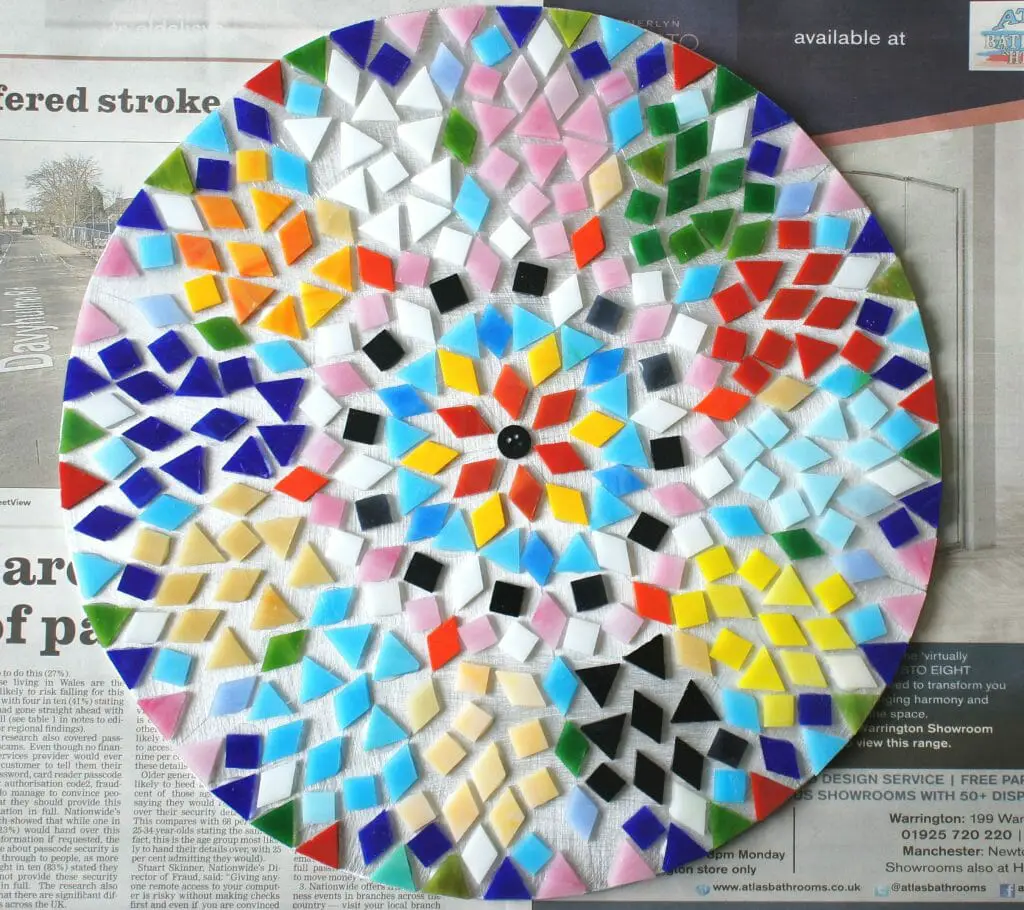
Once all the tiles are in place leave it to dry overnight. You can see what your design is going to look like now.
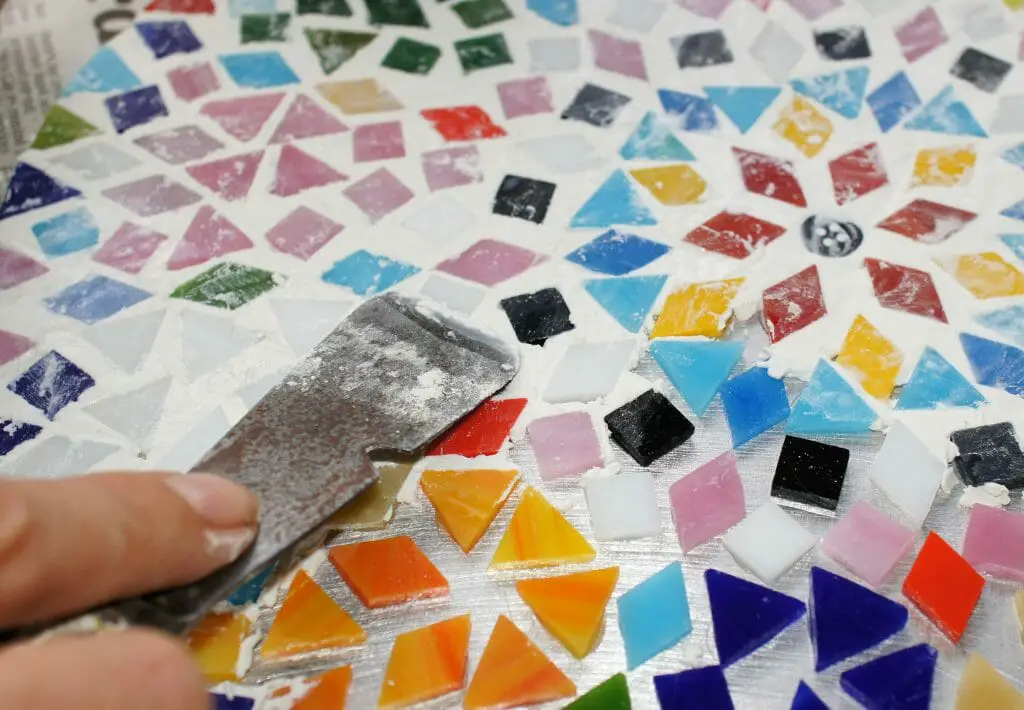
Step 4: Grout the mosaic
Now you need to grout your table top. I used some grout we had left over from another house task but I recommend new. There are lots of tools available to help you grout but I used a trusty old tool we already had. Simply push the grout into all the spaces between the tiles and then smooth the surface. 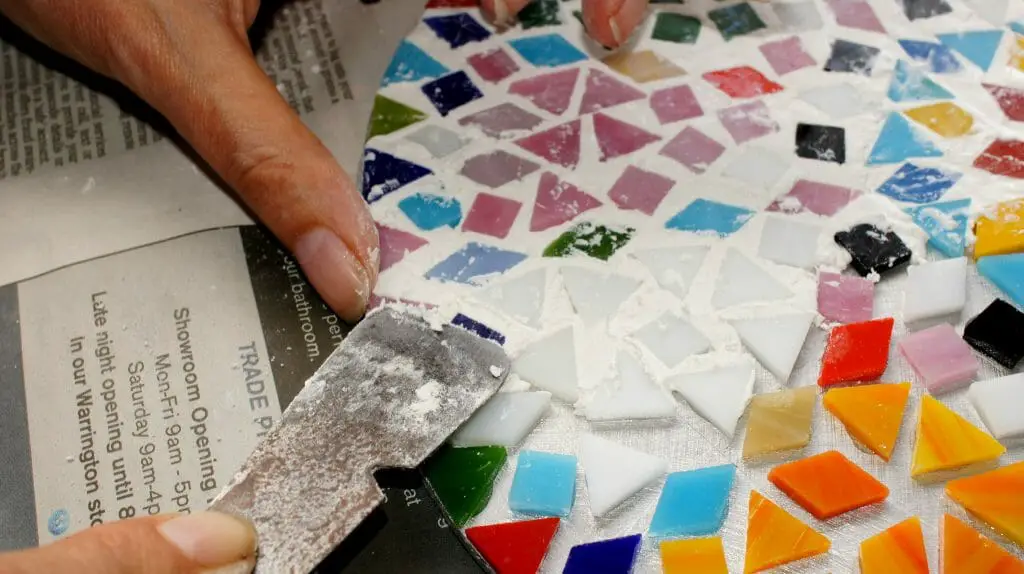
As you can see, this is a messy business! Continue until all the spaces are filled and you are happy with the surface. Note that any grout you leave on the tiles will need to be cleaned off once the grout is dry. You probably want to minimise this.
Step 5: Clean up the grout
Once the grout is dry clean up any grout that is on the tiles with a scraper and a damp cloth. At this point the tiles will really shine! You have completed your table to so place it your frame and you are finished. If you were grouting directly onto a table then you have already finished!

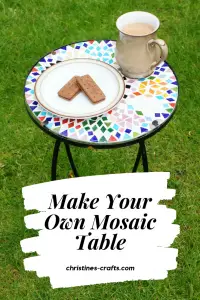
Now all you have to do is enjoy it in your garden with the beverage of your choice!
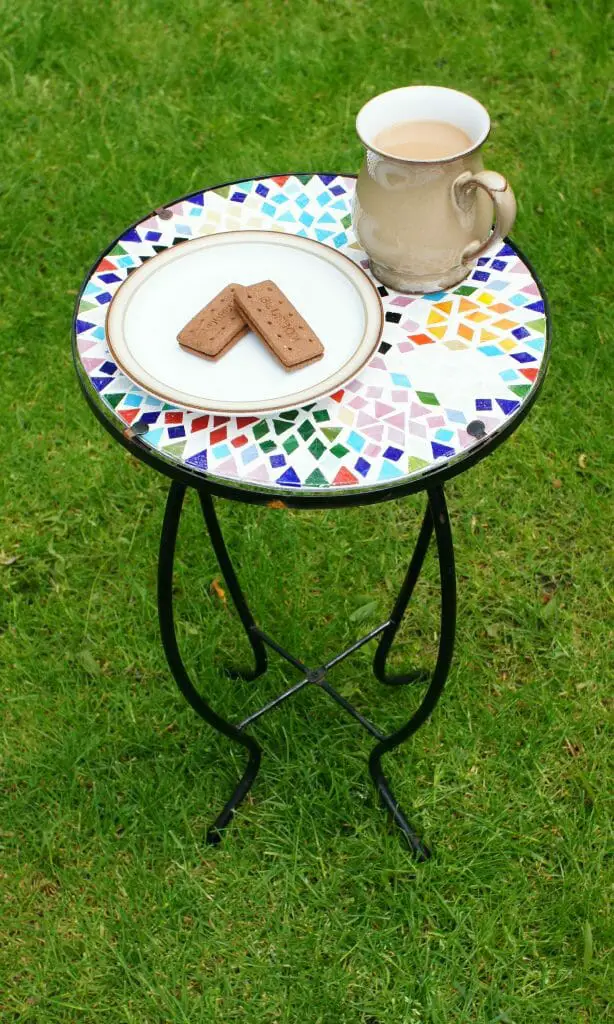
I must say that I have really enjoyed making this table and I am looking forward to getting some good summer weather to enjoy using it! You can make a mosaic table top for most garden tables. If you have a small wooden table then you could mosaic directly onto it. I chose aluminium as my completed table top needed to be quite thin.
So, if you enjoy your crafts and are looking for some more ideas why not try:
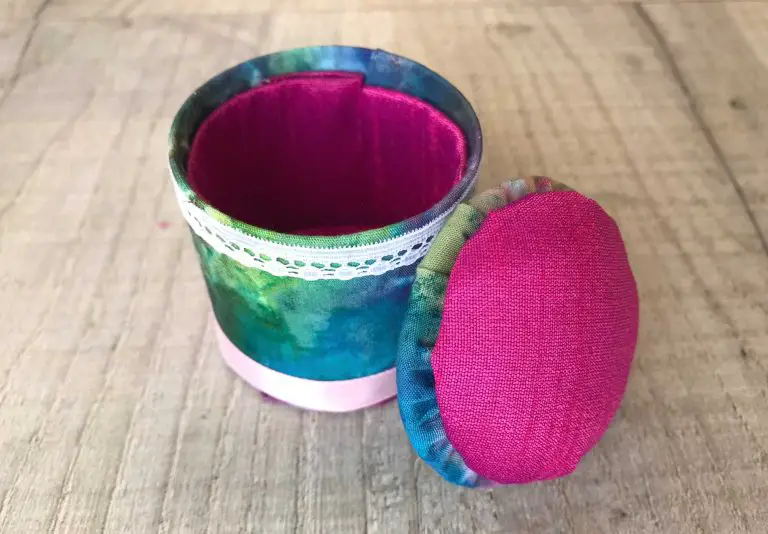
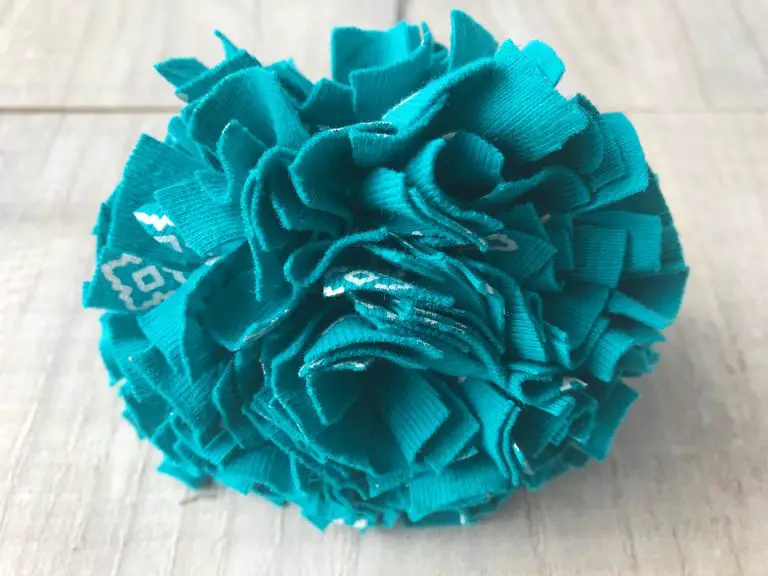
Sewing your own doorstop to match your decor
Making a storage roll for your tools
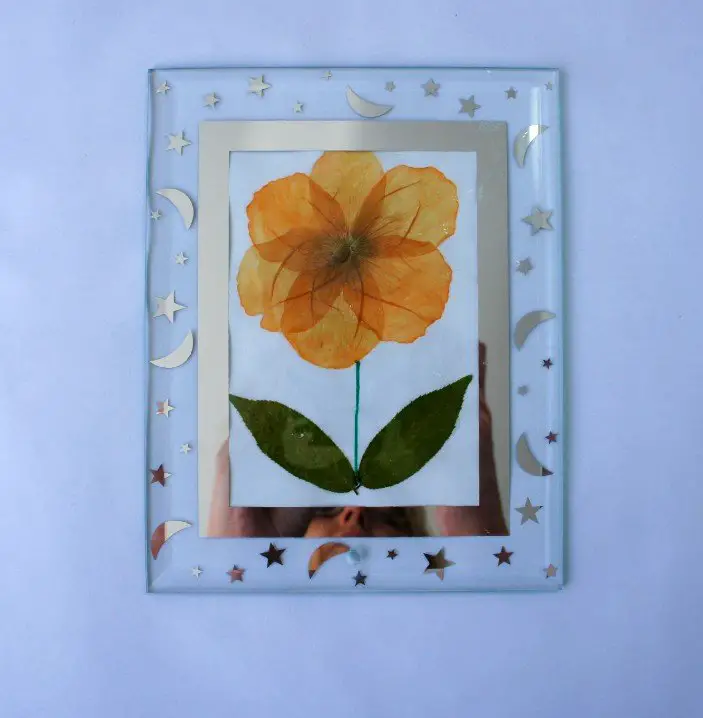
Decoupaging items to upcycle them
Remember to pin this tutorial in Pinterest for later and please comment below. I love to hear what you think.