How to Upcycle a Tin Can as a Storage Pot using Popsicle Sticks
As an Amazon Associate I earn from qualifying purchases
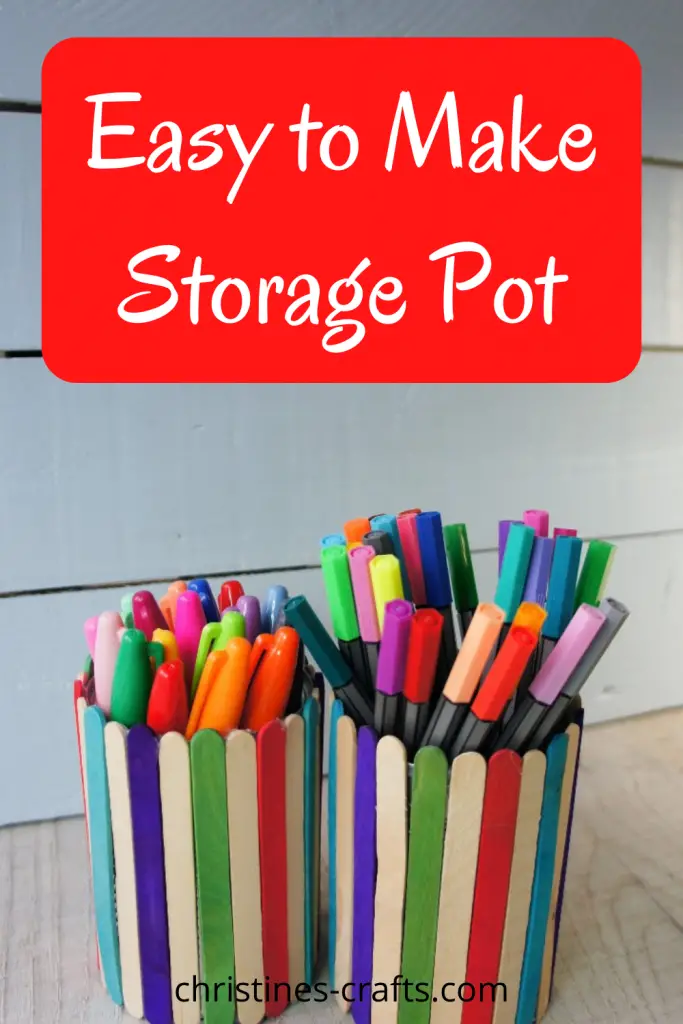
Re-use your old tin cans and make a fabulous tin can storage pot using some popsicle sticks. Tin can crafts are so popular right now. These are made in about 10 minutes and look so effective. I am now using these pots in my home office and I love them. They are so bright and useful! Also they cost so little to make they are almost free!
Most of us use some food out of tin cans so why not re-use them? Whether it is tinned tomatoes, baked beans or indeed a whole meal once it is empty the can is still a great storage vessel.
We call them tin cans but nowadays they are not made of tin. They are often made from aluminium. In the first half of the 20th century they were made from a mix of steel and tin so that they were strong but corrosion resistant. This is how they got their name of tin cans.
So, let’s get on and make your storage containers.
This page contains affiliate links meaning I earn a small commission if you use those links at no cost to you. I only recommend brands I use and trust.
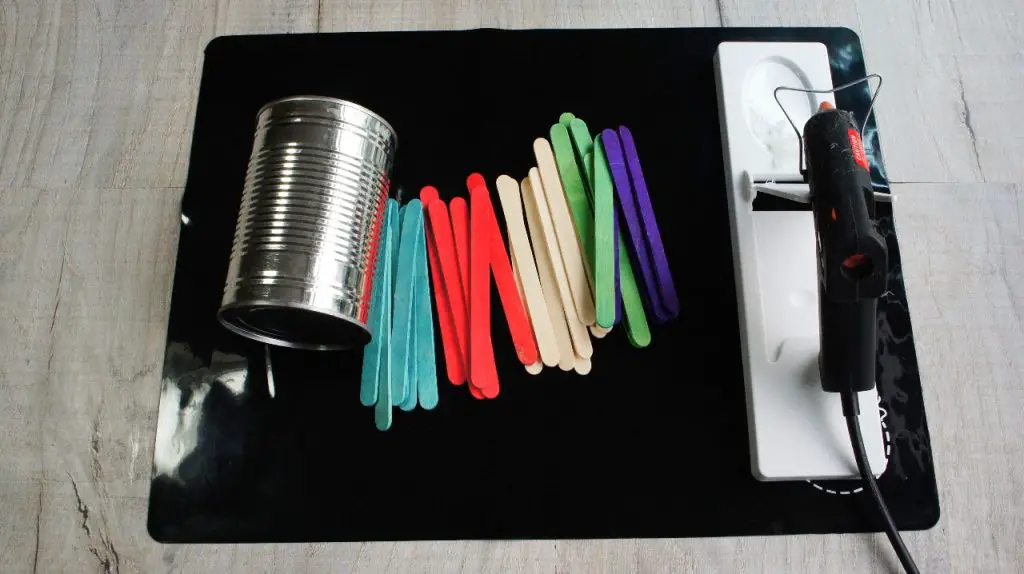
You will need
Hot melt glue gun and glue sticks
Empty tin cans
NOTE: The tin cans need to be ones that still have the strengthening ring (the rim) at the top. If you opened it with a ring pull on the can it will be okay otherwise check it is still there and that the can is rigid. Some can openers remove that rim.


Video Tutorial
This video is also available on my YouTube channel.
Prepare the Tin Can
This is really simple! Wash your tin can thoroughly and remove any labels. Then allow it to dry. At all times be careful as tin cans can have sharp edges! If you find sharp edges consider using a different tin or file them down until they are smooth and safe. Do not leave them or your completed pot will be dangerous.
Glue the Popsicle Sticks to the Tin Can
Decide on how you would like your storage pot to look before you do anything else. Lay your popsicle sticks out and decide on a pattern and then lay the popsicle sticks out in the correct order so that you do not make any mistakes. I have done simple stripes but you can do whatever suits your mood or decor. Get creative!
Then turn on the glue gun and wait for it to warm up. Once your glue is flowing place some on the top and bottom rims of your tin can.
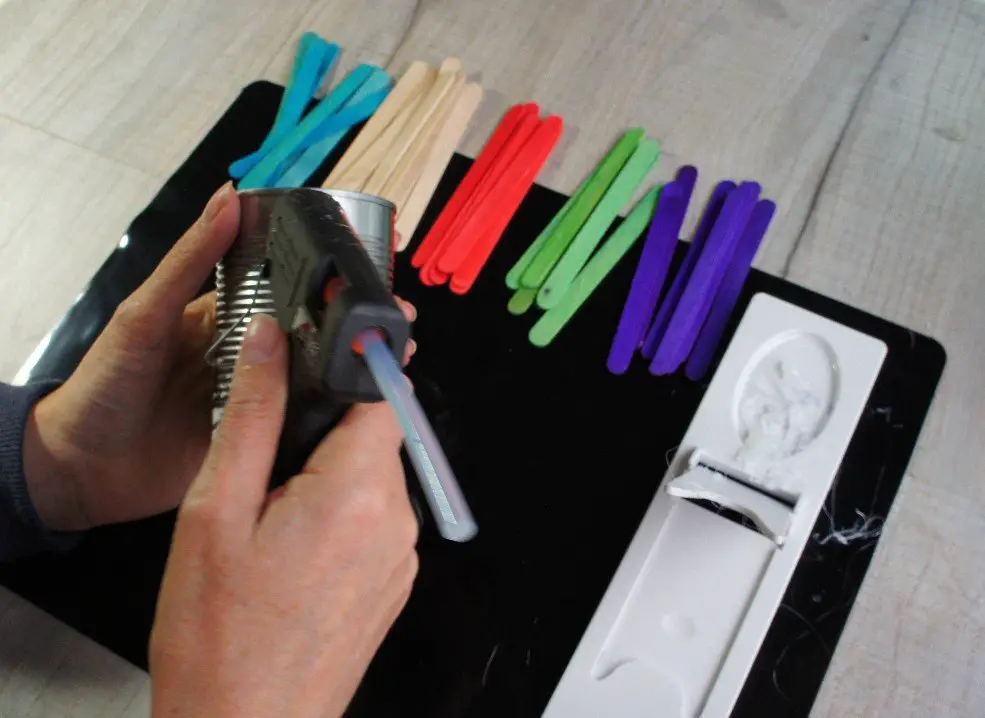
TIP: Only apply about the width of 2 popsicle sticks otherwise the glue will dry before you manage to attach your popsicle sticks.
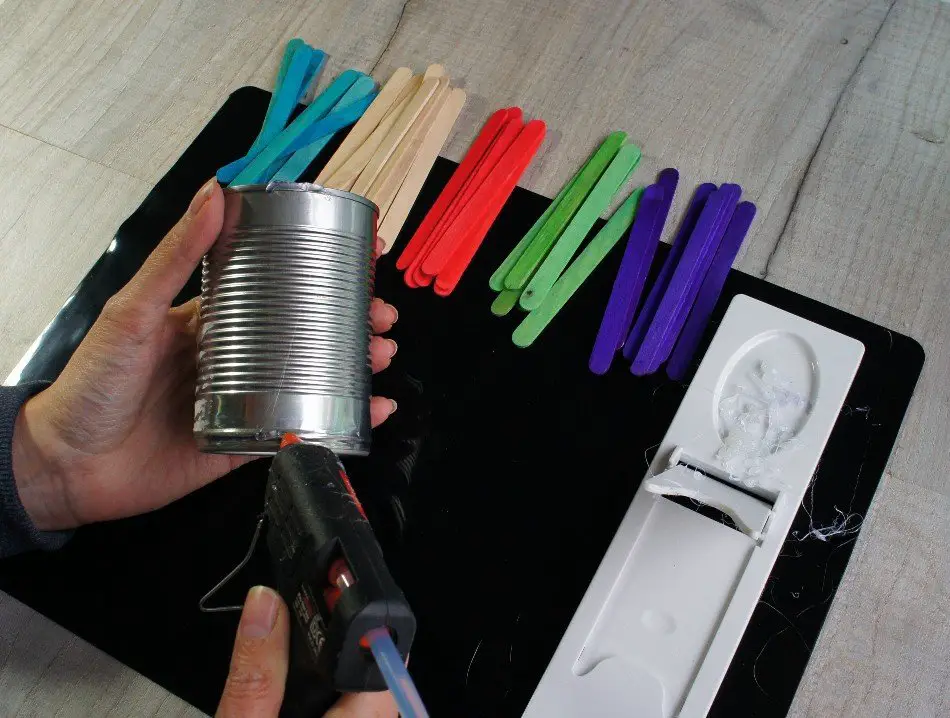
While the glue is still sticky apply a popsicle stick making sure that it is vertical and lines up with the bottom of the tin. The easiest way to do this is to stand the tin can on the table and check you have it in the right place.
If there is enough glue on the tin add another one quickly.
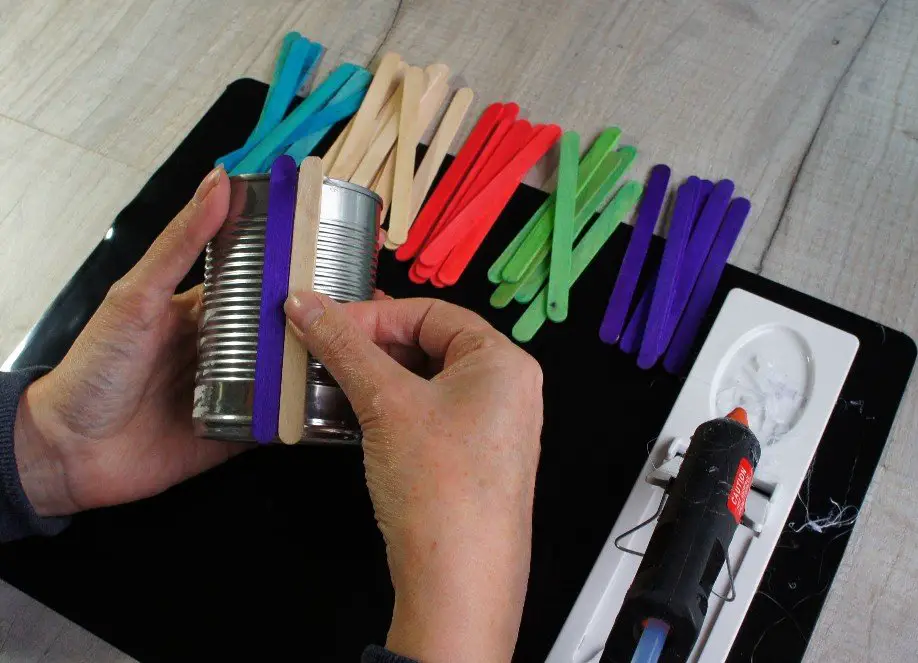
Repeat all the way around the tin can until you only have a small area not completed.
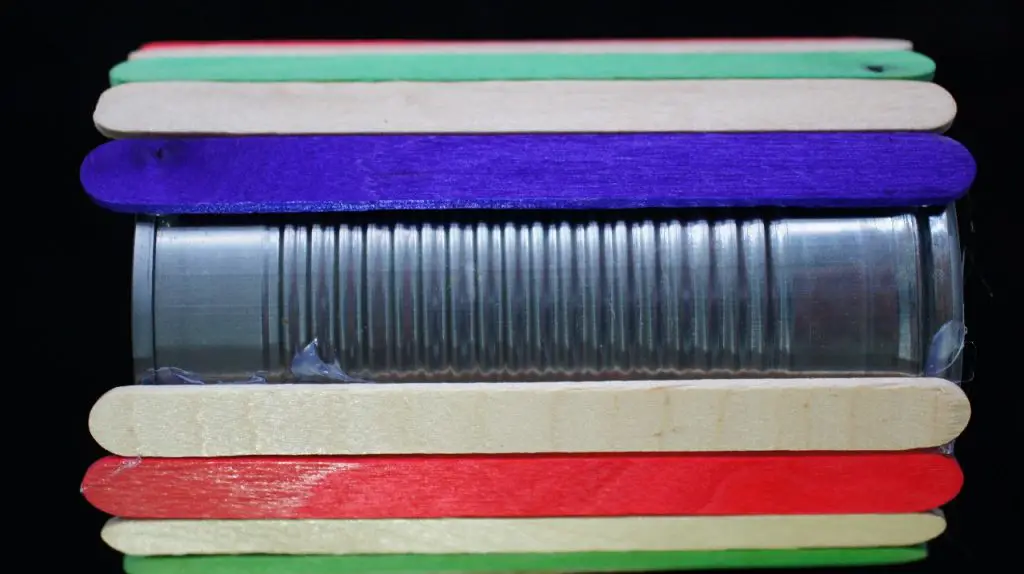
Then decide whether you have space to complete your design or if you are going to be left with a small gap. If possible position your last 2 or 3 so that they cover the gap.
If it will not look great then keep going until you have a gap smaller than a popsicle stick and glue your final stick overlapping the two next to the gap. It will not be obvious when it is in use and you can place it at the back of the pot anyway!

Tin Can Storage Pot Uses
Congratulations you have your new storage solution and it only took you about 10 minutes. Now keep going and make a set or create different designs.
What can you use your tin can storage pot for? Well how about…
- pen storage pot
- simple plant pot
- decorative vase
- craft supplies storage
- crochet hook pot
See what uses you can come up with and let me know in the comments below.
If you are looking for more great craft ideas and tutorials then check out these:
- How to Make Fabric Covered Boxes
- How to Make a Gazing Ball for your Garden
- Cute Magazine Holder from an old Cereal Box
- Stylish Fabric Covered Notebooks
- Fully lined drawstring bag
- Stylish storage from a shoebox and takeaway containers
