Fabric Napkins – Make your own in minutes!
As an Amazon Associate I earn from qualifying purchases
You can use any fabric you like. Just remember that you need to launder them and they need to feel nice when you use them. Cotton is the easiest and most inexpensive fabric to use but for a more luxurious feel you could use linen.
The size of napkin is also a personal choice. Generally napkins range from 6″ (15cm) to 27″ (69cm) square side length. I would suggest that most people are looking for somewhere in the middle of that. I made mine with a 16″ (40cm) side length. Before you make a decision on the size of your napkins consider how you are going to use them and also the size of your fabric. You always want to minimise waste.
This page contains affiliate links meaning I earn a small commission if you use those links at no cost to you. I only recommend brands I use and trust.
You will need:
Two different fabrics that complement each other (or contrast) – you could use fat quarters
Matching thread
Ruler and scissors OR rotary cutter and cutting mat
Video Tutorial
This video is also available on my YouTube channel.
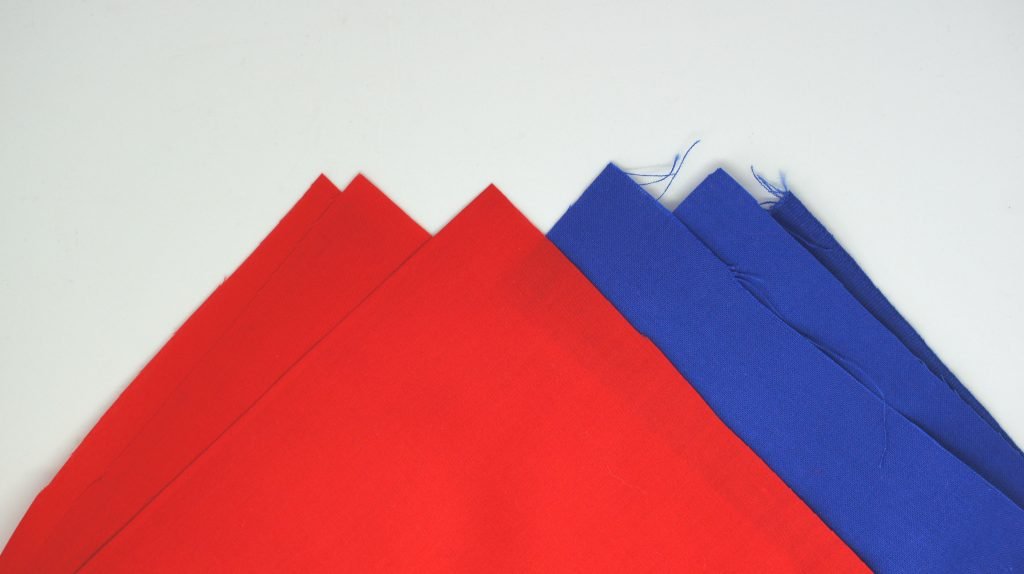
Cut out your fabric
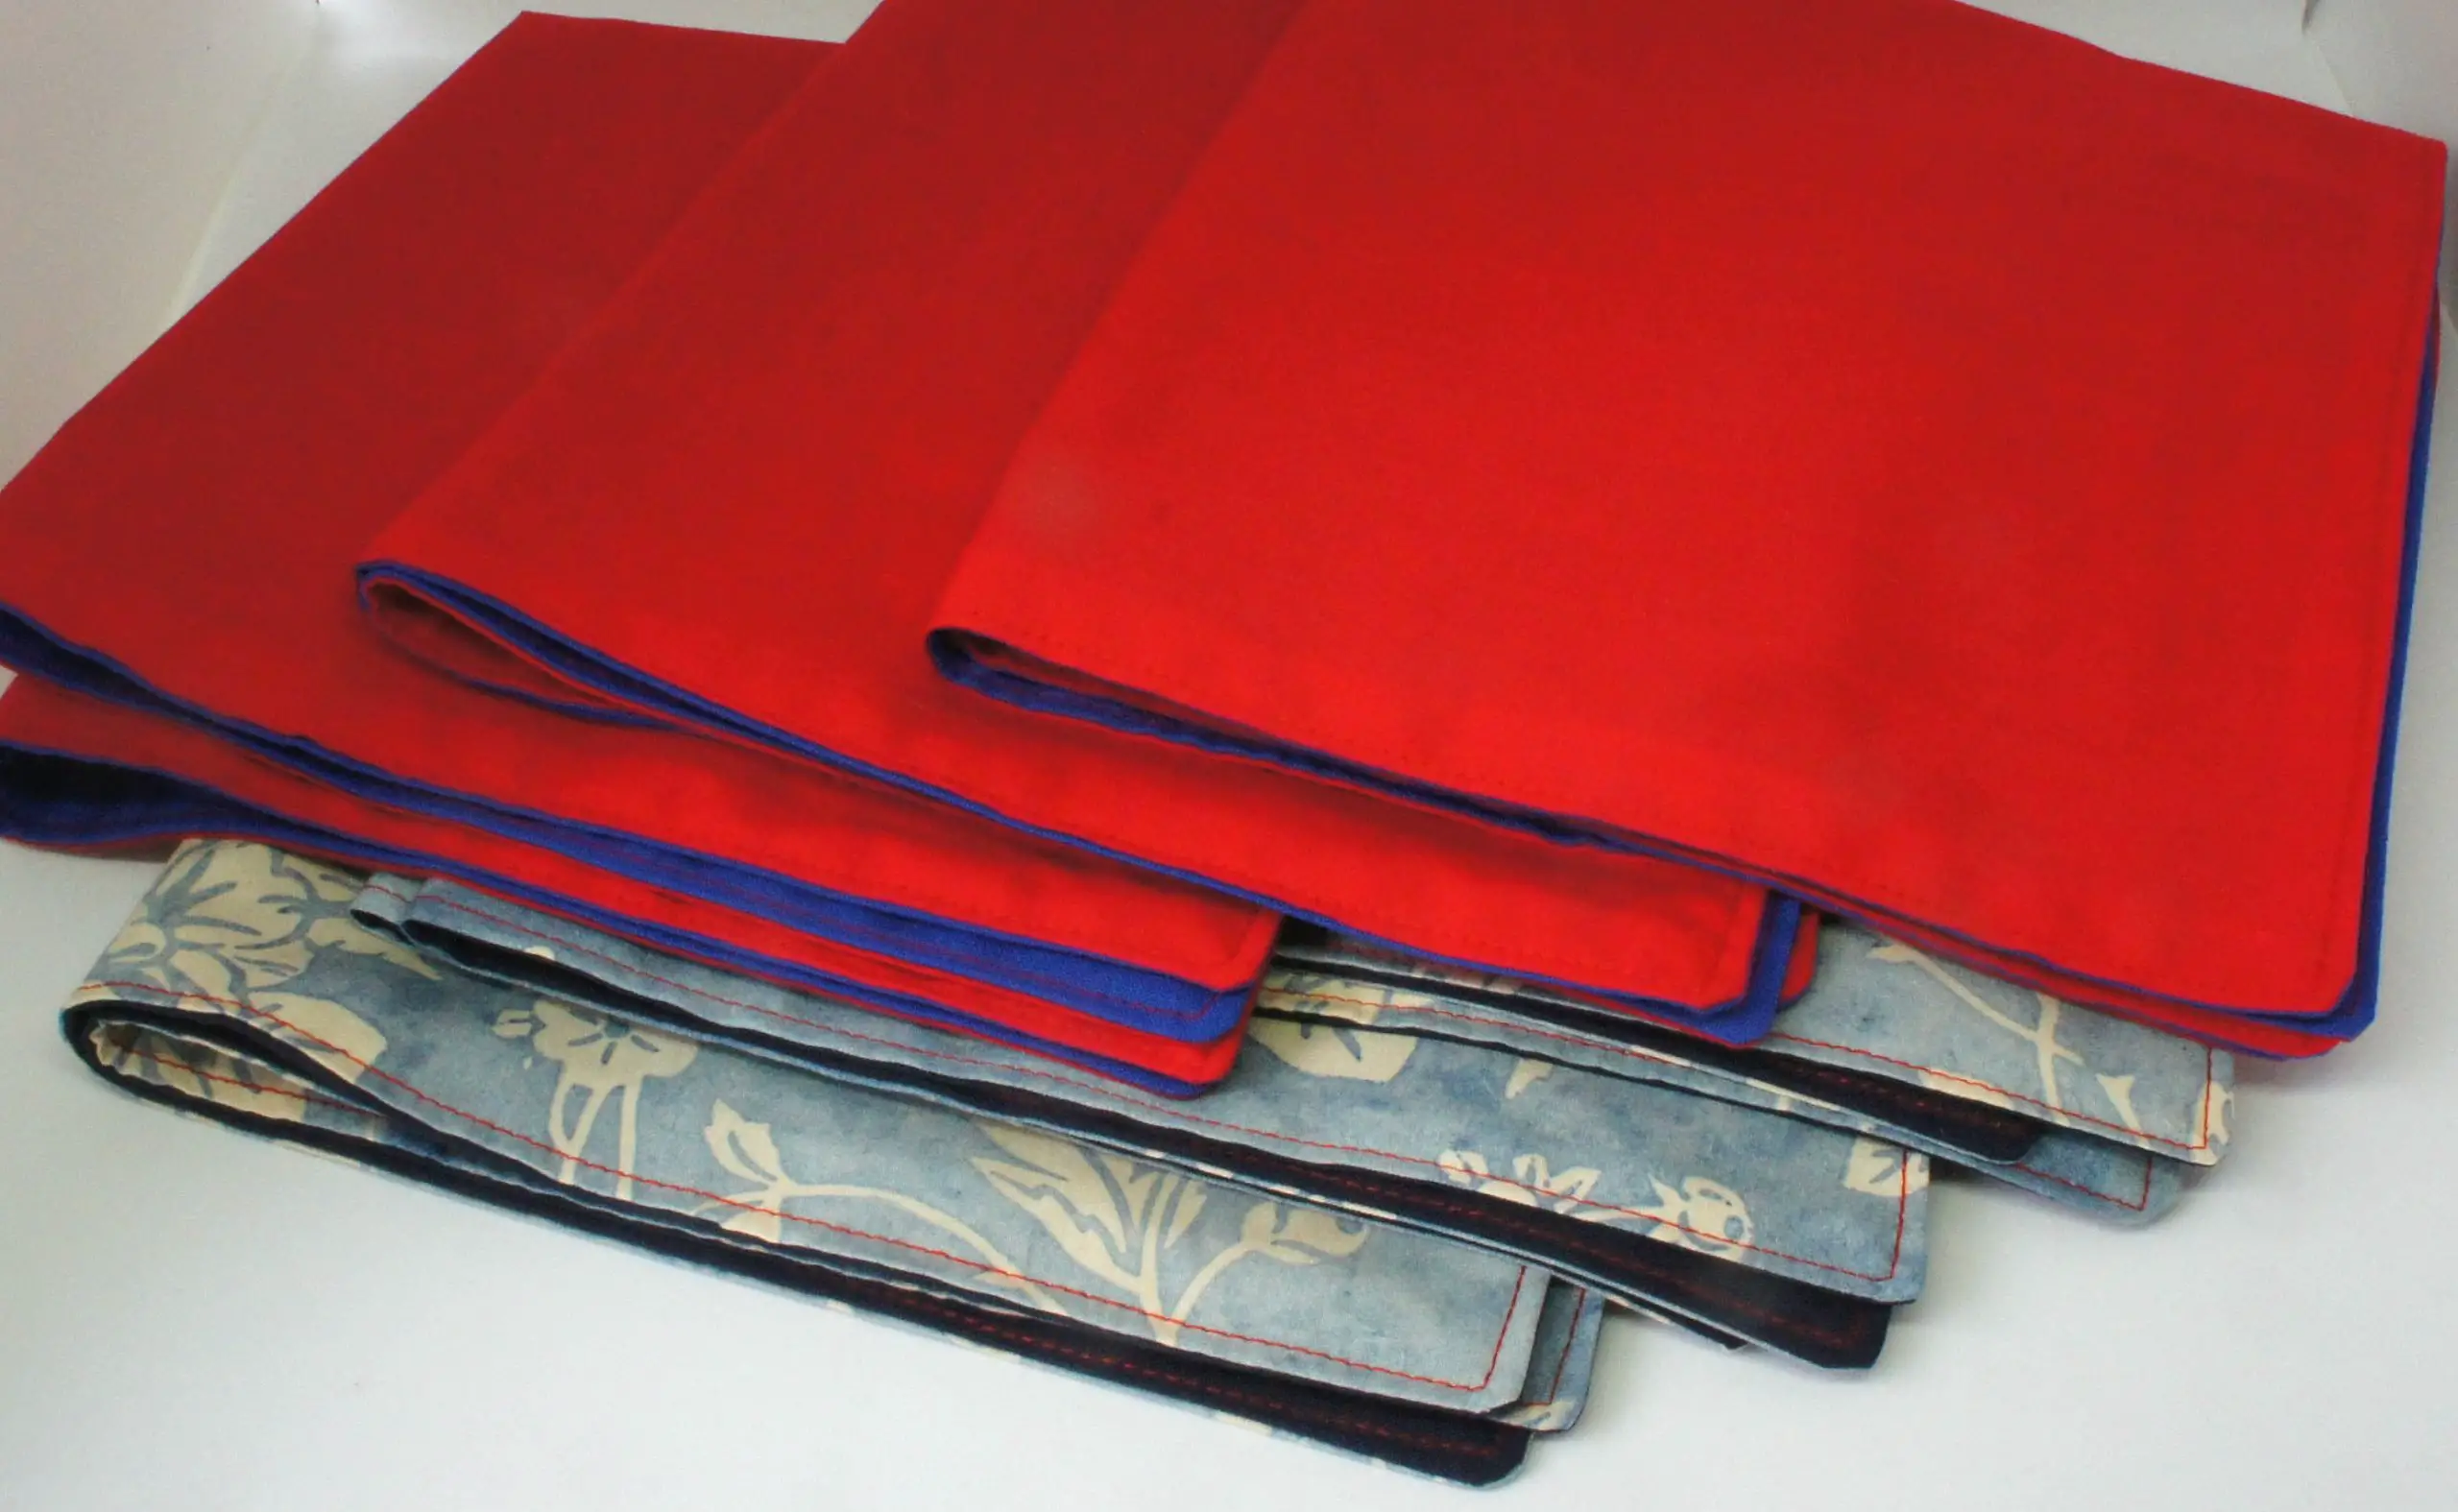
Cut out your squares of fabric. You will need one of each colour for each napkin. I cut mine as 17″ (43cm) squares. I chose to do 3 of one set and 3 of the other. This was partly due to the fabric I had available and partly out of choice. If you have a rotary cutter and mat that will help you to make sure your napkins are square. Do not worry if you are using a ruler and scissors just take care to make sure you are accurate.
Pin the fabric pieces
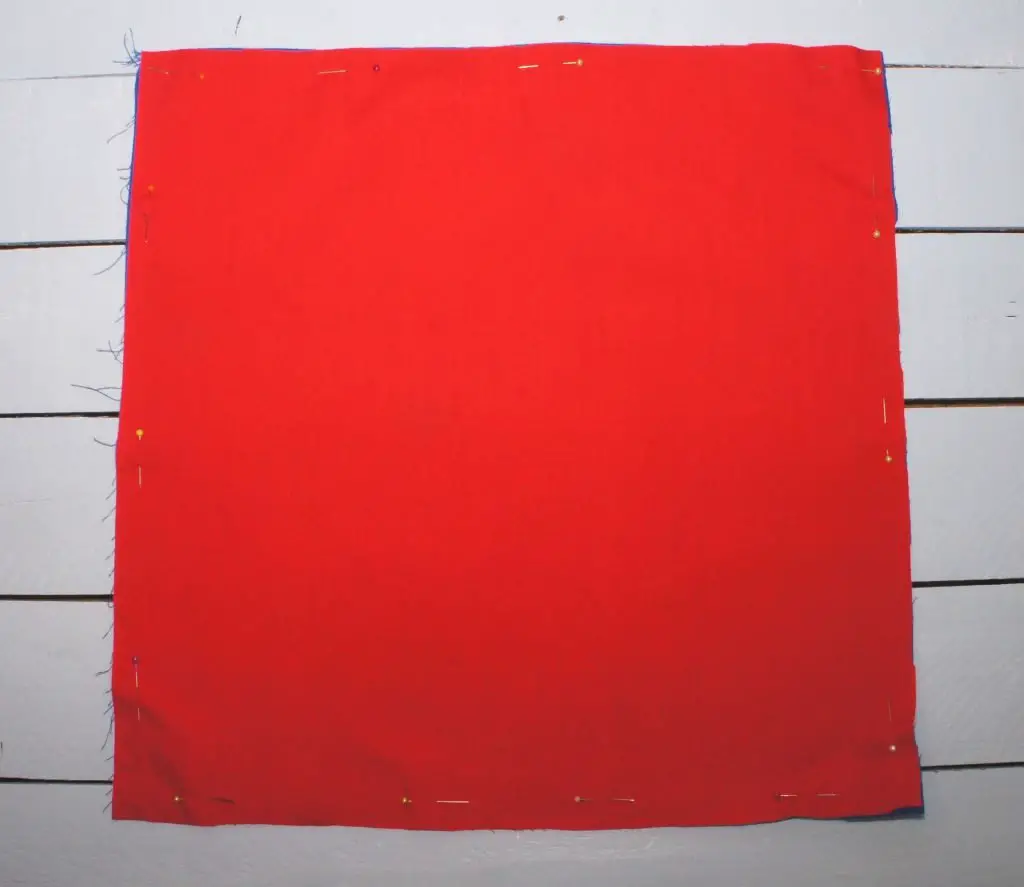
Take a pair of squares and place one directly on top of the other with right sides facing. Pin around the squares ensuring that the fabrics remain flat.
Sew around the squares
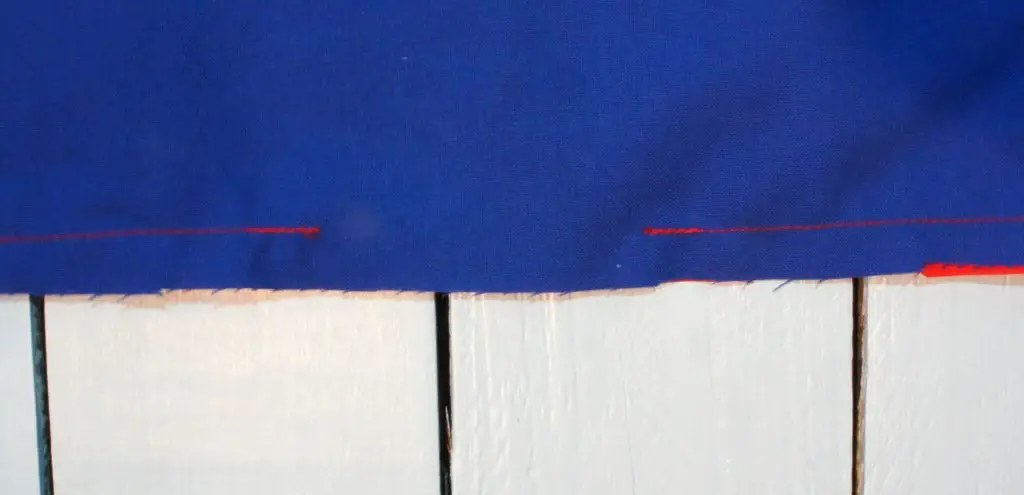
Sew all the way around the square leaving a gap large enough to turn your napkin out to the the right side. I suggest at least 3″ (8cm) but the bulkier your material is the larger the hole needs to be. At each corner make sure you lift the foot on your sewing machine and turn the square through 90° to get a sharp corner.
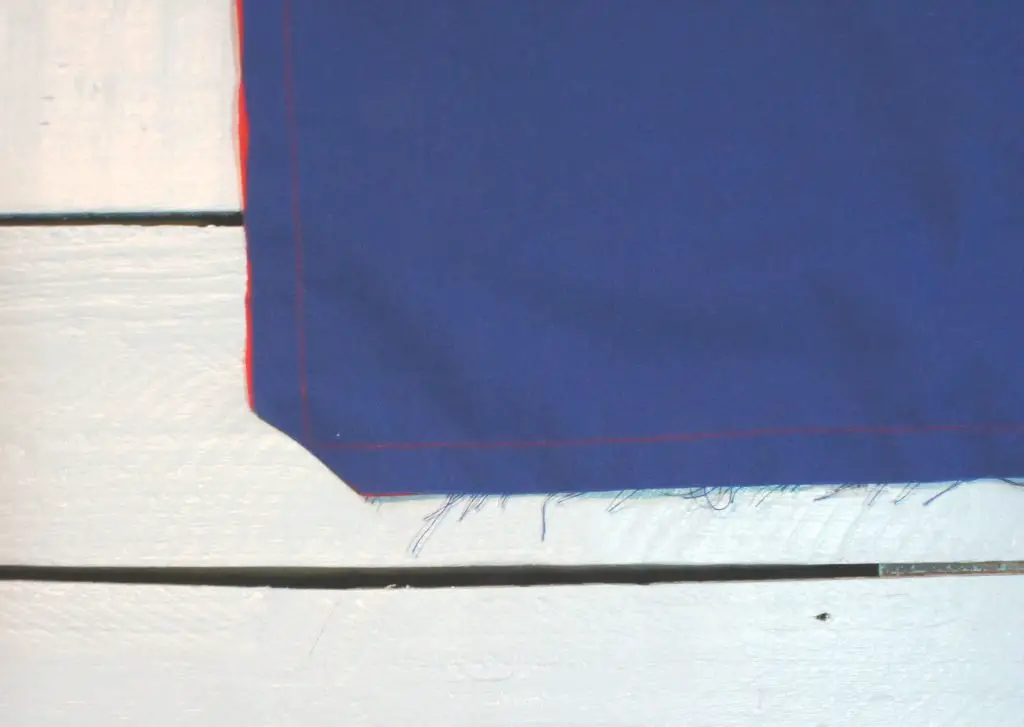
Before turning the napkin out trim all four corners to reduce the bulk. You should cut close to the stitching but make sure you do not snip the stitches.
Top stitch and finish
Turn the square the right way out. Poke the corners out carefully so that they are square. Press the whole napkin making sure that the edges are turned in at the gap.
Now sew all the way around the napkin close to the edge. This provides a decorative effect and closes the gap you left in the stitching. You can use matching thread or a contrasting thread for effect. If you want to you can add another row of stitching to provide more detail.
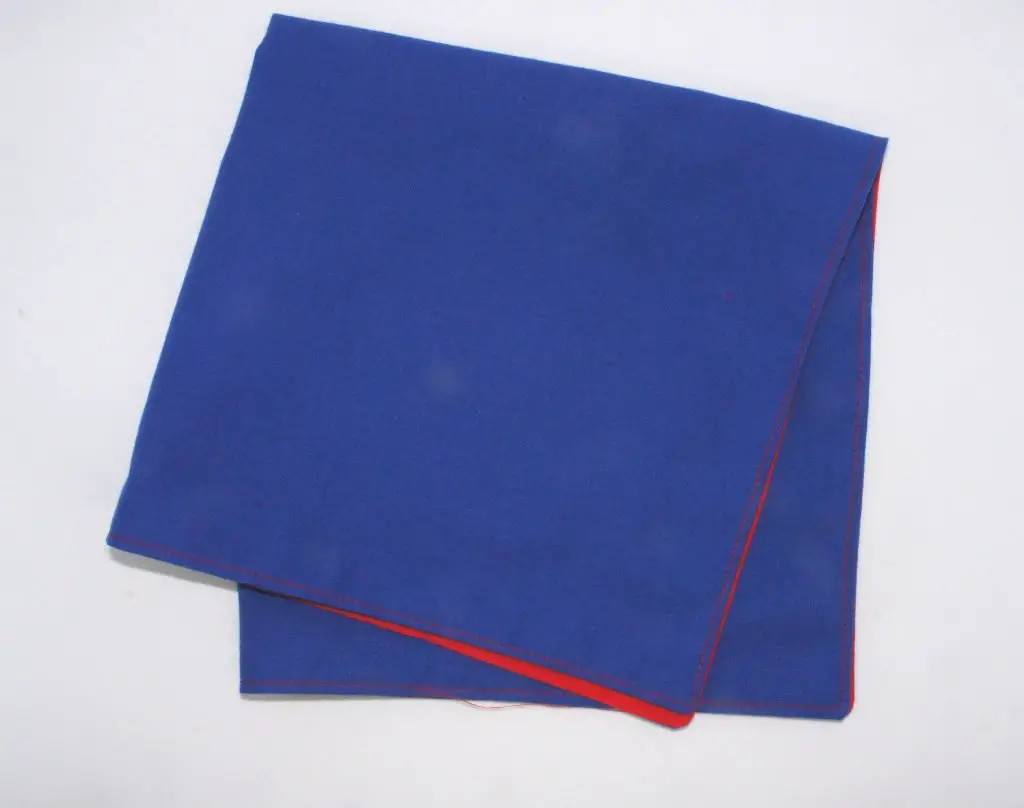
You have now completed your first fabric napkin. Repeat for as many as you would like.
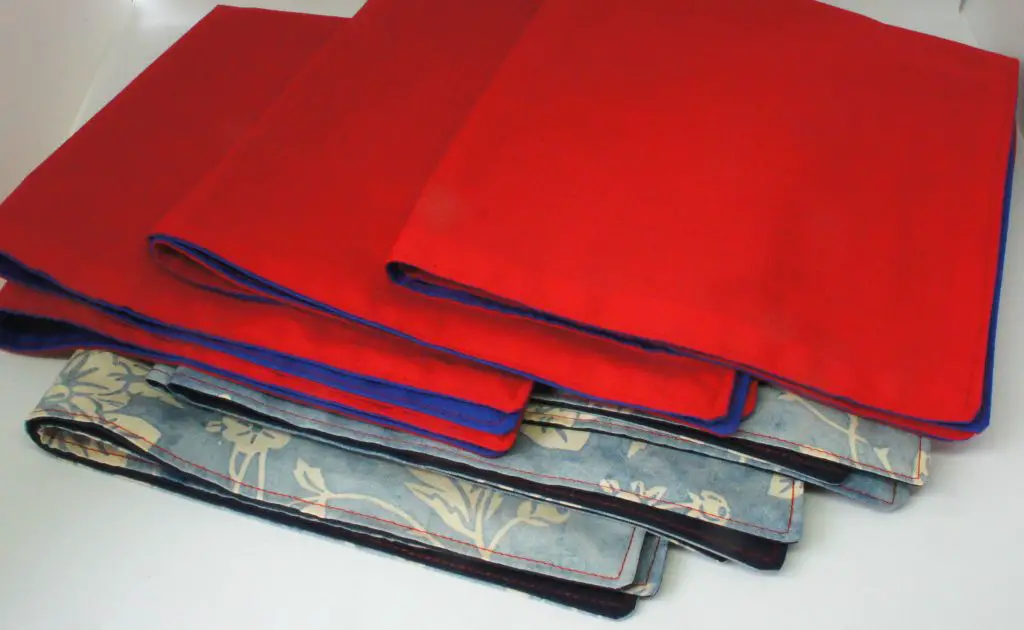
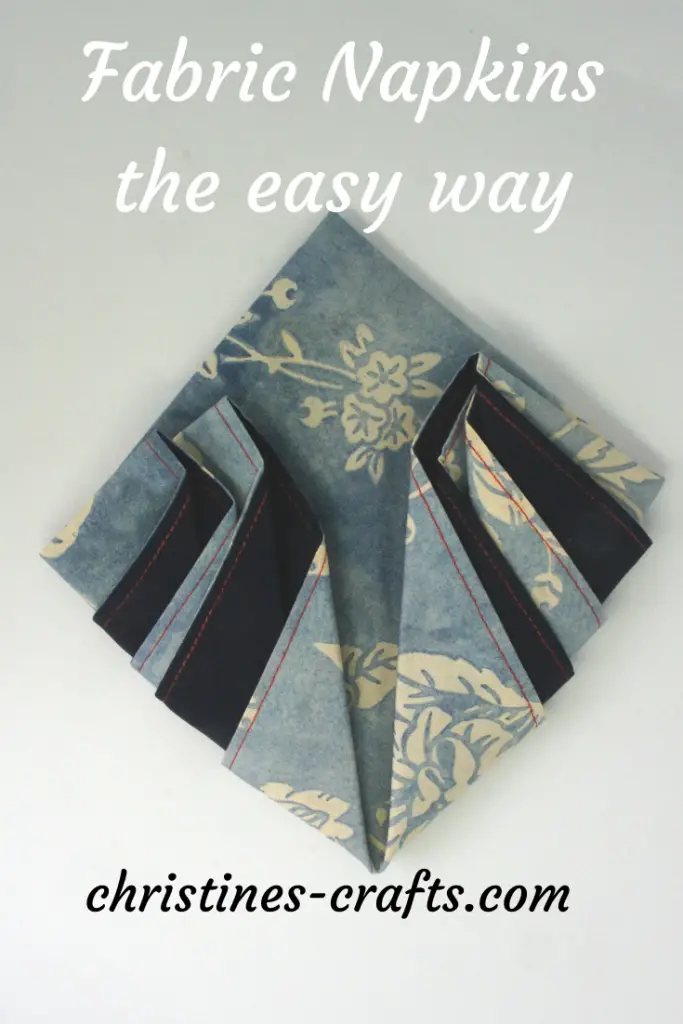
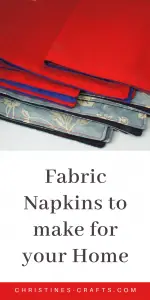
Now you just have to decide how you want to present them at the table. Perhaps a little napkin folding or just drape them alongside the plates. Next week I will be showing you how to fold your napkins like the ones in these pictures. Take a look at how to do this here.
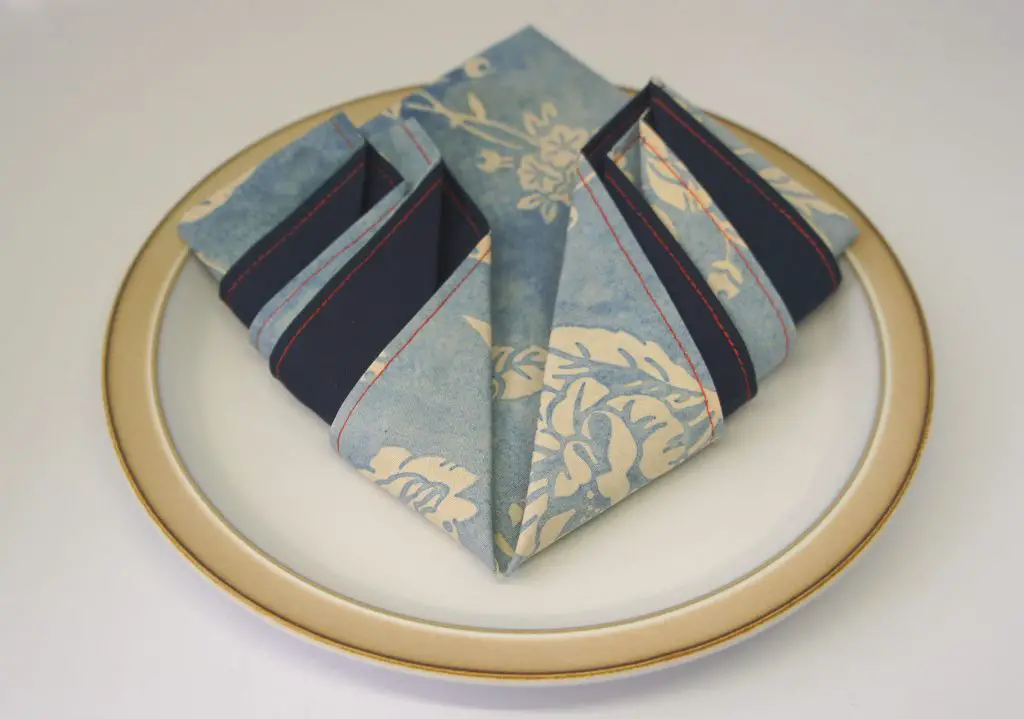
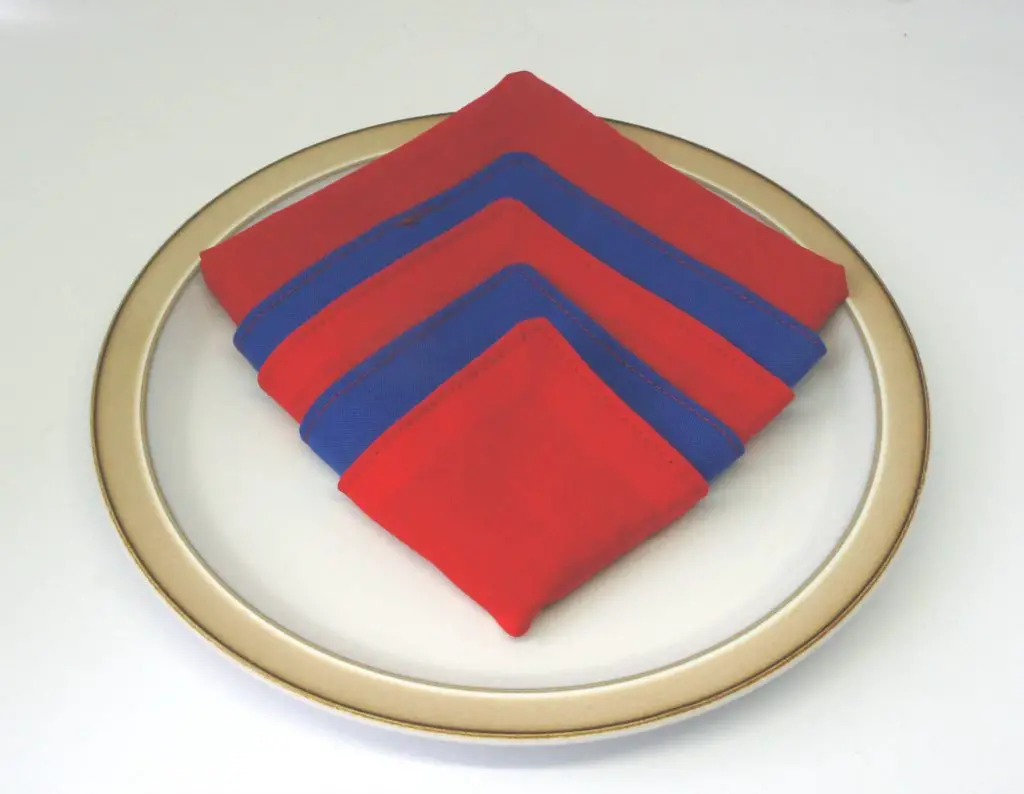
You can also fold them into pretty roses like this one. Full details here.
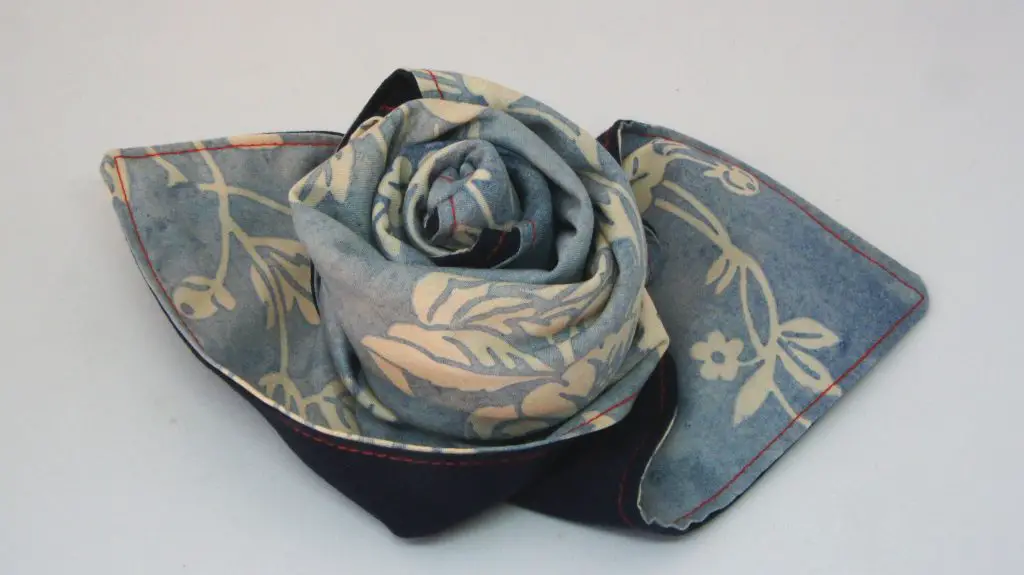
Whatever you decide to do there is no doubt that fabric napkins add a touch of style to any meal.
If you like sewing for your home then take a look at these other ideas:
- Lavender ‘Teabag’ sachet
- Doorstop to co-ordinate with your decor
- Envelope Cushion Covers
- Sew a Super Simple Plant Pot Cover
Remember to pin this tutorial on Pinterest for later.
