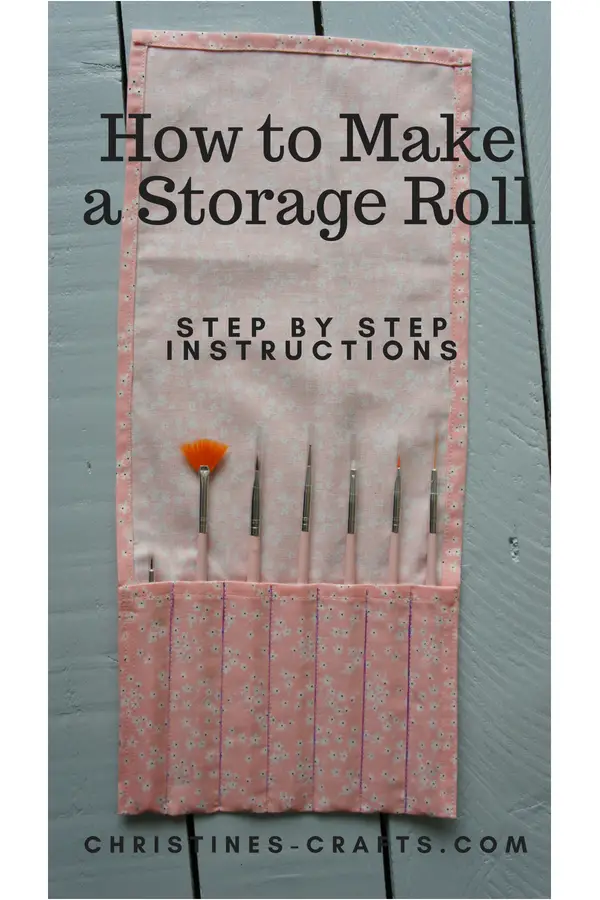
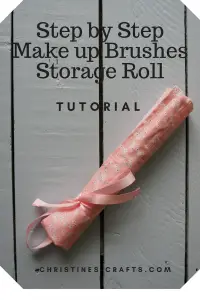
How to make a tool/make-up brush Storage Roll
As an Amazon Associate I earn from qualifying purchases
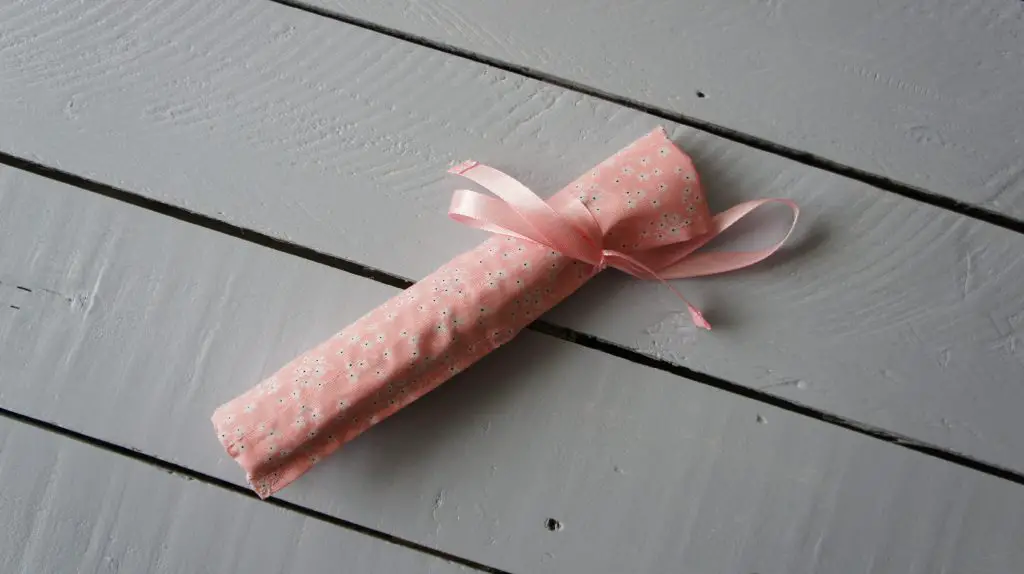
They make great gifts especially if you include a set of artist’s brushes or a mechanic’s spanners.
This tutorial has been updated to include some video instructions.
This page contains affiliate links meaning I earn a commission if you use those links at no cost to you. I only recommend brands I use and trust.
What you will need:
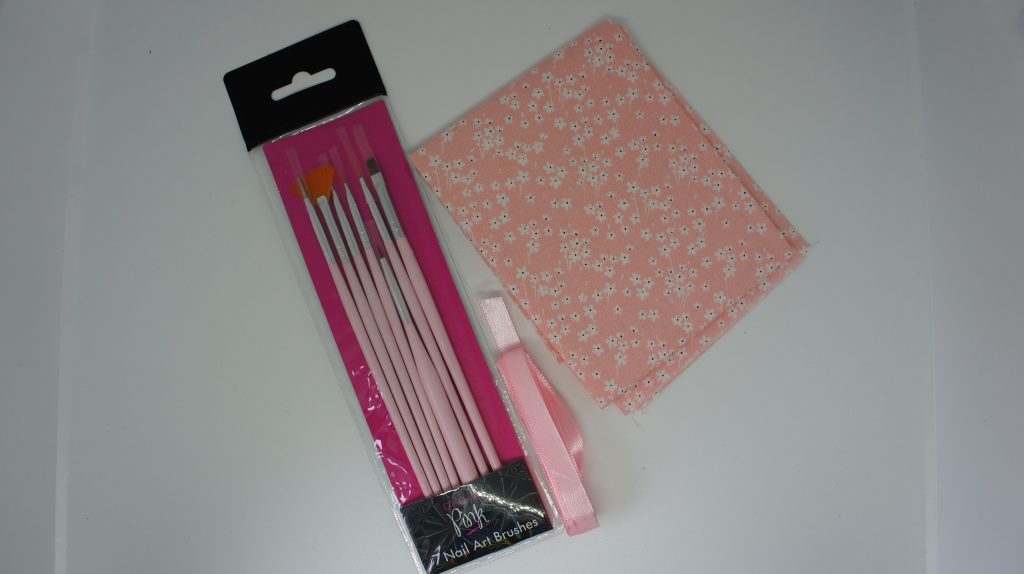
Fabric (I used a fat quarter)
Thread
Ribbon (or similar) for tie
Pins
Air erasable fabric marker (optional)
Video Tutorial
This video is also available on my YouTube channel.
What I used
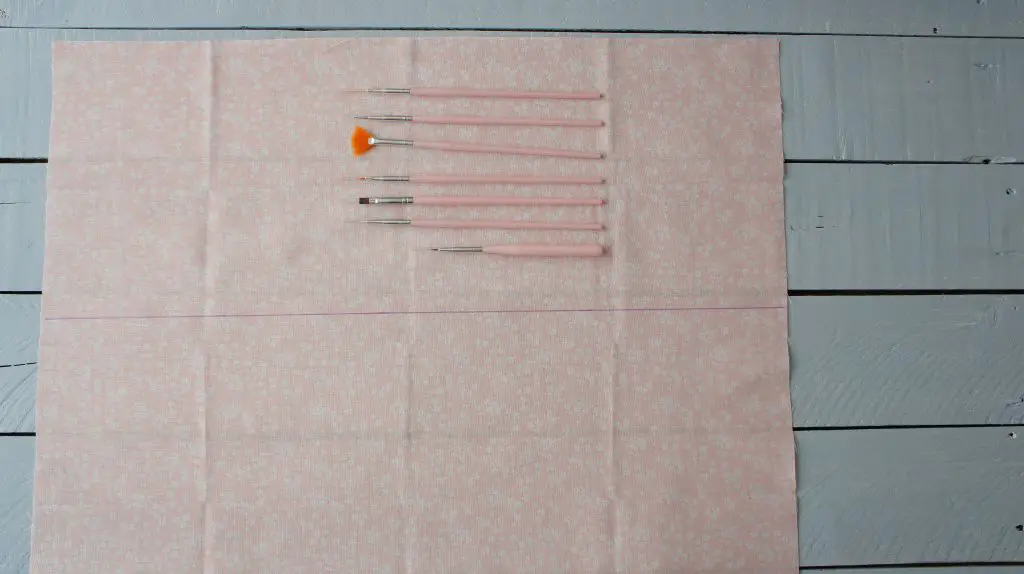
Cut out fabric
You will need to lay your items out onto your fabric to measure where to cut. From here on I will refer to brushes but you substitute whatever you are making your roll for. You need to lay out your brushes so that they can fit into individual pockets when sewn. I laid them out so that the bottom of the fabric could fold up to cover most of the length of the brushes and the top could fold down to cover most of the length of the brushes. I allowed 2cm around the edge for a hem. Cut out your fabric.
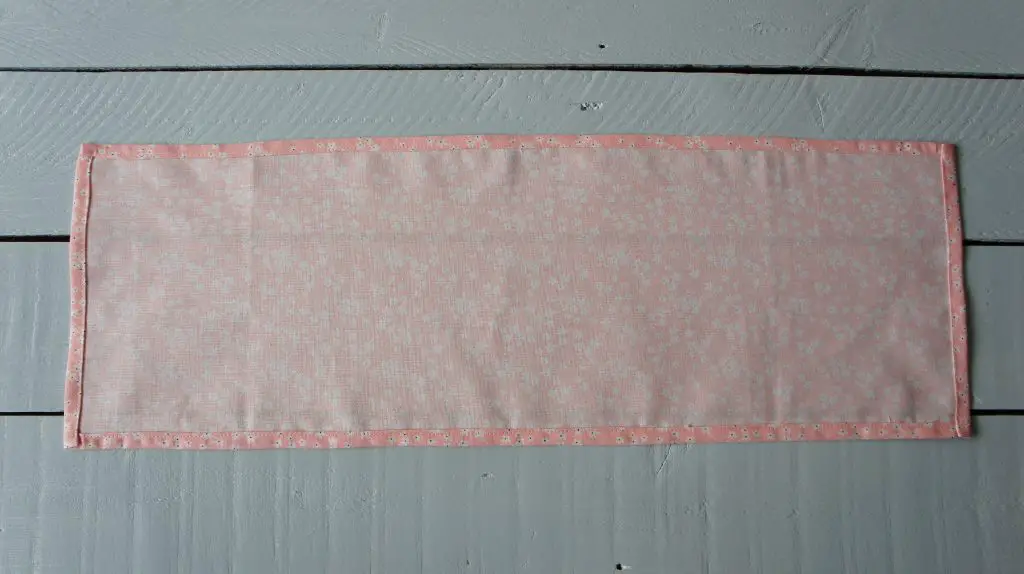
Hem around the fabric
Fold and pin a double hem all the way around the fabric ensuring that your corners are neat.
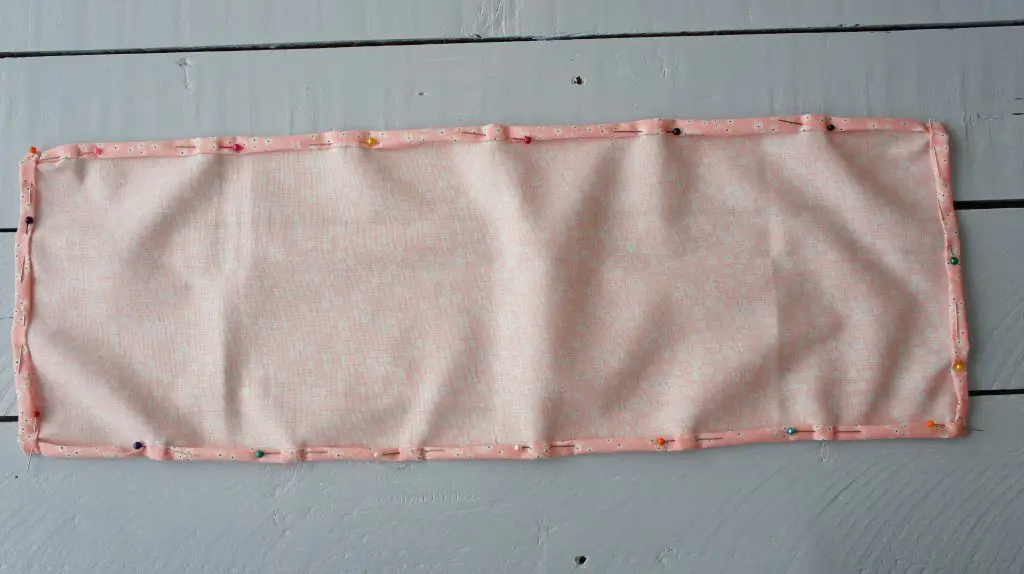
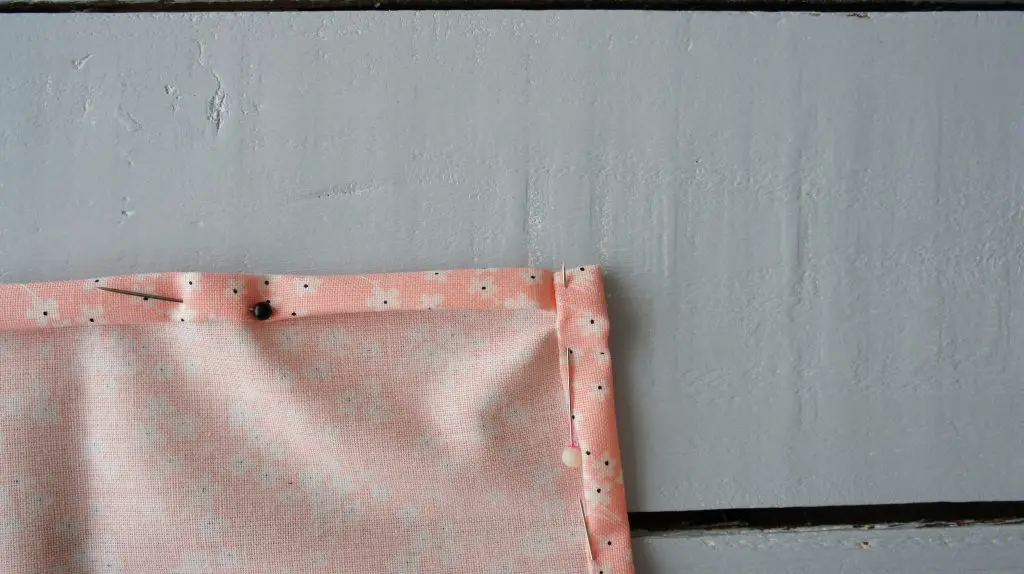
Sew all the way round the hem. Again, take care with the corners.

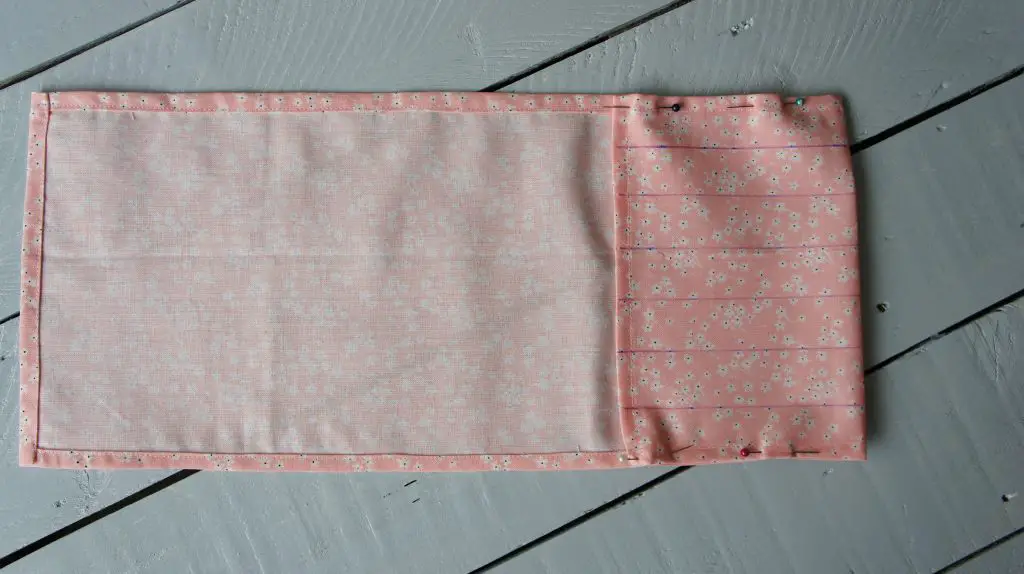
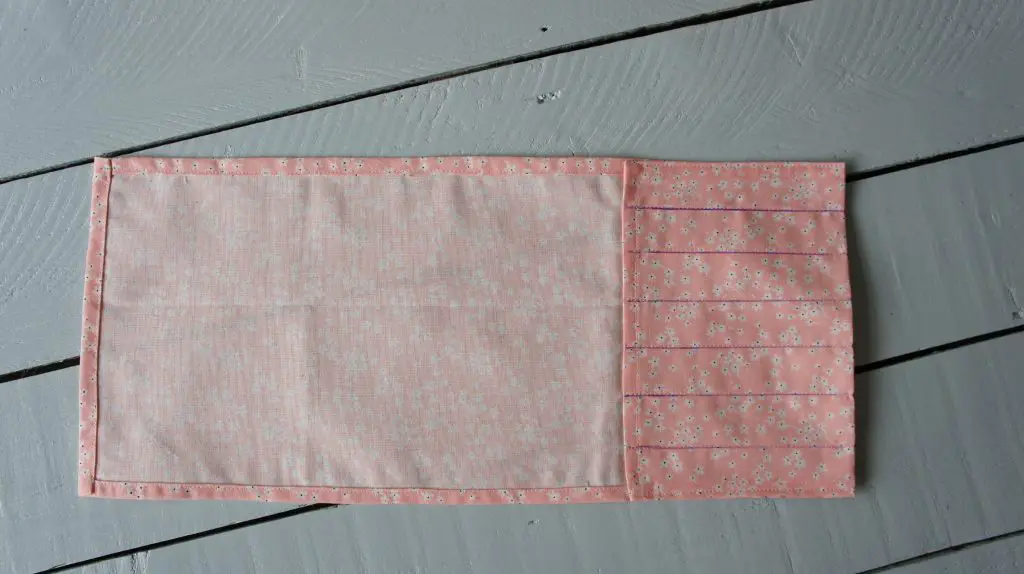
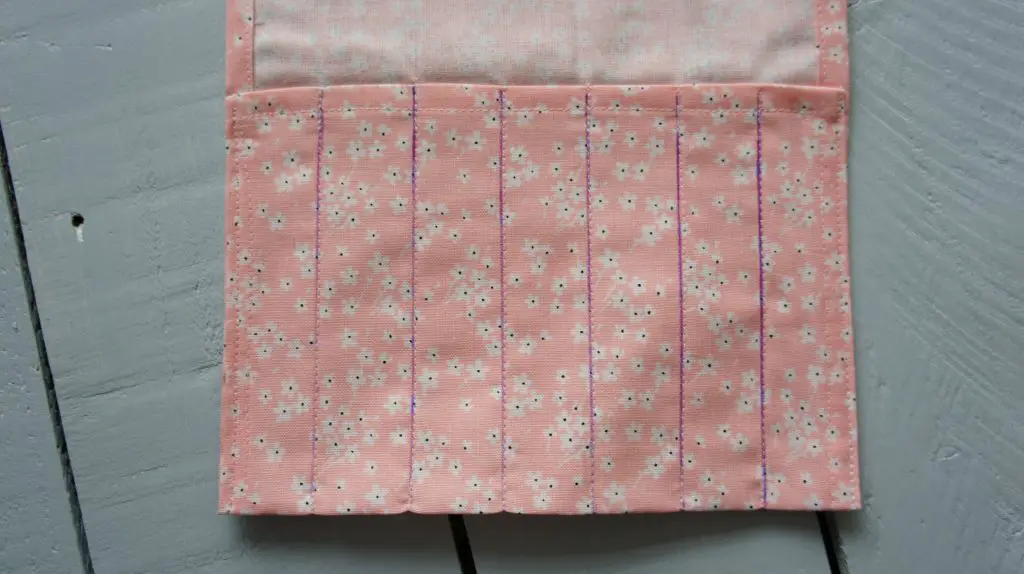
Sew pockets
Place the brushes on the fabric and fold the bottom up until it largely covers them. Pin it at either side. Decide where you want to sew the pockets. In this case I split the width equally into seven pockets and marked them with the air erasable pen. If you are making it for items of various widths then mark the appropriate widths. You can vary them as much as you like to make sure the items fit snugly.
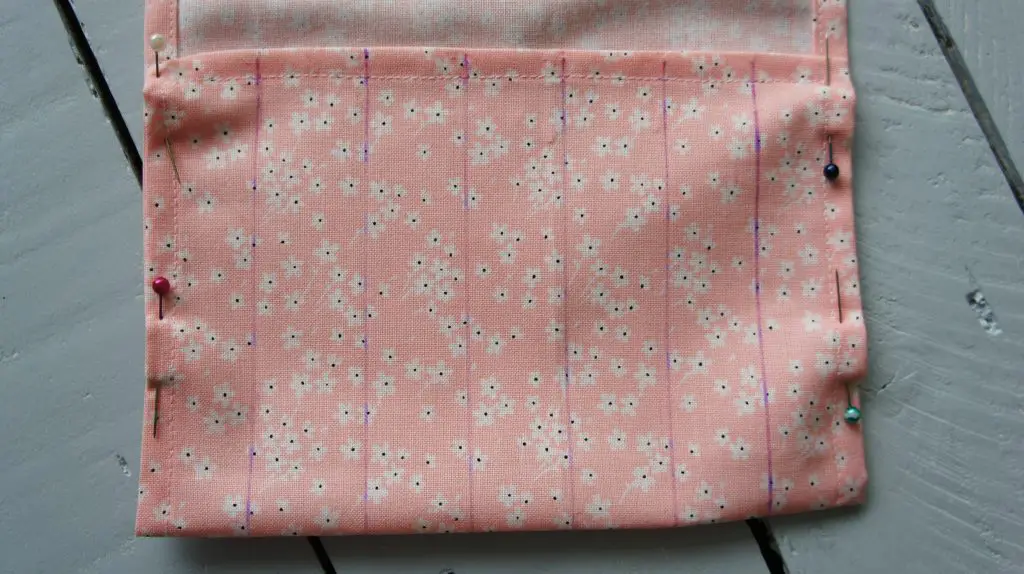
Sew the pockets carefully along the marked lines. As with all your seams, make sure you reverse at the start and finish to prevent them coming undone.
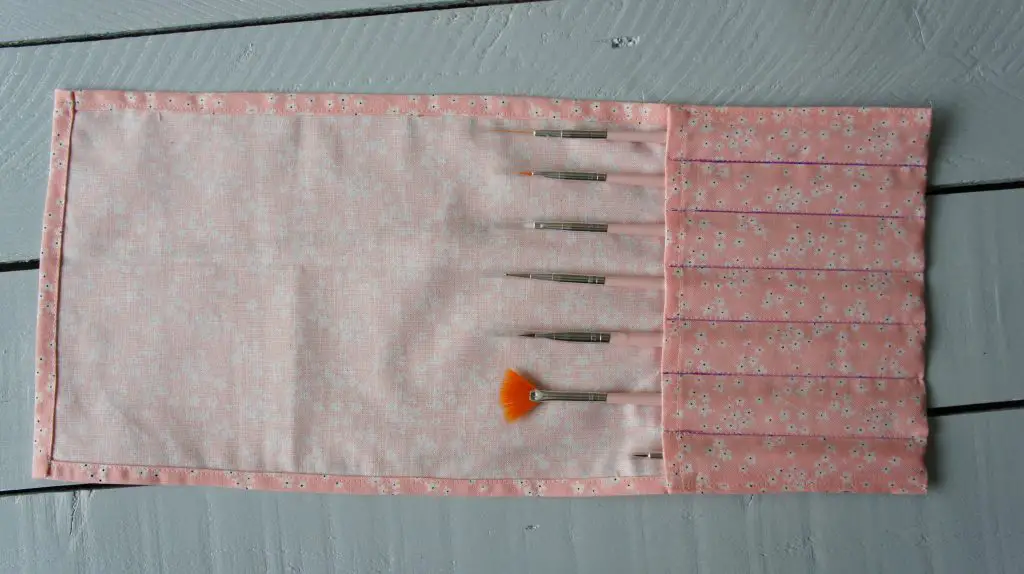
Add tie fastener
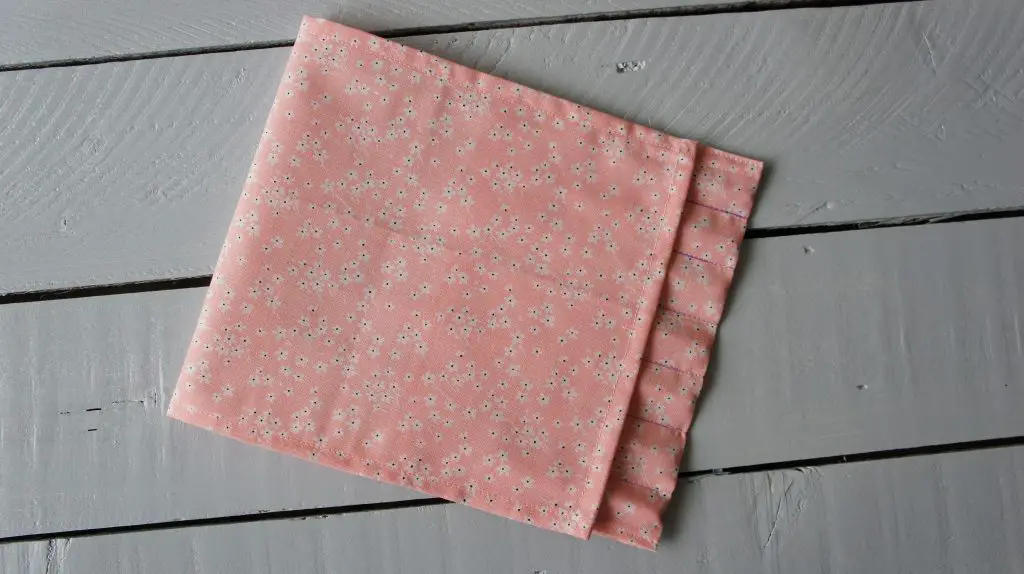
Place the brushes in the pockets, fold the top down and decide where to attach the fastening ribbon. Also decide how long you would like it to be able to tie it comfortably. It is going to wrap around the roll and fasten with a bow.
Neaten tie ends
Neaten either end of your piece of ribbon with a small hem. I machine sewed mine and wish I had done it by hand. The machine tried to screw up the ribbon! Then fold the ribbon in half and sew it onto one side of the roll at the height you decide upon. It is not critical so long as your brushes cannot fall out.
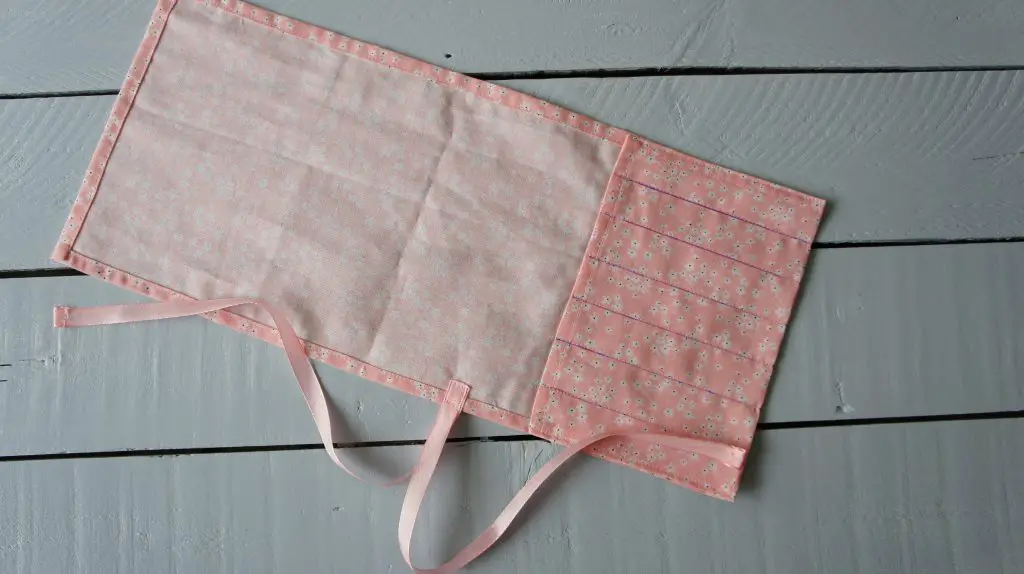
Your roll is now finished. Enjoy keeping all your brushes safe and secure ready for use!
Examples
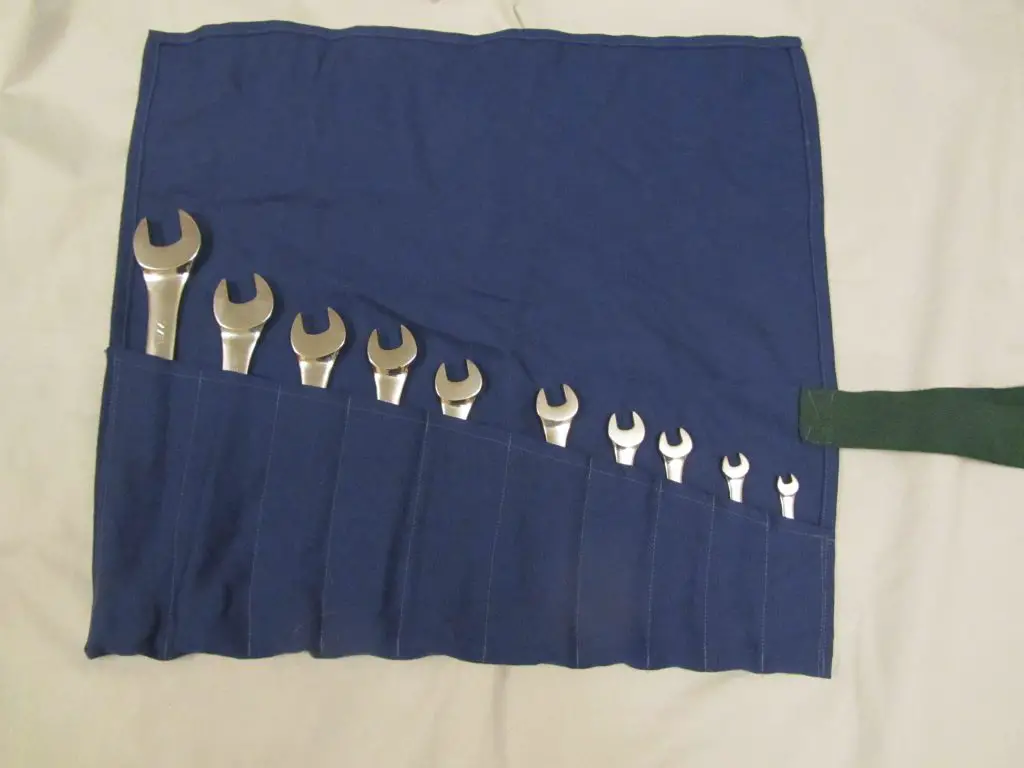
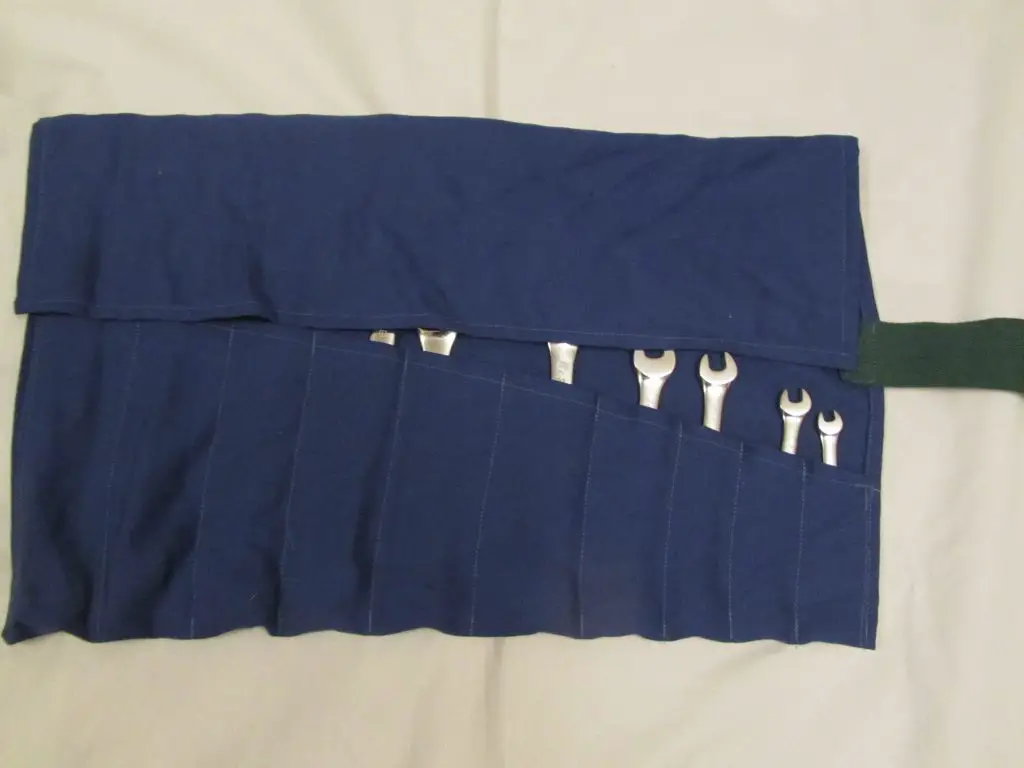
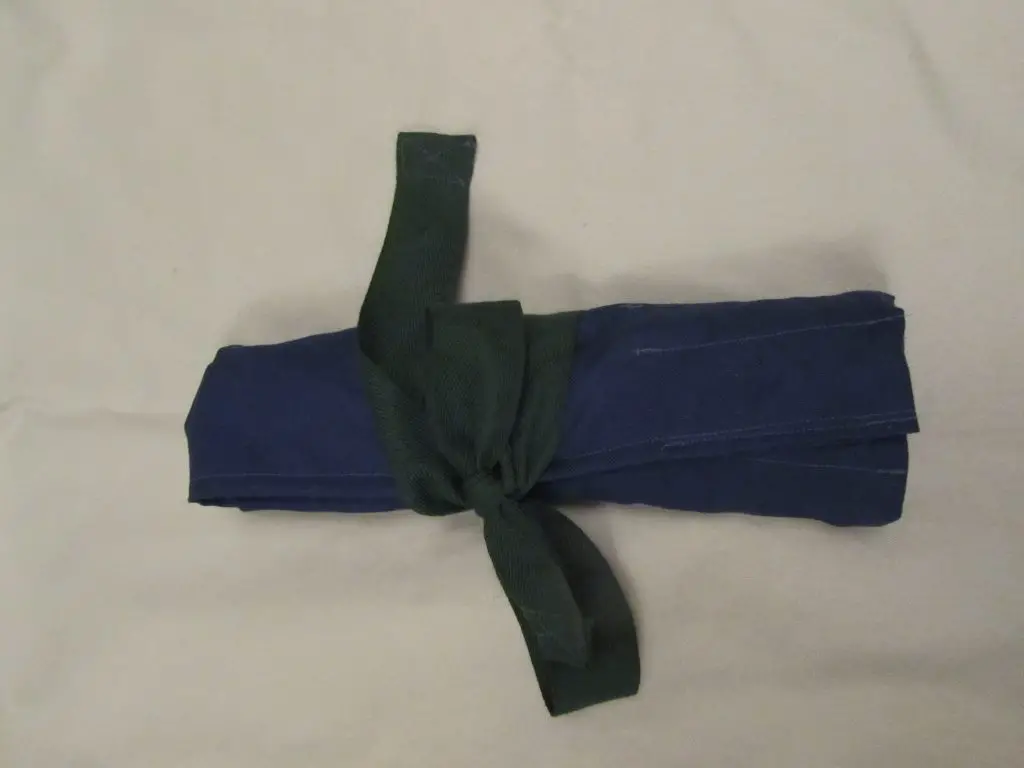
Here are some pictures of the tool roll I made for some spanners. They came in a great set with a plastic storage box. However, my husband dropped it on the garage floor and that was that! I made the roll from canvas and used some webbing that I already had for the tie. As the spanners are various lengths I tapered the pocket so that they were all held securely but all clearly visible. He loves it!
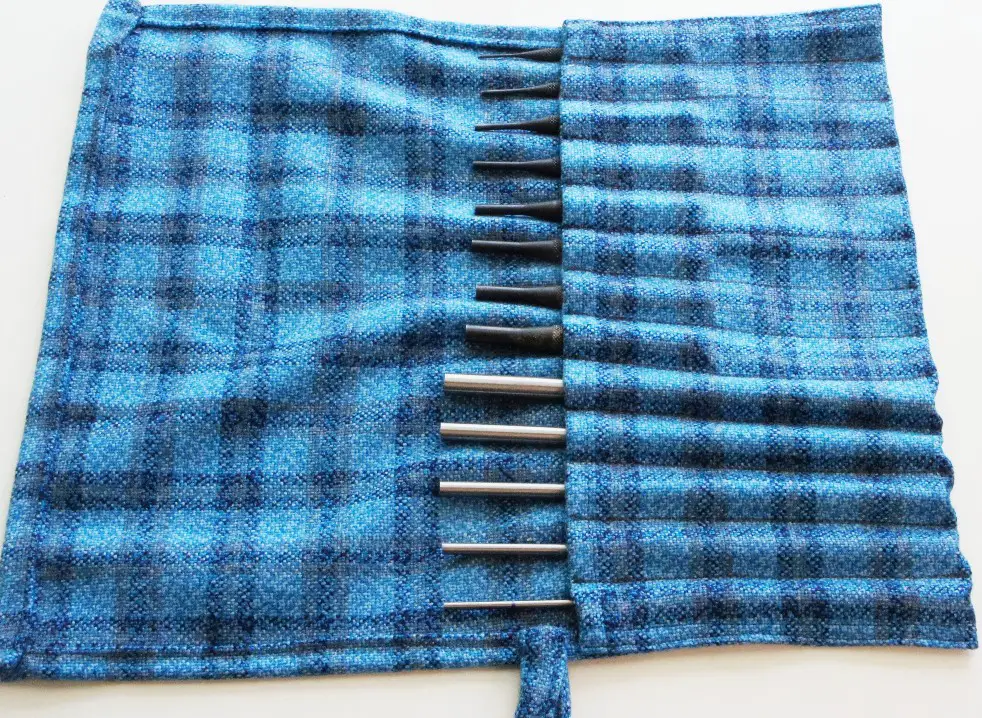
Here is the toll that I made in the video above for 2 sets of punches:
So have a go at producing a roll for whatever you need to keep organised be it tools, knives or make up accessories. Let me know how you get on or if you can think of any other uses for these rolls.
If you like sewing you might like to try my other projects:
- Fabric Flowers
- How to Sew Stylish Scrunchies
- Make your own Fabric Napkins
- Make a needlebook
- Create your own Journal and Notebook Covers
Remember to pin this tutorial on Pinterest so that you can find it again!