Transforming Trash: Create Easter Baskets from Old Food Containers
As an Amazon Associate I earn from qualifying purchases
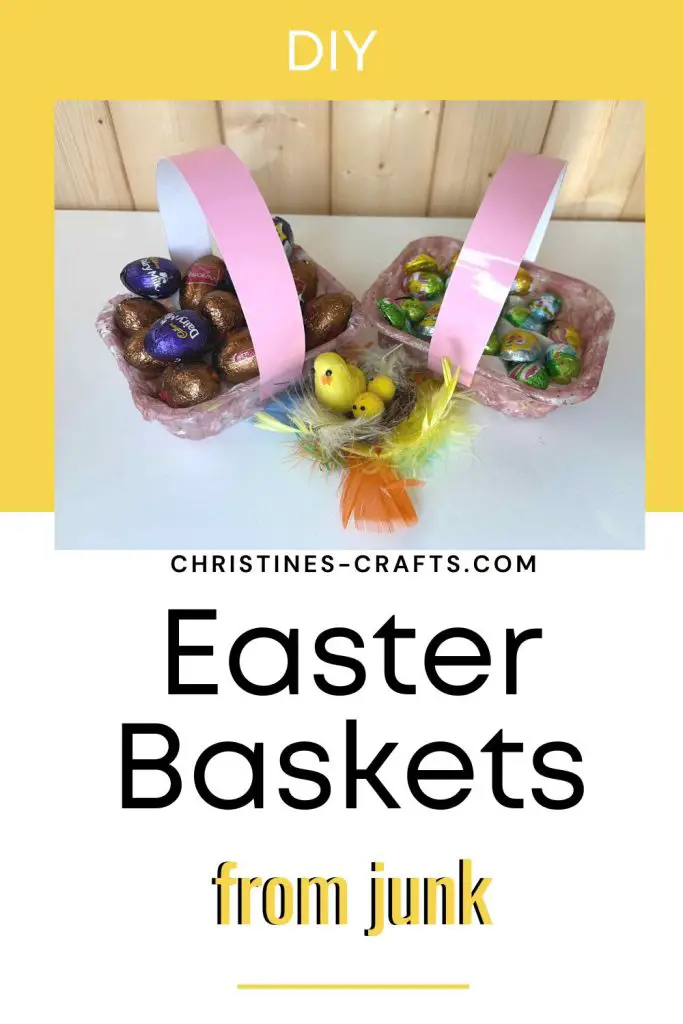
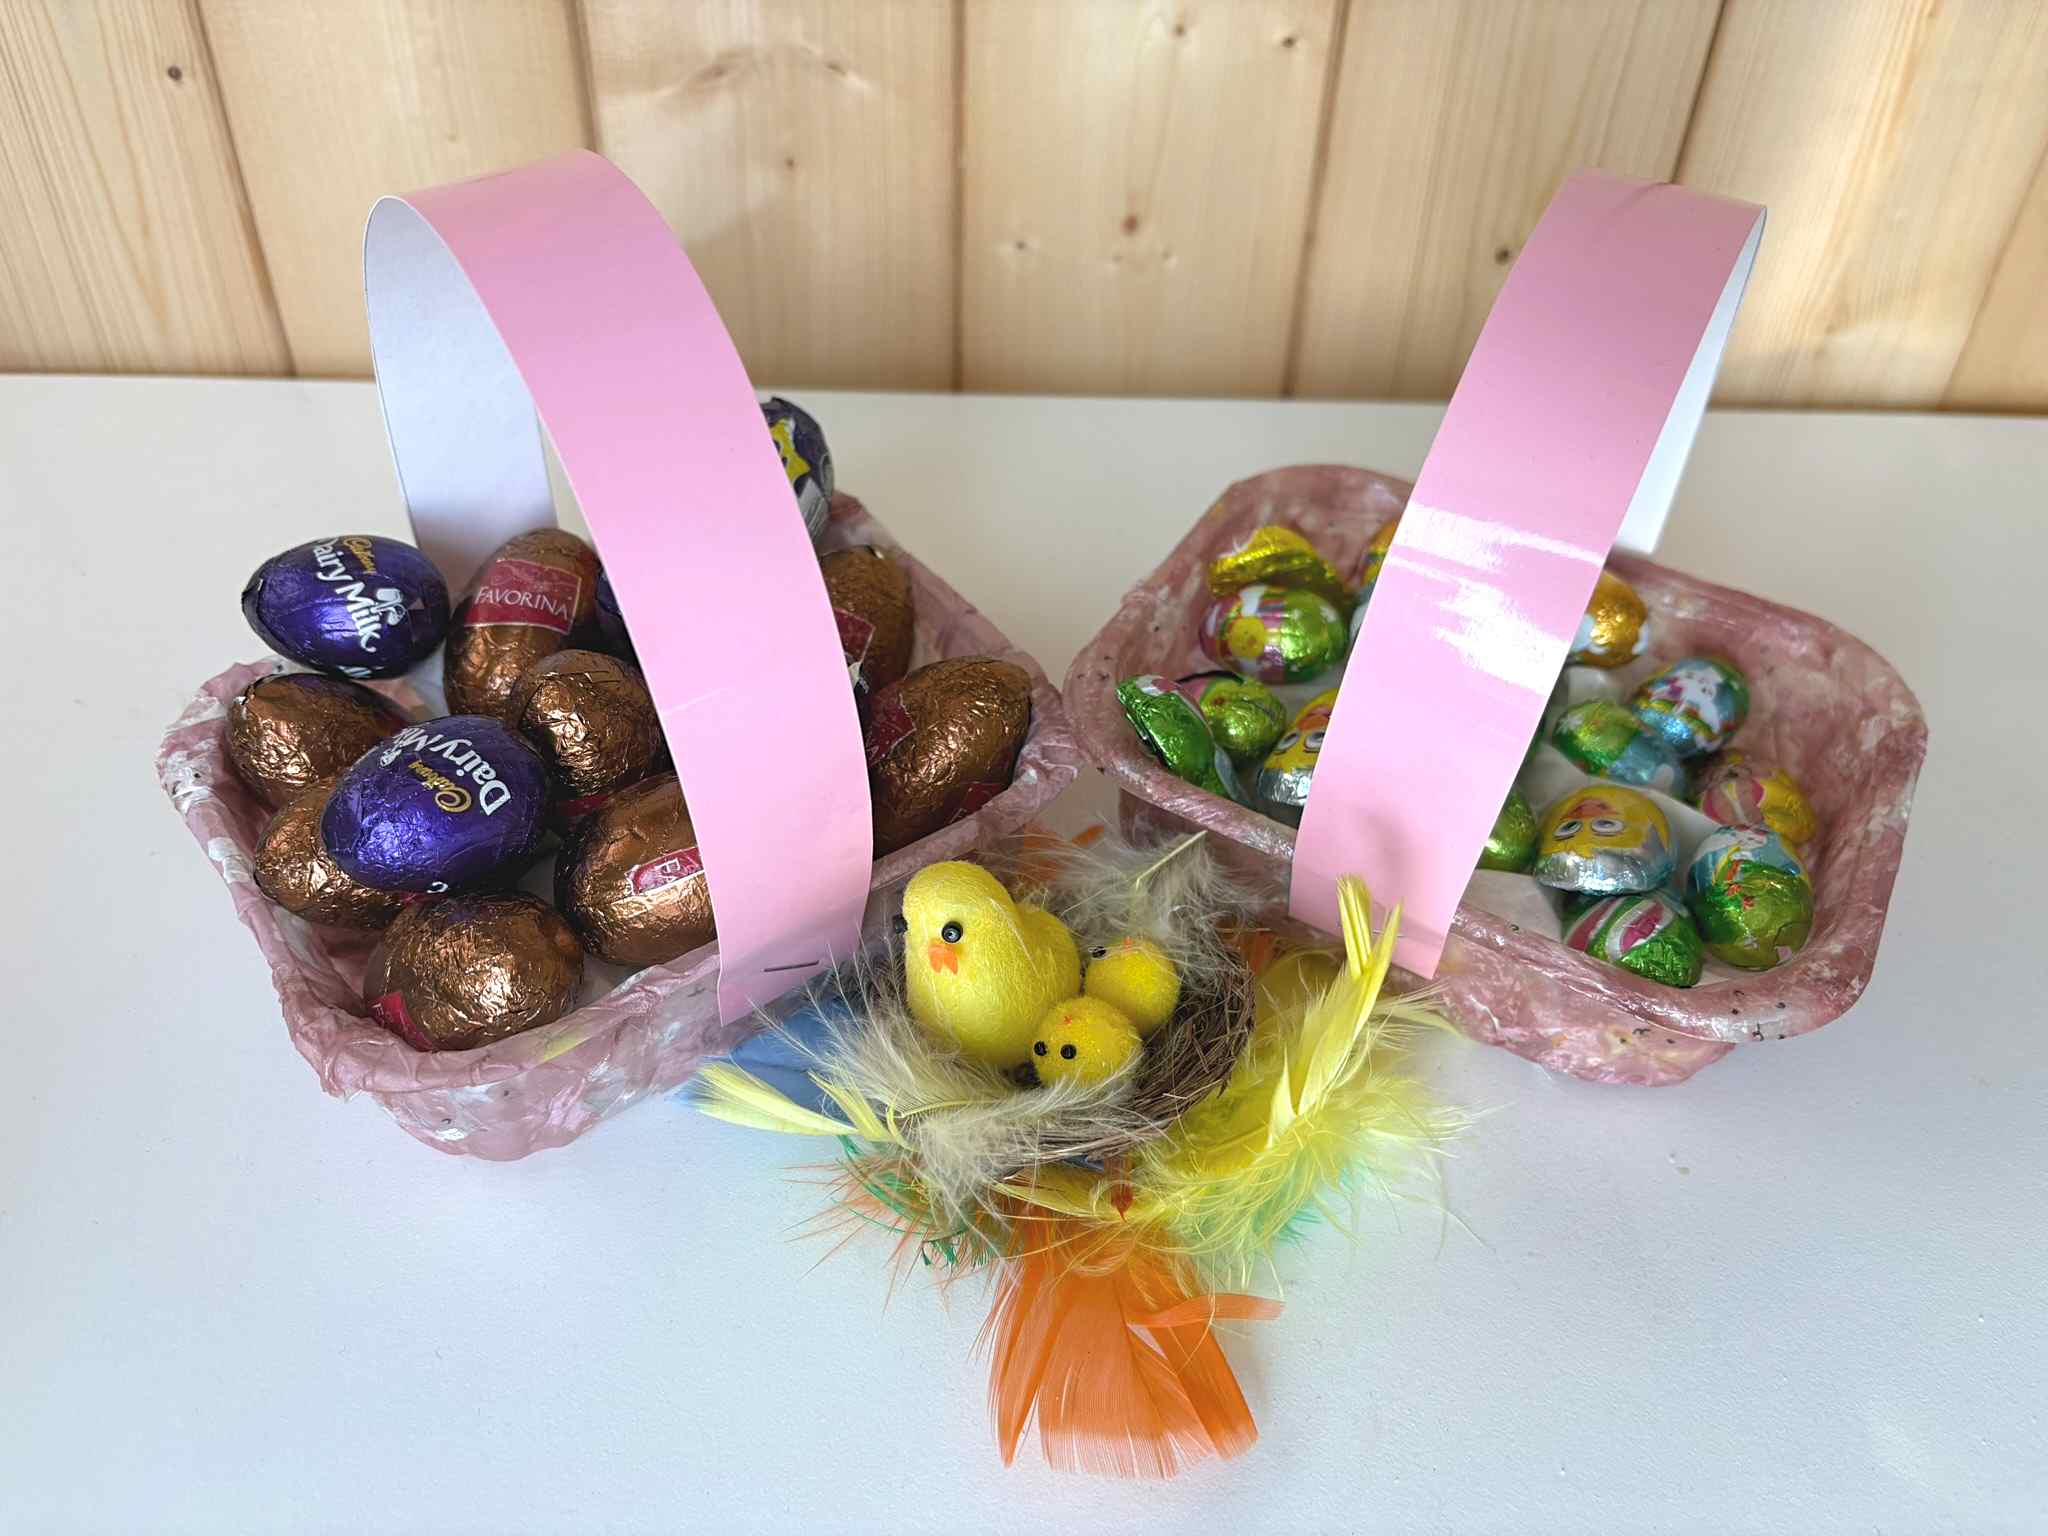
Easter is just around the corner, and what better way to celebrate than with some adorable, eco-friendly Easter baskets? Today, we’re transforming those everyday plastic food containers into charming Easter baskets using the magic of decoupage!
If you have never done decoupage and want some more guidance than included here check out my decoupage tutorial. These Easter baskets really are super quick and easy to make.
I am using the plastic containers from my fruit but you could use any container that you can decoupage onto eg, cardboard boxes, aerosol lids.
This page contains affiliate links meaning I earn a commission if you use those links at no cost to you. I only recommend brands I use and trust.
Video Tutorial
This video is also available on my YouTube channel.
You will need:
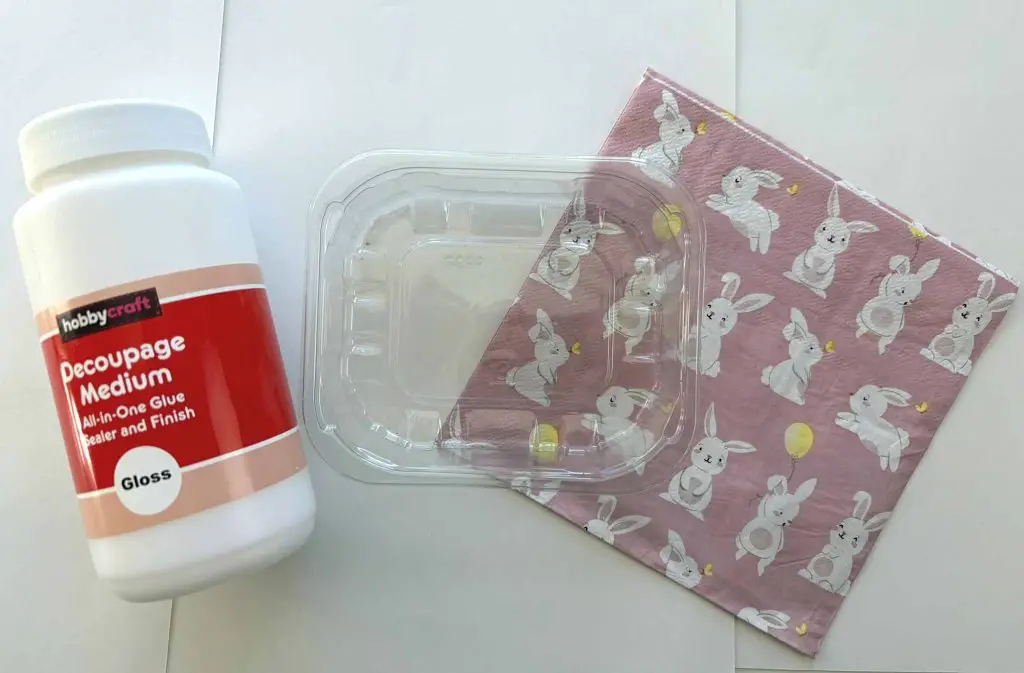
- Clean plastic food containers (or container of your choice)
- Paper napkins
- Glue (eg Modge Podge)
- Brush
- Cardboard for handle (optional)
Decoupage your Food Container
Outside
For best results, use thin, multi-ply napkins. Separate the layers, and only use the printed top layer. Napkins with smaller, repeating patterns are often easier to work with on curved surfaces.
You can use your napkin whole or tear it up into smaller pieces. How do you decide I hear you ask! If you use your napkin whole it is quicker but you tend to get a messier finish. If you use small pieces of napkin it takes longer but you get a smoother finish.
In this tutorial I will use a whole napkin but if you want to use small pieces I will guide you on that as we go along too.
Clean your plastic containers thoroughly with soap and water. Ensure they are completely dry before you begin. For smoother adhesion, you can lightly sand the surface of the plastic but I must confess that I didn’t bother!
Start by applying glue to the base of your container. This one is a small container from blueberries but you can make these any size you like. I think these hold a nice amount of chocolate treats.
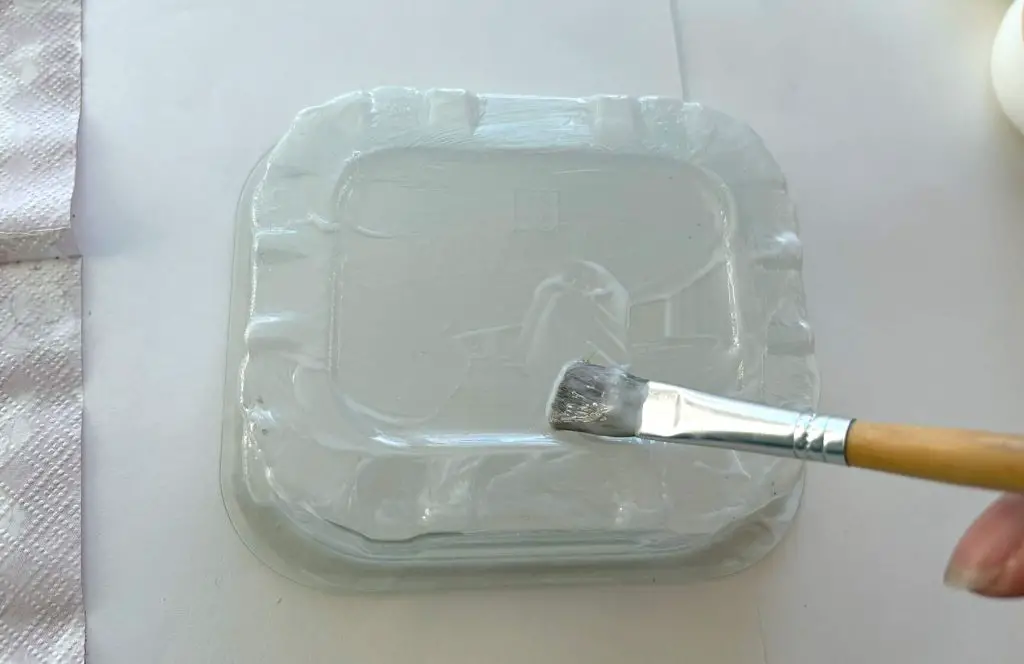
Then if you are using the whole sheet place it onto the centre of the wrong side of the napkin. Turn the whole thing over and apply more glue over the napkin.
If you are using small pieces simply place them in turn onto the base of the container making sure they overlap. Then glue them down with another layer of glue on top.
This is the basic concept of decoupage. Glue the paper in place and seal it with more glue on top.
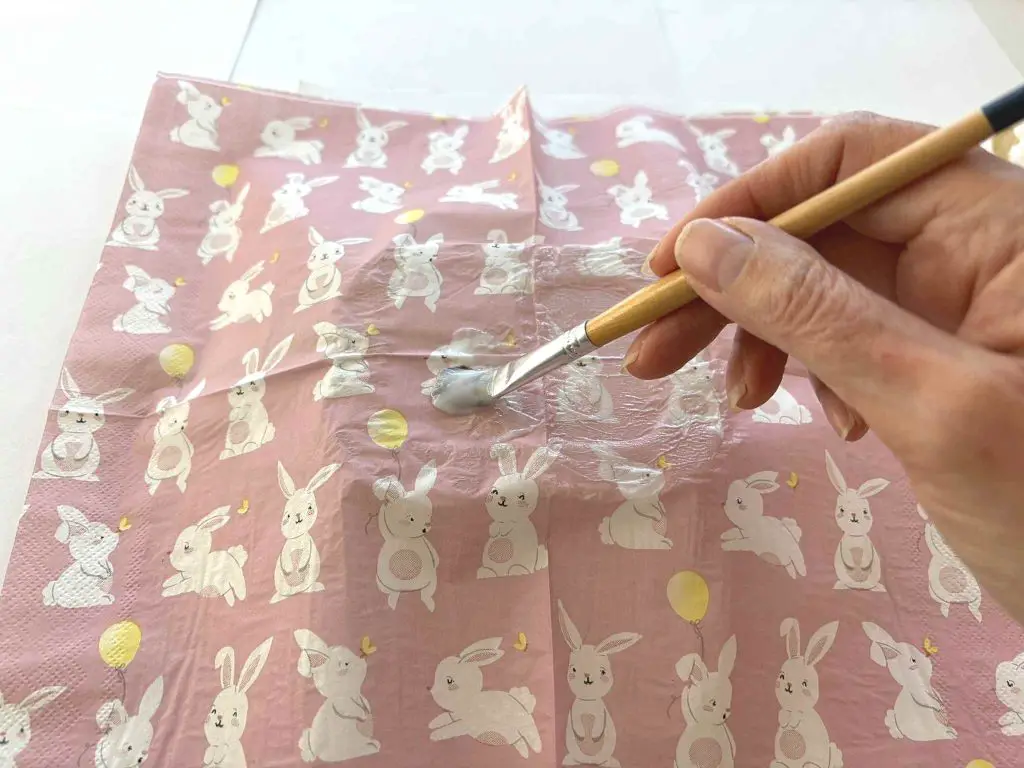
Then apply glue to the sides of the container and glue the napkin down as you did onto the base. I left the napkin whole but if you want a tidier finish you can cut off some excess napkin at the corners. However we are going to wrap the napkin over the top and into the container so don’t cut too much off! Wrinkles in the napkin are just fine!
If you are using small pieces then simply keep applying them until the whole outside is covered.
Wait for it to dry.
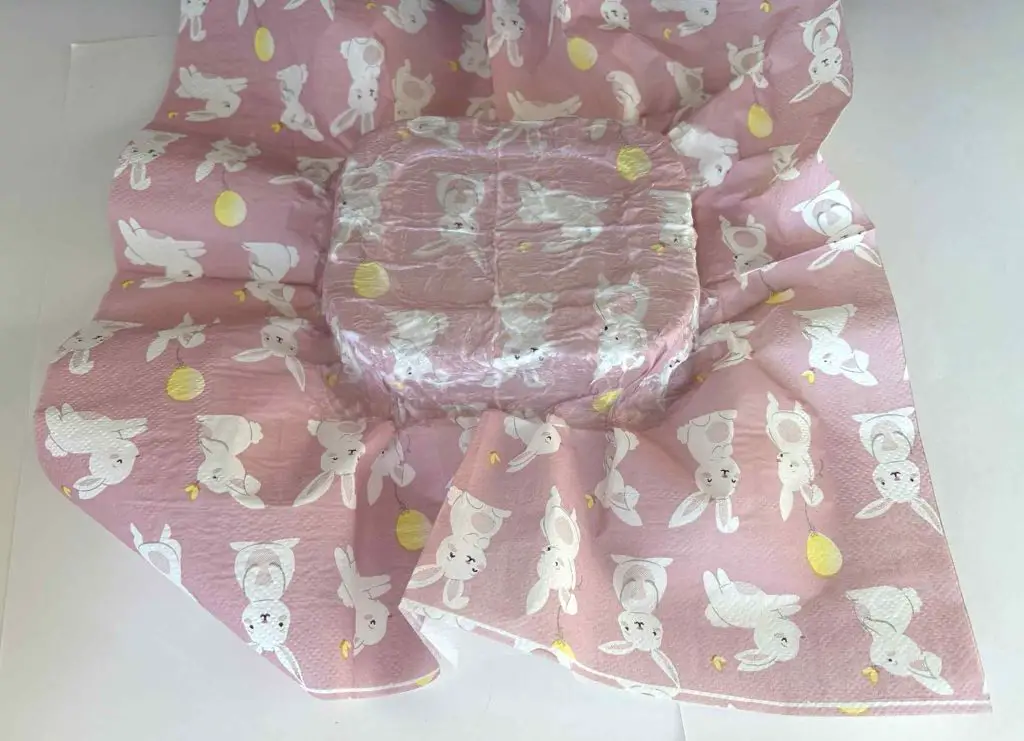
Inside
Once it is dry enough to turn over simply turn it over and carry on. If you are using the whole napkin apply glue to the inside of the container and fold the napkin in place. Again you may want to trim the napkin to make it lie flatter. If your napkin does not cover the whole of the inside of the container decide if you are happy with that or if you want to you can add some pieces of napkin to fill any gaps.
If you are using small pieces simply cover the inside of the container as you did the outside.
Leave it to dry.
Add a Handle to your Easter Basket
The easiest way to add a handle is to simply cut a piece of cardstock. The size depends on your food container. I just tried to make mine look right. I used a 1″ strip of card that was A4 in size (about 12″). If your card feels a bit flimsy you can either fold the card multiple times lengthways, or glue two pieces of card together.
Attach the handle to the inside or the outside of the container using strong glue, a stapler or double-sided tape. These are choices you can make depending on your recipients. If you use glue I recommend holding the handle in place for a while as the glue dries perhaps using a clothes peg (clothespin).
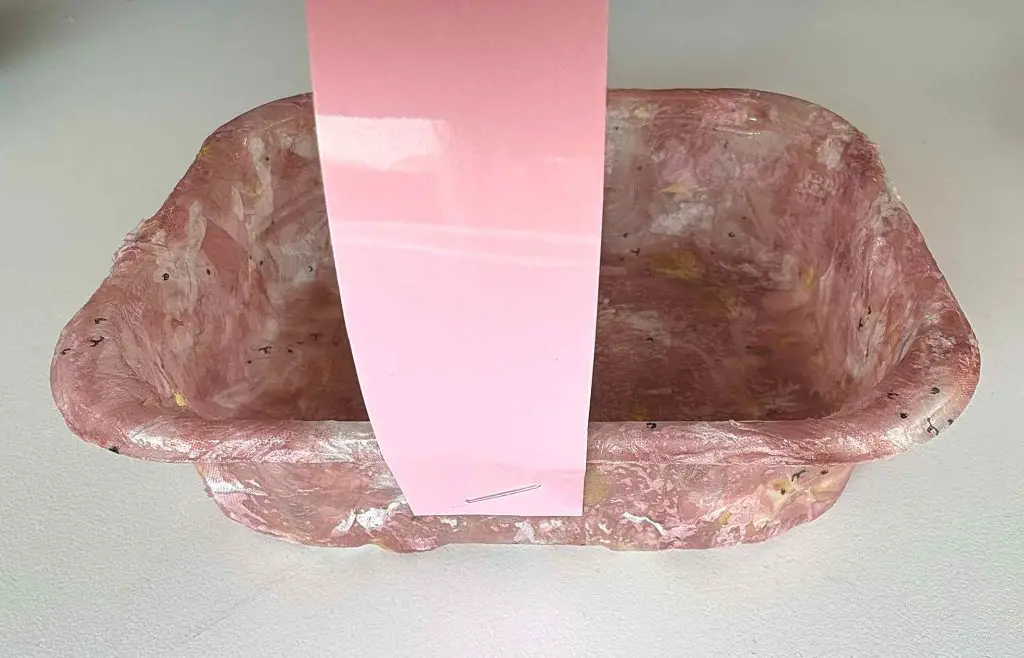
Now for the fun part! Add embellishments like pom poms, stickers, or ribbon to personalize your baskets. You can also seal the finished baskets with a clear, matte spray sealant for added durability.
Then you can fill it with whatever goodies you like. I love the traditional sweets and chocolate but you can add whatever you like. For children you could add small toys or craft projects to do.
If you are making several baskets consider adding cute Easter gift tags. I have some free ones that you can use in my resource library. You can access that by signing up to my regular newsletter . You will also be able to access all the other free resources in there.
Other Great Easter Ideas
And there you have it! Adorable, eco-friendly Easter baskets made from recycled plastic. I hope you enjoyed creating these festive treasures. I would love to know in the comments below how you personalise yours and embellish them.
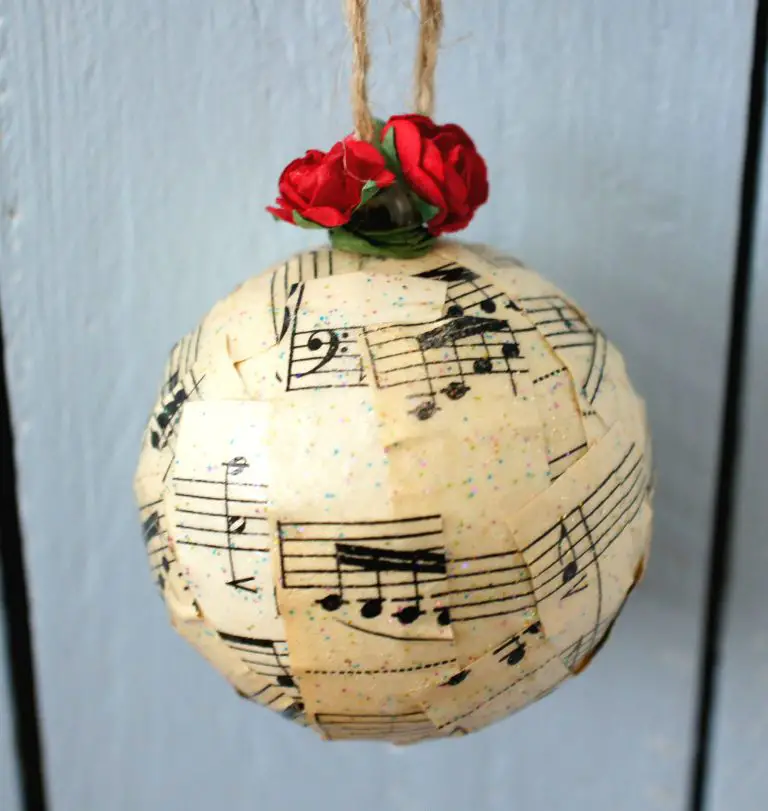
If you are looking for some more craft ideas for Easter how about:
Remember that you can get some more hints , tips and project ideas about decoupage here. To save this for next Easter pin it to your Easter crafts board on Pinterest.
