Simple Applique to Decorate Fabric Items
As an Amazon Associate I earn from qualifying purchases
I will try to cover some basic hints and tips as I go along so that you can learn a few new ideas along the way. Sometimes it may well be not to do it how I did! So, onwards…

This page contains affiliate links meaning I earn a small commission if you use those links at no cost to you. I only recommend brands I use and trust.
You will need:
Fabric or item that needs decorating (in my case a plain quilt cover and pillowcases from a supermarket)
Fabric to applique with. I recommend fabric that does not fray too much and is not too thick or stretchy. (I used fabric that frays whenever you look at it and is rather thick. However I did not have much choice as it matched my curtains and blinds which was the whole point of using it).
Iron-on Interfacing (or stabiliser).
Thread – matching or contrasting depending on the effect you are looking for.
Sewing machine
Scissors or rotary cutter and cutting mat
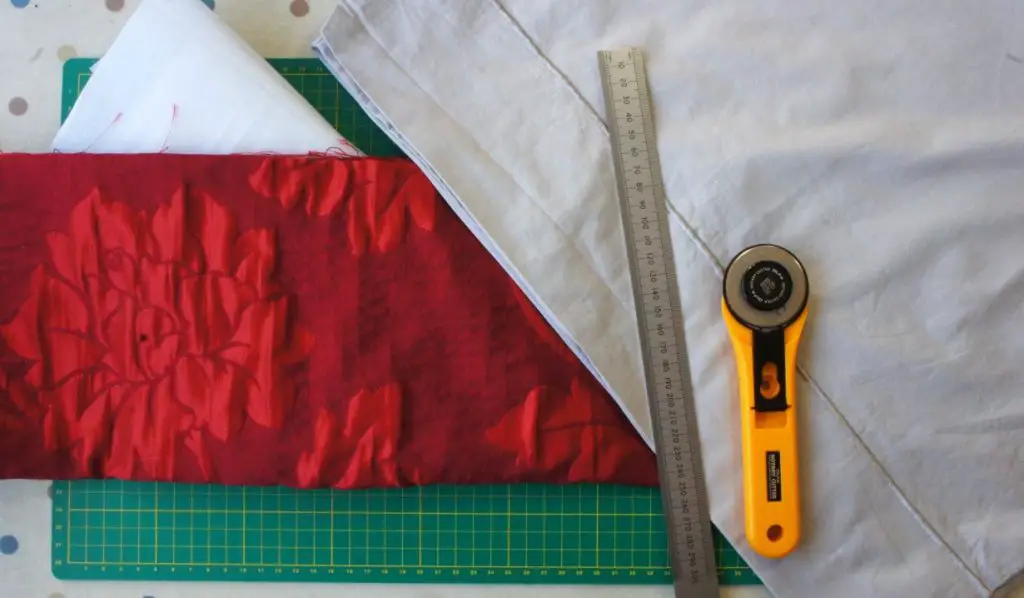
Step 1 – Cut out your fabric and interfacing
Decide on the shape that you are wanting to applique. I used simple rectangles to coordinate with the room but you can try anything. Remember that if your shapes are very complex they will be tricky to work around with the sewing machine so if this is your first attempt do not get too carried away – perhaps simple geometric shapes.
Cut out your chosen shapes and the same shapes from interfacing.
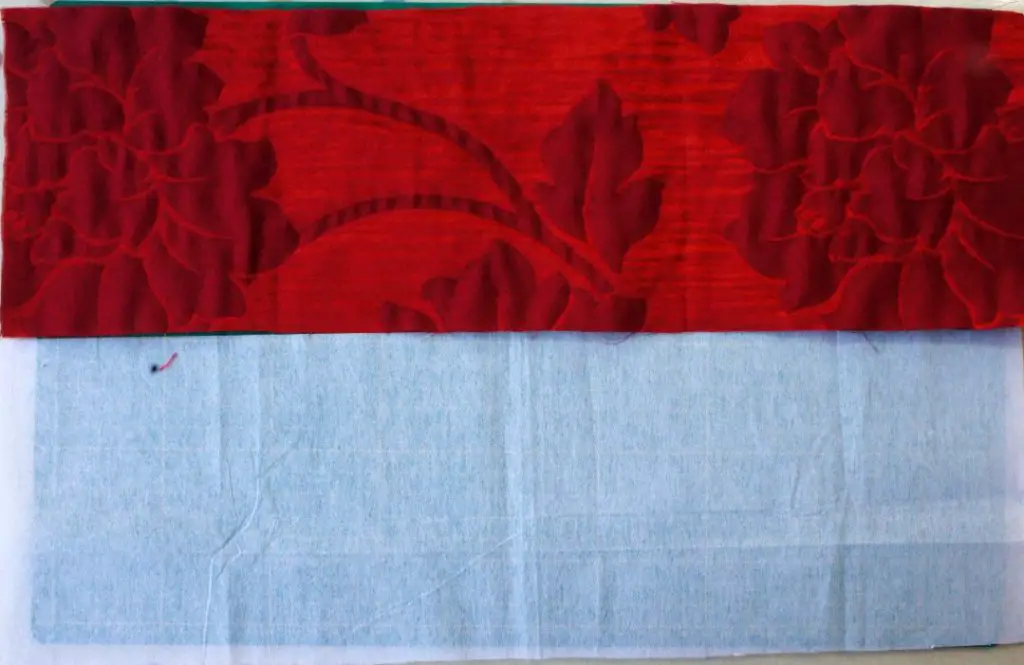
Attach the interfacing to the wrong side of your fabric pieces using your iron. Check your interfacing instructions but generally you need a low heat for a few seconds.Make sure that the side of the interfacing with glue on it is face down onto the wrong side of the fabric,. You do not want glue on your iron.
Step 2: Positioning the shapes
Now it is time to get creative. Place your shapes onto your base fabric or item where you want them to go. Once you are happy with them pin them in place. Now, if you are appliqueing onto an item of clothing or bedding, etc then take care not to catch the other side of the item in with your pins. I made this mistake and almost closed up my pillowcase!
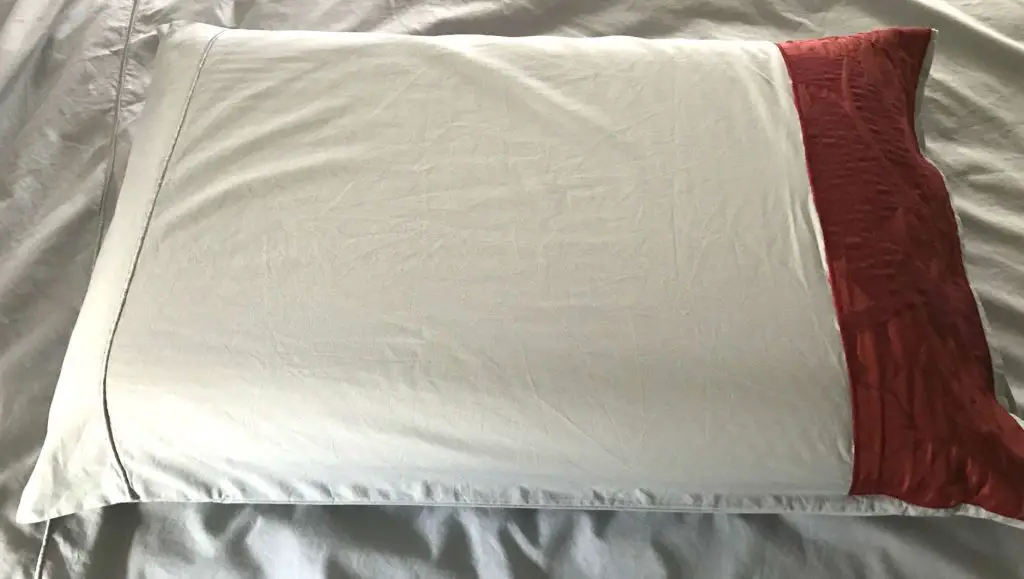
You will see that despite being attached to the interfacing my fabric is still trying to fray. It was very hard to work with! Choose your fabric wisely.
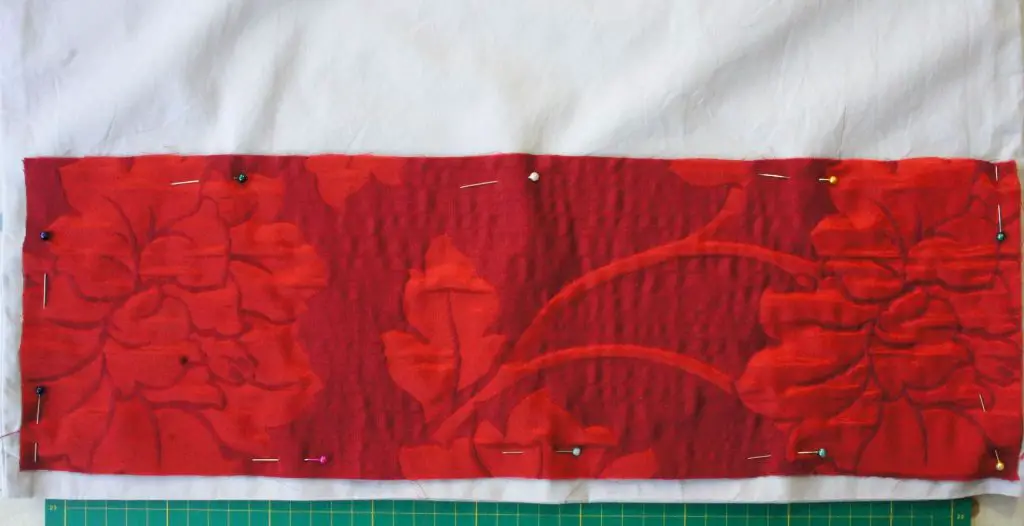
Make sure you are happy with your shapes at this point. Once you sew them on it is very hard to unpick them.
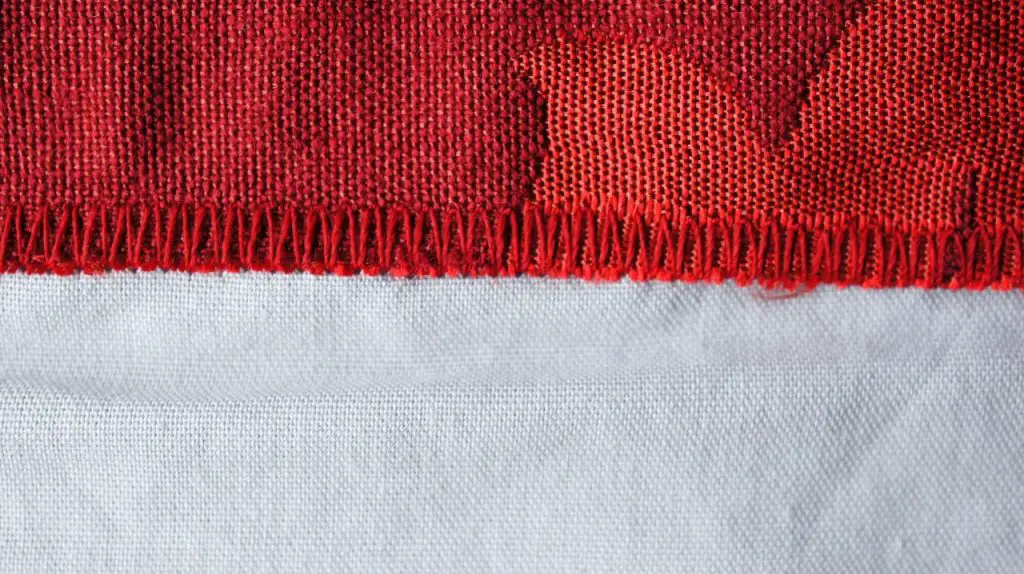
Step 3: Applique
Now, it is time to sew the shapes onto your item. This is appliqueing. You will need to set your sewing machine onto a ‘zig-zag’ stitch of some kind. It can be as simple or fancy as you like (and that your sewing machine can d0). I used a simple zig-zag stitch and set my stitch length very low. This means that my fabric can not fray between the stitches. I recommend having a spare piece of fabric and practising on there first. Set your machine to a stitch you think you like and then ‘have a go’.
Practise the tricky bits like turning corners. Make sure you leave the needle in the fabric, lift the foot on the machine, turn the fabric, put the foot down and start sewing again.
The zig-zags must cover the edge of the fabric shape and reach onto the base item. As you can see from mine it is not perfect but I always cover the edge of the piece of applique (the shape). This ensures the fabric stops fraying and does not come loose.
That is it! Once your shape is secure press it and see if you are finished. If you want to you can add more applique and build up your picture or pattern. I kept things simple but you do not have to.
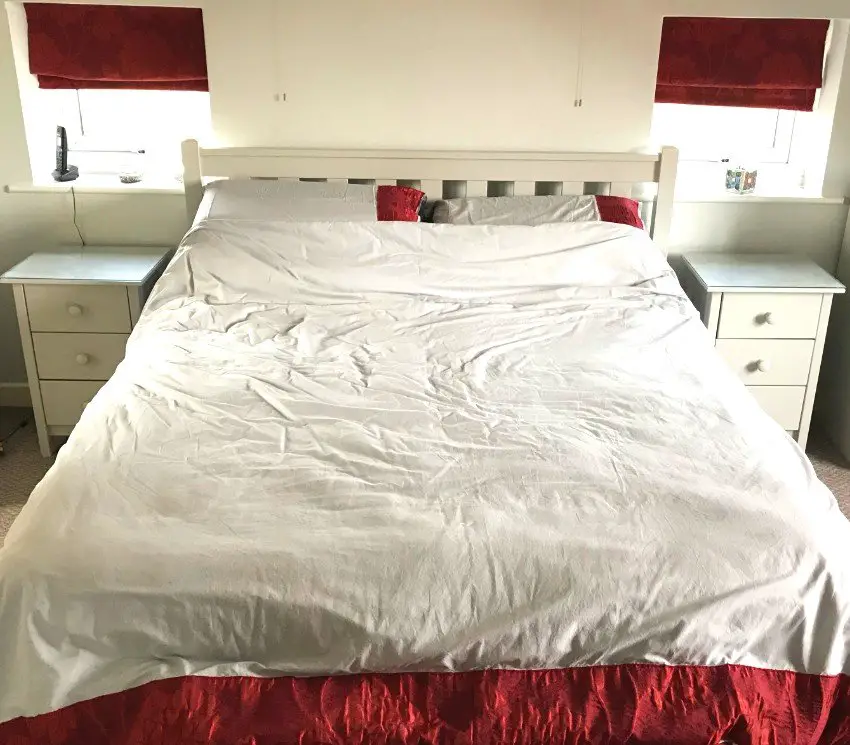
This is my completed bedding set.
So let your creativity run wild and create appliqued items for your home and your clothing. The internet is a great source of inspiration particularly Pinterest. Remember to pin this tutorial for later and you can follow me on there as Christine’s Crafts.
If you enjoy improving your home yourself then take a look at some of my other tutorials:
Makeover a Stool – give that old stool a new lease of life.
Re-cover a lampshade – notice that it matches this bedding!
Produce your own button artwork for your walls.
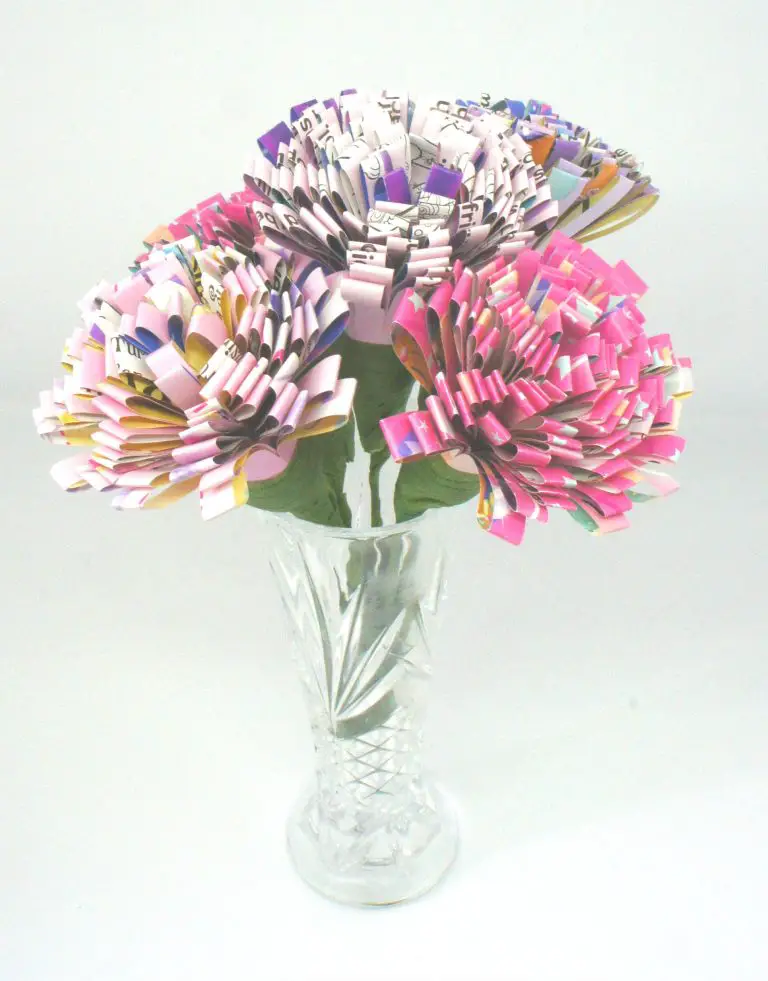
Gorgeous magazine flowers to decorate your home
Remember that you can subscribe to my newsletter and never miss a new tutorial again. Use the pop-up or form on the right (at the bottom if you are on mobile).
Keep creating!