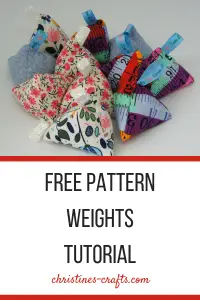
Make your own Pattern Weights
As an Amazon Associate I earn from qualifying purchases
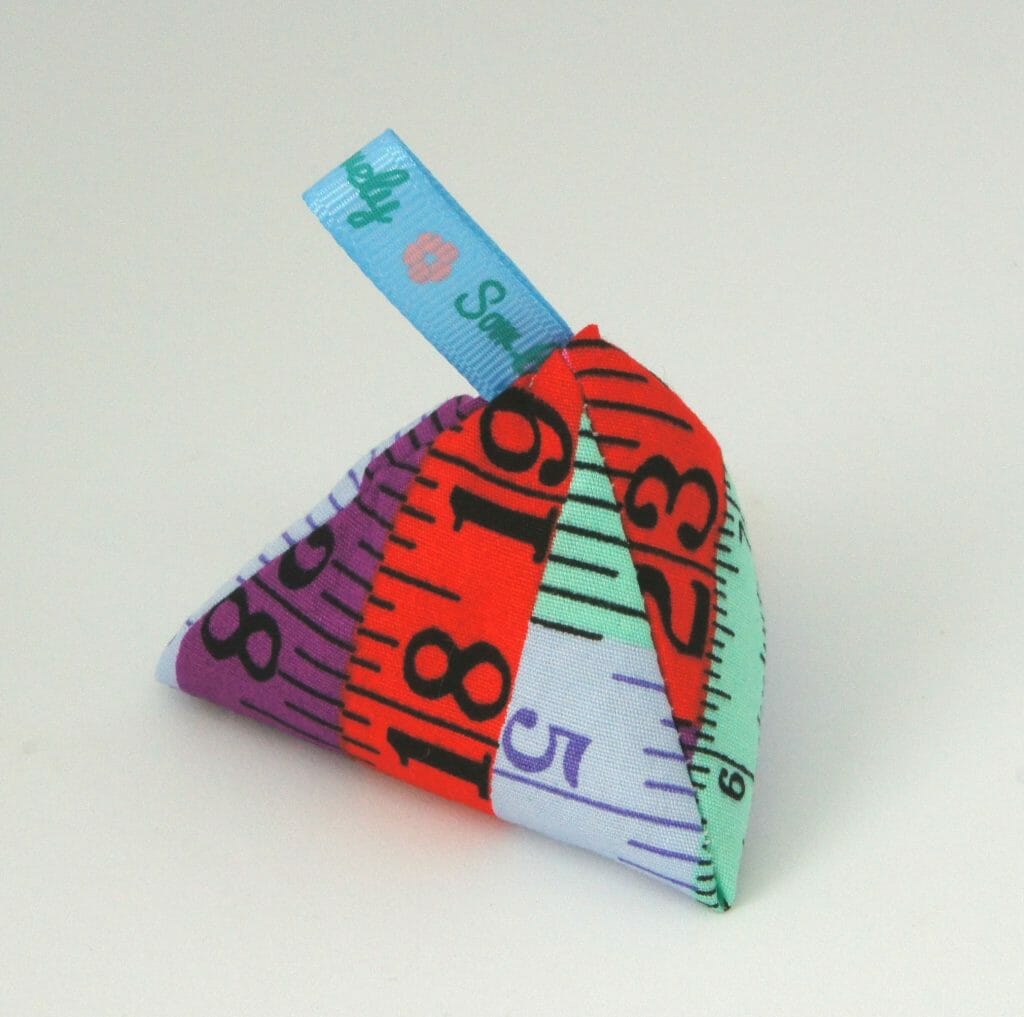
This tutorial will show you how to make pattern sewing weights so that you no longer need to pin your pattern pieces to your fabric. You may know them as ‘Great British Sewing Bee’ Pattern Weights. Pattern weights save you time and prevent pin marks on fine fabrics.
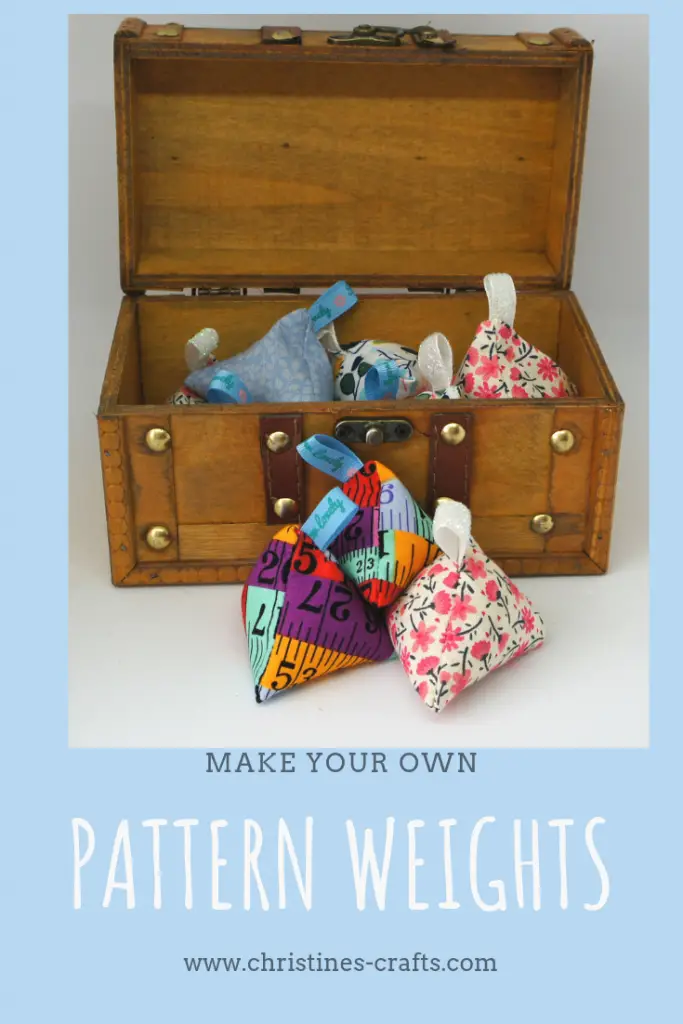
I am loving them so I have made some to match my other sewing supplies and some in other fabrics. I am definitely going to make more as they are so useful.
This page contains affiliate links meaning I earn a small commission if you use those links at no cost to you. I only recommend brands I use and trust.
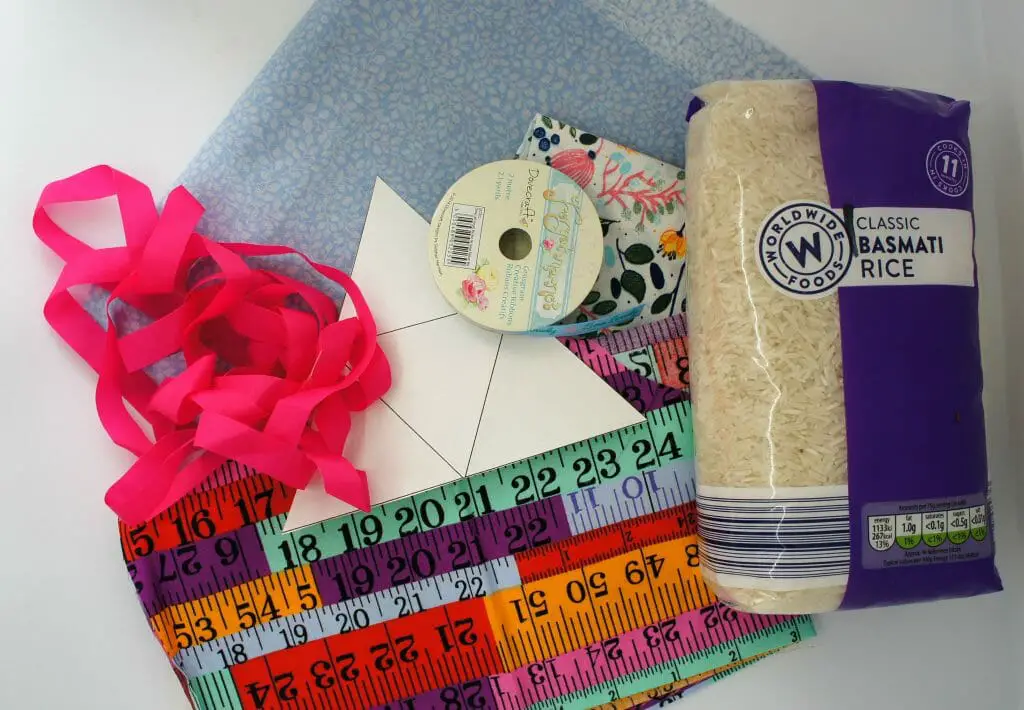
You will need:
Fabric – great project for fat quarters like these from Amazon
Template (or patchwork cutting shape) – Pattern Weights Template
Rice or beans to fill
Basic sewing equipment
Ribbon (optional)
If you like watching a tutorial then scroll down to the end of the written instructions and watch the video tutorial!


Step 1: Cut out fabric
Cut out the template, pin it to your fabric and cut around it. Note that it is an equilateral triangle so the shapes should tessellate perfectly allowing you to cut out many triangles from your fabric with minimal wastage.
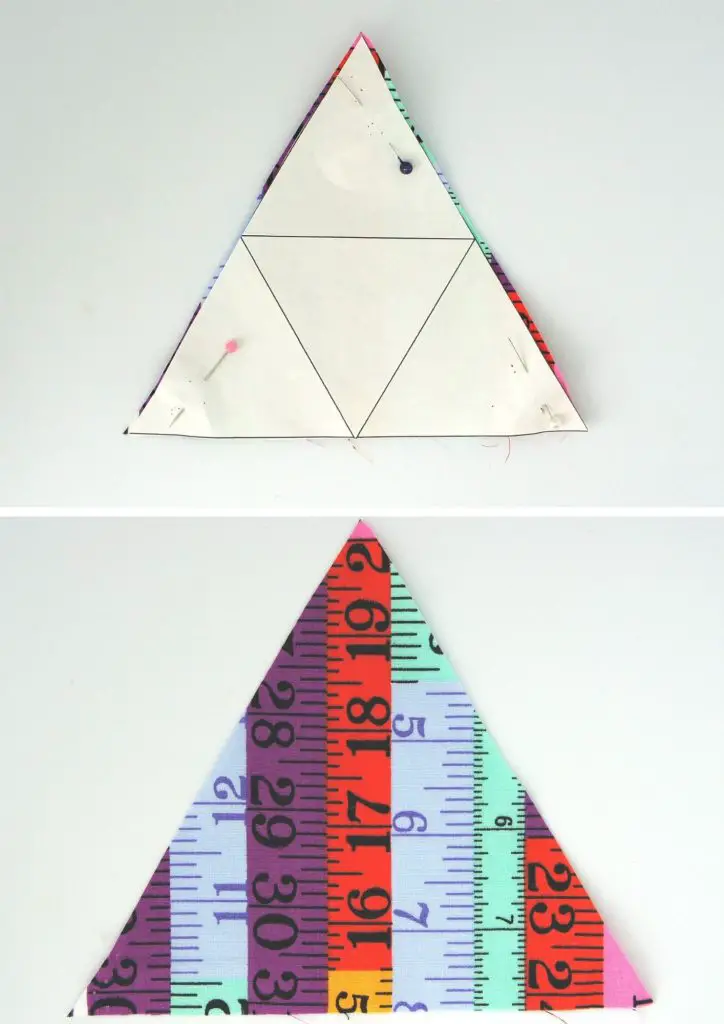
Step 2: Sew first seam
Fold the triangle, right sides facing, so that two of the points meet. Pin along the short edge that you have made.
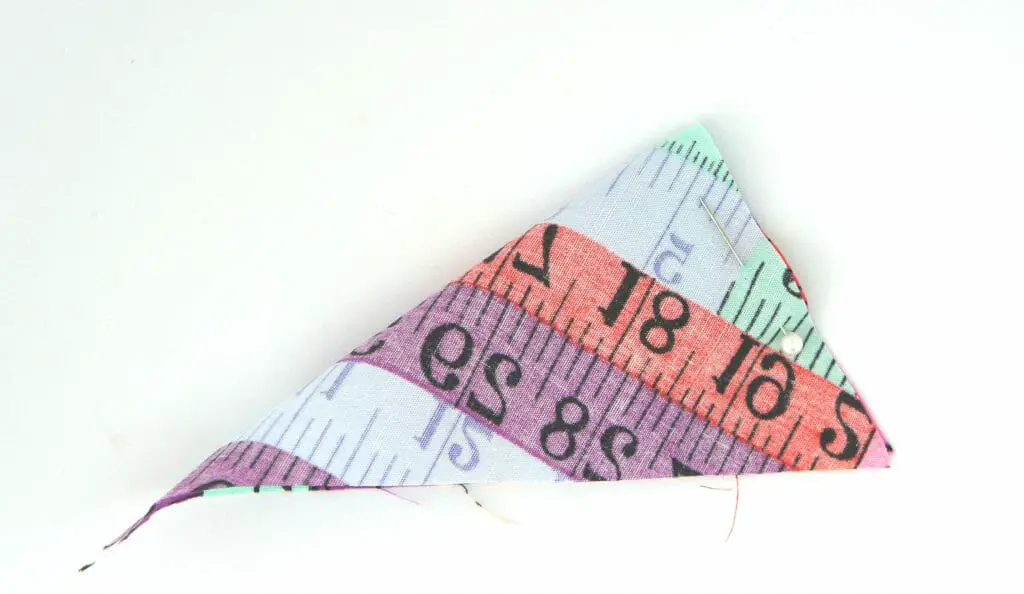
Sew it in place.
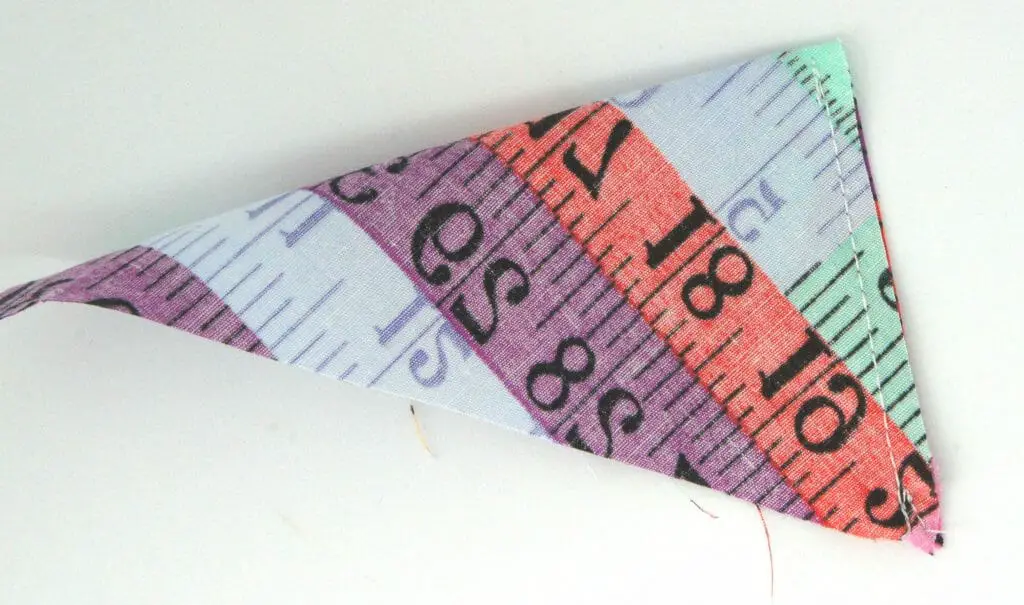
Step 3: Sew second seam
Now fold the remaining point up to join the other two (that are now sewn together). Pin along one of the new seams. Sew the seam.
Step 4: Sew half of last seam
Now pin the remaining seam.
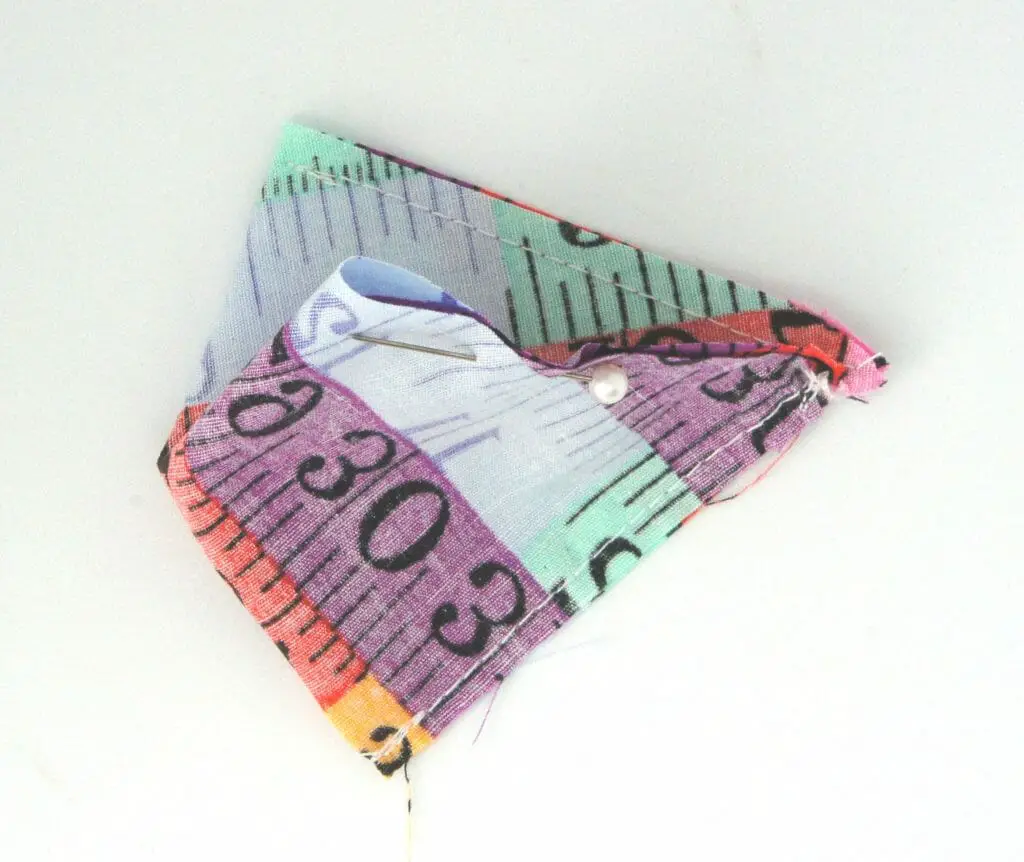
Sew the seam halfway to make sure you have a large enough hole to turn the weight out. Leave the hole at the top of the weight where the points meet.
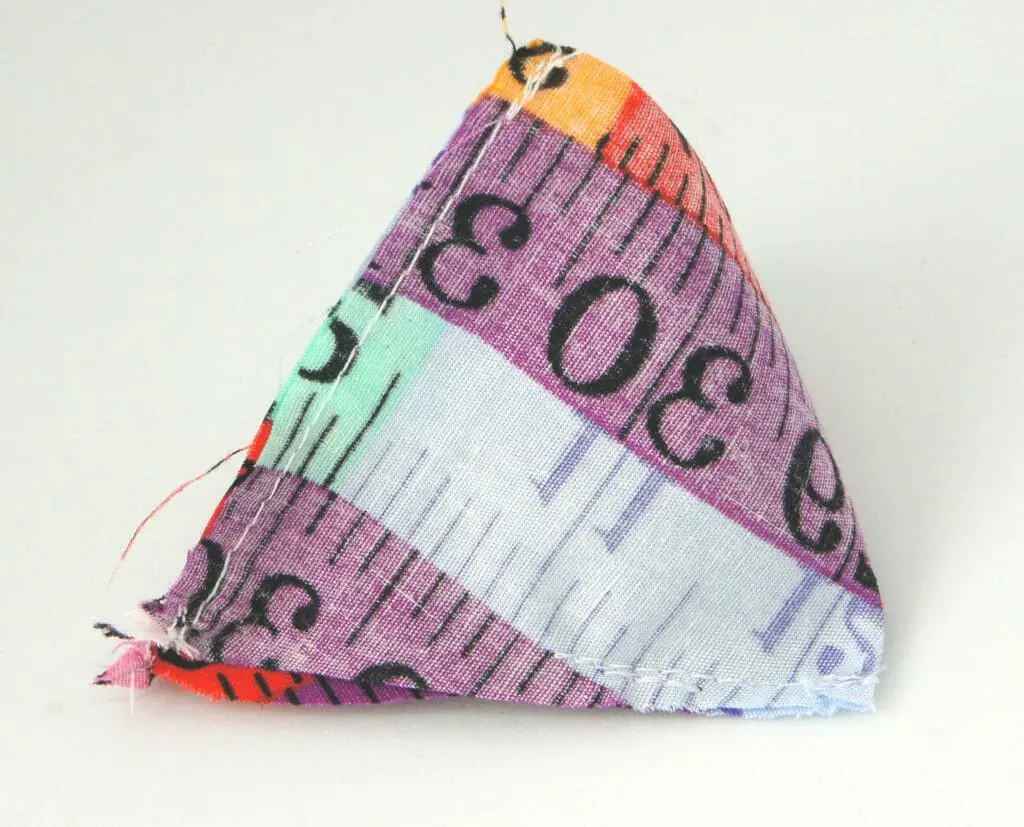
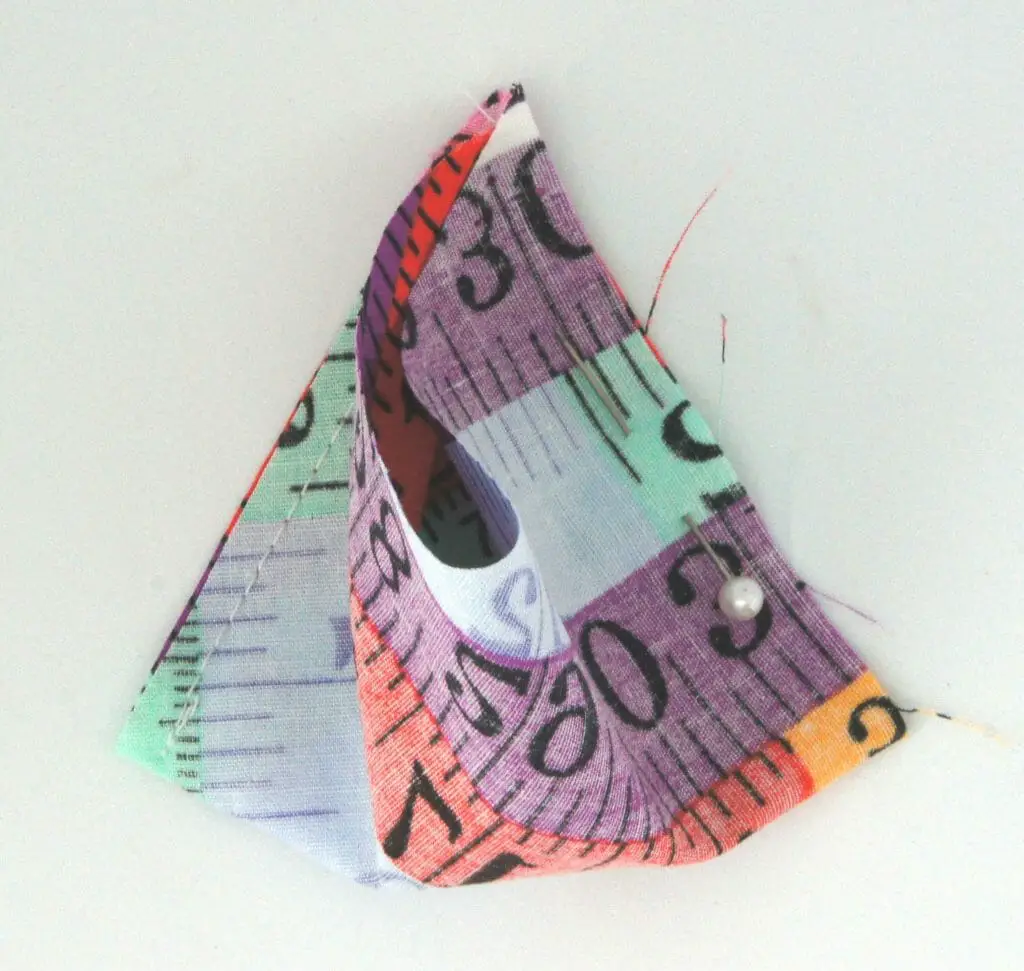
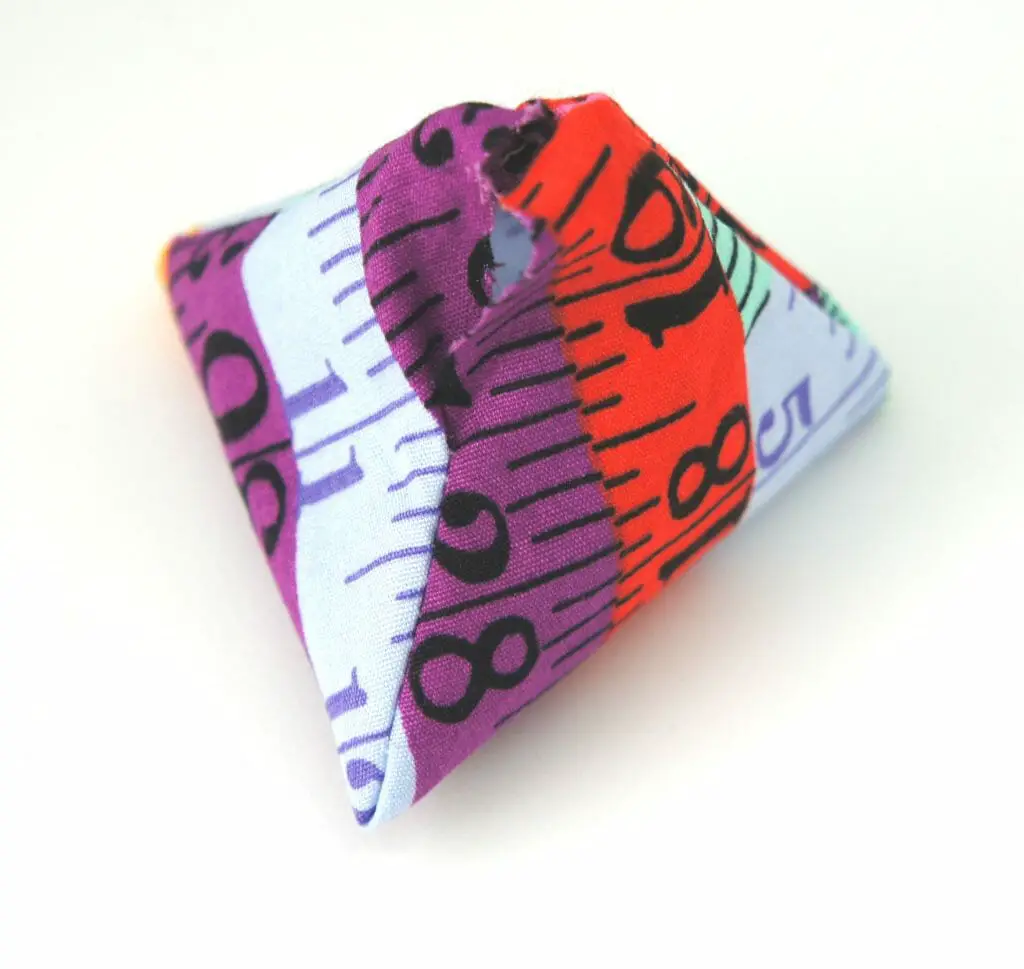
Step 5: Turn right side out
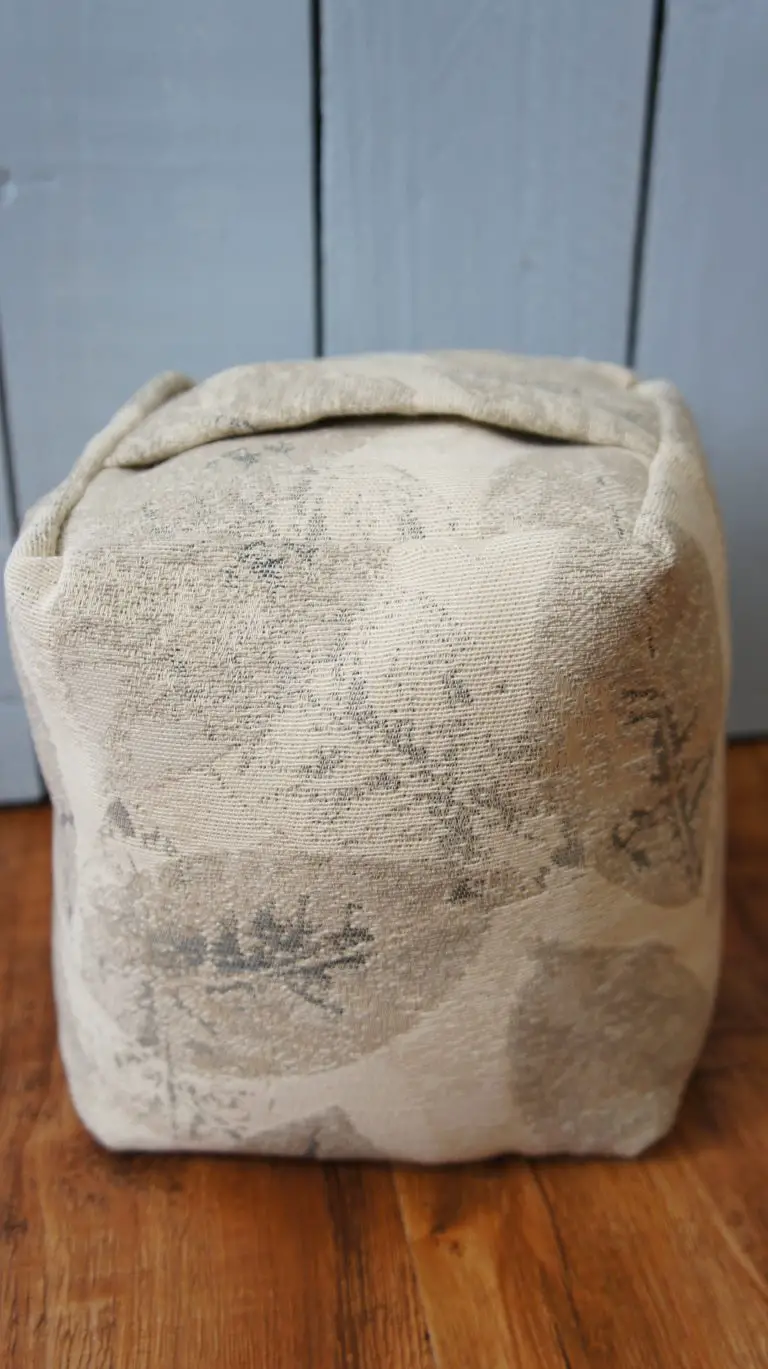
Turn the weight the right way out and poke the corners out to form your tetrahedron shape.
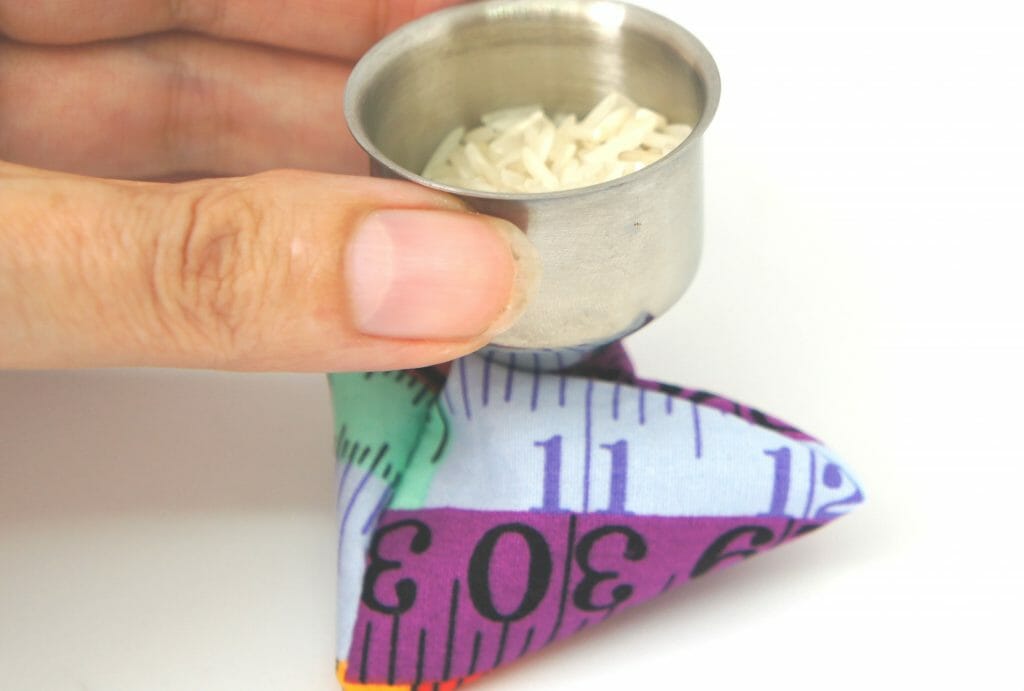
Step 6: Fill the pattern weight
Now fill your weight with rice or beans. I used a funnel to help get mine in through the small hole!
Step 7: Sew up hole
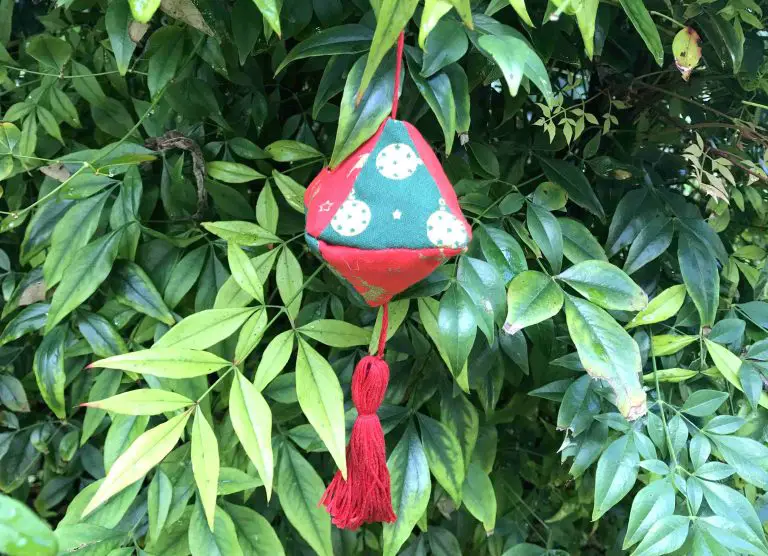
Now you just need to sew up the remaining hole to stop your filling escaping. If you want a ribbon hook on your weight like mine then now is the time to cut a length (I used 5cm (2″)) and insert it into the hole. Then slipstitch the seam closed incorporating the ribbon if you have one.
Video Tutorial
You can also view this video on my YouTube channel.
Step 8: Use your Pattern weights
You are finished. Now, if it sounds complicated or fiddly let me assure you that it is not. These are harder to explain than to make! If you produce several at the same time it becomes like a little production line and you can make them up really quickly.
Depending what you generally make when you are sewing you might need quite a few pattern weights but they are so quick and easy to make and they will last for years.
So, now you know how to make pattern weights you can easily enlarge the template and make larger weights if they would help you with large pattern pieces.
Remember you can find the other sewing supplies tutorials at:
How to make a pincushion that sharpens your pins
Make your own simple needlebook
Make Simple Pattern Weights using Washers
You can always pin this tutorial for later. If you follow me on Pinterest you will find lots of great ideas curated just for you crafters!
Good luck with your pattern weights and sewing projects!