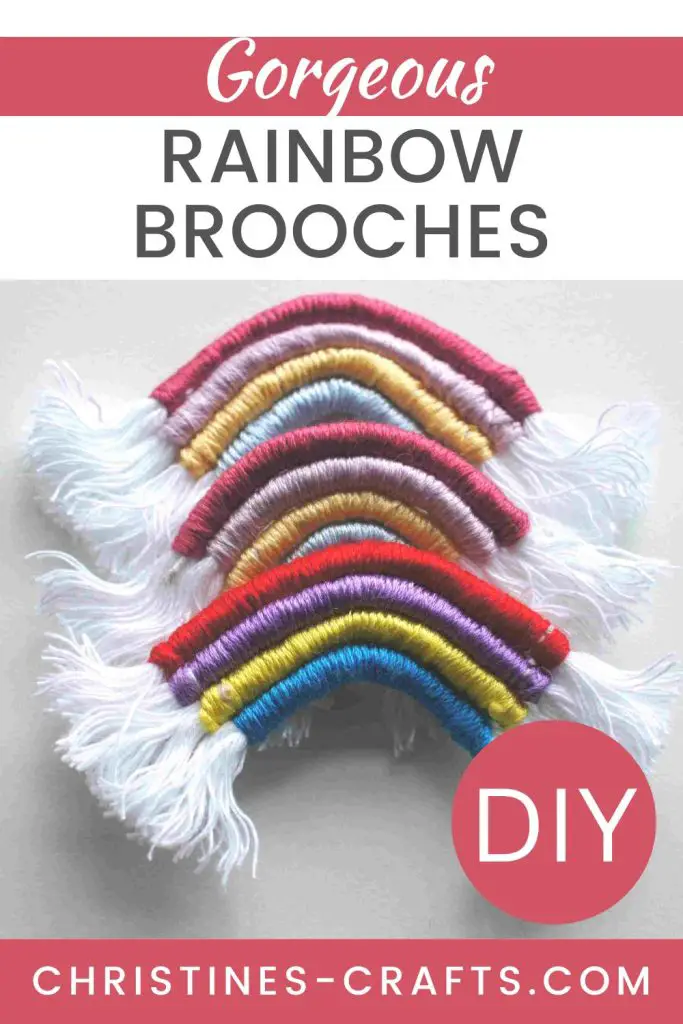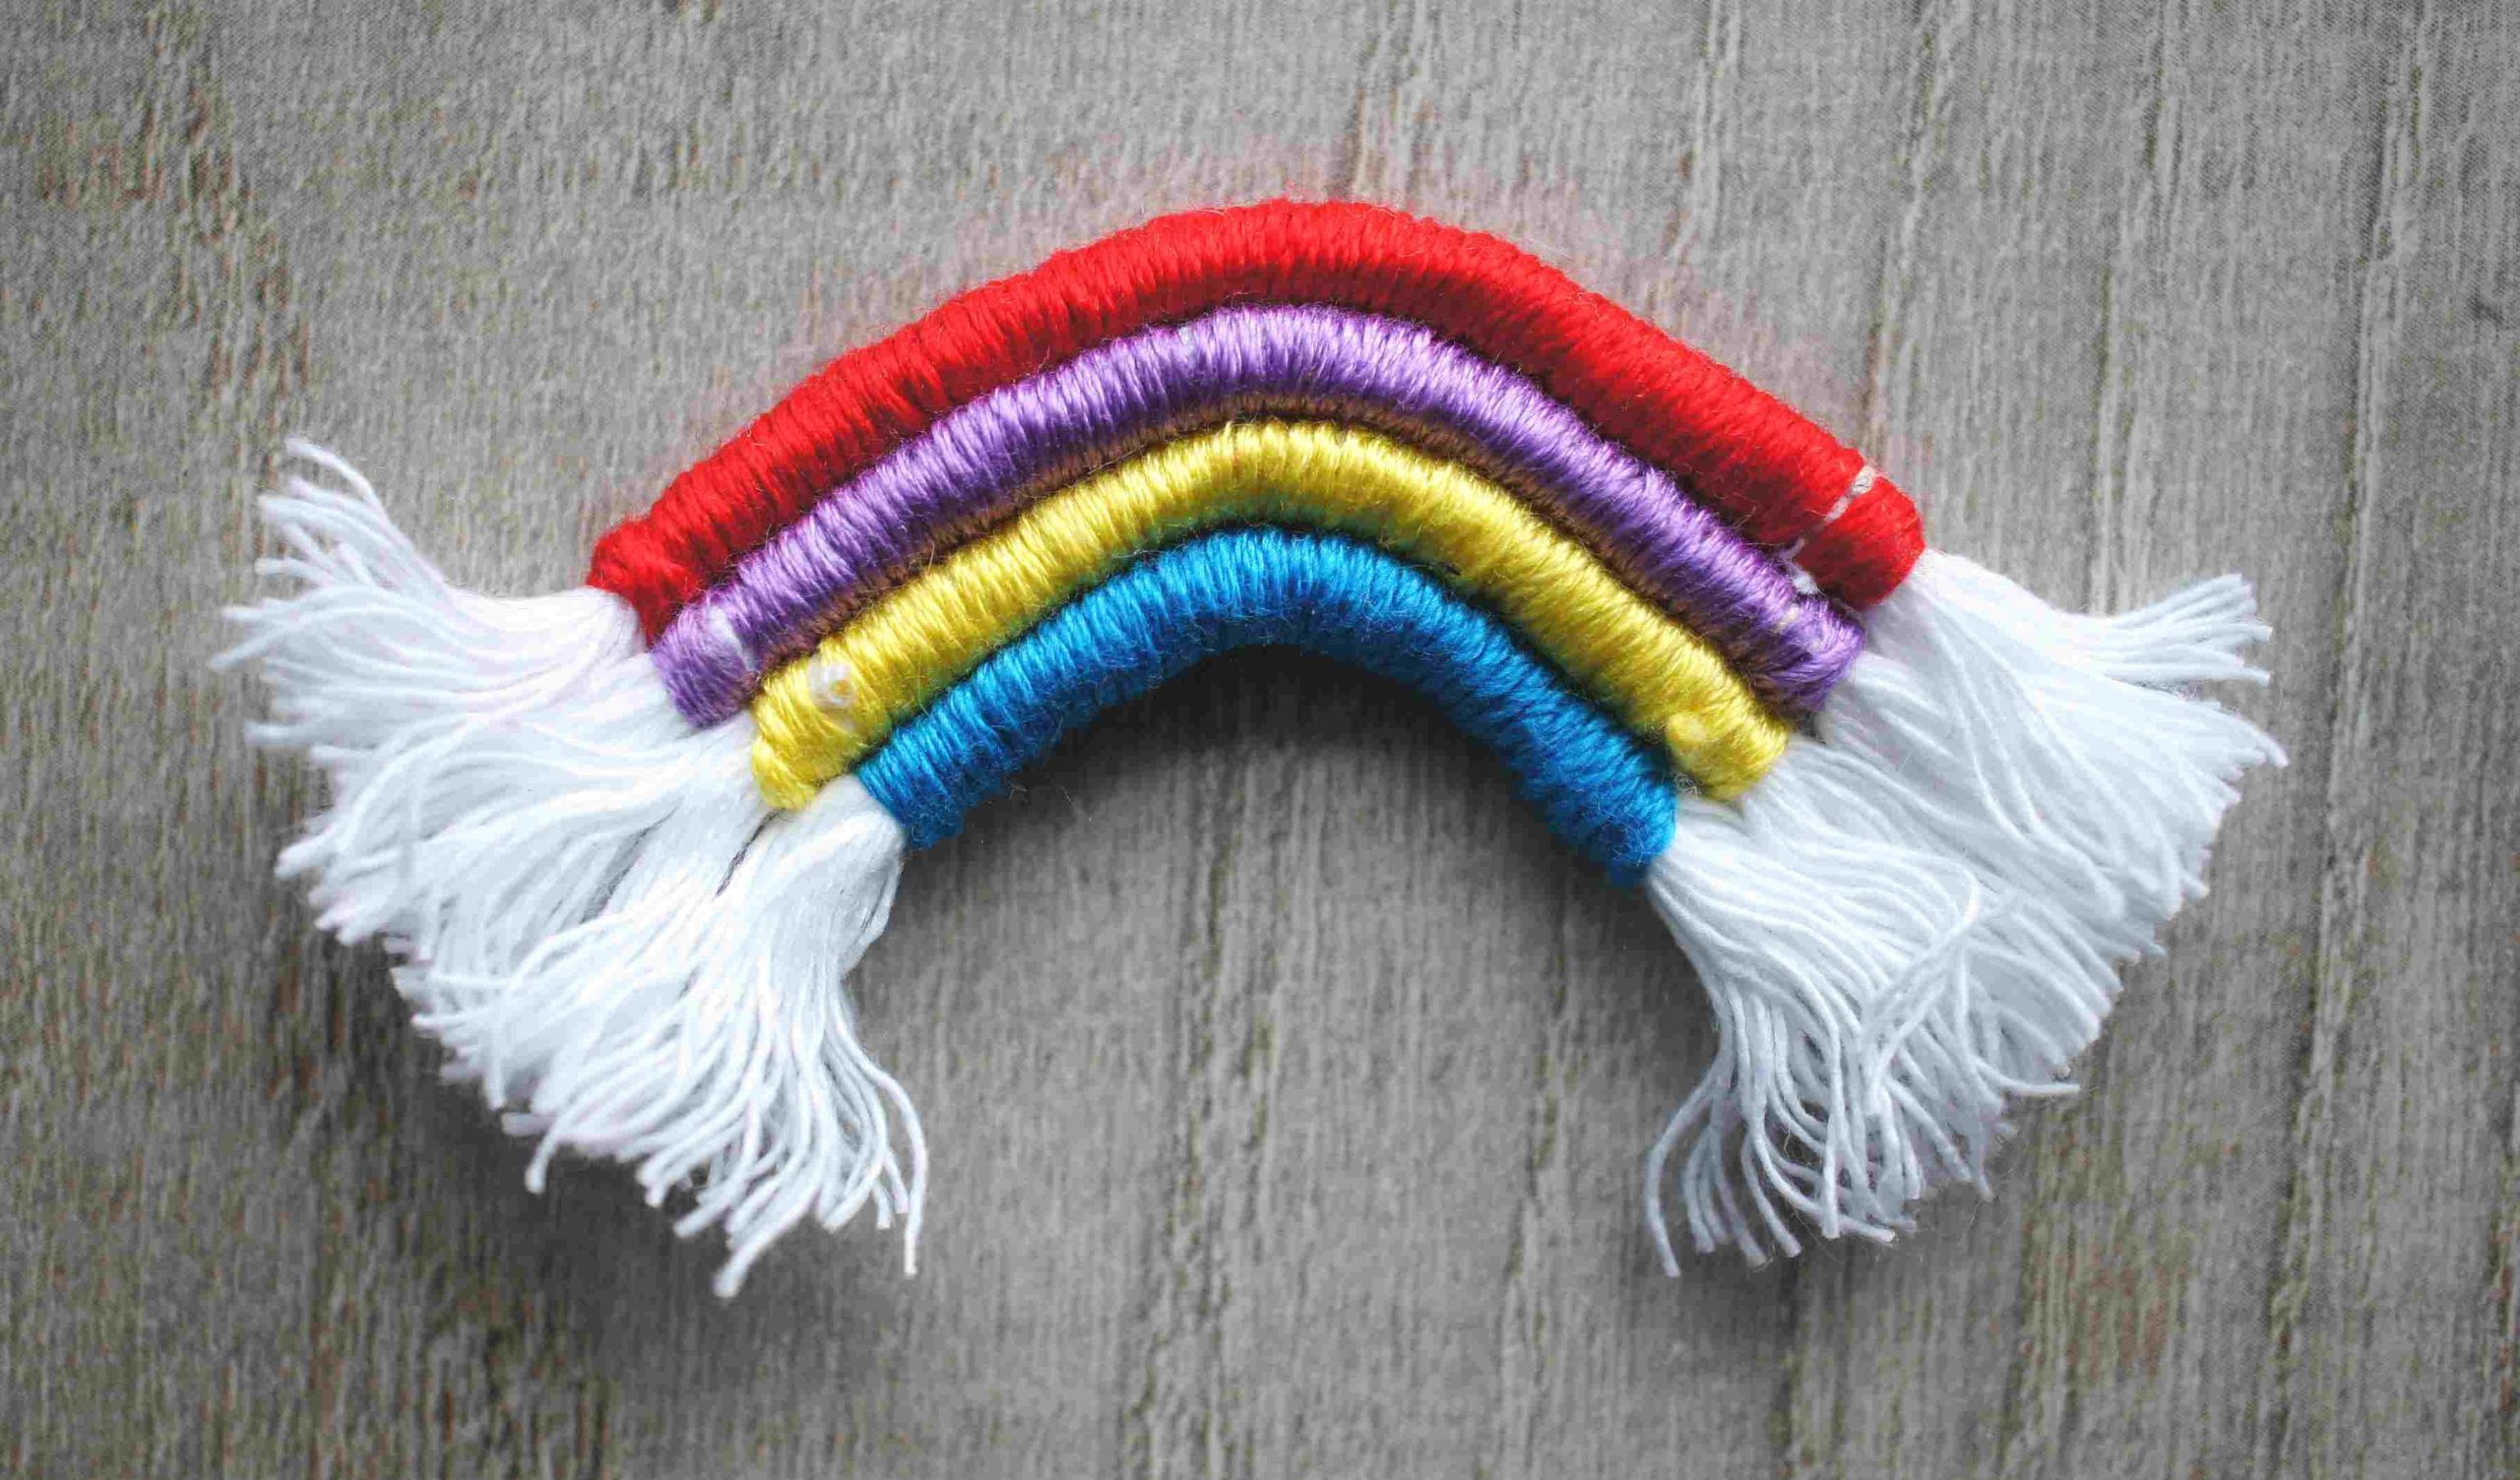
Fun and Easy Rainbow Brooch: Express Yourself with Joy
As an Amazon Associate I earn from qualifying purchases
Are you looking for a way to express your joy and creativity? Then this fun and easy rainbow brooch project is perfect for you! Combining the vibrant colors of the rainbow with the satisfaction of using up spare craft supplies, this rainbow craft is a delightful way to add a touch of sunshine to your wardrobe and brighten anyone’s day. So, gather your supplies and get ready to sparkle!
If you are looking for more rainbow arts and crafts then I recommend that you visit the fabulous tutorials at the bottom of this one. As this project uses up your craft supplies (leftover embroidery threads, small pieces of wire and cord) it is a great contribution to this month’s Sustainability Craft Challenge. The theme this month is rainbows so I decided to make these adorable brooches. So, remember to check them out and get inspired.
This page contains affiliate links meaning I earn a small commission if you use those links at no cost to you. I only recommend brands I use and trust.
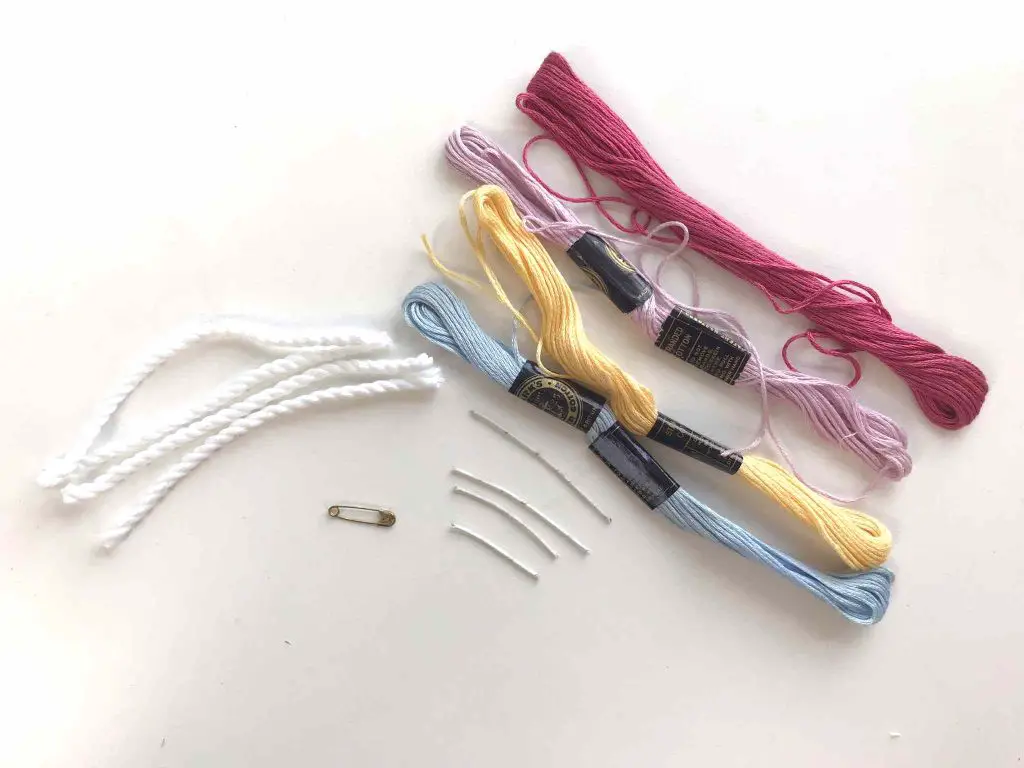
Supplies you will need:
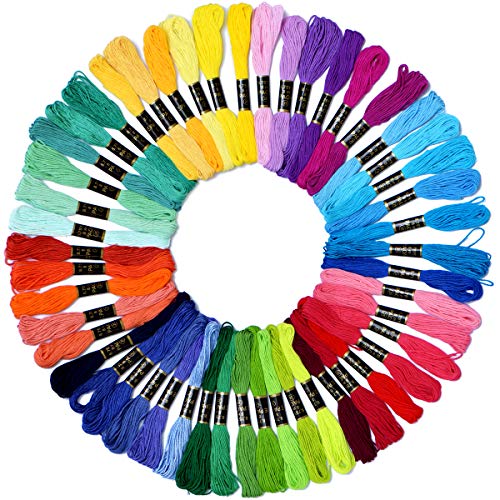
- Embroidery threads in your chosen rainbow colours
- Thin wire such as floristry wire
- Thin cord (cotton or polyester) – Mine is approximately 0.25″, 0.5cm diameter. Use any string you have but remember it forms the clouds at the ends of the rainbow
- Small safety pin or brooch fitting
- Needle and thread
- Scissors
- Wire cutters (or old scissor you don’t care about to cut wire)
- Comb


Video Tutorial for Rainbow Brooch
This video is also available on my YouTube channel.
Create your Rainbow Layers
You can create your rainbow brooch any size that you like but I like these cute little ones. If you want yours bigger or smaller simply adapt these measurements.
Cut 4 lengths of your chosen cord at 3″ long and cute the following lengths of your wire: 2″, 1.75″, 1.5″, 1″. The longer piece of wire forms the top arch of your rainbow and so on. If you want to add more rows of colour in you can do but just consider how it will look – experiment!
Decide on the colours for your rainbow, you don’t have to follow what I have done. I have made really bright ones of these rainbow brooches and pastel ones. I like both! It mainly depends on what colours you have available. I am lucky that I inherited a whole load of embroidery threads and love using them for projects like these. It means I have quite a choice.
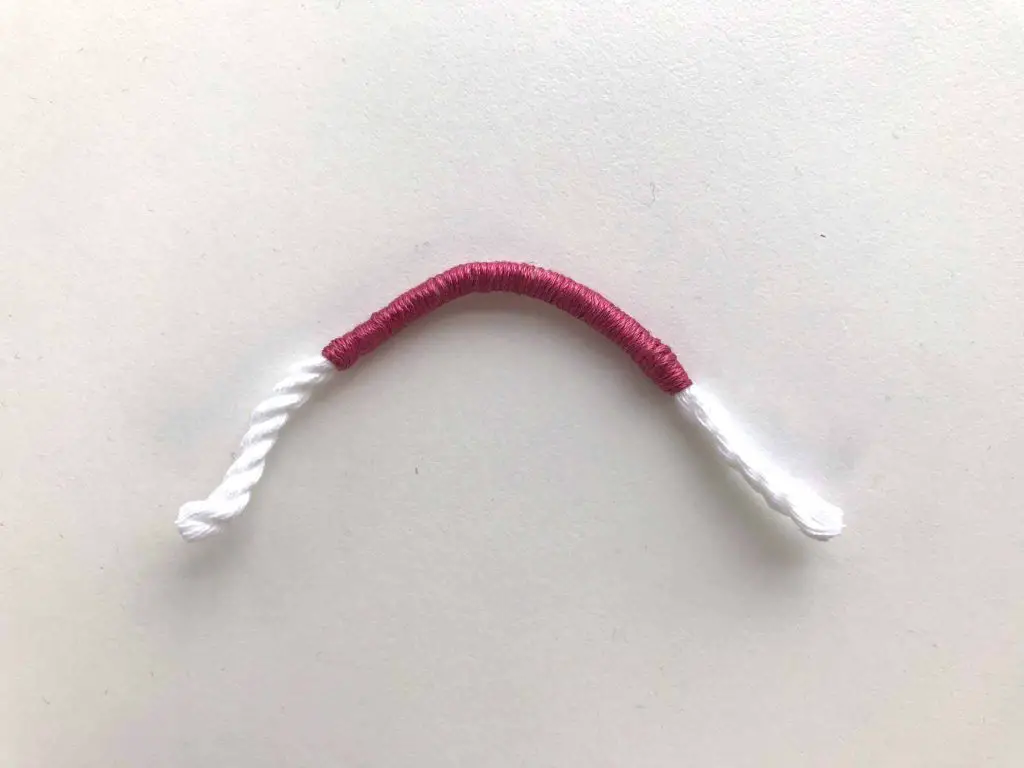
Take your longest piece of wire and place it with one of your lengths of cord. Make sure that the wire is in the centre of the cord so there is equal spare cord at either end of the wire. Now wrap your top colour thread around it leaving a tail of thread so that you can feed it in later. Start about 0.5″ in from the end of the cord. You should cover the end of the wire and a bit more. This is to ensure the wire is never seen. Keep wrapping until you have covered the wire and you are about 0.5″ from the other end of the cord.
Cut off the thread leaving a tail to feed in. Now, in turn, take each thread and using a needle thread the end into the end of the wrapping and allow it to poke out further along. Then cut it off and it will stay secure. This may be tricky so persevere!
At this point I recommend bending your wire into the rainbow shape that you want. Then you can judge the remaining layers more easily.
Now it is time to repeat that for all your rainbow layers. Each time make sure that you place the wire in the centre of the cord length and cover all of it. You can lay each layer next to the last one to check if it is the right length and adjust as necessary. Obviously you will need to bend it first so that it fits perfectly to the layer above.
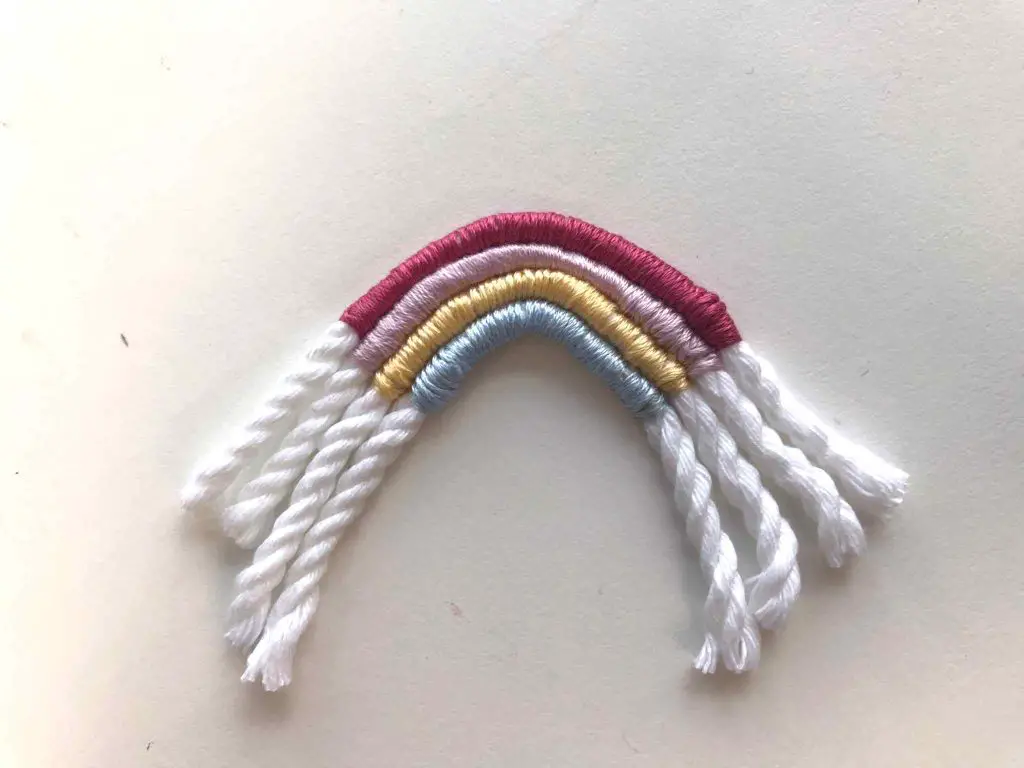
Assemble your Rainbow Brooch
Decide on the front and back of your brooch. We will work exclusively on the back to build it. Thread a needle with a thread that you think will blend in the best. If you can use invisible thread it is great but I hate it so I avoid it at all costs! I find it so hard to work with. I use white on mine as it is readily available and the best option I have across all the layers.
At all times make sure you are working on the back of your layers and that you have lined them up properly.
Put a small knot in your thread and feed it through a small section of one end of the coloured part of your top layer. Then place the second layer in place and repeat with that layer. Work your way all the way across the coloured sections sewing them together. This should help to draw your two layers together if your bends were not quite exactly the same.
When you get to the other end simply add the next layer and work your way back. Keep doing this until all your layers are secure. Fasten off your thread. You now have a completed rainbow but your clouds are not quite there.
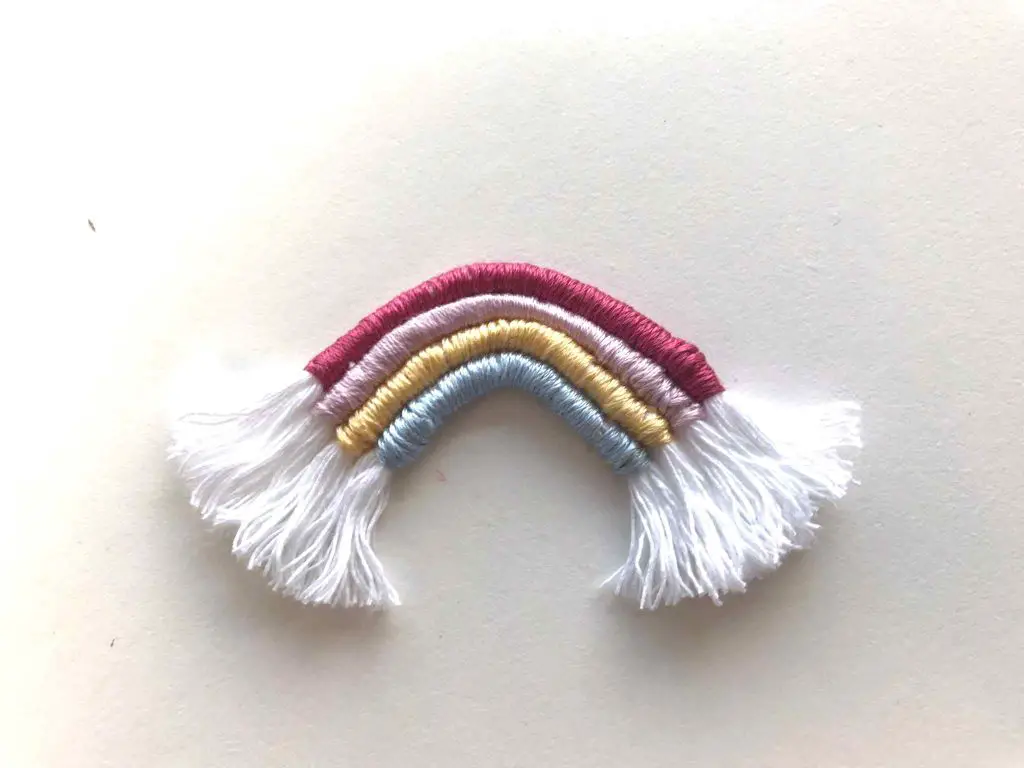
To form the clouds simply comb the cord ends through until they separate. It is up to you how much you comb them and it will depend of your cord as to how fluffy they go!
Then trim the cord ends until you are happy with them.
All you have left to do is to sew on your safety pin or brooch fitting. These work really well with a proper brooch fitting but as we are all about crafting on a budget here I included the safety pin option as most crafters have some hidden away somewhere.
Sew it to the centre of the back of the rainbow brooch making sure that it secure.
Congratulations you have completed your rainbow brooch. I hope you will wear it with pride.
More Great Rainbow Crafts for Adults and Kids
As promised above, here are the fabulous rainbow diy craft tutorials I promised you that are in the sustainability challenge:
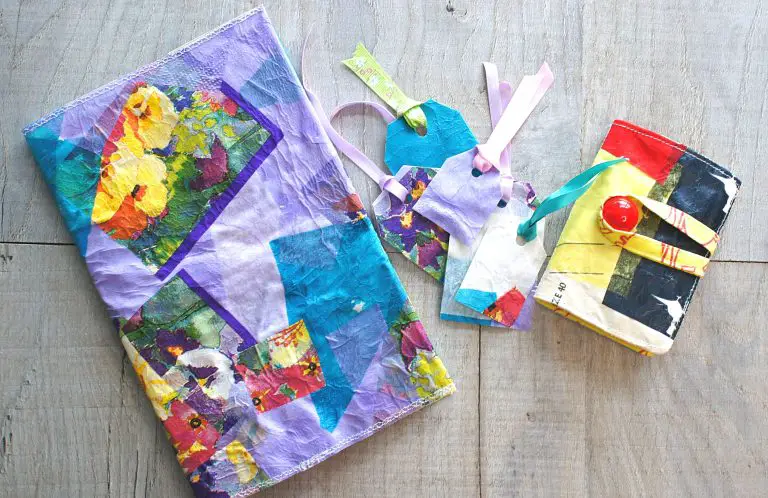
- Paper Rainbow Ring Binder
- Upcycled Plastic Bottle Rainbow Flowers
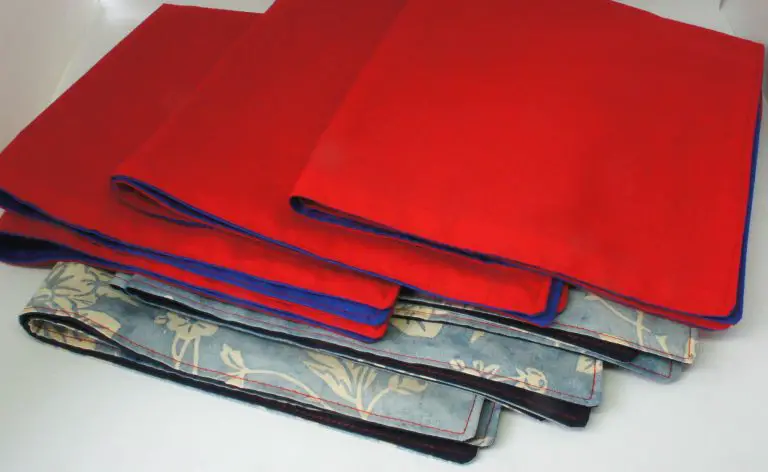
- St. Patrick’s Day Rainbow Scarf
- Easy Rainbow Hearts Tote
- DIY Rainbow Wall Art using Inspirational Quote
- Upcycled Tin Can Planters
Plus, if you are looking for some more crafts to wear how about some shabby chic flower brooches made from old jeans? These are so easy to make and you can even glue them if you don’t want to sew!
Or how about some scrap busting scrunchies to hold up your hair or gift to friends?
Whatever you are up to enjoy your crafting and please let me know in the comments below any tips you have for rainbow brooches or even other rainbow crafts ideas.