How to Plant Bare Root Perennials for Maximum Success
As an Amazon Associate I earn from qualifying purchases
In this article you will see how to plant bare root perennials for maximum success. We all want our plants to grow successfully and produce loads of flowers but how do we achieve that? In this article I will show you what perennials are, all about bare root perennials and show you how I plant mine for a successful outcome!
If you are reading this article you may already know some of these answers and if so, simply skip down to the sections that you want.
This page contains affiliate links meaning I earn a little commission if you use those links at no cost to you. I only recommend brands I use and trust.
Contents
Video for Perennial Plants
What is a perennial plant?
A perennial plant is a non-woody plant that grows for 3 years or more. Most perennials die back (or at least partially) in the winter and re-grow in the spring. How long perennials live is very varied. Some perennials such as delphiniums may only live for 3 or 4 years but some, such as peonies can live many many years.
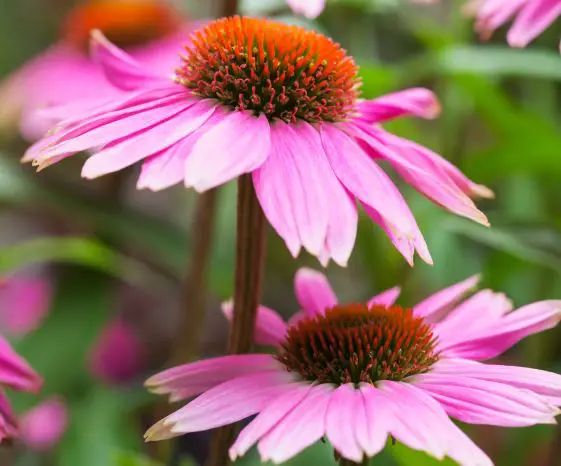
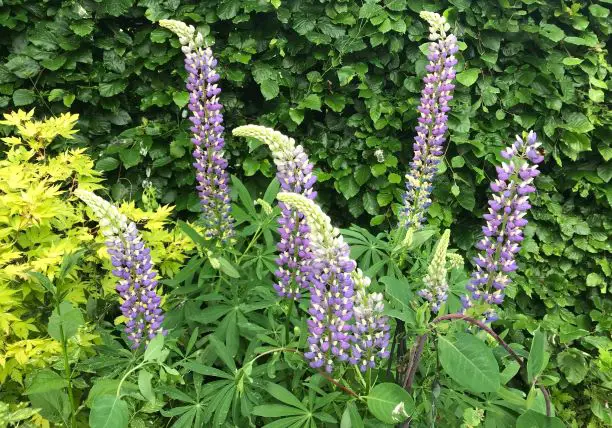
Some common examples of perennials are Peonies, Phlox, Campanulas, Lupins and Echinacea
What is an annual plant?
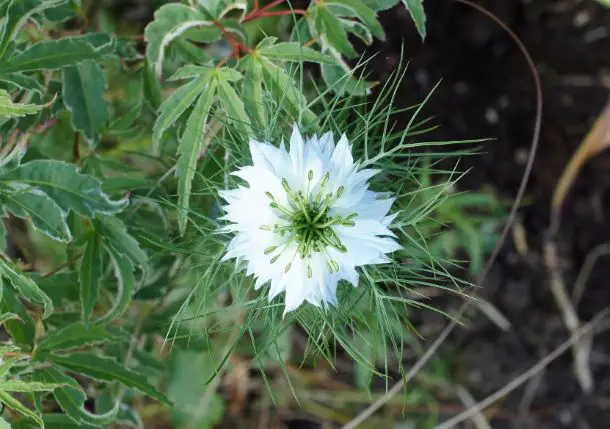
As the name suggests, an annual plant completes it’s life cycle in one year. It will germinate, flower, set seed and die in one year. Common examples of annuals are Nigella (love-in-a-mist), Nasturtiums, Sunflowers and Cornflowers.
Sometimes annuals are grown over 2 years and therefore grown as biennials. An example of this are sweet peas which I grow as biennials which you can read all about.
What is a biennial plant?
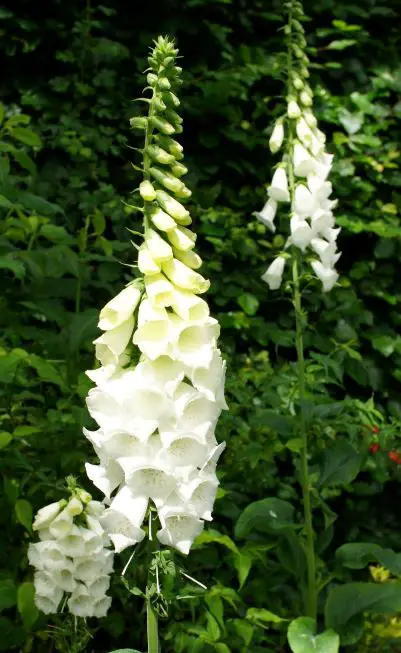
A biennial plant is a plant that completes it’s life cycle over 2 years. It will germinate and grow in one year and then flower and die the following year. Examples of biennials are Digitalis (Foxgloves) and Hollyhocks.
Advantages & Disadvantages of Perennials, Annuals and Biennials
| Perennials | Annuals | Biennials | |
| Longevity | Perennials can last many years with very little maintenance. | Annuals only last one year but do produce flowers in that time. | Biennials last 2 years and flower in the second year. |
| Hardiness | Generally perennials can be quite hardy and last many years if conditions are not too harsh. | Most annuals are not hardy at all or can only withstand some low temperatures but not frosts. | Many biennials are hardy and can withstand frost as they live 2 years. |
| Time to Plant | Perennials are best planted in the autumn or spring. | Annuals are usually planted in spring and many are started under glass to protect them from cold weather. | Biennials can be planted in autumn or spring and when you plant them determines when they will flower. |
| Great Uses | Perennials are great for early and late colour in the garden when annuals will not survive. Plus they come back year after year and allow a flower bed to mature. | Instant summer colour displays that are vibrant and long lasting through the season. | Great for adding some plants that are visible throughout winter and then flower the following summer. |
For lots more information about all types of plants and appropriate planting guidance check out the Royal Horticultural Society.
Why buy bare-root perennials?
Bare root perennials are perennials that have been grown and then had the soil removed from their roots. This is done in the dormant season and they need to be planted before the growing season. Typically this means that bare root perennials are planted in the spring.
Bare root perennials are a great way to buy perennials as they can save you a lot of money. Many plant suppliers and nurseries offer bare root perennials much cheaper than potted varieties. So long as they are planted in the right conditions before they start re-growing they are generally very successful.
In this article I will show you how I have been very successful with bare root perennials. This is not the only way but it has proved successful for me here in the UK.
How to Succeed with Bare Root Perennials
Theoretically you can buy your bare root perennials and plant them straight into your garden with minimum preparation and so long as you keep them watered as they get established they will be just fine. However, in my experience results can be a bit mixed. No matter how inexpensive a plant is you do not want it to fail!
So, I am going to show you how I ensure my plants grow and establish really well using some coneflowers (Echinacea) that I bought locally in a discount store.
You will need:
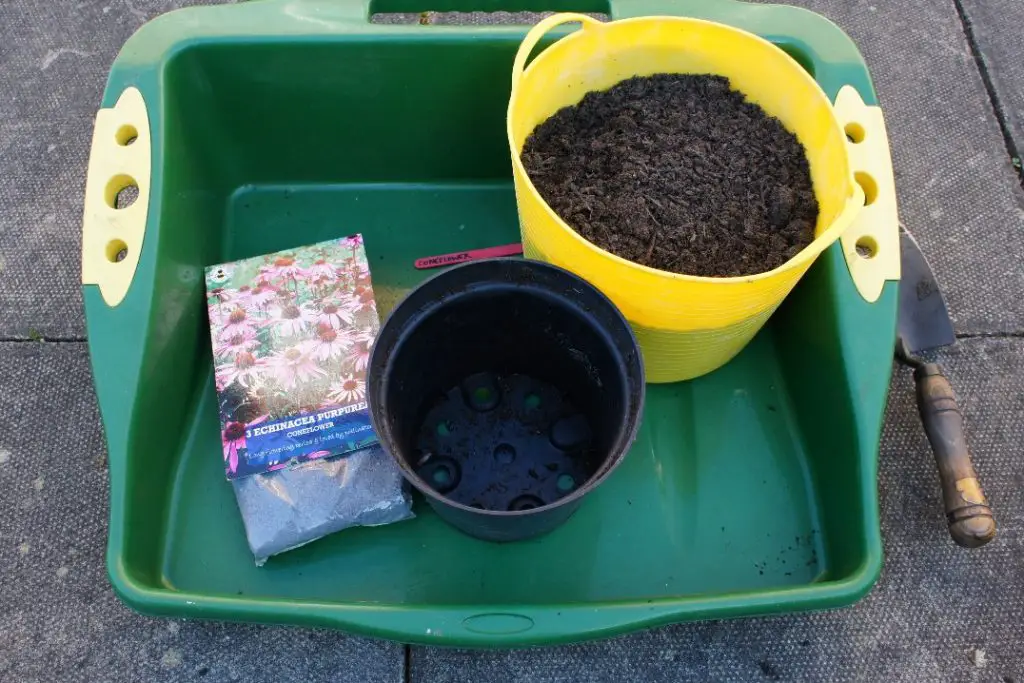
Bare root perennial
Compost


Plant the bare root perennial plant
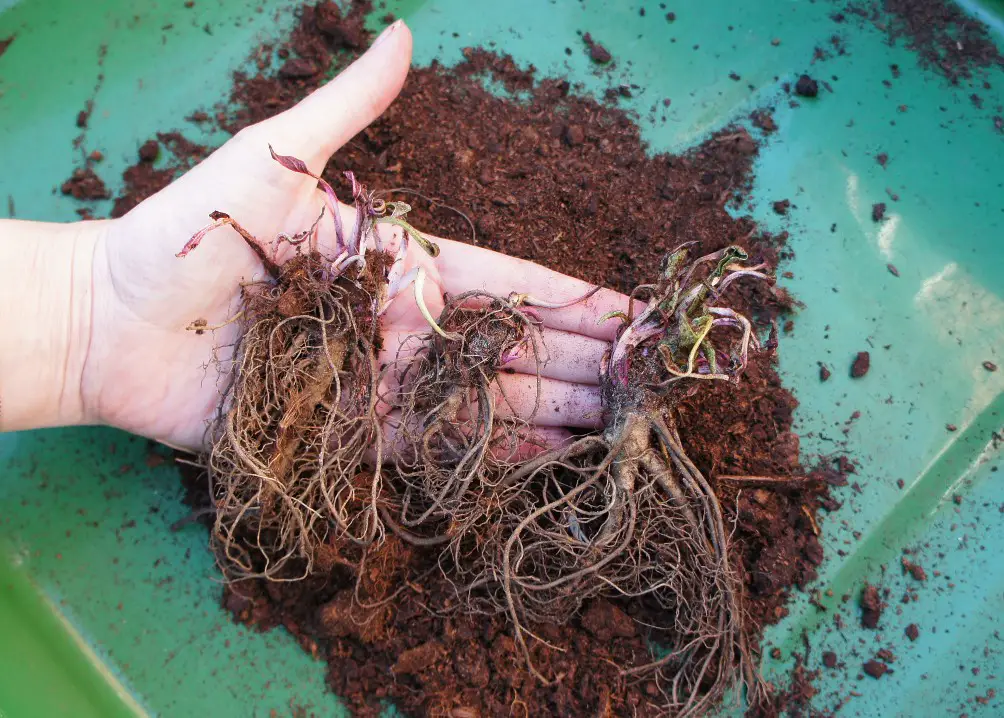
Open up your packet, if your plants came in a packet, and carefully separate out your plants. There were 3 plants in my packet. You will not get a lot of plant, remember that they are dormant. What you should see are a lot of roots and a solid little plant, perhaps with a small shoot or two starting.
Take your large pot and add some compost. Perhaps half fill it and make a small hole in the centre to place the roots of the plant in. Place your bare root perennial into the compost .
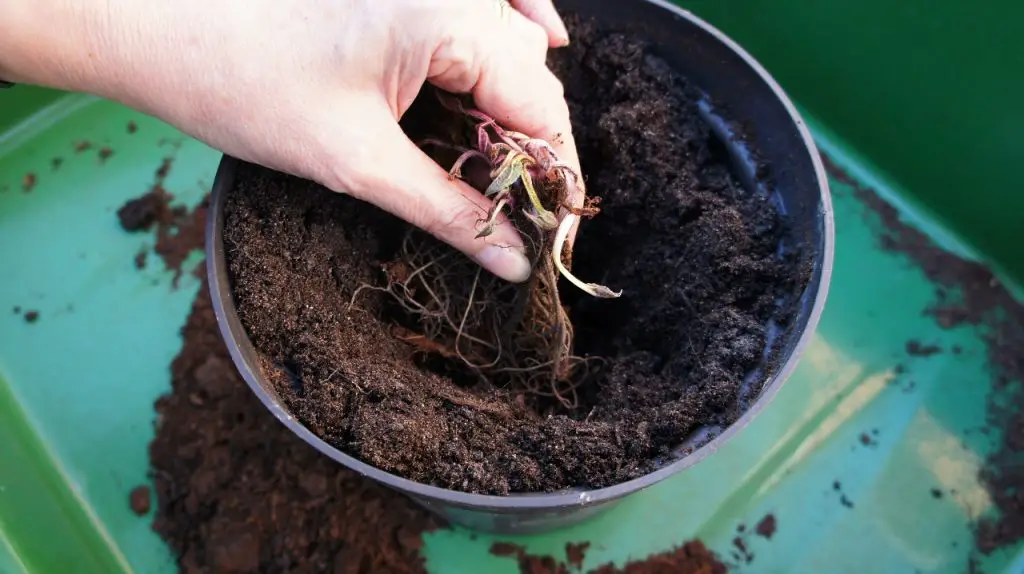
Add some more compost until all the roots are covered and firm it gently around the roots and plant. Only the shoots should be showing above the compost. Be careful not to plant it too deep or to leave roots above the compost.
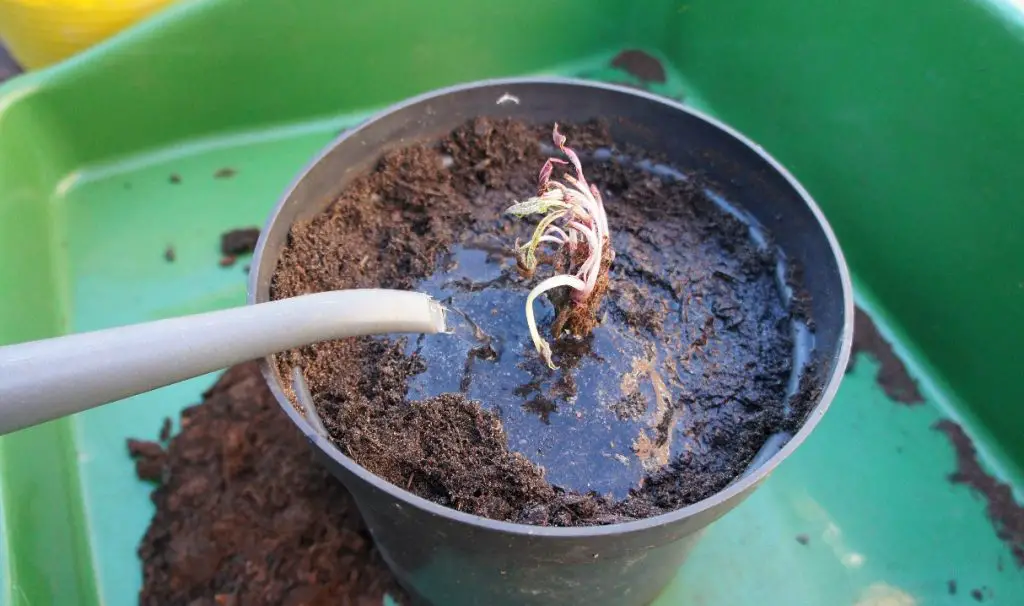
Water the plant thoroughly and then add a label while you still know what plant you have planted! Place the pot some where suitable to protect it from the worst of the weather but unless you are in freezing conditions do not protect it too much. Your pot should be outside. Here in the UK, I place mine near the house on the patio so that the temperature will not drop too low.
If however, you are starting your perennials very early and the temperature is generally still sub-zero in your part of the world then you may want to keep your plant under glass until the temperature increases. However, heat is not needed!
Nurture your perennial plant
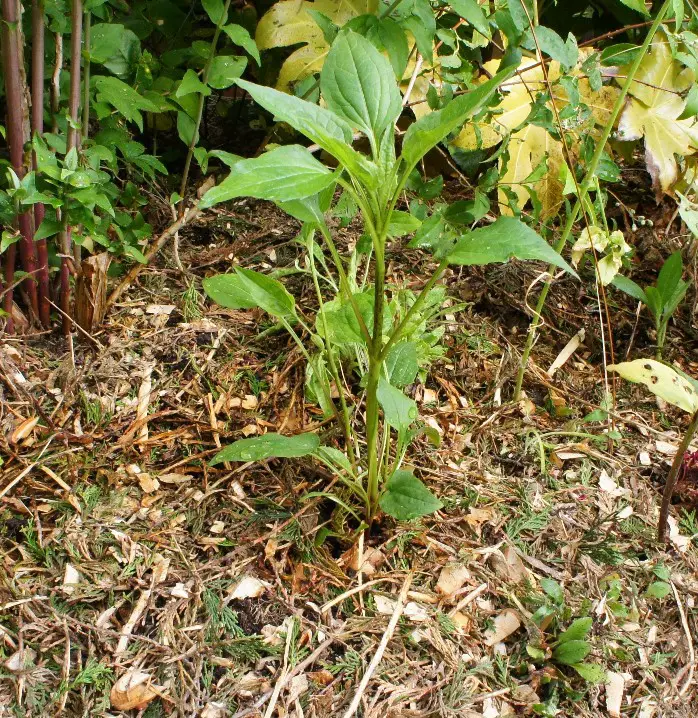
Now you just need to keep an eye on your plant and watch it grow. Make sure that it does not dry out and if it is a variety that grows tall make sure you turn it so that it grows straight up.
How long you leave it in the pot before planting it out into your garden is a difficult one. I kept mine in the pot for several weeks (about 8) as it did not rush to grow and then planted it out. However, if it had grown really quickly and needed it I would have planted it out sooner.
A great way to monitor your plant is to check the bottom of your plant pot for roots. If your plant is growing well and there are roots appearing at the bottom of the pot then it is well established and can be planted out (conditions permitting).

Once you are happy with your plant simply plant it out in your garden where you want it to flower year after year. Make sure to keep it watered in it’s first year and it should flower and come back for many years.
What next?
Now you know how I make sure my bare root perennials get off to a successful start. Next you can get creative and plan flower beds for your garden using bare root perennials and be confident that you know what you are doing and that they will grow. You can plant bare root perennials directly into the ground but my experience has been that they are more successful if you grow them on in pots first like I have done here.
So, would you like some more ideas for your garden? Then read on at:
How to Grow an Apothecary (Physic) Garden as a Beginner
How to Make a Gazing Ball for your Garden
Succulent Chair Upcycle Project
How to Grow Potatoes in Containers
Remember to pin this article on Pinterest for later and please let me know in the comments below what perennials you grow from bare root plants.