Gorgeous Flowers from Magazines
As an Amazon Associate I earn from qualifying purchases
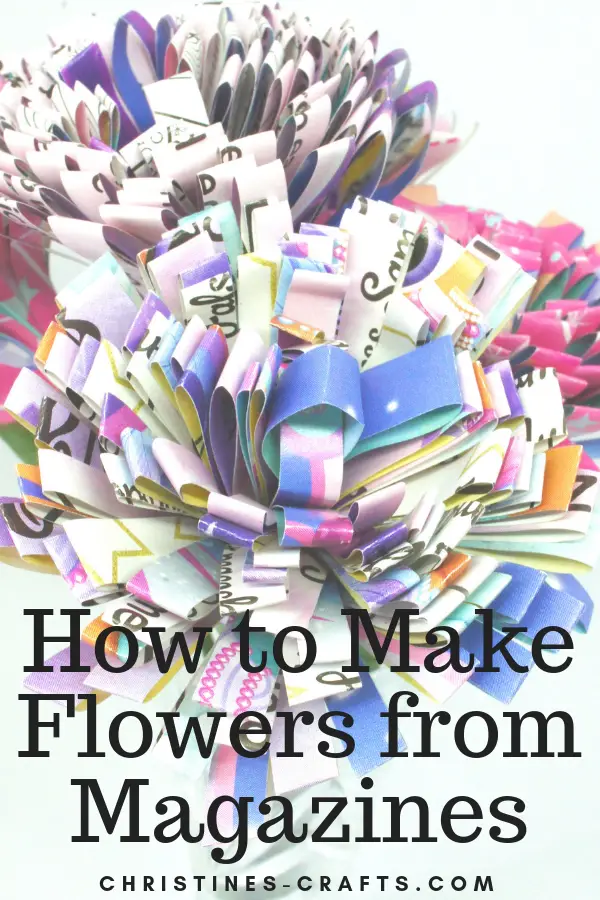
You can use any magazines but remember that the colour of your magazine flowers will depend on what is on the pages of your magazine. Great magazines to use are National Geographic, Vogue and bridal magazines. I also used a children’s book that had pink and lilac pages!
This full tutorial is available as a downloadable PDF for a small charge so that you can avoid the ads and easily print it off if you want to. Simply click here for details.
This page contains affiliate links meaning I earn a little commission if you use those links at no cost to you. I only recommend brands I use and trust.
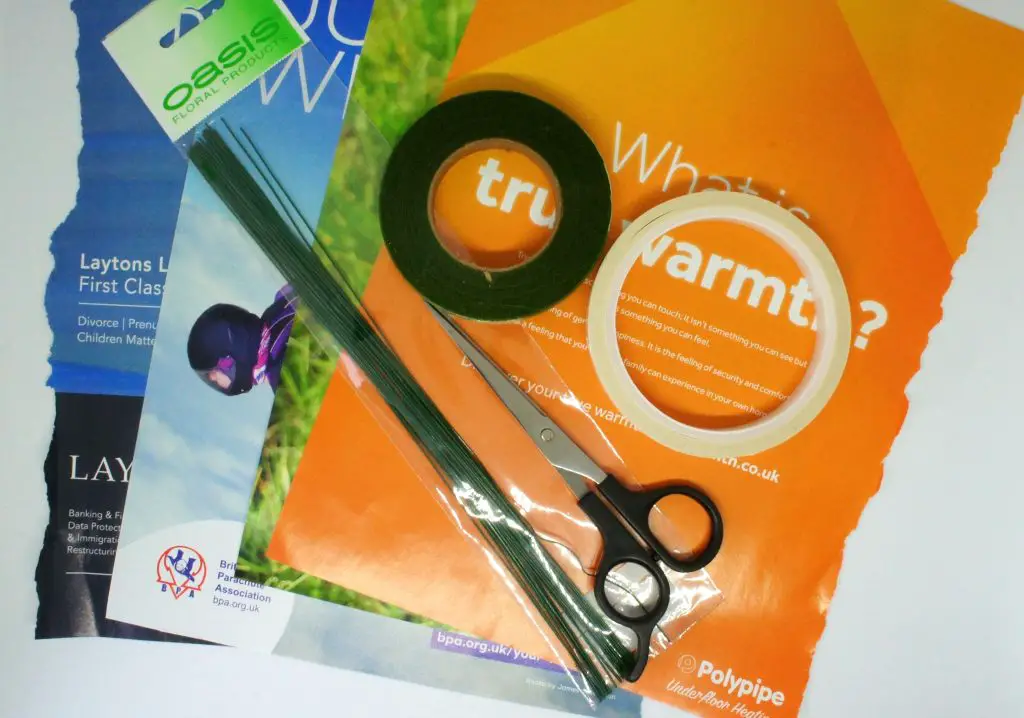
You will need:
Old magazines or colourful books
Scissors
Florist wire or bamboo skewers
Magazine Flowers Video Tutorial
This video is also available on my YouTube channel.
Step 1: Fold and stick your page
Remove your selected page from the magazine and tidy up the edge. You now have a rectangular piece of paper. Fold it in half along its length enclosing the side that has the colour on you are wanting to see in the finished flower.
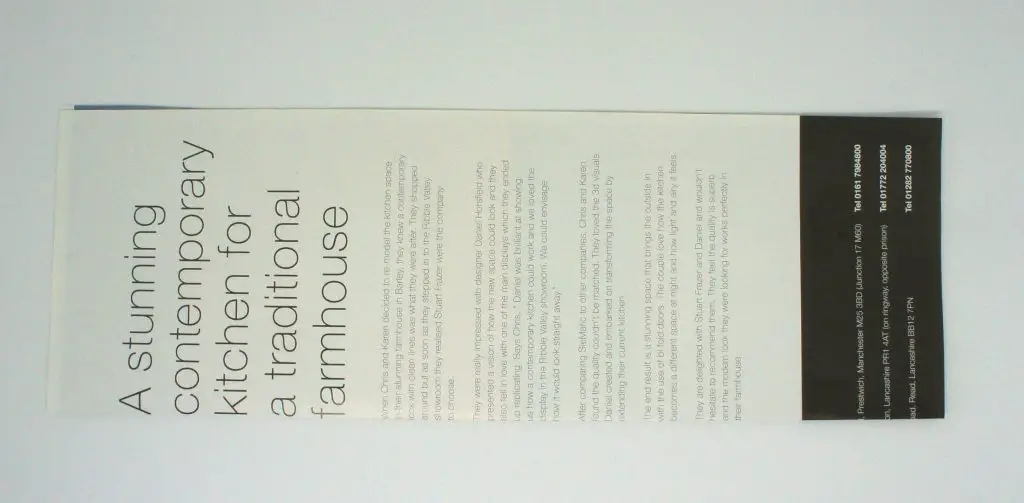
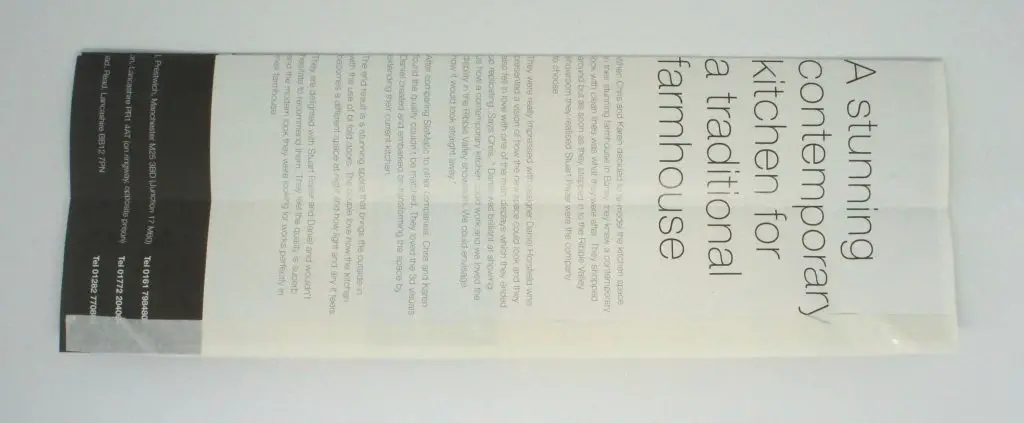
Now fold back the top piece of paper to meet the original fold. Turn it all over and repeat on the other side. You should now have something that looks like this.

Use double sided tape along the long edges of your paper to secure your folds in place. Do not tape near the folds!
Step 2: Cut the petals
Take your rectangle of paper which is now secured with tape and cut into the paper along the long edge with the folds. You are cutting at right angles to the folded edges and you must make sure you leave at least 1cm (3/8″) at the taped side.
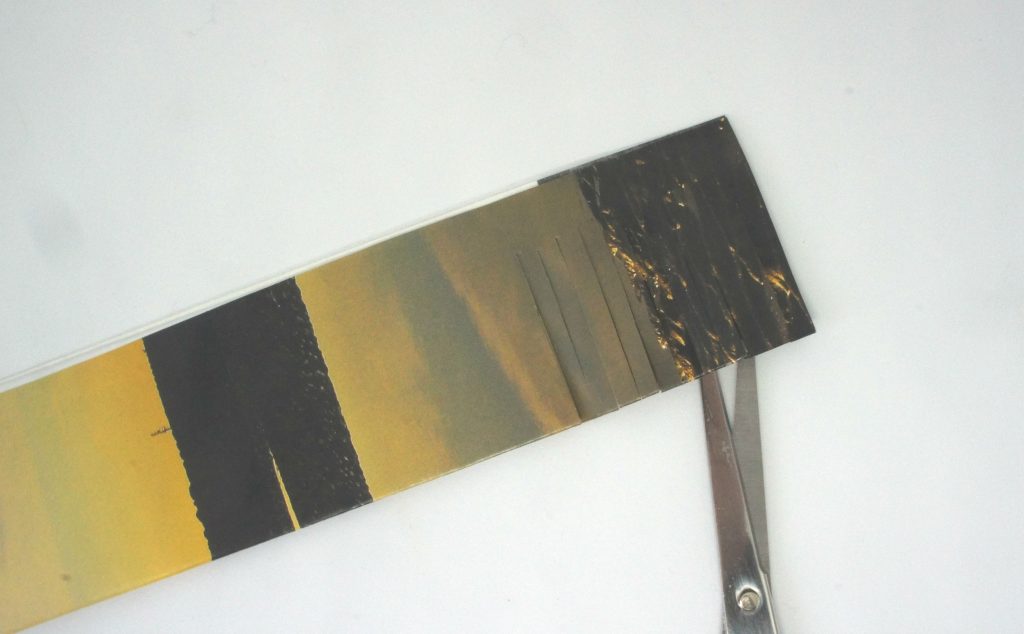
Continue all the way along the edge.
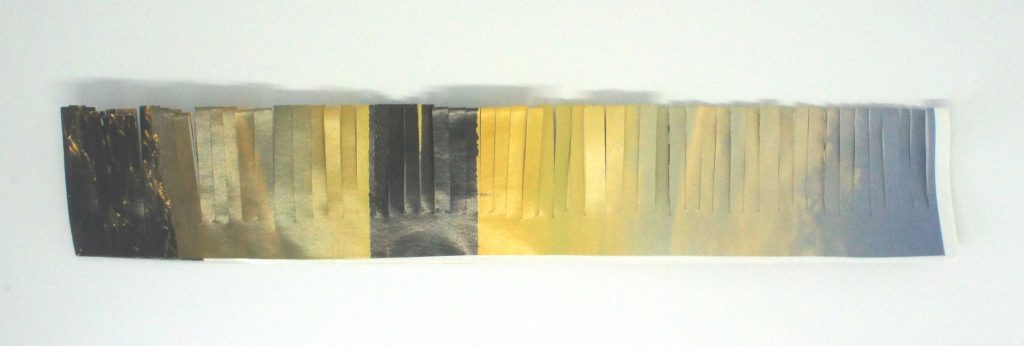
Step 3: Build the flower
You are now going to build your flower. Place a piece of double sided tape along the length of the paper where it has not been cut. Place your wire or skewer onto one end of the tape. Slowly and tightly roll the paper around the wire (skewer).

Continue all the way along the paper.
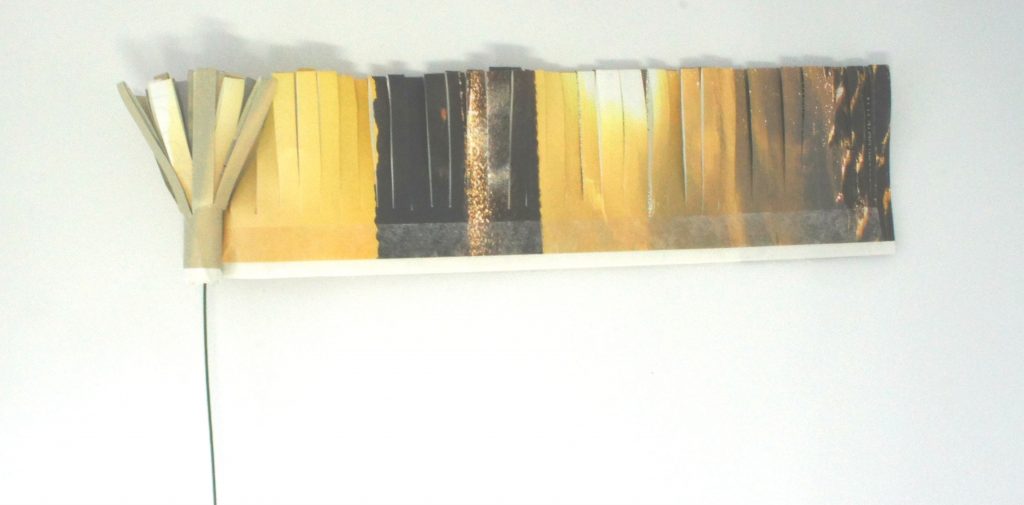
You will now have a flower.

Step 4: Green tape the base and stem
Now place some masking tape around the base of the flower and the wire (skewer). Continue wrapping masking tape around until you are happy you have formed a nice conical shape.
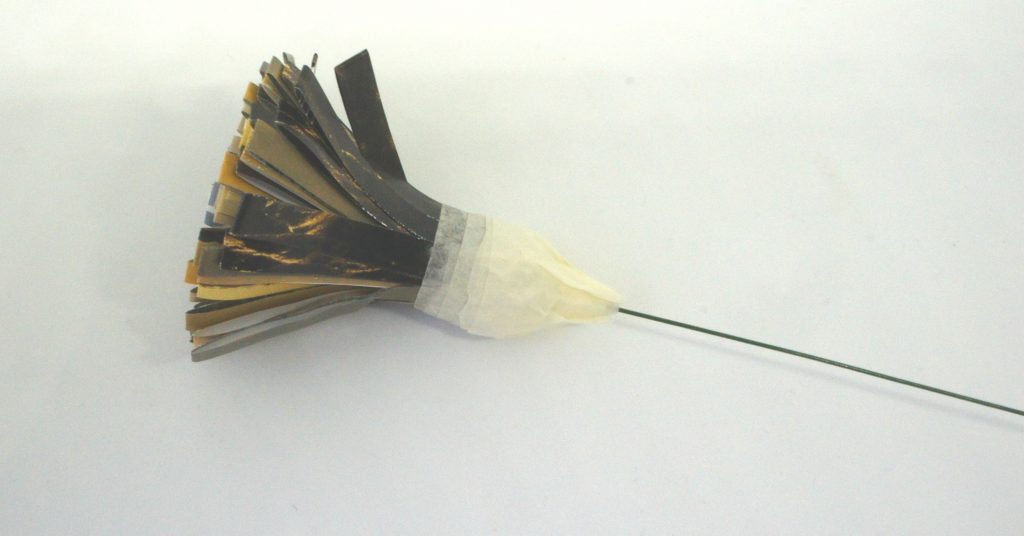
Place a small piece of double sided tape along the length of the masking tape ‘cone’. This will help the florists’ tape to affix well.
Wrap florists’ tape around the masking tape and continue along the length of the stem making sure that you keep it tight.
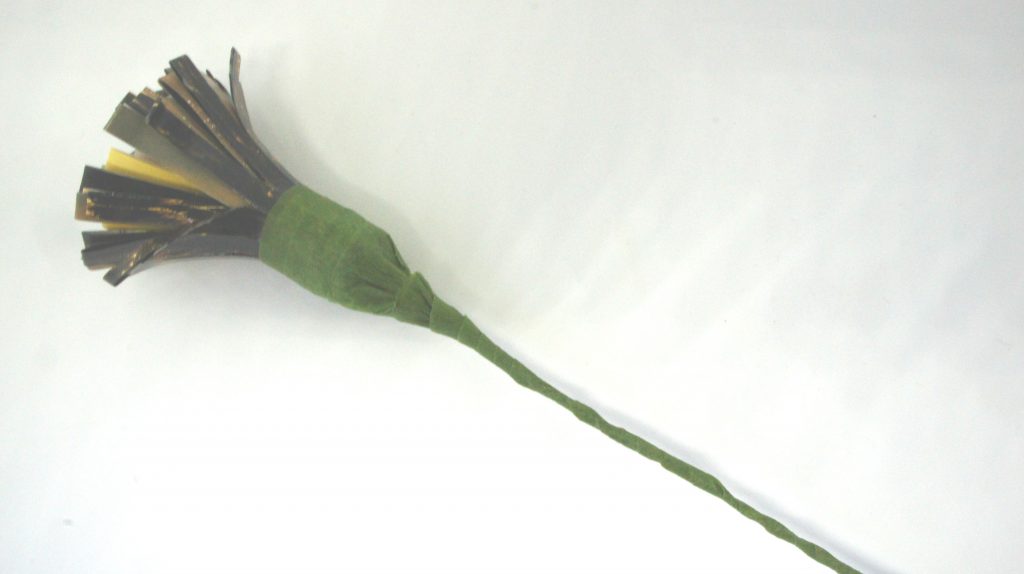
You now have a completed flower.
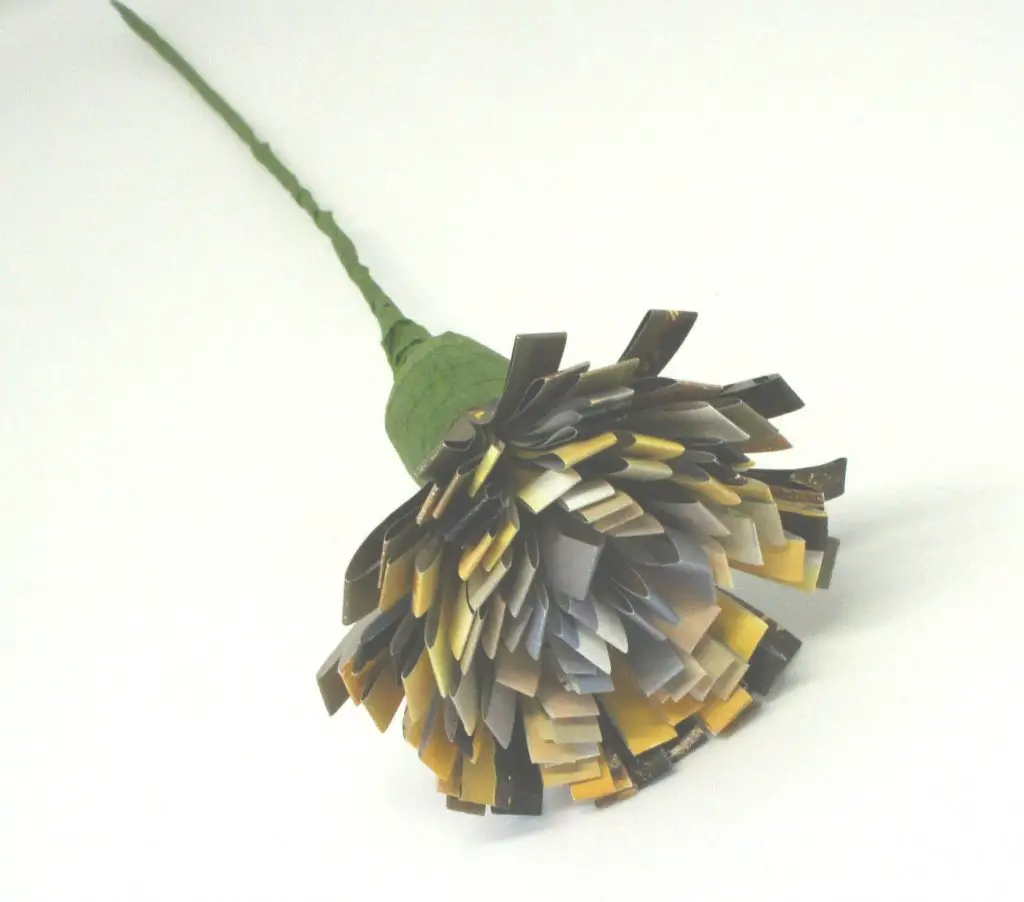
Summary:
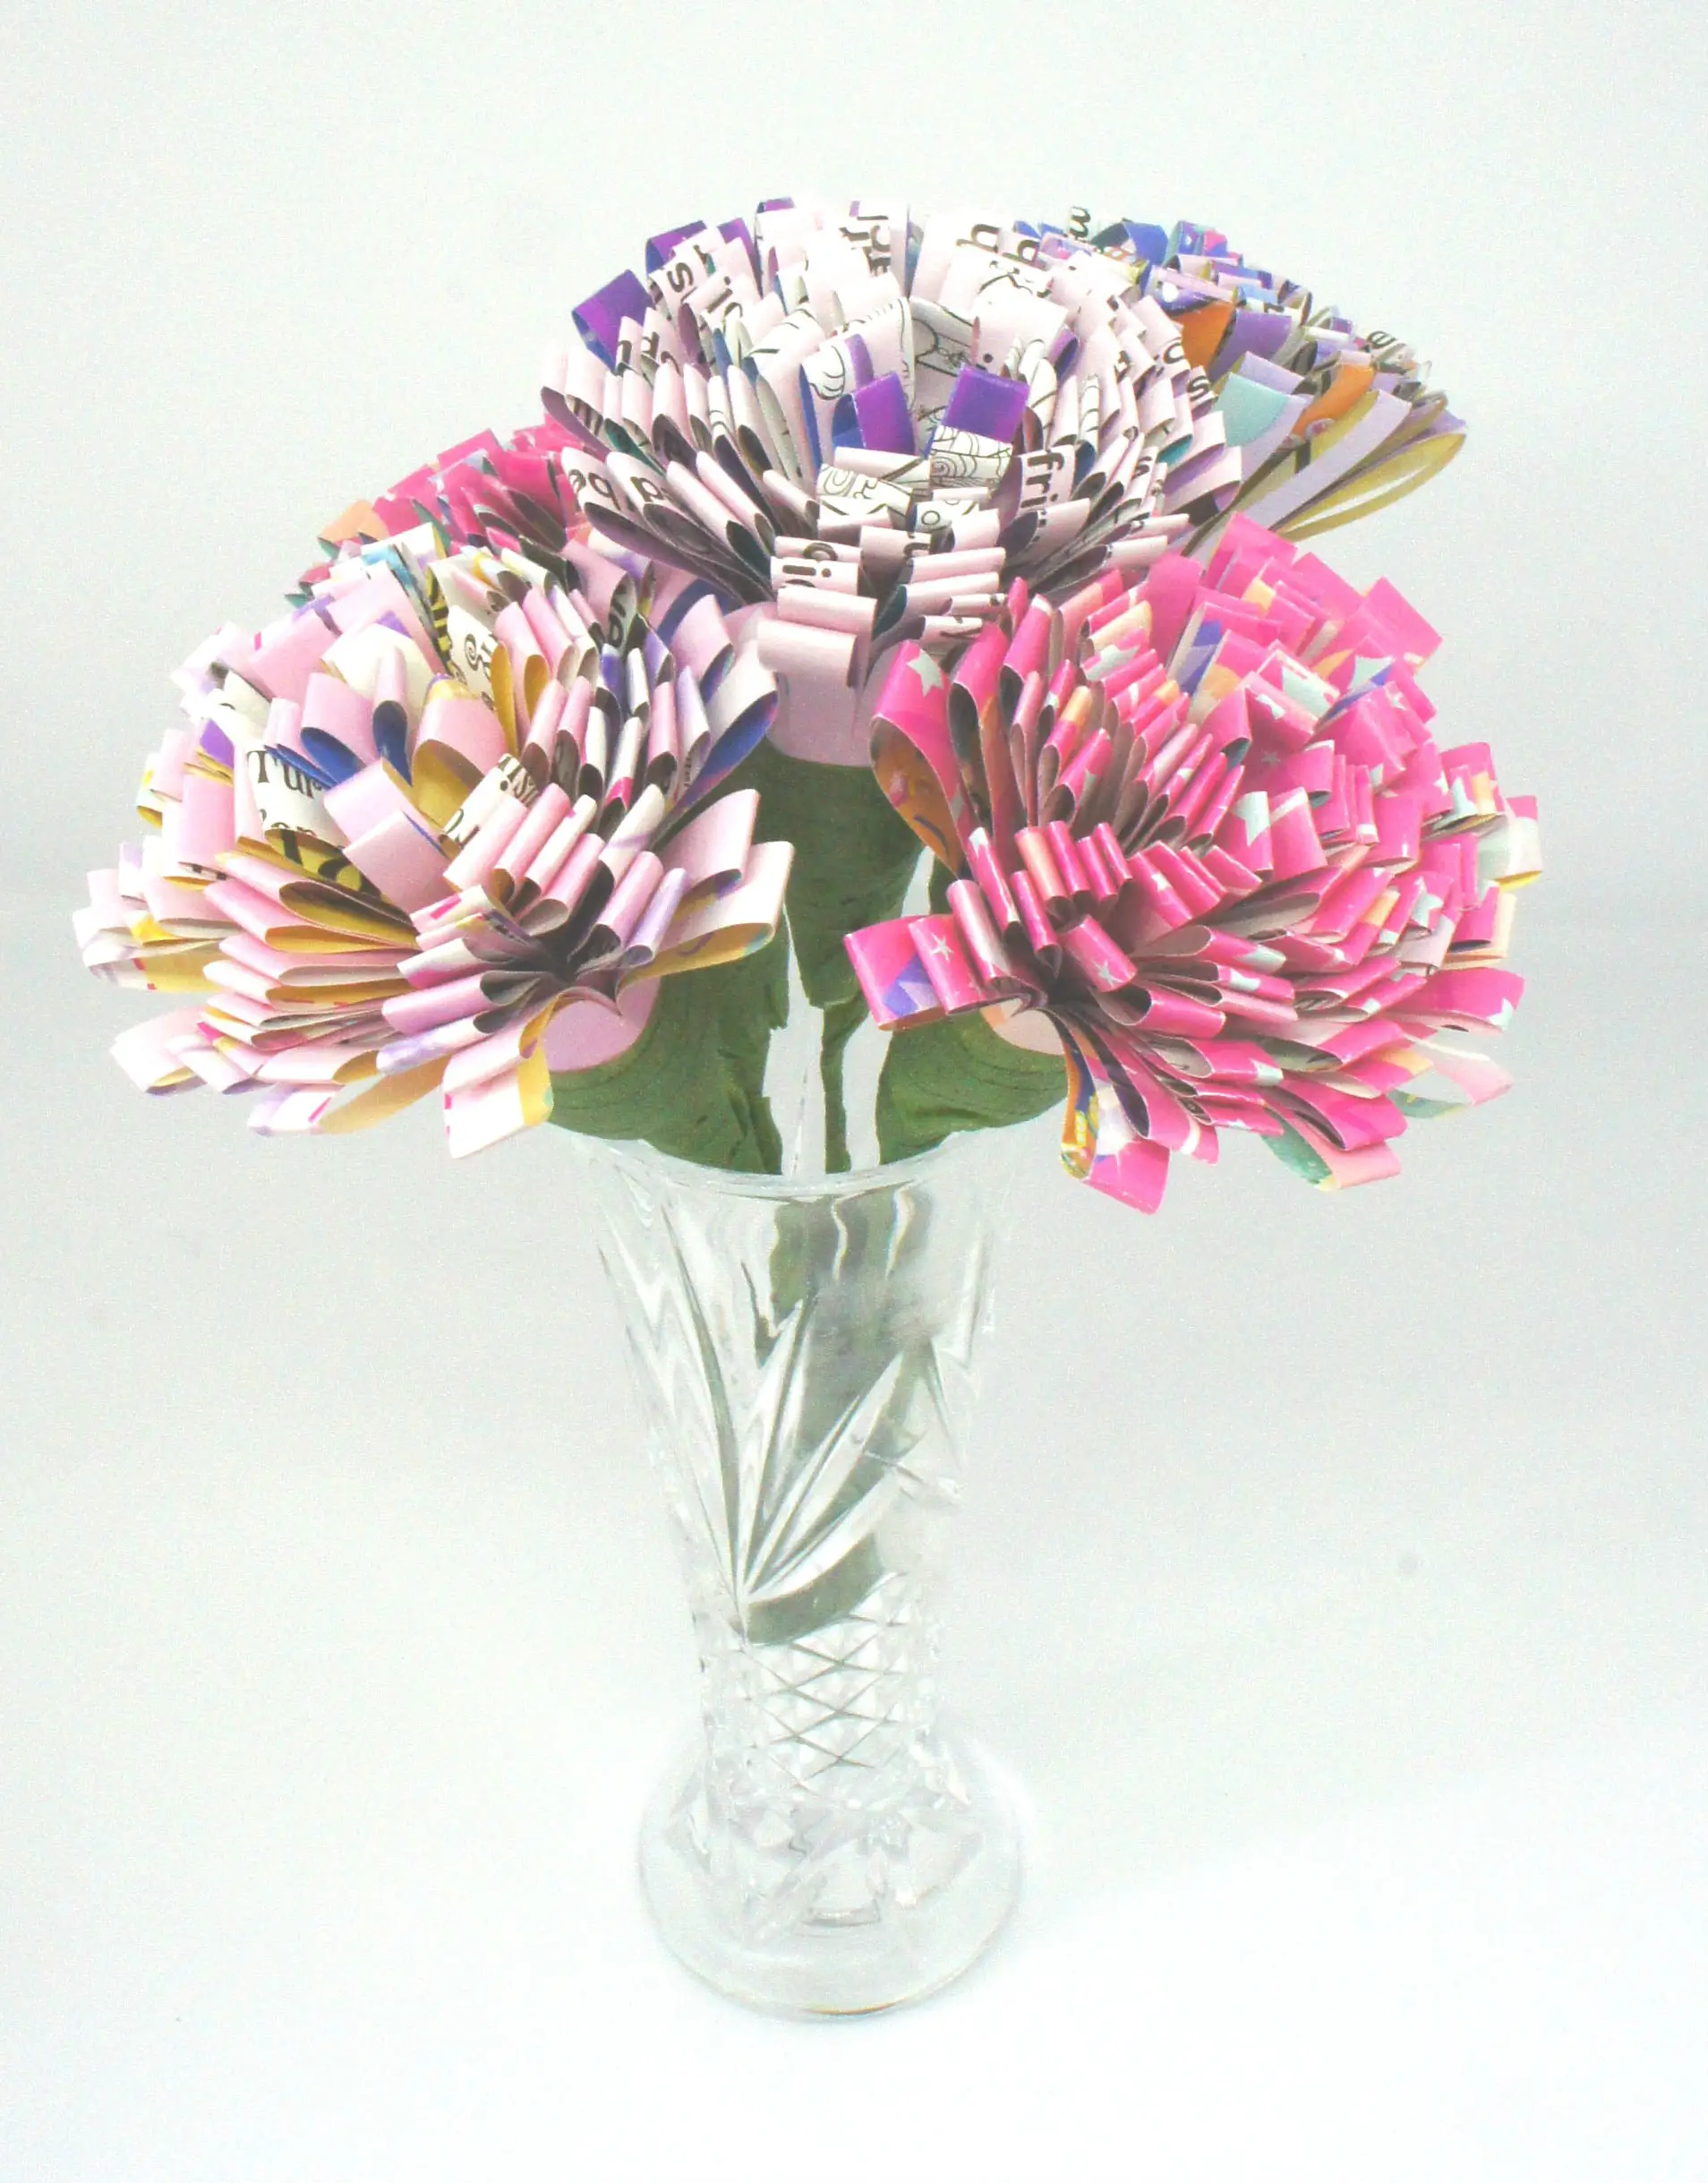
You can now make as many magazine flowers as you like to fill your vase or form a bunch as a gift. Here are some I made for a small vase.
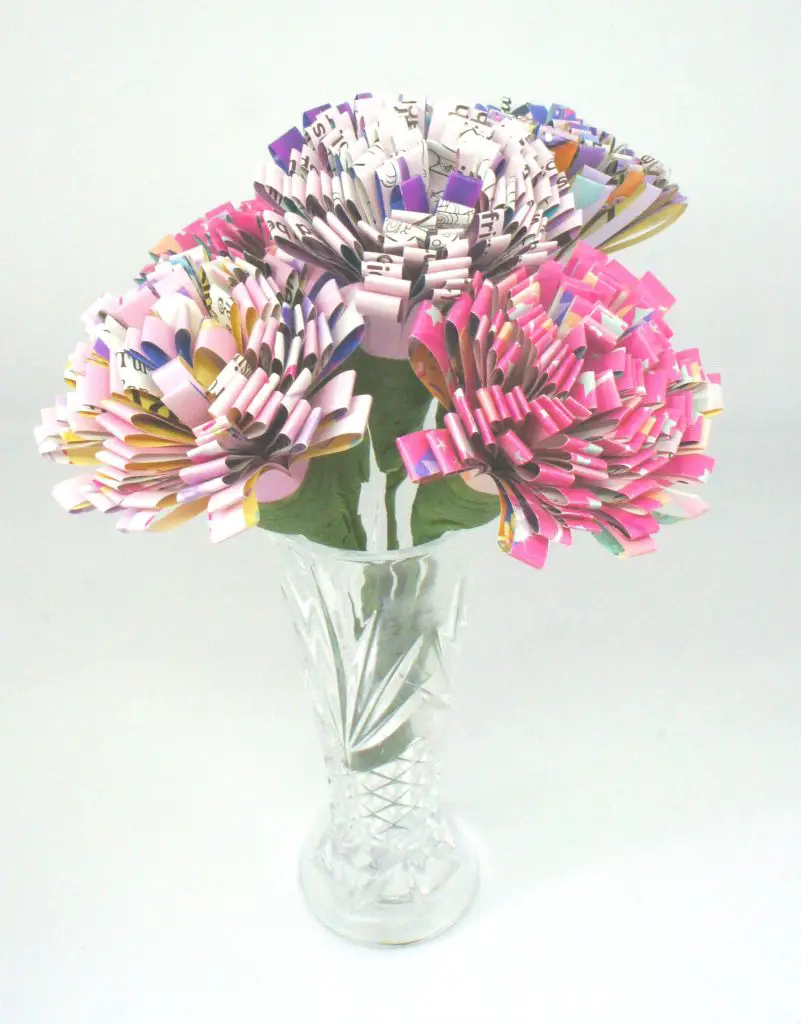
I would love to see what fabulous flowers you make and what you use them for. Let me know in the comments section below.
If you would like this tutorial as a downloadable PDF for a small charge simply click here for details.
If you like papercrafts then I recommend you take a look at the following ideas:
- How to make hanging paper hearts
- Iris paper folding effects
- How to make seed paper
- Further tried and tested paper flower tutorials
- DIY Junk Journal
- Confetti Cones
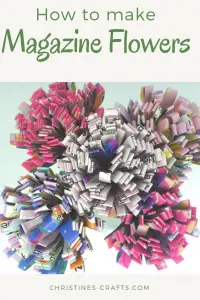
Remember to pin this tutorial on Pinterest for later when you are ready to make your own magazine flowers.
