Easy to sew a Heart Corner Bookmark with Free Template
As an Amazon Associate I earn from qualifying purchases
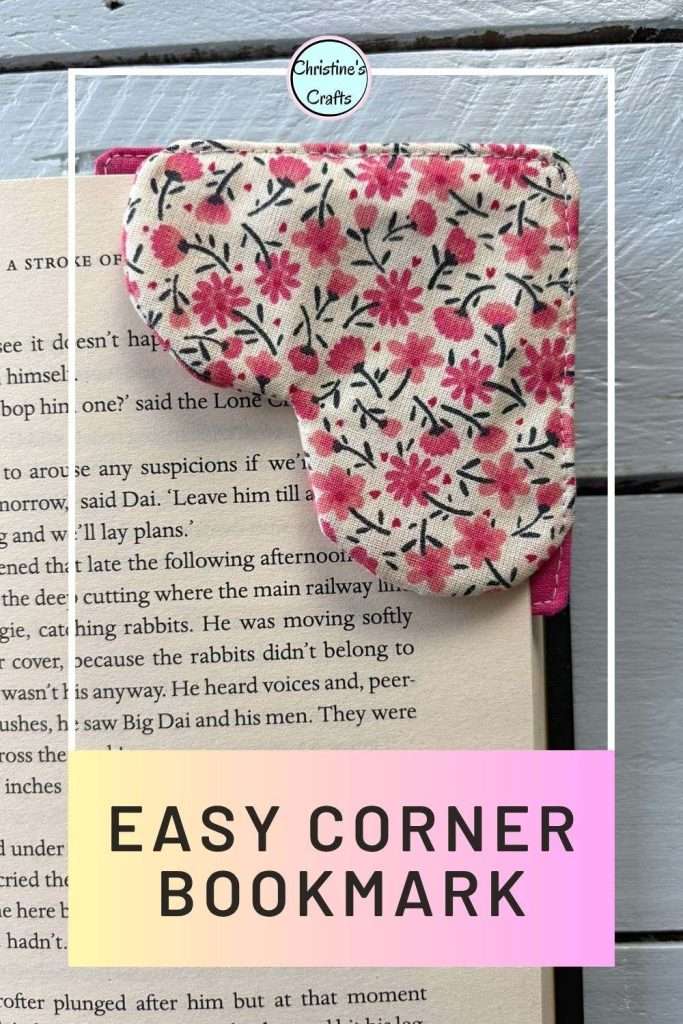
Discover the delightful world of heart corner bookmarks – a perfect blend of creativity and functionality. These adorable crafts are not just for Valentine’s Day; they’re versatile enough for year-round use and make thoughtful gifts for any occasion. Whether you’re a seasoned crafter or a beginner, you’ll find these bookmarks surprisingly easy to create, adding a touch of love to every page you mark.
Great for using up fabric scraps they make economical gifts or items to sell for charity. The squares of fabric used are 4″ (10cm) and the bookmarks come out about 3.5″ square. You can, of course, make them larger or smaller.
There are a few different designs for these out there and I hope you enjoy my version.
This page contains affiliate links meaning I earn a small commission if you use those links at no cost to you. I only recommend brands I use and trust.
Materials you will need:
- Fabric Scraps
- Printable Template (free, see below)
- Interfacing (medium weight or whatever you have)

Free Printable Template
The printable template is freely available to all by signing up to my newsletter on the form below. Not only will you get access to the printable template but you will also get access to my whole resource library (plus a regular update and access to free summits and offers).
Once you sign up check your email inbox. It may take a few minutes (remember to check your spam filter if nothing arrives). Confirm your subscription to receive an access email.
Video Tutorial for a Heart Corner Bookmark
This video is also available on my YouTube channel.
Prepare your Fabric Pieces
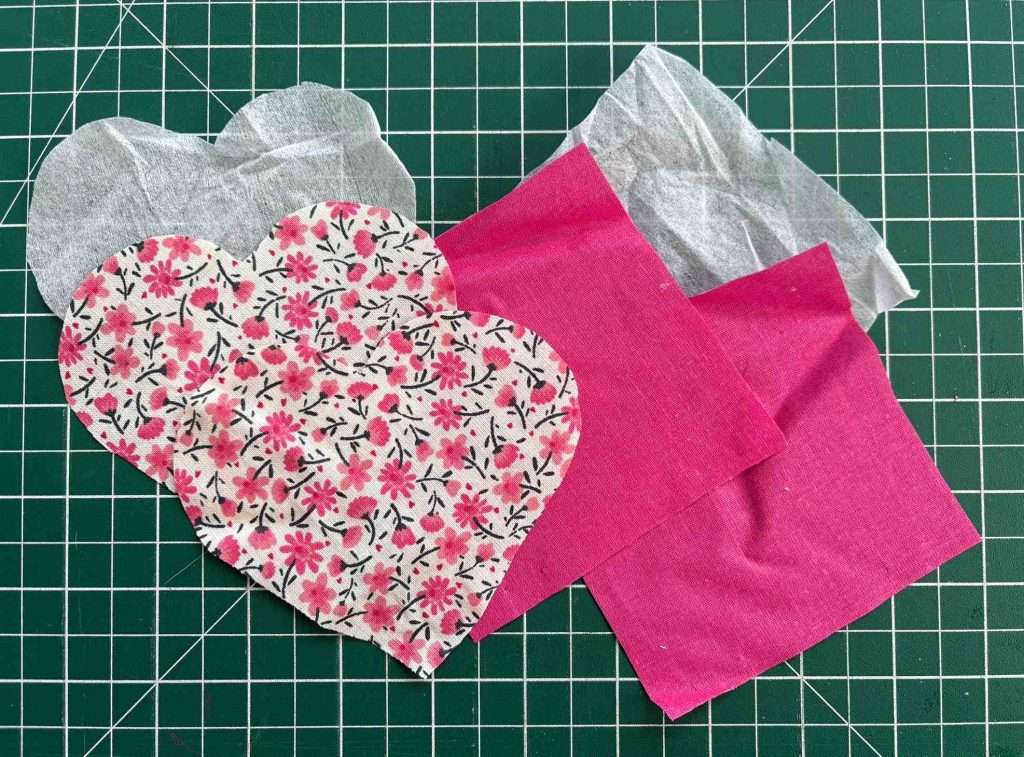
Cut out 2 squares and 2 hearts from your fabric scraps. Also cut 1 heart and 1 square from your iron-on interfacing.
TOP TIPS:
- Take care cutting your hearts out if you want particular parts of your fabric in the centre.
- If you want to embellish one of your hearts at all do it now! Perhaps you could embroider someone’s initial or a short message.
Take one fabric square and one fabric heart and iron your interfacing onto the wrong side.. This will simply add a bit of stiffness.
Sew your Heart
Take the 2 fabric hearts and place one on top of the other with the right sides facing each other. Pin around the edge, leaving a gap on one side. Make sure that you sew around the curved edge This will set the shape of your heart. Leave your gap on a straight side and I recommend leaving at least 2″ to turn your heart through (if you can). Alternatively you can just sew the curved side and a small part of each straight side.
Either by hand or on the sewing machine, sew your 2 hearts together. I used a 0.25″ seam allowance. Before turning your heart out clip into the seam allowance on the curves so that they sit better when you turn them out.

Turn the hearts out the right side and carefully poke out the curve. I recommend using a chopstick for this or the back of your scissors. But, be very careful as you do not want to poke through your seam. It is a good idea to press your heart now but not essential.
Assemble your Heart Corner Bookmark
Lay one square on your desk with the right side facing up. Place your heart on top of that matching the straight edges up with the sides of the square and the point into the corner.
Then place the other square on top with the right side down. You have basically made a sandwich of the heart inside the squares. Pin this all in place.
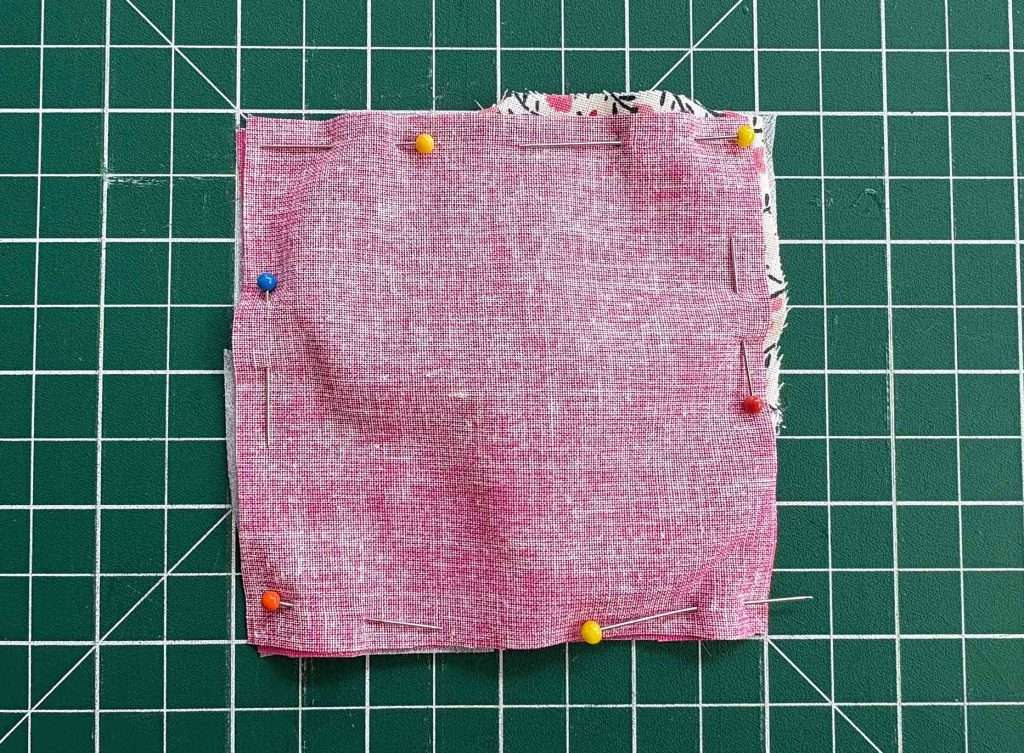
Sew around the square, leaving a gap of about 2″ on one side to turn your bookmark out through.
Then, BEFORE you turn it out clip the corners off the squares so that you can achieve better points when you turn it out. Take care not to clip your stitches.
Turn out the bookmark and make sure that you turn it such that you end up with the heart on the side that you want. If not, just adjust it so that it is. You must make any adjustments now.
Then poke out the corners carefully as you did before and ,if possible, press the bookmark while folding the raw edges in.
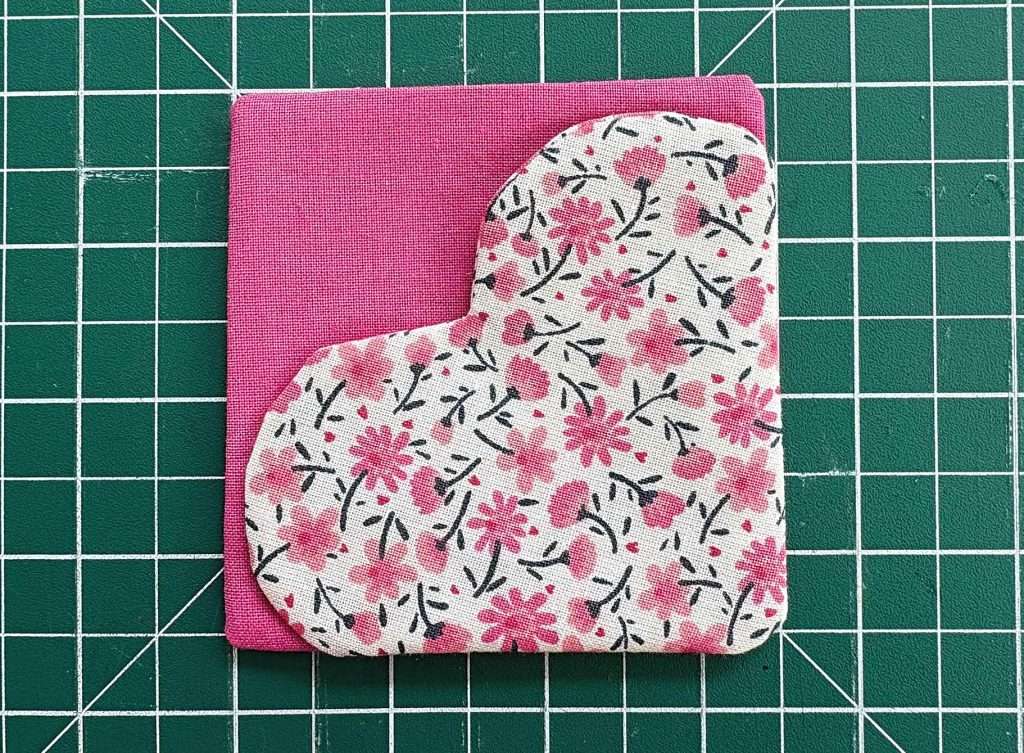
You now have a bookmark but you also have an open section of your seam. Add a row of topstitching around your bookmark to close up the hole and finish it all off. This is simply a row of stitching, usually slightly larger stitches, near the edge of the bookmark.
Congratulations
You have completed your first heart corner bookmark. I hope that it will be the first of many. You can customise them in so many ways for individuals or events.

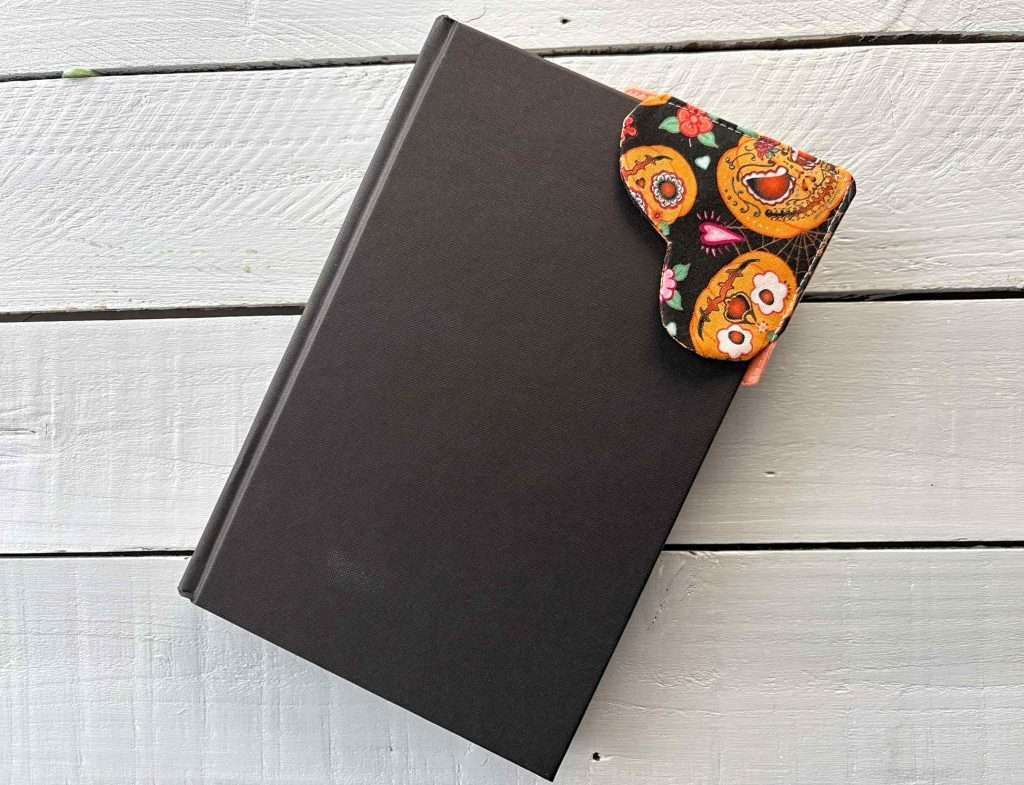
How about using fabrics that suit holidays such as Halloween or Christmas. If you are making one for your beloved then how about embroidering their initial or both of your initials together?
Get creative and see what you can make.
So, what’s next?
If you are looking for bookmarks then how about making an Origami paper heart corner bookmark or perhaps a pressed flower bookmark?
If you would like some more sewing ideas then check out my sewing section full of tutorials and patterns you can make today.
Remember to pin this tutorial to your favourite board on Pinterest for later so that you can find it when you need it.