Upcycle a broken garden table
As an Amazon Associate I earn from qualifying purchases
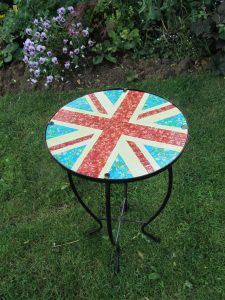
Last summer I treated myself to a small round glass garden table to put next to my swing seat. It was to hold my cold drinks in the glorious summer weather (if we got any). This Amazon table is very similar to it. It was lovely and then disaster struck. I got the hosepipe caught round it and pulled it over. The glass smashed and that was that! However I kept thinking that I could re-use the frame and make a new table. I decided to upcycle it! This spring I got on with it. It was all Royal Wedding fever so I took a patriotic theme. I will share the journey with you!

This page contains affiliate links meaning I earn a small commission if you use those links at no cost to you. I only recommend brands I use and trust.
Materials
Frame
Marine plywood
pencil and ruler
decoupage papers / paint
Tutorial
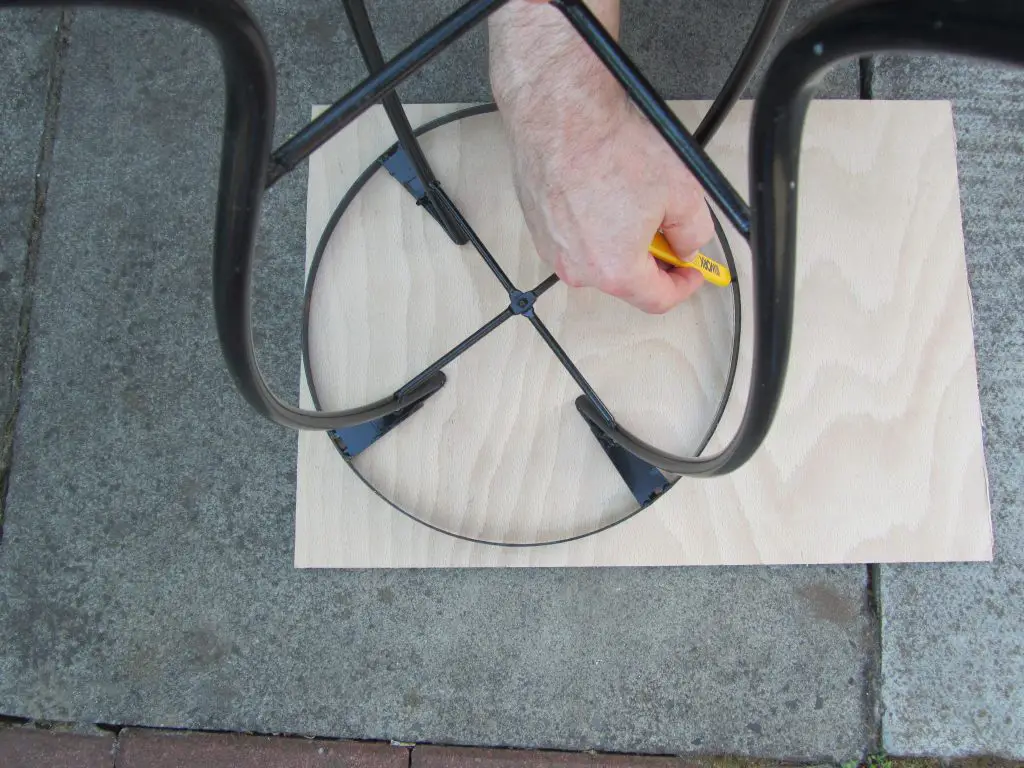
1) Making the table top
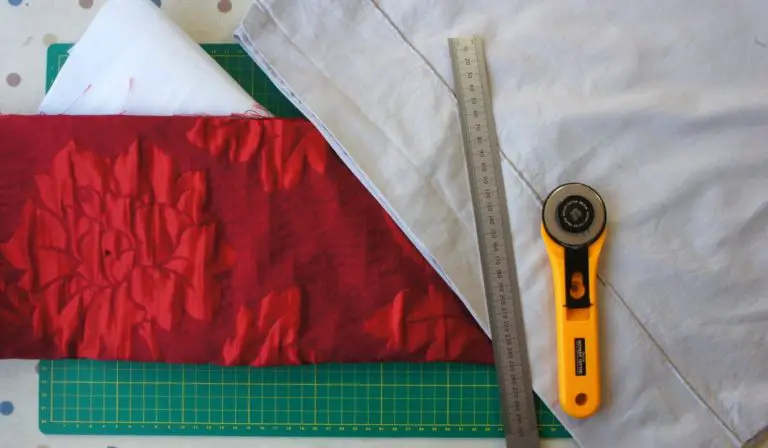
Firstly place your frame on to a piece of marine plywood (or alternative suitable material) and draw inside the frame. This is much easier with two people (even if one of them is also taking photographs).
Then cut around the line that you have drawn carefully with a saw. As you can see, we clamped the wood down and kept moving it around as we worked our way around the circle.
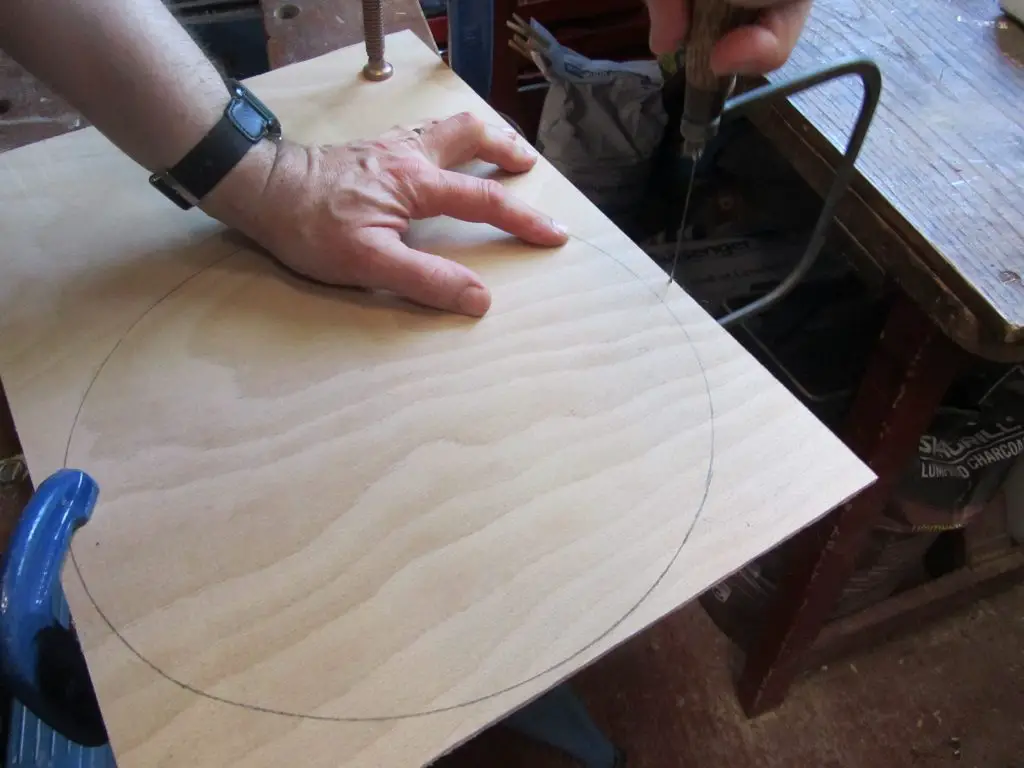
Then file down any rough edges. At this point check that your table top fits into the frame. We had to file quite a bit off to make sure that it fitted. We also realised that the frame was not as circular as we thought and that it really only fitted in one way round.
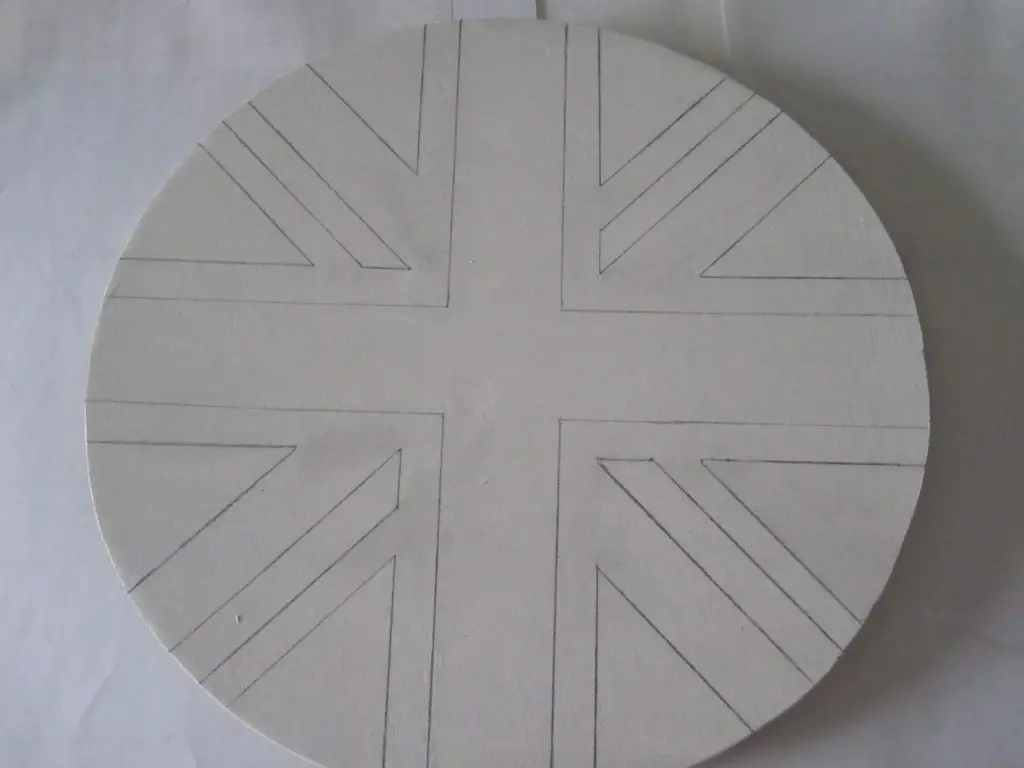
2) Draw your design
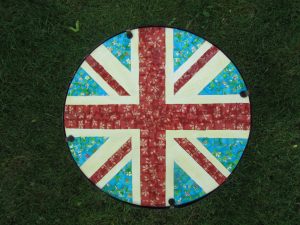
This is the fun part! You can make your design as simple or as complicated as you like. We went for the Union Flag. I downloaded one and copied it to attempt to get the correct proportions. This only worked up to a point as the table is circular not rectangular! I drew in pencil so that it was clear but could be removed when I made mistakes.
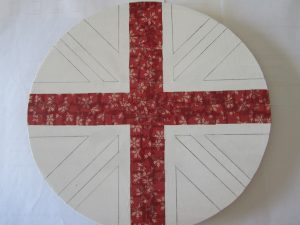
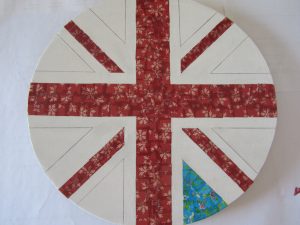
3) Complete the design
I opted to complete the design in decoupage but found that white was a bit of a challenge. So we painted the board white and added the red and blue detail using decoupage. I used some papers that I had left over from earlier projects. I have an earlier post all about decoupage which you can find here.
4) Varnish the table top
Next I varnished the table top so that it will last a little longer. It will remain outside all summer in the North of England so it will need to cope with rain! Personally, I use yacht varnish. It is very good but it is not completely colourless so it is personal choice. I used 2 coats on the top and the bottom making sure that the vulnerable edges got well coated each time.
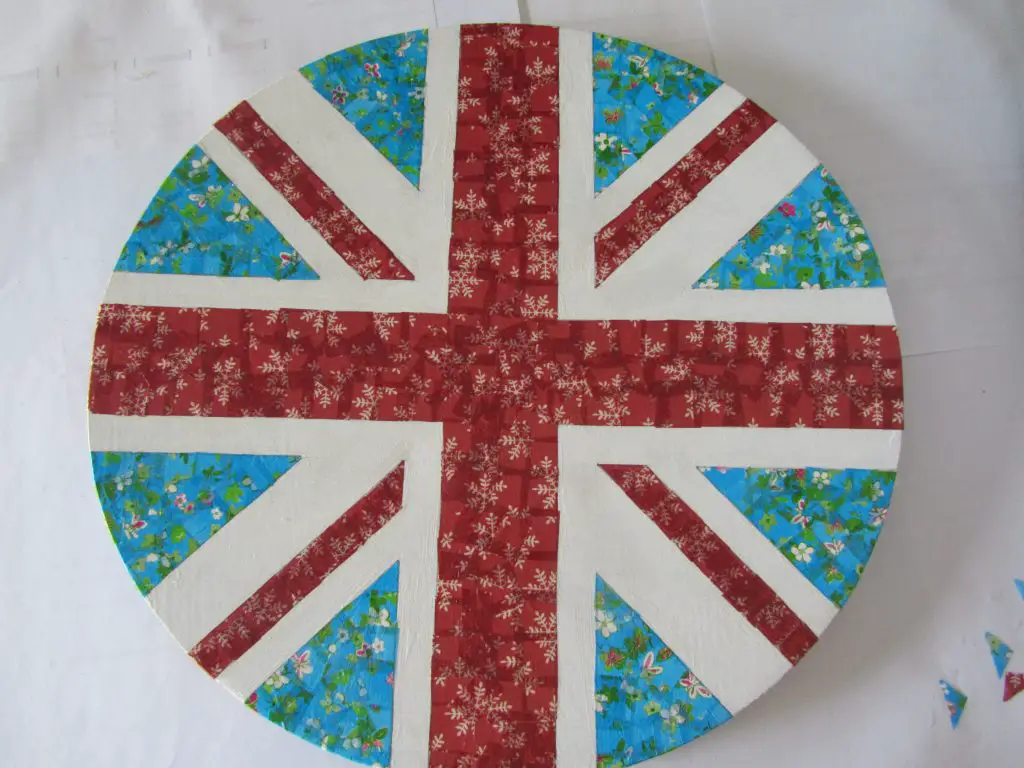
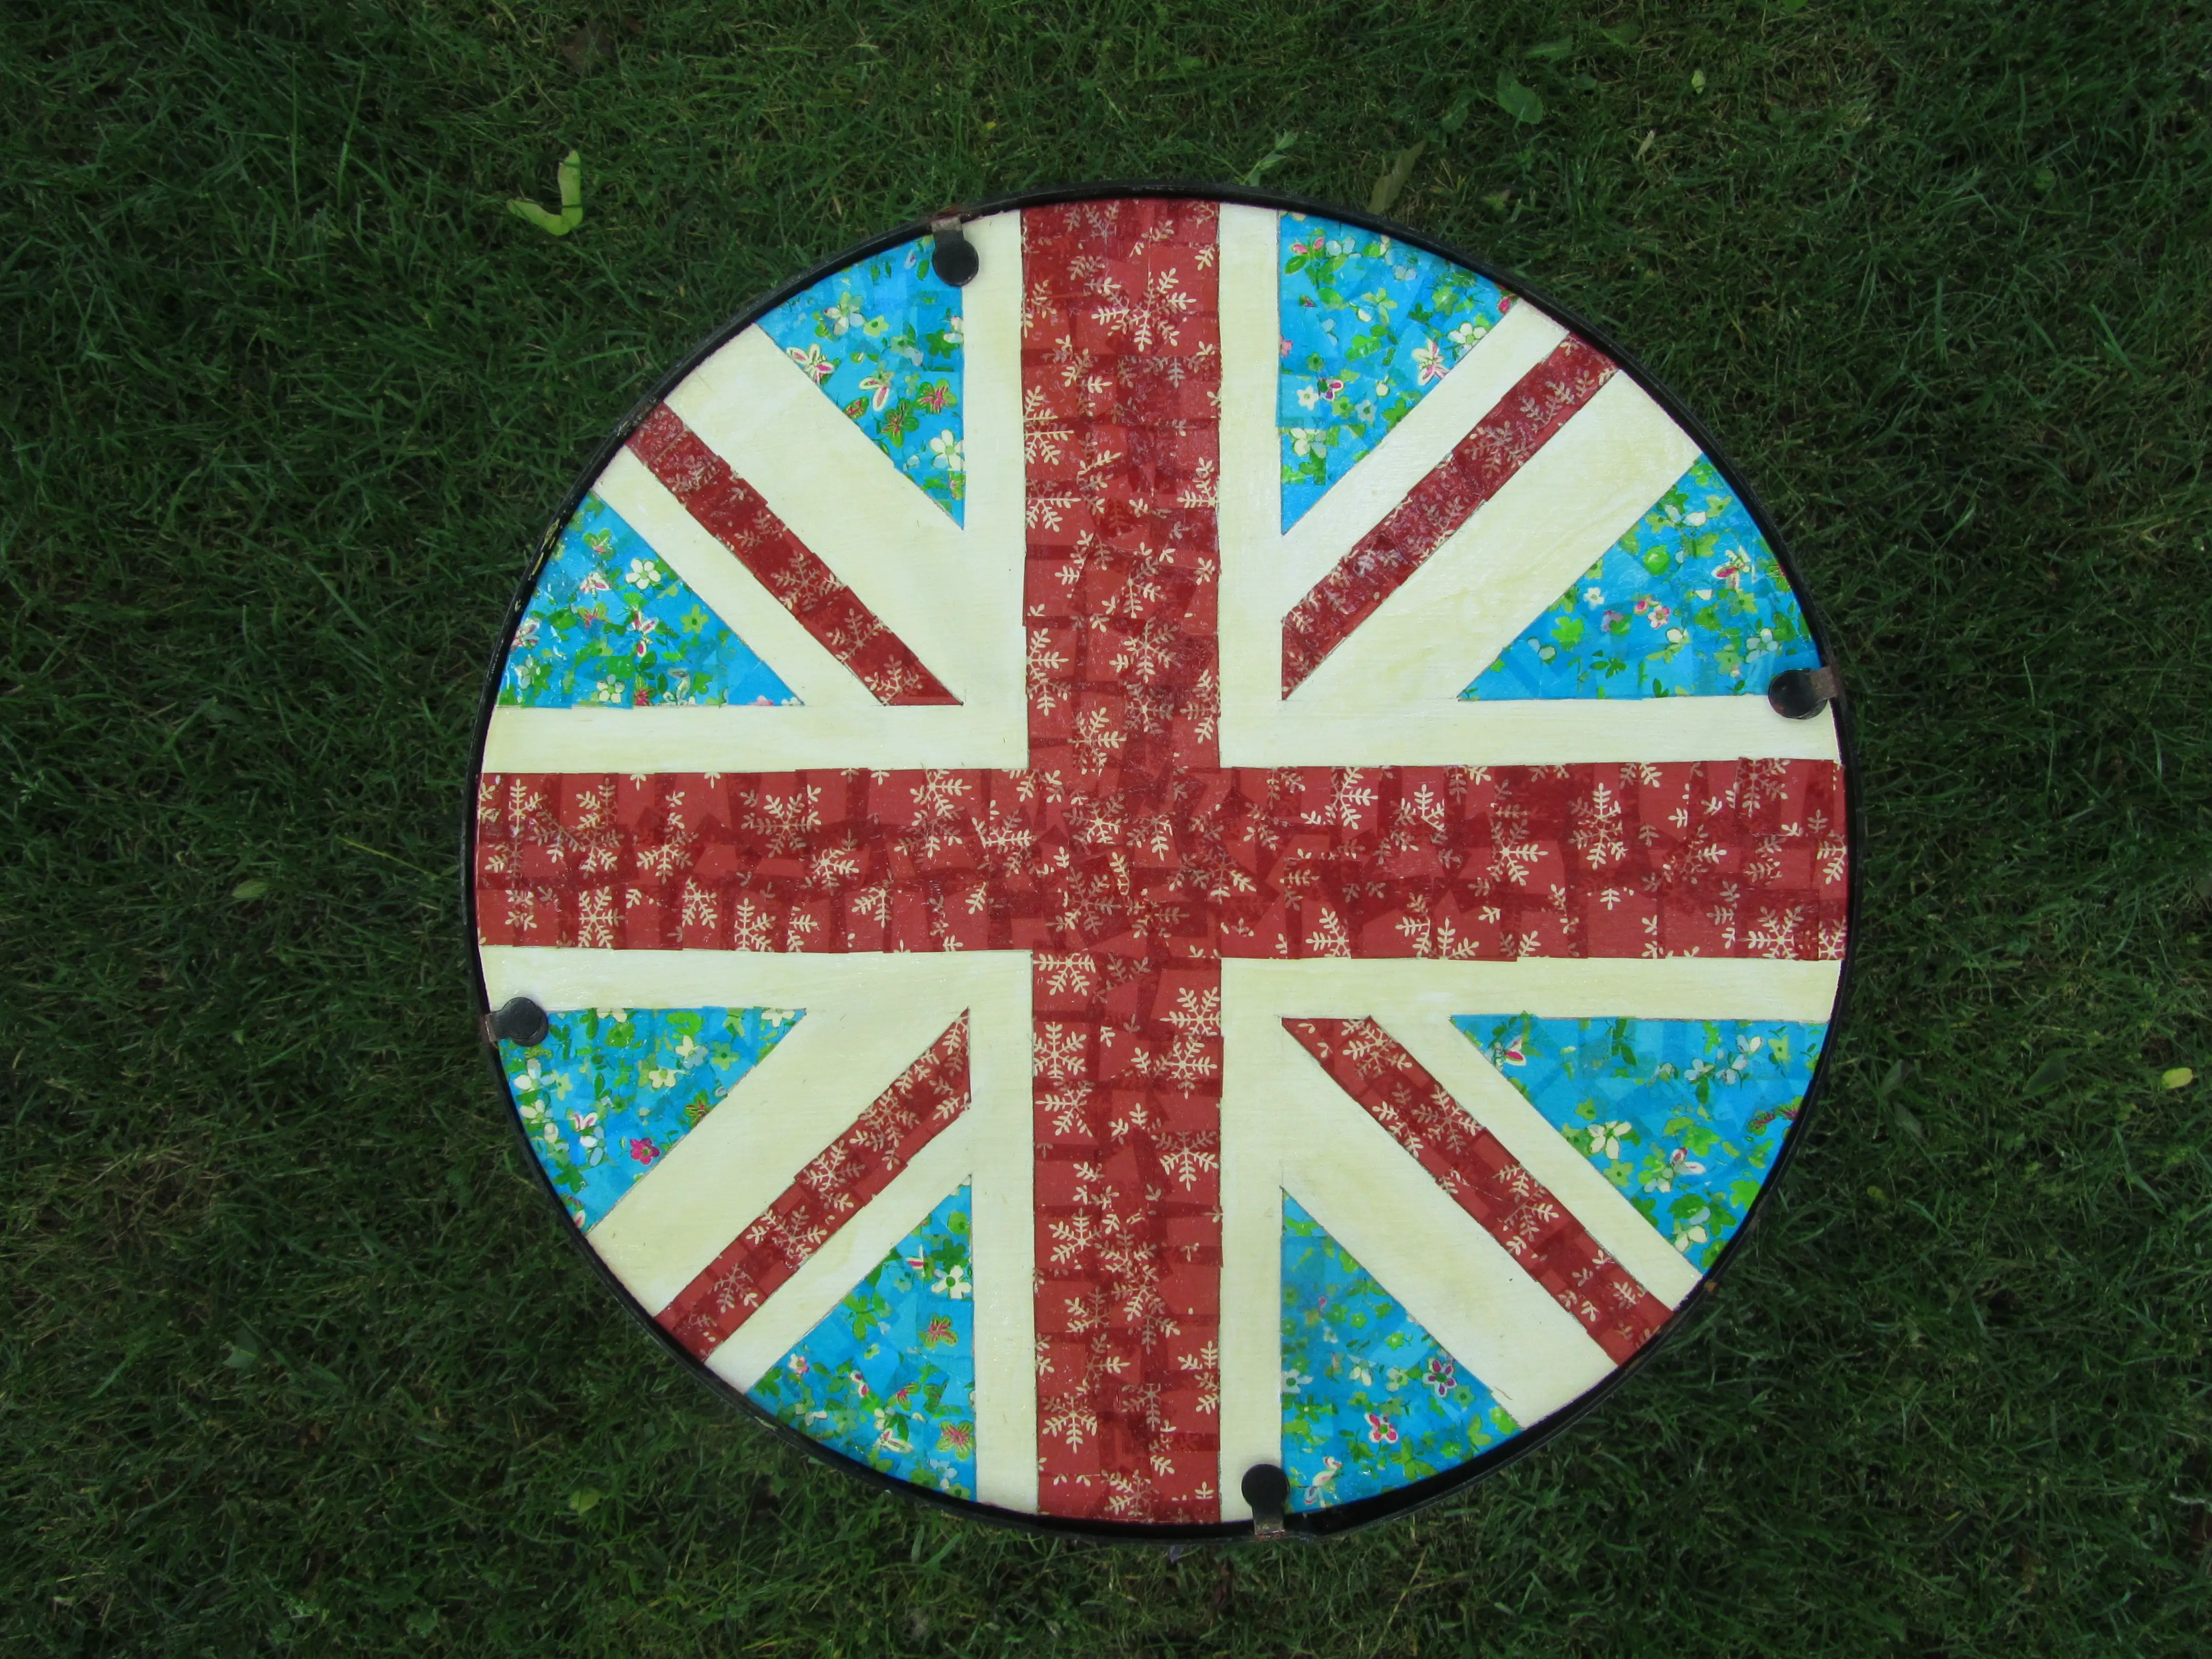
5) Building the table
Finally we placed the table top onto the frame and fastened it down using the existing tabs that had held the glass top in place. We are really pleased with it and we are enjoying the convenience of it in an evening as we sit outside with our drinks.
So, look around and see what you can upcycle. Remember next time you break something to stop and think if you can upcycle it or perhaps even change it into something completely different.
If you love upcycling and recycling take a look at my other projects:
Decoupage Tutorial and Project Ideas
Make Flowers from old Magazines
Make free biodegradable plant pots from old newspapers
Yarn bowl upcycled from an old wooden bowl
Use the comment section below to let me know how you get on!