How to Make a Christmas Sled Tree Decoration
As an Amazon Associate I earn from qualifying purchases
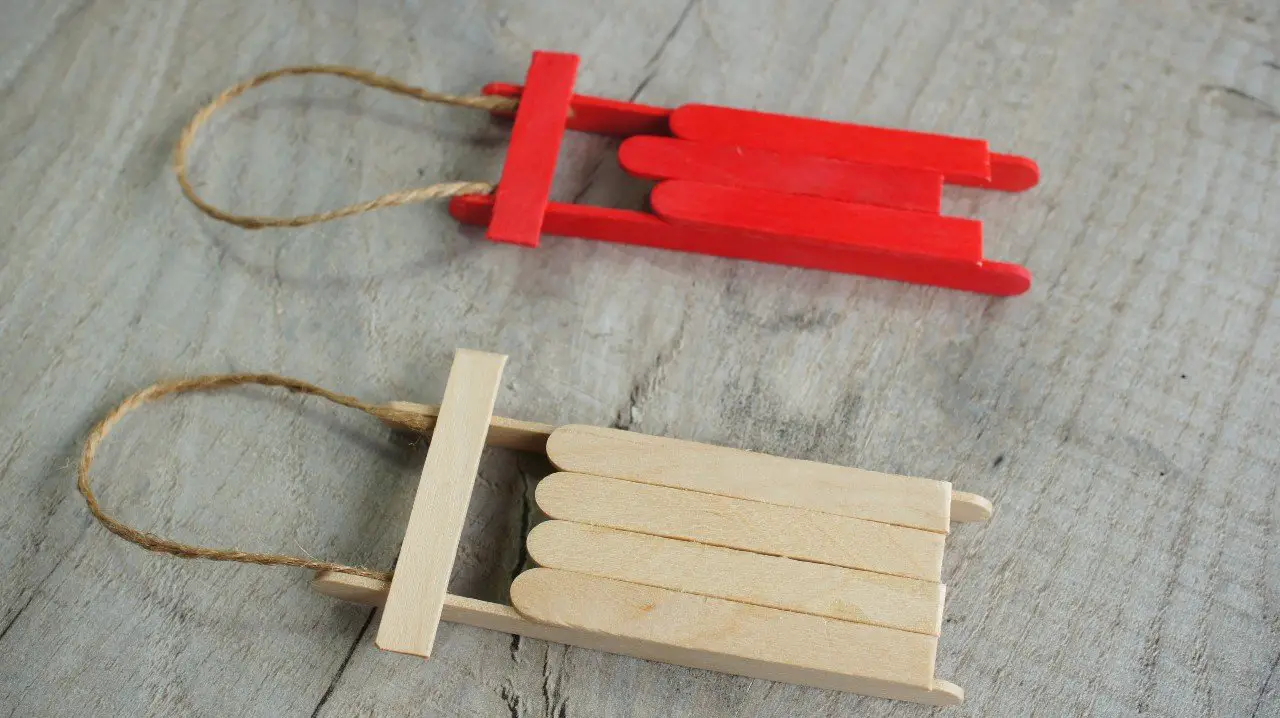
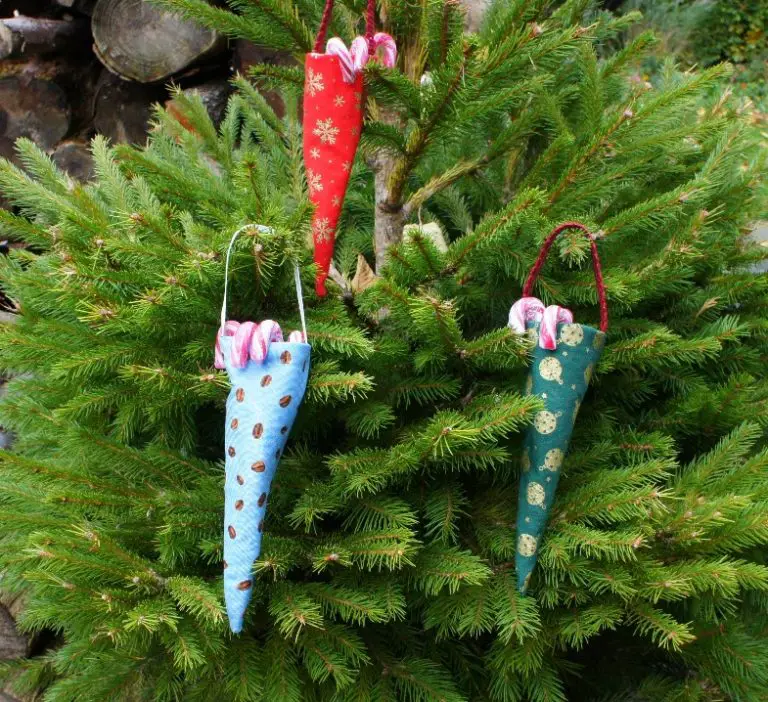
In this tutorial you will see exactly how to make a Christmas Sled Tree Decoration from pospsicle sticks. These are so cute and easy to make. They are also very versatile.
Instead of just hanging them on the tree what about placing them on the dinner table with after dinner mints on them or small gifts or even napkins beautifully folded? They also look great on a mantelpiece or a sideboard as part of a larger display.
In this tutorial I have used natural coloured sticks but as you will see in the video instructions these look fabulous in other colours too. You can buy coloured craft sticks or paint them yourself. You can also use different sized sticks to make a larger or smaller Christmas sled.
So, if you like to watch me doing the craft then watch the video. Otherwise read on!
This page contains affiliate links meaning I earn a small commission if you use those links at no cost to you. I only recommend brands I use and trust.
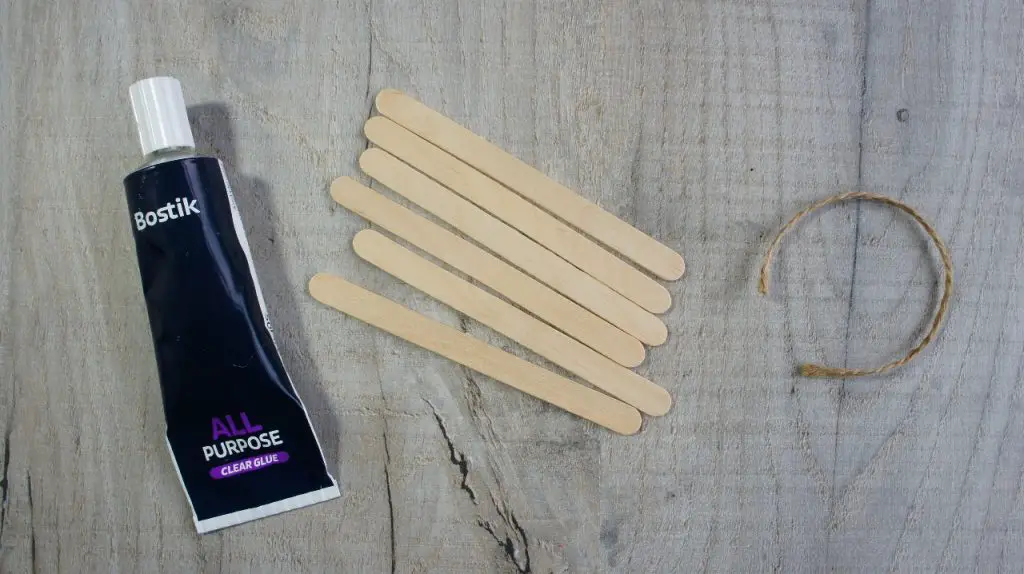
You will need:
Video Tutorial
This video is also available on my YouTube channel.
Make the Christmas Sled Seat
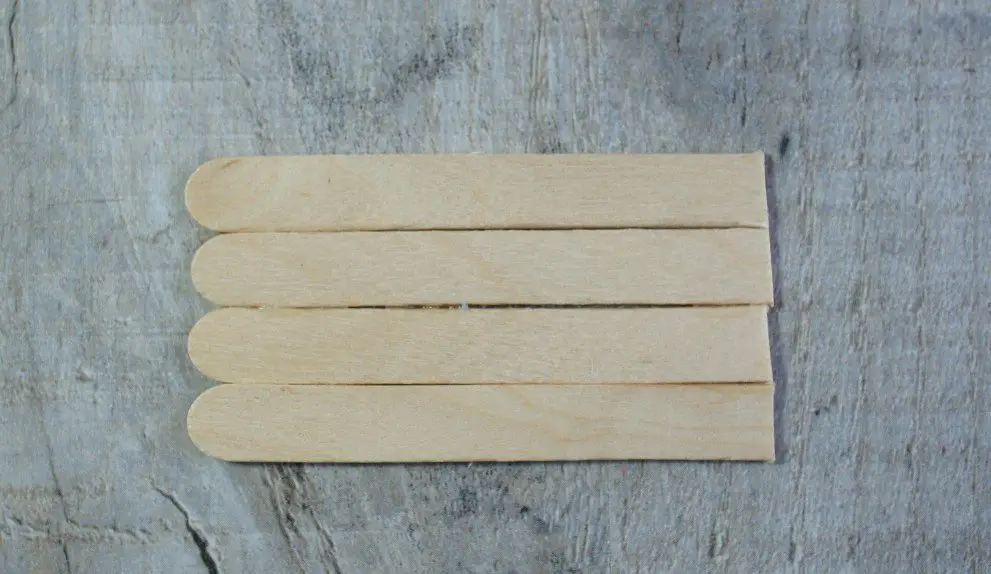
Take 4 of your craft sticks and cut them to the length that you want your seat to be. It may be that you can simply cut 2 sticks in half and use those. You can use more or fewer sticks if you want a wider or narrower sled.
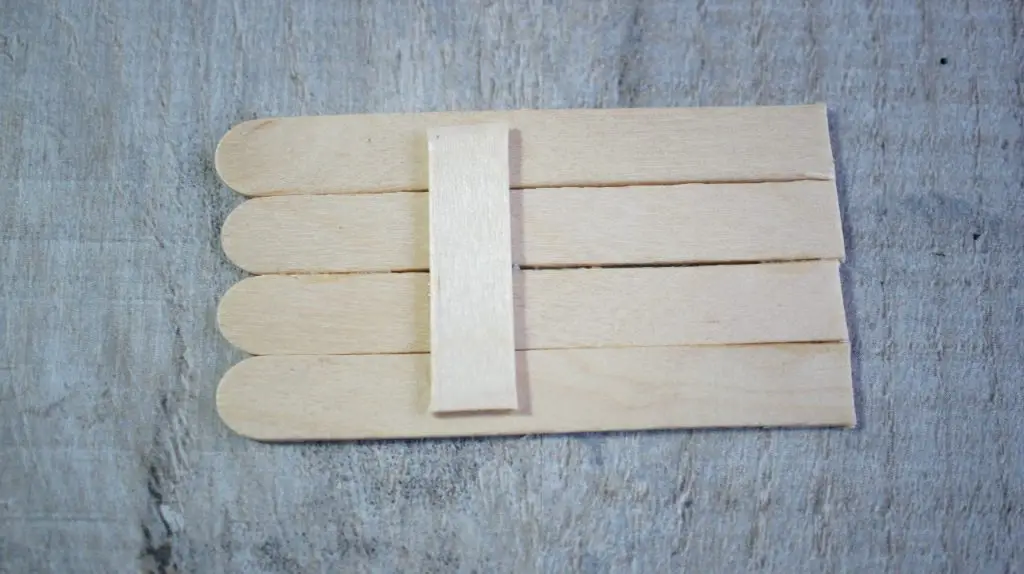
Place your 4 half sticks next to each other as shown. Glue them in position by applying glue along the edges that touch and pressing them gently together. This will be very fragile but we will strengthen it in the next step.
Now cut a length of stick so that it reaches across all 4 sticks but does not reach the edges. Glue it to the seat that you have just made. This will be on the underside of the sled and simply supports it.
Apply the Runners to the Sled
All sleds need runners and ours is no exception. Apply glue along either side edge of the seat as shown below. It should be on the bottom of the seat and run from front to back.
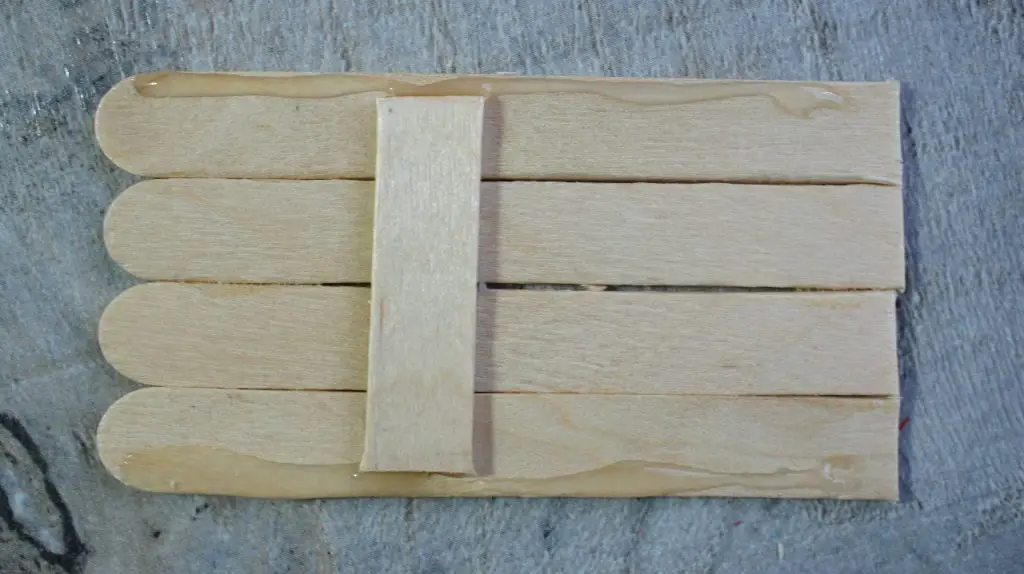
Carefully place your runners (full length craft sticks) onto the glue as shown. They will be likely to fall so simply hold them in place for a little while and then leave them to dry before proceeding with your sled.
Add your Footrest to the Sled
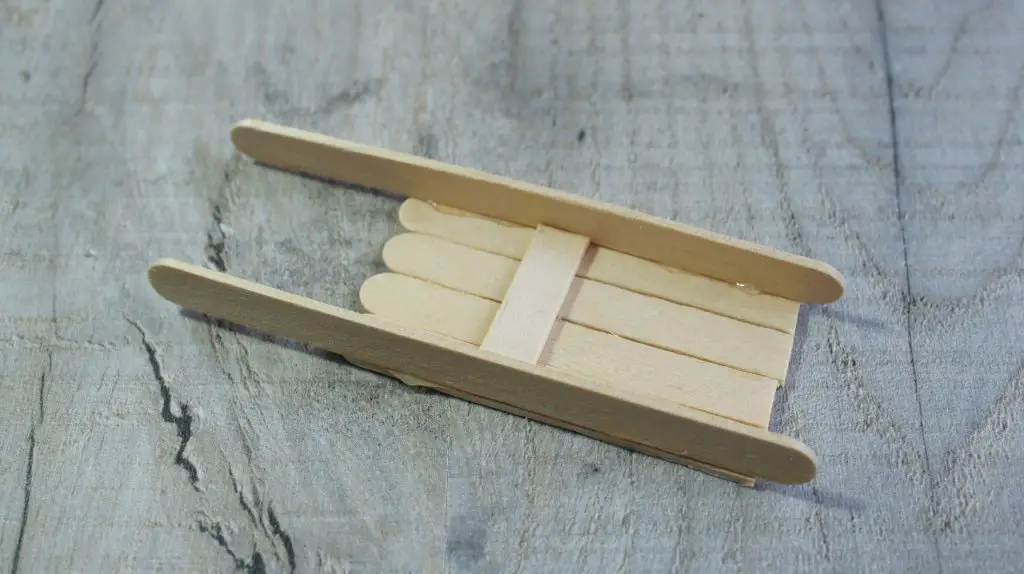
Turn the sled over and decide where you would like your footrest. There is no right or wrong place. Just place it where you think it looks right. Cut a stick to length. I recommend a little longer than the distance between the runners.
Apply glue to the runners just where you want the footrest to be.
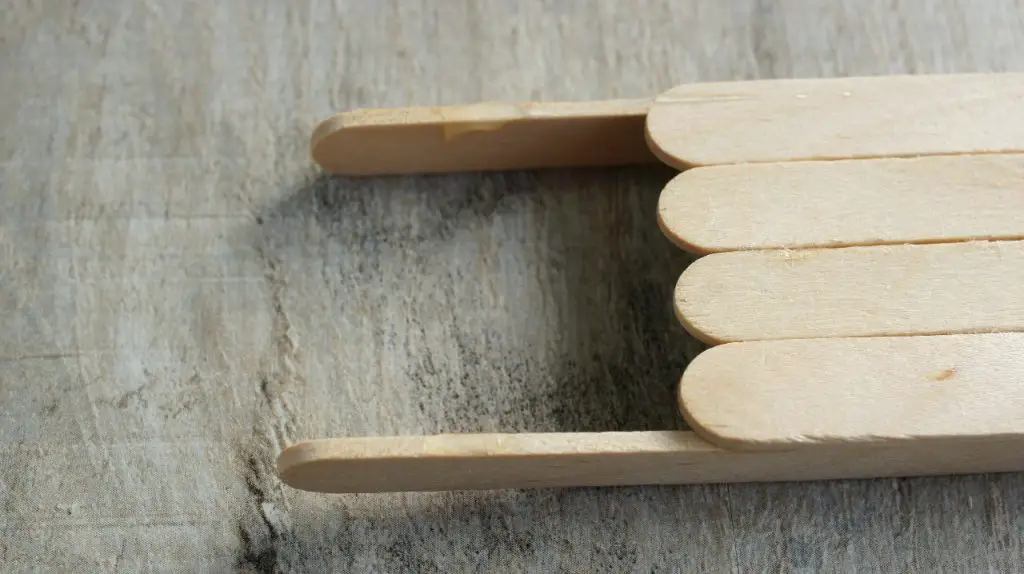
Now place the footrest in place and wait for it to dry.
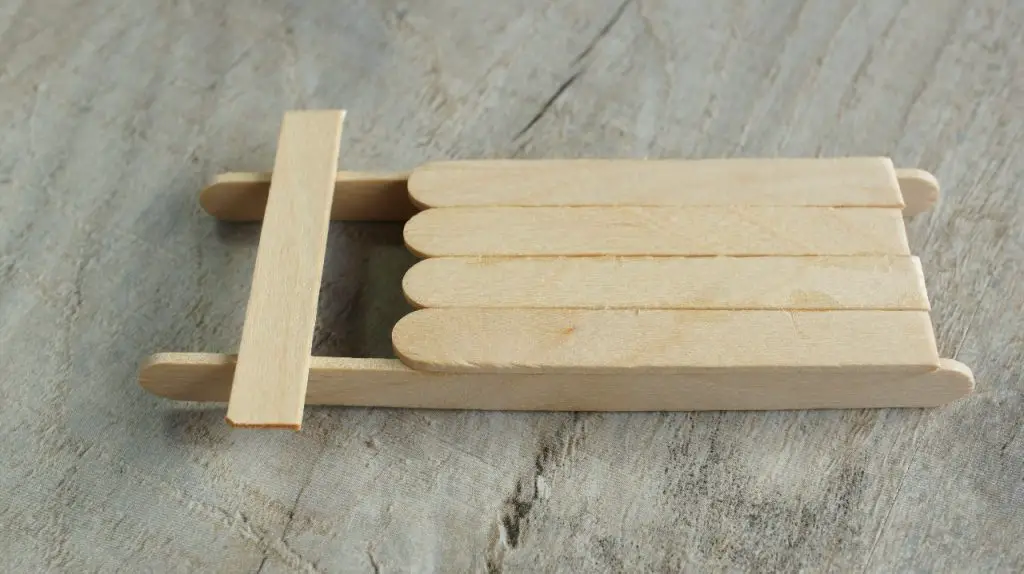
Your sled is nearly finished. It just needs a hanger now!
Attach Twine to Sled
Decide on the length of twine you want. It will determine how far your sled will dangle from the tree branch. Cut a length of twine. Turn your sled over and apply glue to the back of the footrest at either side inside the runners.
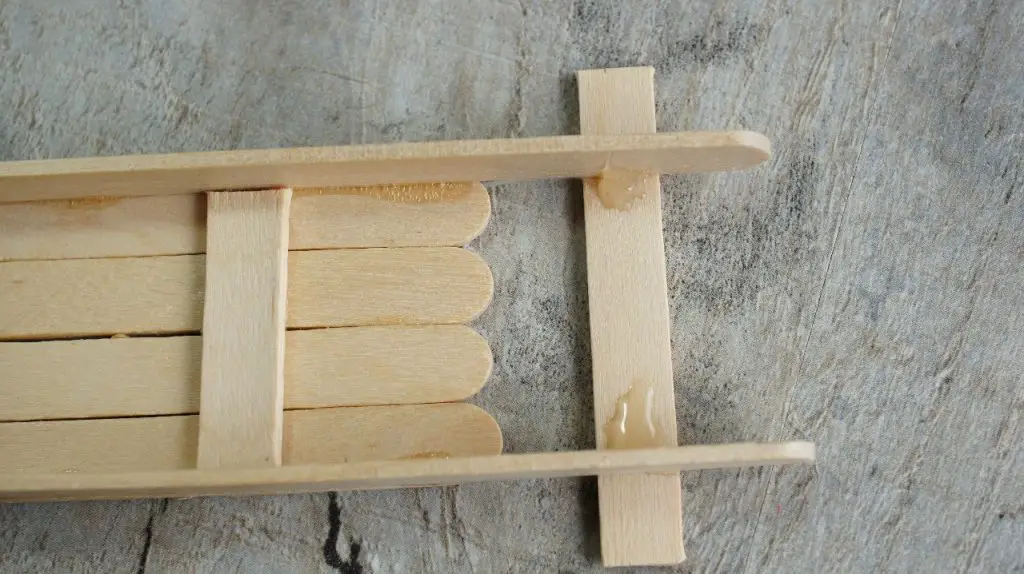
Place the ends of the twine into the glued areas. Press them in firmly and leave to dry. You may get quite a lot of glue on you doing this but it is worth pushing the twine into the glue for a firm attachment.
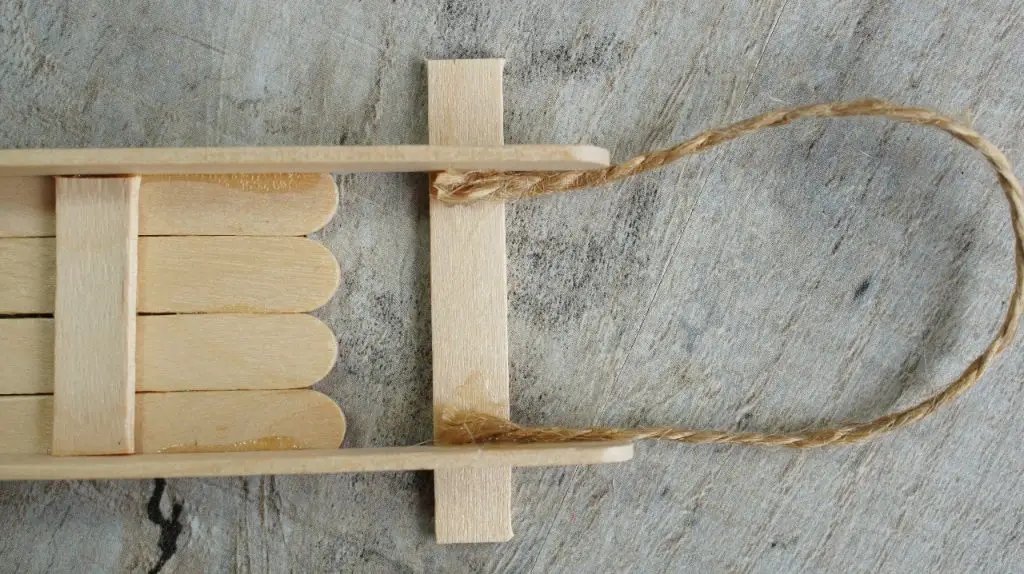
Well done you have now completed your first Christmas sled tree decoration. Now you can make loads. How about making one and adding a photo to the seat. Great gift idea for grandparents! There are so many ways to embellish these Christmas sleds. Get creative and try adding stickers or glitter or even drawing pictures on them.
Let me know in the comments below how you get creative with yours.
If you are looking for more Christmas decorations to make then check out this whole section of the blog dedicated to Christmas.
Enjoy your crafting and have a great Christmas!
