DIY Book Page Art Ideas: Turn Old Books into Stunning Art
As an Amazon Associate I earn from qualifying purchases
I am sure you have seen those art prints for sale where the image is on an old book page of some kind. Well, today, we’re diving into a project that’s not only super fun but also a fantastic way to give old books a new lease on life. We’re going to learn how to print images onto book pages to create unique wall art and DIY cards. Get ready to unleash your inner artist!
You will be surprised how easy it is and just how many book page art ideas there are out there. As a person who struggles with drawing I love opportunities to get creative and produce art in other ways.
It also gives you the opportunity to create something special to match your decor or a special event. Cute animals for a nursery or hearts for a wedding card? Options for every eventuality!
Finding the Perfect Images
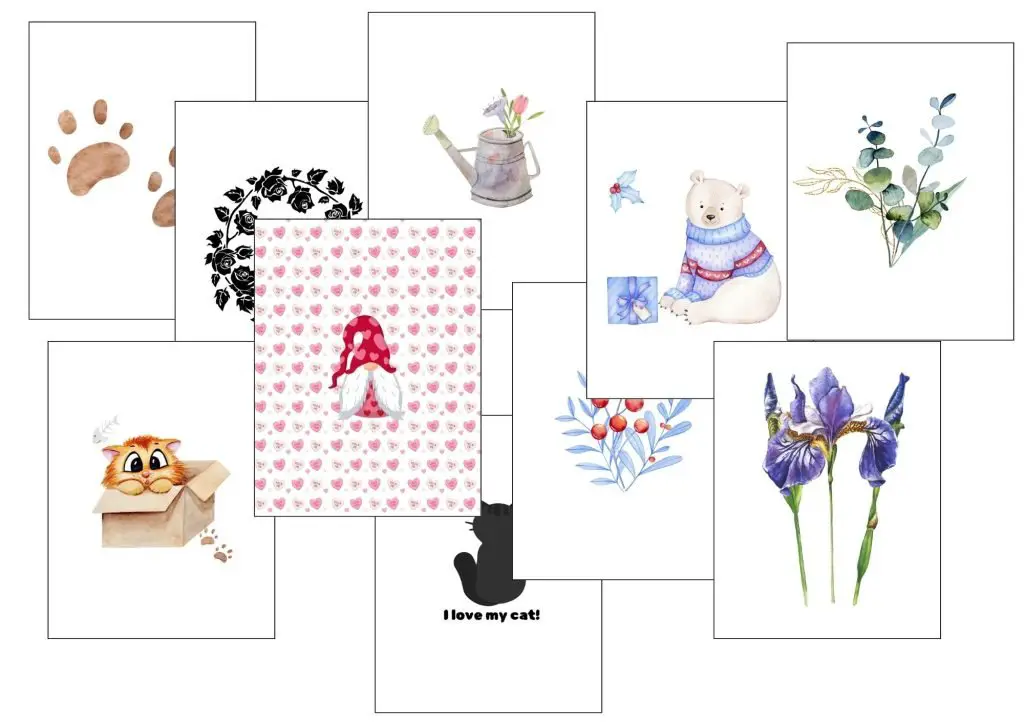
First things first, let’s talk about images. The internet is a treasure trove! You can find everything from vintage botanical prints to adorable animal photos. Remember to look for images that are free to use, and always respect copyright. Sites like Unsplash, Pixabay, and Pexels are great resources. I’ll also be providing some fun images like flowers and cute cats for you to get started!
If you would like to access the images that I have prepared for you for free simply subscribe to the newsletter and you will be able to access them for free in my resource area. If you are already a subscriber simply access the area using your password. If you have forgotten it email me and I will let you have it again.
Choosing Your Book Pages
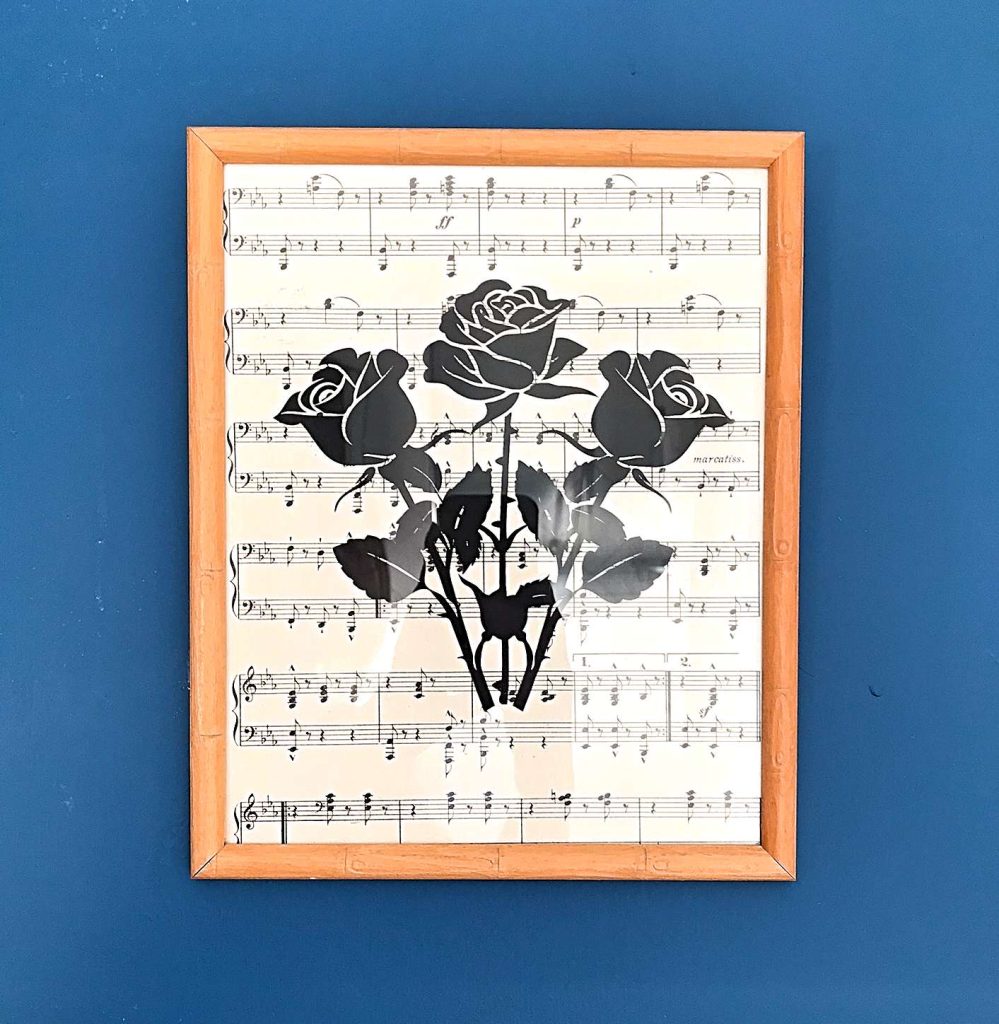
Now, let’s talk books! Old dictionaries, encyclopedias, and music scores are perfect for this project. Their aged pages add a beautiful, unique texture to your prints. But really, any old book you have lying around will work.
Large books make great wall art but any old paperback will be suitable for cards. You could even try to match the book to the occasion if you have access to cheap (or free) books.
It is always worth checking what is on the page before printing. Otherwise you could end up with something wholly inappropriate on there. I have done it before on a gift tag, thankfully I spotted it before it went out.
Printing Time!
Here’s where the magic happens. Fire up your home printer!
Printer Settings:
For best results, use a high-quality print setting and select a paper type that’s similar to the book page (often plain paper or a slightly heavier option). Experiment with different settings to see what works best for your printer and paper.
However careful you are you will end up experimenting as all printers are different.
Resizing Images:
Before printing, make sure your image fits the page size. Use your image editing software to resize or crop the image accordingly. You can even create collages of smaller images!
Now, how far you go here depends on your computer skills. You can just print the images as they are and see how that goes. Or you can even just print at 50%, etc to play around with sizing if you are not very good at using online software. If you have never played around with images online but would like to try (for free) then Canva is a great tool.
Preventing Paper Jams:
Carefully remove pages from the book, using a craft knife or scissors to ensure a clean tear. Ensure the pages are flat and free of tears or folds before loading them into the printer.
If you are using a small page you may need to tape it down to a larger sheet of copier paper with tape that is easily removed such as masking tape or washi tape. It all depends on your printer.
Preventing Ink Bleeding
Test print on a spare page first. If you notice ink bleeding, try using a lighter print setting or allowing the page to dry for longer. Sometimes old paper can bleed a little and you have to decide if that is the right effect for you or not.
Creating Your Masterpieces
Once your pages are printed, it’s time to get creative! You can leave them exactly as they are or you can add other embellishments or writing.
Wall Art:
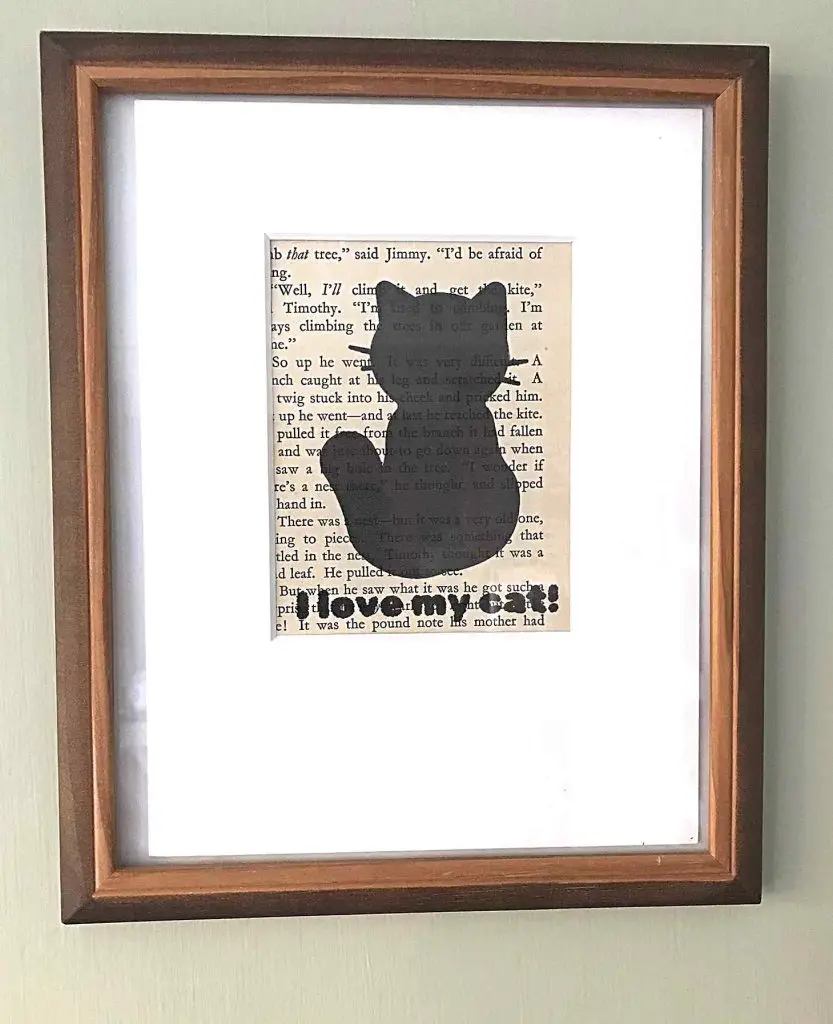
Frame your printed pages for instant wall art. The aged paper adds a vintage touch that complements any decor. I have found this is a great way to re-use old frames to make new art.
DIY Cards:
Cut and fold your printed pages to create unique greeting cards. Add embellishments like ribbons, buttons, or glitter for extra flair. I have also used them as a front section or even an internal feature on an existing card. They certainly add a special something.
Tips and Tricks
- If your pages curl after printing, place them between heavy books to flatten them.
- Consider sealing your printed pages with a clear, matte spray sealant to prevent smudging and protect the ink.
- If you have double sided print on your pages, you can print a solid light colour on the reverse, to stop it showing through. I have never done this but I have seen it suggested.
- Try the same image on different papers – you will get a very different effect.
Have Fun!
This project is all about having fun and exploring your creativity. Don’t be afraid to experiment with different images, papers, and techniques. You really can get creative!
If you would like some more ideas for art or greeting cards then check these out:
Enjoy creating your art and let me know in the comments below what you create.