Creative Home Studio Ideas That Balance Comfort and Style
As an Amazon Associate I earn from qualifying purchases
What do we mean by a home studio? Well, that is different for all of us. Basically, it is the space in your home that you use for your creative practice, whatever that is. I am lucky enough to have my own craft room but it does also double as the spare room and has a bed in it.
A home studio works best when it supports the way you create and still feels like part of your home. You may need a generous table for papercraft, shelves for fabric or a quiet desk for drawing, but practical furniture alone can leave the room feeling flat. Thoughtful zoning, comfortable flooring and a few personal displays will give you an organised workspace that you’ll genuinely enjoy using.
So, let’s get into that.
Establish Dedicated Work Zones
Let me preface this with the disclaimer that all this is in an ideal world. Consider the ideas and principles here and apply them to your home.
Divide the studio according to activities, even if you’re working with one small room. A main desk can handle detailed tasks, while a slim shelving unit creates a separate area for packing orders or storing finished projects.
Well-planned home office layouts can help you see how furniture placement, storage and work surfaces can create a space that feels both practical and inviting. Whatever you do, you basically are setting up some sort of home office / studio.
Storage should also suit the materials you use most often. Simple organised craft storage can keep small supplies separated and easy to reach without filling the room with bulky furniture.
A fabulous tip is to leave at least 90 cm behind your chair where possible so you can move freely and reach nearby storage. This will hopefully help you to use your storage and not let your workspace become cluttered.
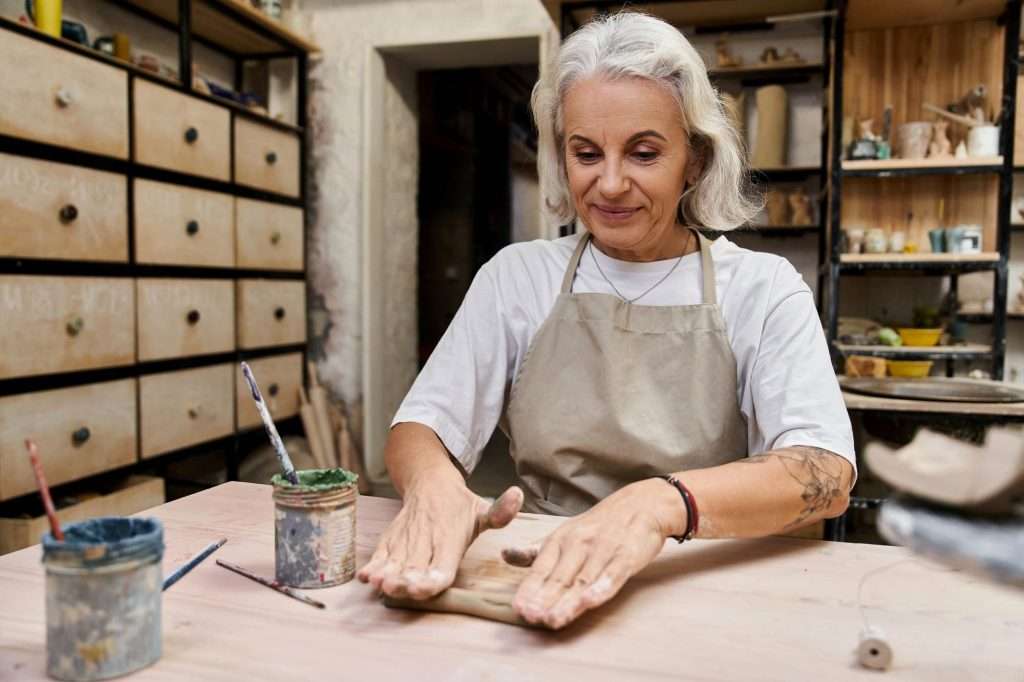
Credit: Photo by depositphotos.com
Layer Warm Textures Across the Room
Creative supplies bring plenty of colour, yet studios can still feel stark when every surface is hard and functional. Depending on your chosen craft this is easy but if you are an artist working in paints it can be a challenge. Add texture through curtains, woven baskets and a fabric pinboard. Even a small cushion on a reading chair can soften the overall effect.
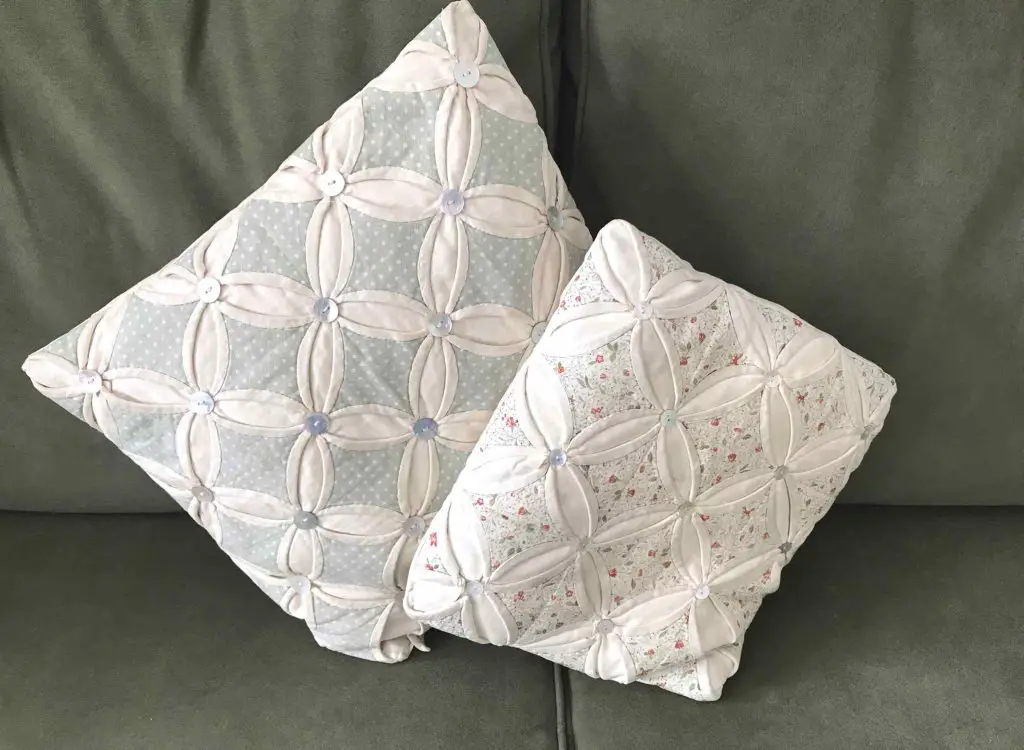
Layering different textures in interior design can make a workspace feel warmer without adding visual clutter. Try pairing a smooth wooden desk with a looped rug and cotton storage boxes in related shades if this suits your craft.
Keep materials practical near paint, glue or ink. We have all suffered glue or paint where it shouldn’t be, particularly if you have a helpful cat! Washable covers and tightly woven fabrics are easier to maintain than delicate, deep-pile textiles. If daylight causes glare, a linen-look blind will filter the light whilst adding another tactile layer.
Coordinate Carpets and Flooring With Colour Palettes
This is perhaps the easiest thing we can all do no matter where we are starting or what other purposes the space has.
Start with the floor when choosing your colour scheme because it covers a large visual area. Warm beige, oatmeal and soft grey create a calm base for colourful craft materials, while deeper green or navy can make a spacious studio feel cosier. You may, of course, be stuck with what you have.
When comparing carpets and flooring, bring home samples and check them in both morning and evening light before settling on a shade. The same colour can look noticeably different beside your walls, storage furniture and artificial lighting. This is so important to get right as you really don’t want to have to change your flooring again.
Consider how you work, too. A low-pile surface lets a wheeled chair move easily and makes dropped beads or paper pieces simpler to spot. If your projects involve washable paint or clay, place a wipe-clean mat beneath the busiest table. Alternatively, hard flooring may be your best option.
Repeat one floor colour in two or three small details, such as drawer handles, storage labels or plant pots, to connect the room without making it look overly matched.
Take your time considering your flooring as it is probably your biggest investment, especially if like me, you try to make as many items as you can to reduce costs.
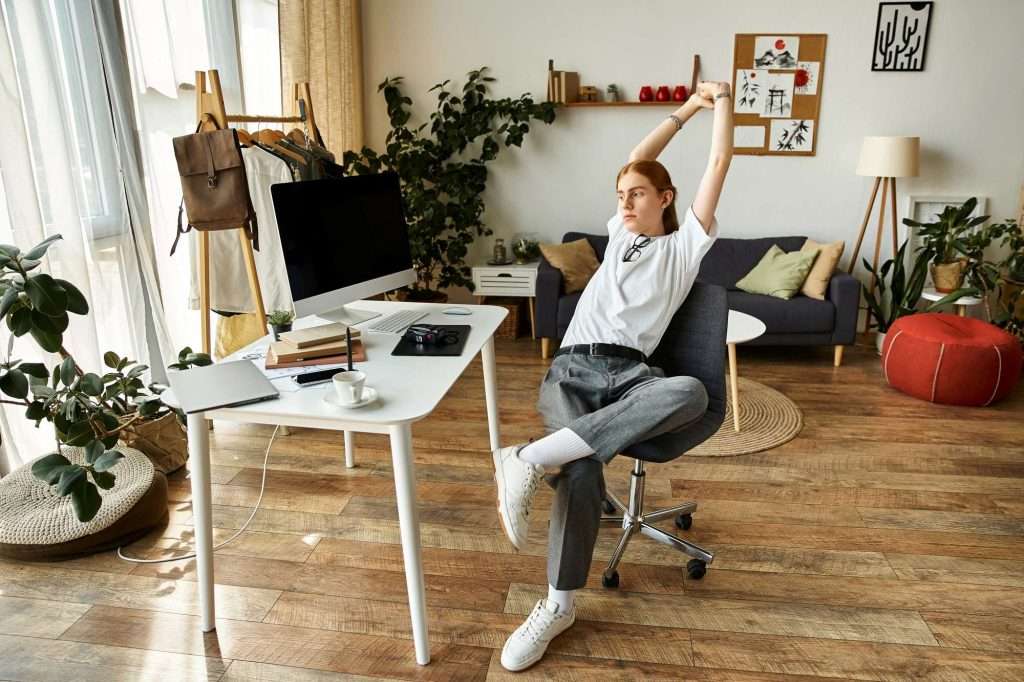
Credit: Photo by depositphotos.com
Display Work in Progress Proudly
Unfinished projects deserve a visible place in the studio. A narrow picture ledge can hold canvases, embroidery hoops or handmade cards without taking over the worktop. For lightweight pieces, use a wire grid with clips so displays can change as each project develops.
I have shelves attached to the wall in my craft room and they regularly have ‘work in progress’ (WIPs) on them. I mean, who can stick to one project at a time?
If you can, keep the arrangement selective. Three or five pieces usually look more intentional than a crowded wall, and leaving clear space around them helps you assess colours and composition. Store tiny components in labelled trays below the display so you can restart quickly after a break.
You might also photograph each stage of a long project, then pin up a small sequence. This creates a useful visual record and turns the creative process into part of the room’s character. This is a great idea if you have visitors to your space as they will be fascinated to see this.
Your studio should leave room for experiments, changing interests and the occasional unfinished idea. Set aside one shelf or ledge that can evolve freely, giving each new project a visible home while the main workspace stays ready for making.
Above all else, your home studio should suit your needs but it should also be a place that welcomes you and you enjoy creating in.