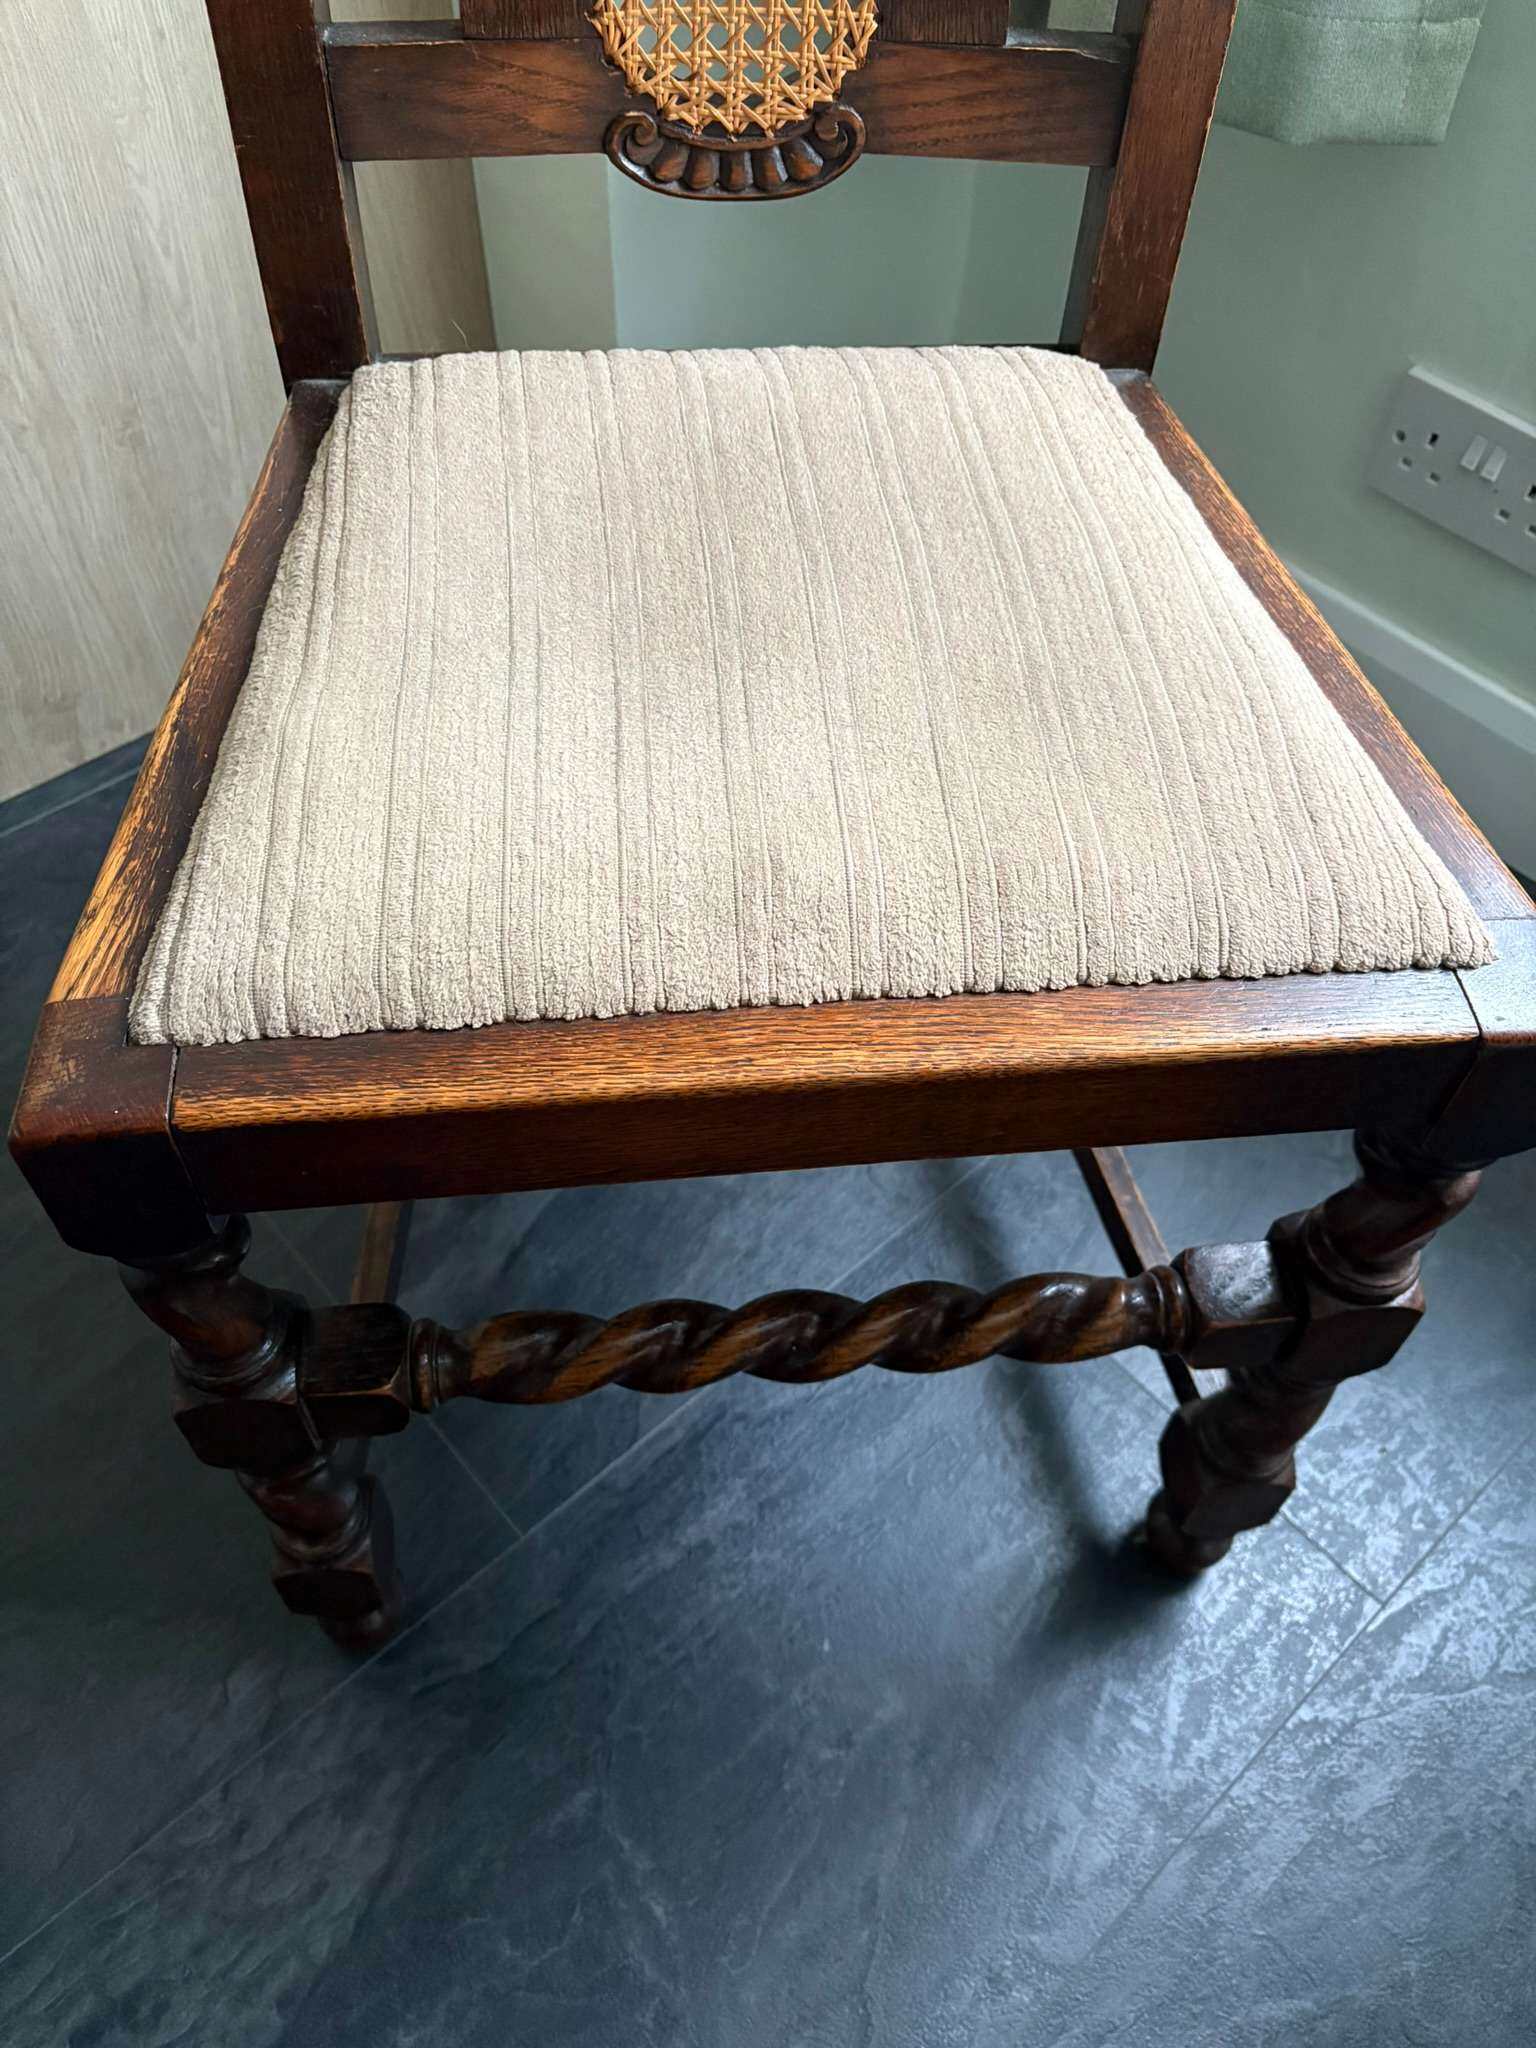
Clever Ways to Revive Sagging Dining Chairs at Home
As an Amazon Associate I earn from qualifying purchases
A sagging dining chair often looks ready for replacement, yet the problem usually sits beneath the upholstery. Loose webbing, tired foam or a weakened frame can all cause the seat to dip. Most repairs need only basic hand tools, a staple remover and careful measuring. You may surprise yourself at what you can achieve and you will be so proud of yourself for having a go!
Before starting, photograph each layer as you remove it and label the parts if you’re repairing several matching chairs. Those quick references will make reassembly much easier.
Inspect the Frame and Base Webbing
Turn the chair upside down on a protected table and remove the seat pad if it’s detachable. You may need to unscrew it. The steps in this sagging seat repair show how the underside can reveal problems that aren’t visible from above. Check each corner joint for movement and look for cracked rails, missing screws or loose dowels.
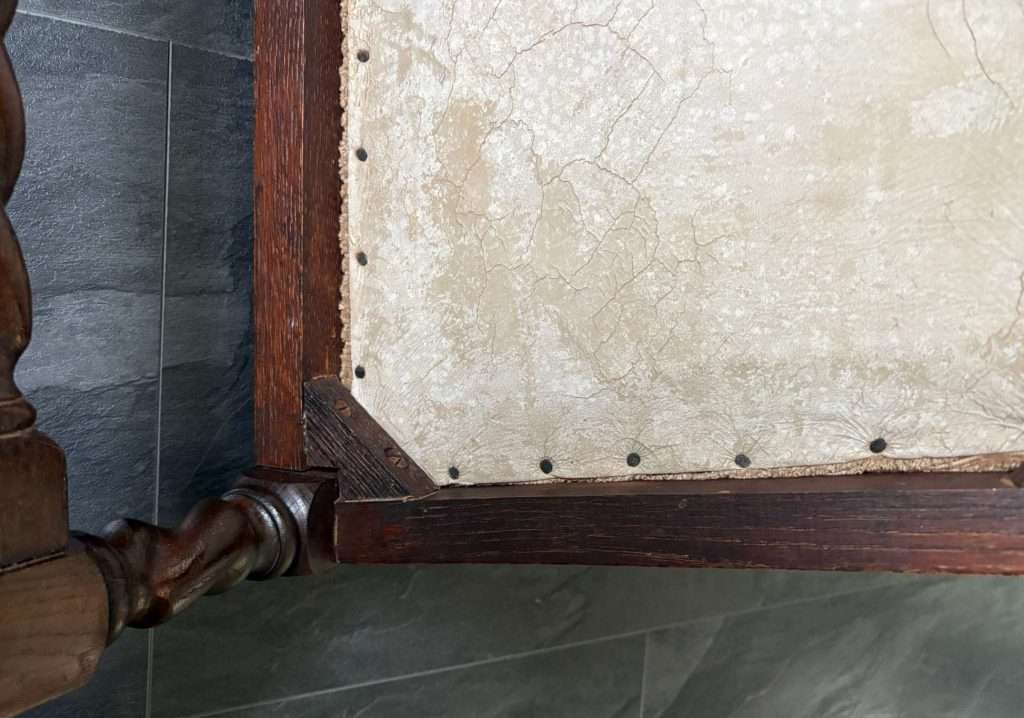
Next, inspect the webbing or support board. Webbing should feel firm when pressed, without torn strands or deep drooping. Replace damaged strips one at a time so you can copy their original spacing and woven pattern. It is vital to get these strips tight or you chair will still sag. In my experience an extra pair of hands goes a long way here. In the picture below you will see that you can’t always see the webbing and may need to remove the cover on the base of the seat first.
If the frame itself shifts under gentle hand pressure, repair and clamp the joint before working on the upholstery. New cushioning won’t correct an unstable base. Often some wood glue squeezed into a joint and the joint clamped is all that is needed.
Replace Collapsed Foam and Fillings
Remove the staples holding the old cover, lifting them with a staple remover or flat screwdriver. Wear eye protection and pull each fastener out fully so no sharp fragments remain. Separate the fabric, batting and foam carefully, then use the old foam as a rough template.
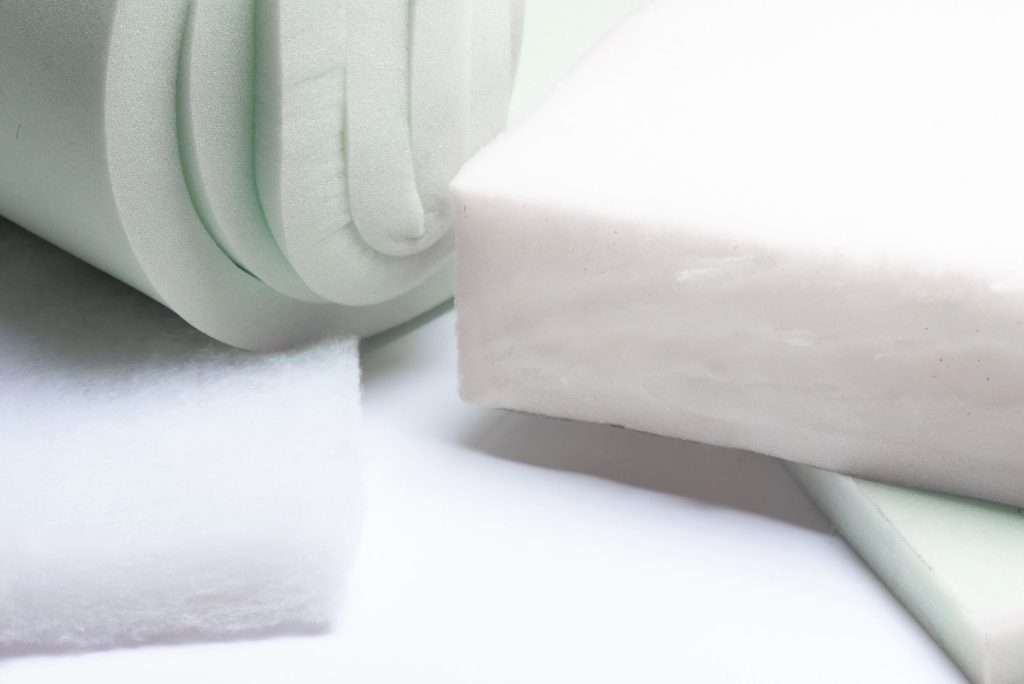
Foam that stays compressed after you press it has lost its support. To be honest, by the time you are taking the seat pad apart replace it anyway. Measure its maximum length, width and thickness before choosing foam and fillings. If you’re tackling a similar furniture project, this guide to upcycling an old chair offers practical tips for replacing worn foam and refreshing upholstery.
For a typical dining seat, medium-firm upholstery foam offers support without feeling rigid. Cut it with a long serrated knife using several light passes. A thin layer of polyester batting over the foam softens the edges and gives the finished chair a fuller, smoother shape.
Credit: Photo by depositphotos.com
Stretch Fresh Fabric Evenly
Cut the new upholstery fabric with enough excess to wrap underneath the seat. An extra 3 to 4 inches on every side usually provides a comfortable working margin. Keep patterned fabric square to the front edge, as even a slight angle becomes obvious once the chair is back at the table. If you have a large pattern consider buying extra fabric and making all your seats identical.
Follow a crosswise stapling pattern. Place one staple at the center of the front, pull the fabric gently toward the back and add another. Repeat at the centers of both sides. Continue moving outward in pairs while checking the top for ripples. Firm, even tension works better than pulling as hard as possible, which can distort the pattern or compress the foam. An extra pair of hands here can be very helpful.
Conceal Staples with Cambric Dust Covers
Finish the underside with black cambric, the lightweight fabric commonly used as a furniture dust cover. Cut it about half an inch smaller than the seat base so its edges sit neatly inside the frame. Fold under any visible raw edges, then staple from the center of each side toward the corners. This hides any of your work which you would rather no-one saw.
Keep the cambric smooth but don’t stretch it tightly enough to tear. Trim loose threads and tap down any staples that haven’t seated fully. Before reinstalling the pad, run your hand carefully around the underside to find exposed points. Sit on the chair gently at first and listen for creaks or movement. A level seat, tidy underside and stable frame are good signs that it’s ready to return to the dining table.
In summary
Upholstery is a craft and a trade in its own right but a few home projects are not beyond us. Really think about tackling those chairs before you hand them over to the professionals or worse, throw them away!
If you love home DIY projects then check out some more here.