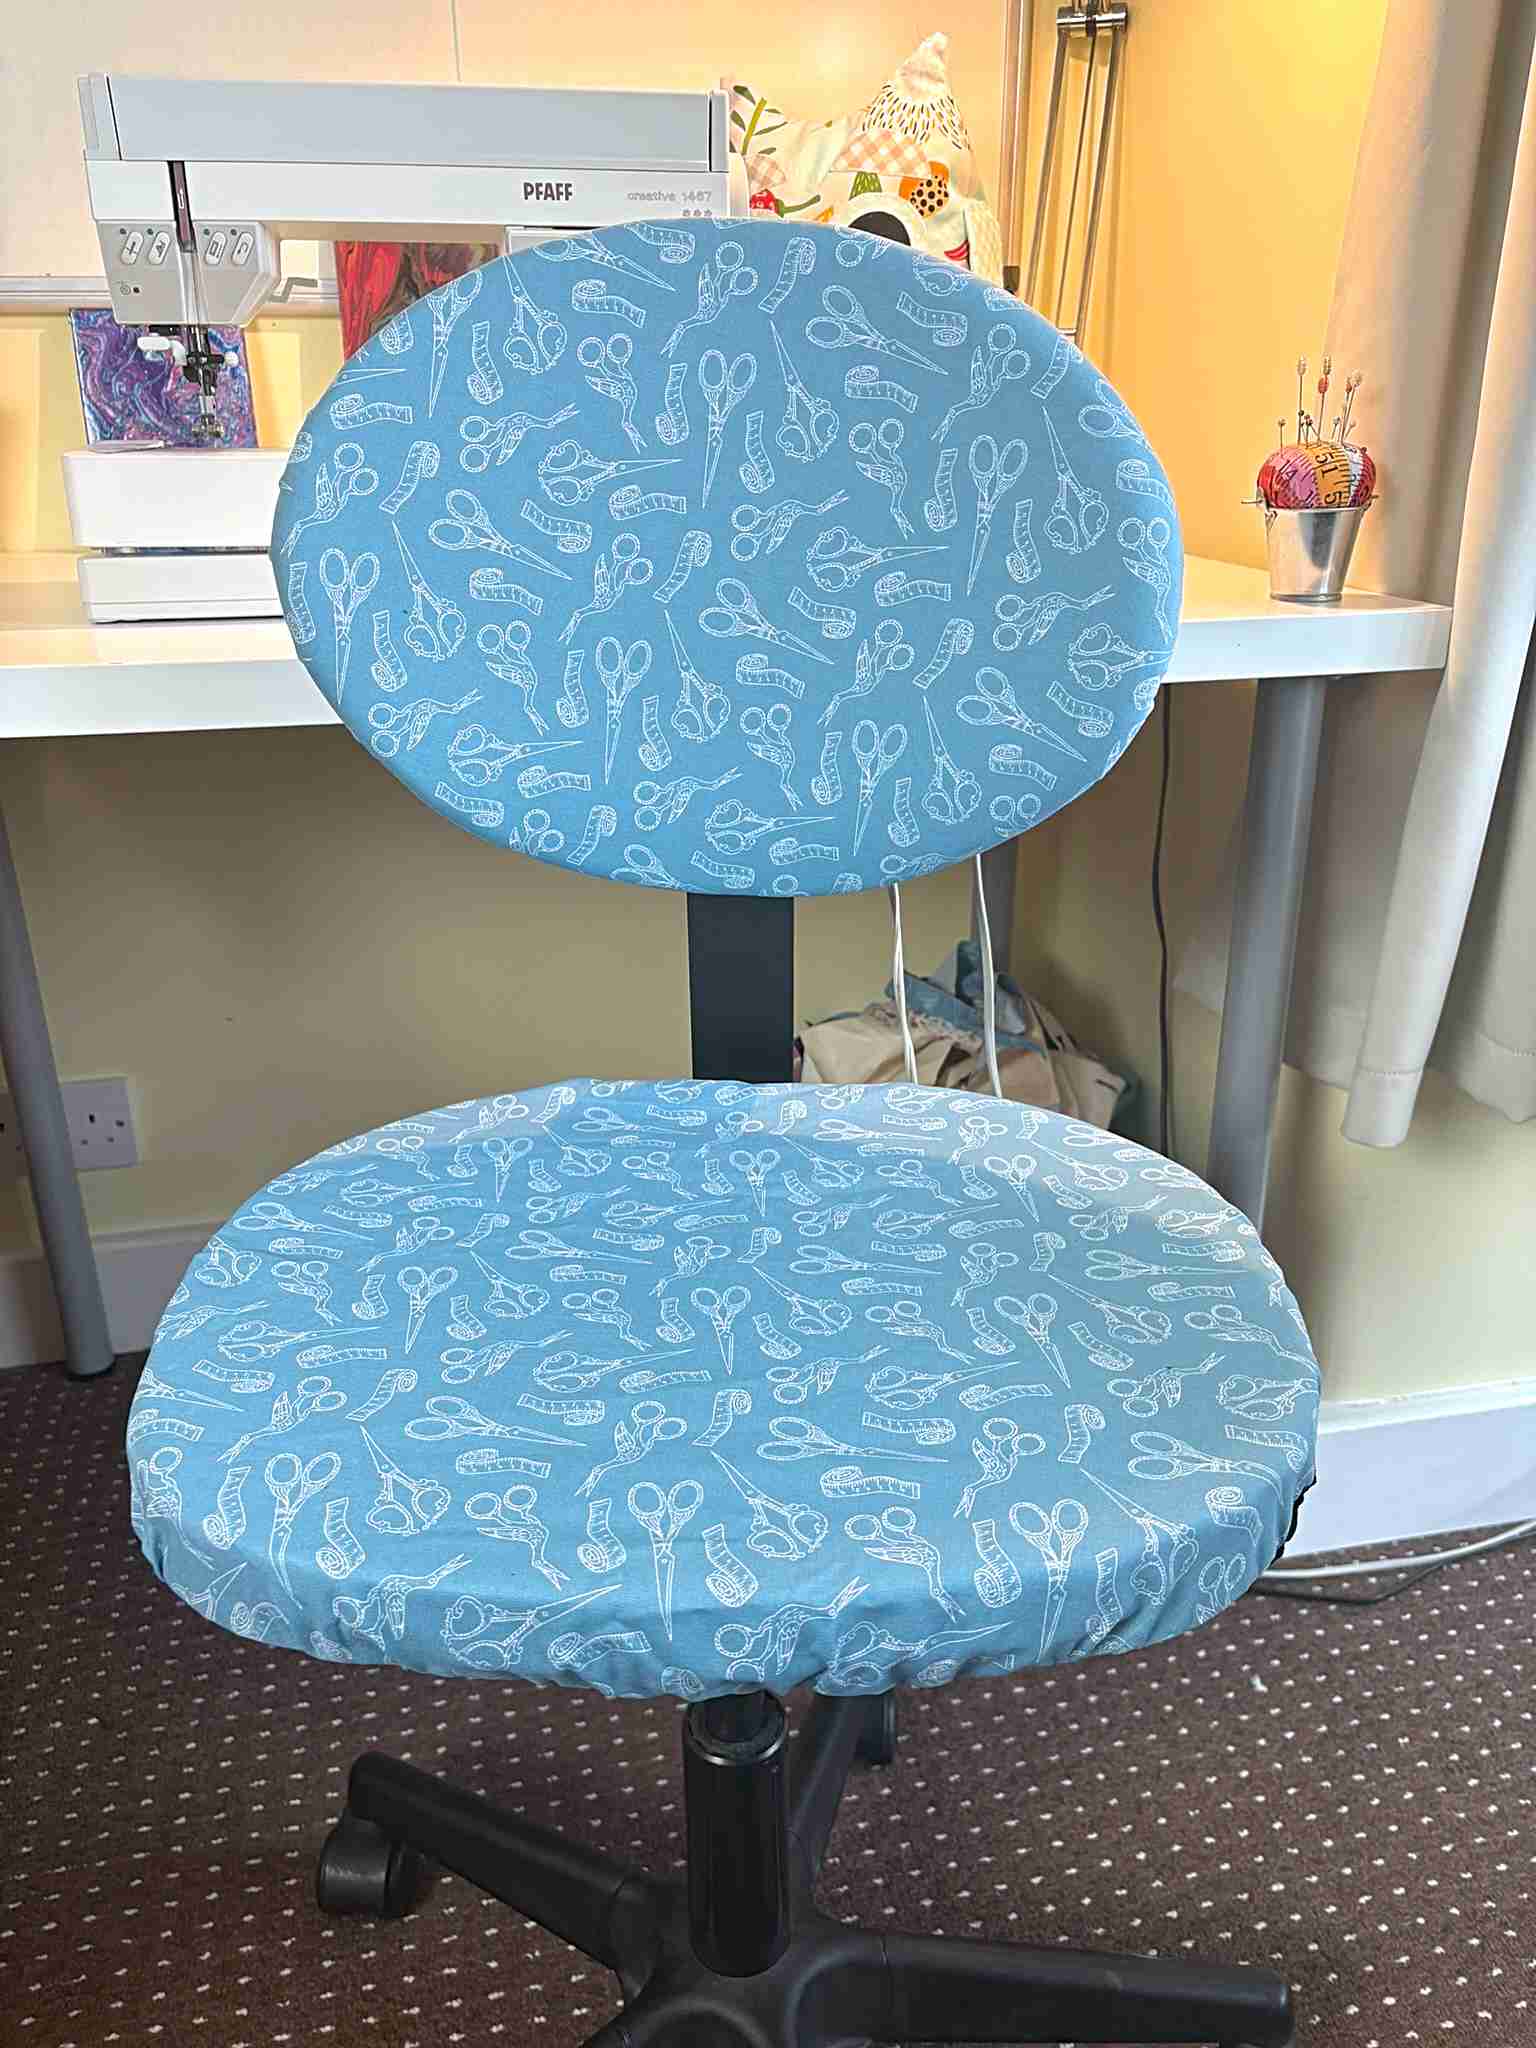
Breathe New Life Into Your Office Chair with These Simple Upcycling Ideas
As an Amazon Associate I earn from qualifying purchases
Nowadays we all have office chairs of some description at home. Mine has certainly seen better days so I decided to do something about it. I am going to share with you exactly how to upcycle your old office chair.
Obviously there are various styles of office chair so you may need to adapt what I show you to suit your needs.
I have also included a video showing you all the steps I took so you can enjoy that if you prefer to watch how something is done.
This page contains affiliate links meaning I earn a little commission if you use those links at no cost to you. I only recommend brands I use and trust.
You will need:
- Fabric to Cover your Chair (I purchased mine locally)
- Foam to replace existing
- Bias binding (or similar)
- Elastic
- Sewing Supplies
- Spray Glue (optional)


Video Tutorial for Upcycled Office Chair
This video is also available on my YouTube channel.
Strip Down the Chair
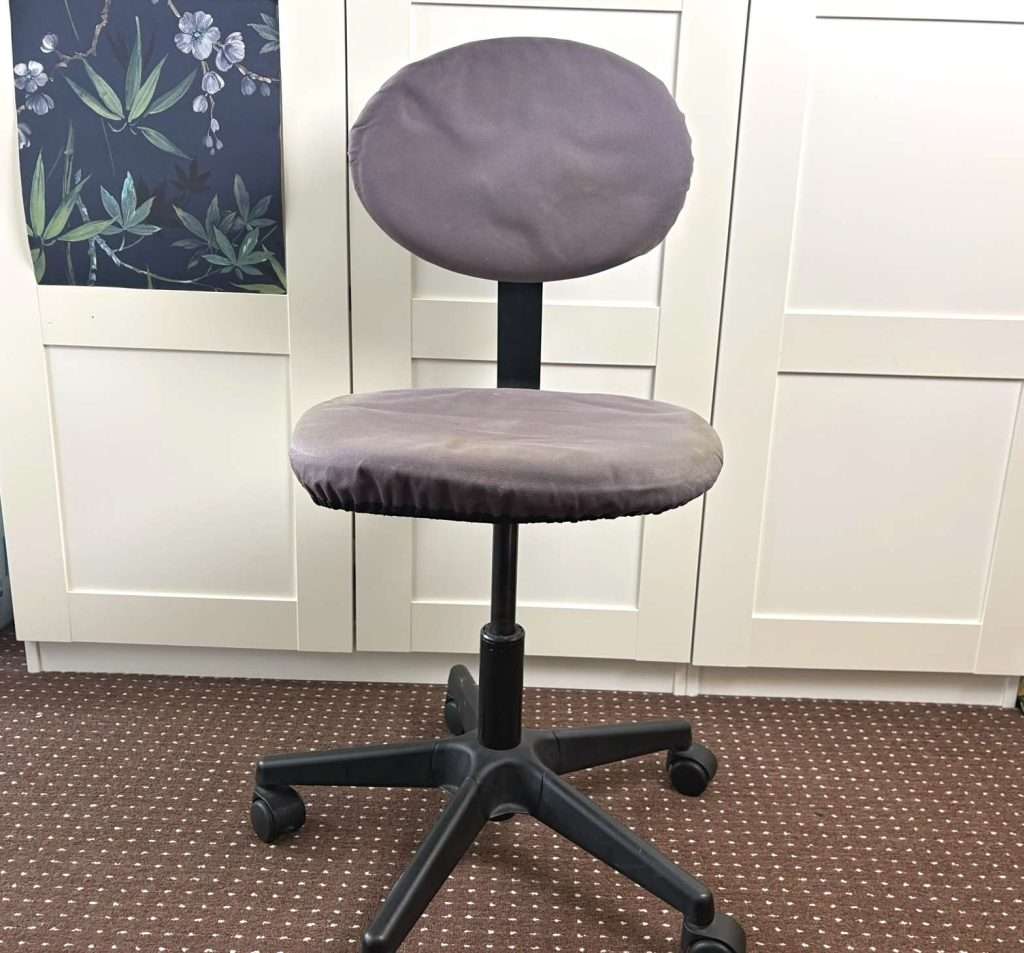
Before you start I recommend taking a photograph of the chair and any key areas that you may dismantle. My chair is really simple in design but I still did this.
Carefully remove any fabric that you want to replace. You will use these pieces of fabric as templates to cut out your new pieces of fabric to make your new covers. If there is any foam and you can safely remove it then do. It will be very dusty and should be replaced if possible.
Prepare Fabric Pieces (and Foam)
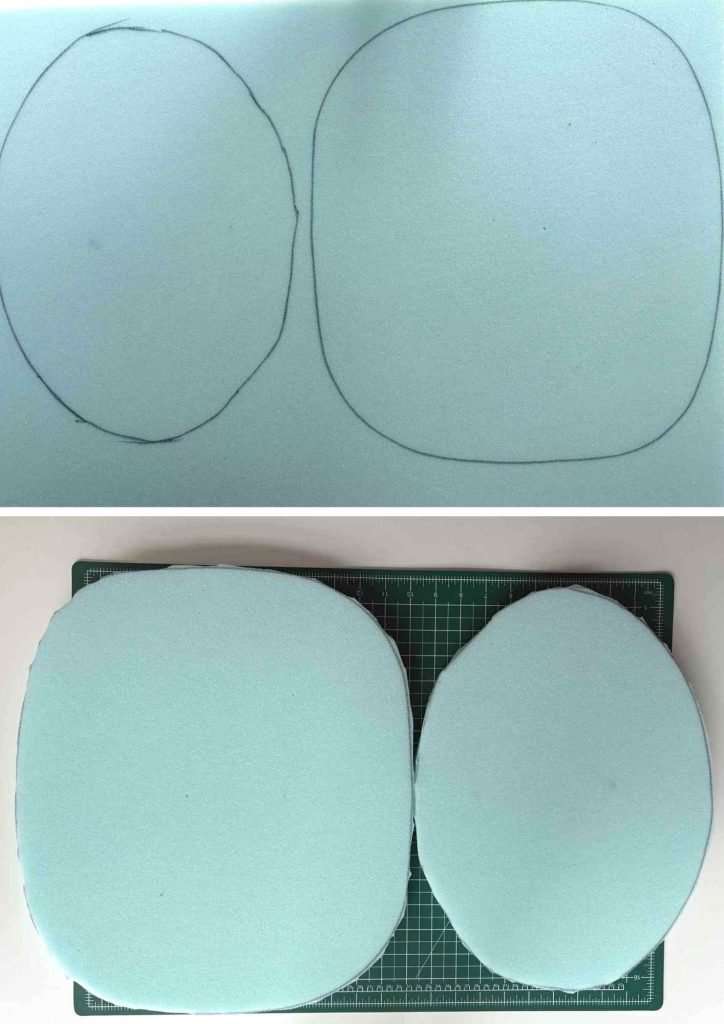
If you removed any foam pieces use those to draw around on your new foam. Then cut out your new foam using either a craft knife or a pair of scissors.
Then take your fabric pieces and lay them out flat onto your fabric. Pin in place.
Before cutting anything out here, check whether your foam is thicker than before. If so, you will need to cut your fabric pieces larger than the old ones. I cut mine larger as the foam was thicker.
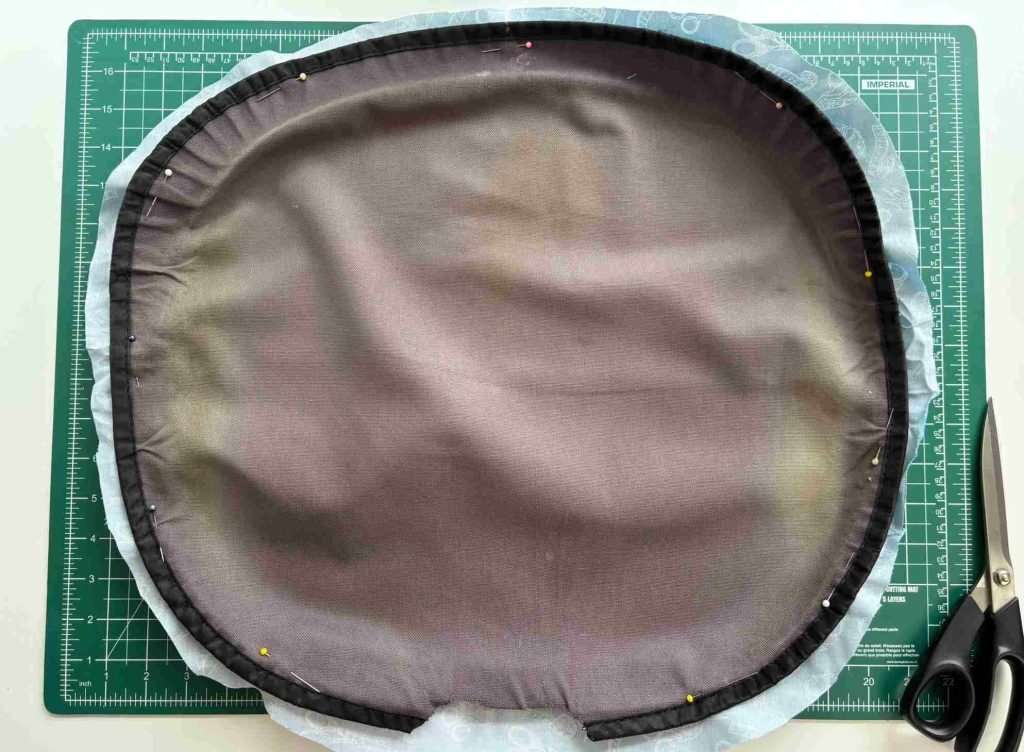
Take the bias binding and, if it is not already folded, fold it in half lengthwise. Then pin it all the way around your chair pieces. NOTE: It is a good idea to place your pins exactly where you want to sew to make sure that with one row of stitching you can catch both sides of the bias binding all the way around.
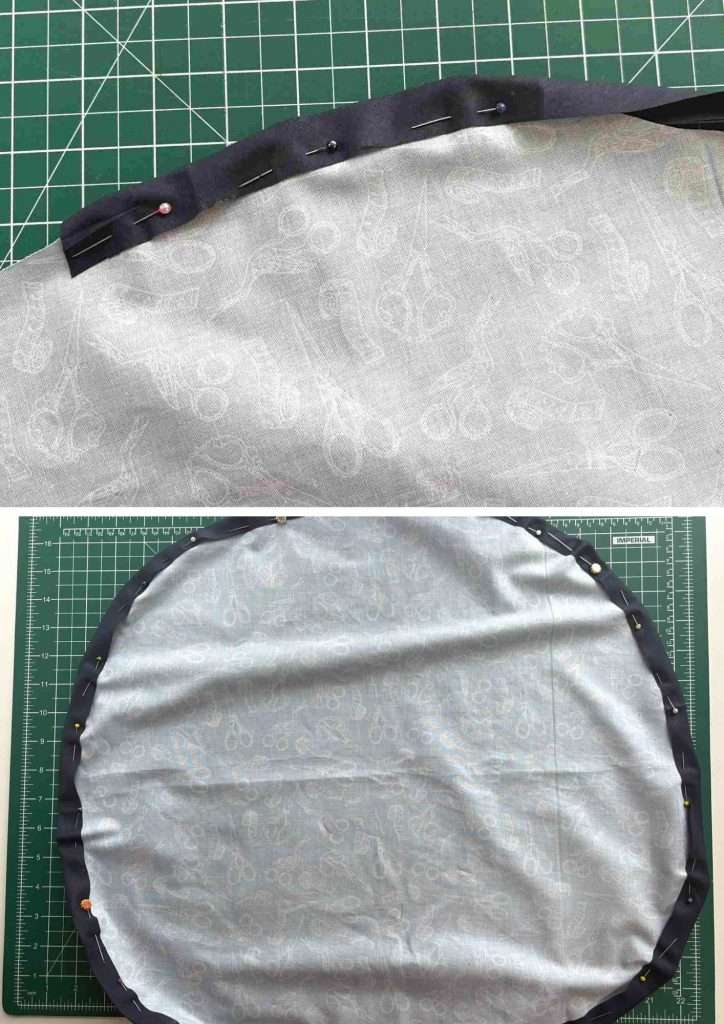
Sew around the bias binding but leave the end open so that you can insert your elastic or string. I recommend elastic as it is easier to get a good tight finish.
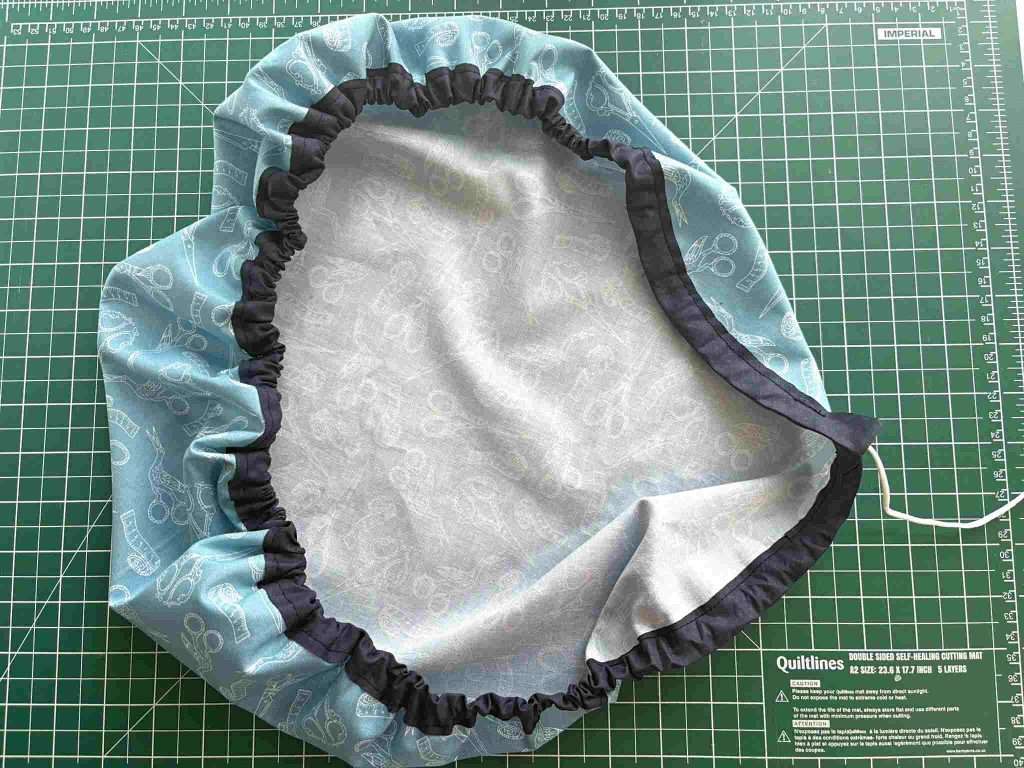
Attach a safety pin to the end of the elastic and thread it around the tube that you formed with the bias binding. Leave it out at both ends. Repeat for the seat back too.
Assemble your Upcycled Office Chair
Now is the time to put it all back together! Place your foam into the correct locations and check that you are happy with them. Then, use spray glue to hold them in place.
Wrap your seat cover around the foam covered seat and pull the elastic tight. Knot the elastic to hold it in place. Cut down your elastic and feed it into the bias binding tube. Your seat is now covered!
Repeat this process for the seat back. If your chair is like mine, you will then have a plastic cover to clip into place on the back of the seat back.
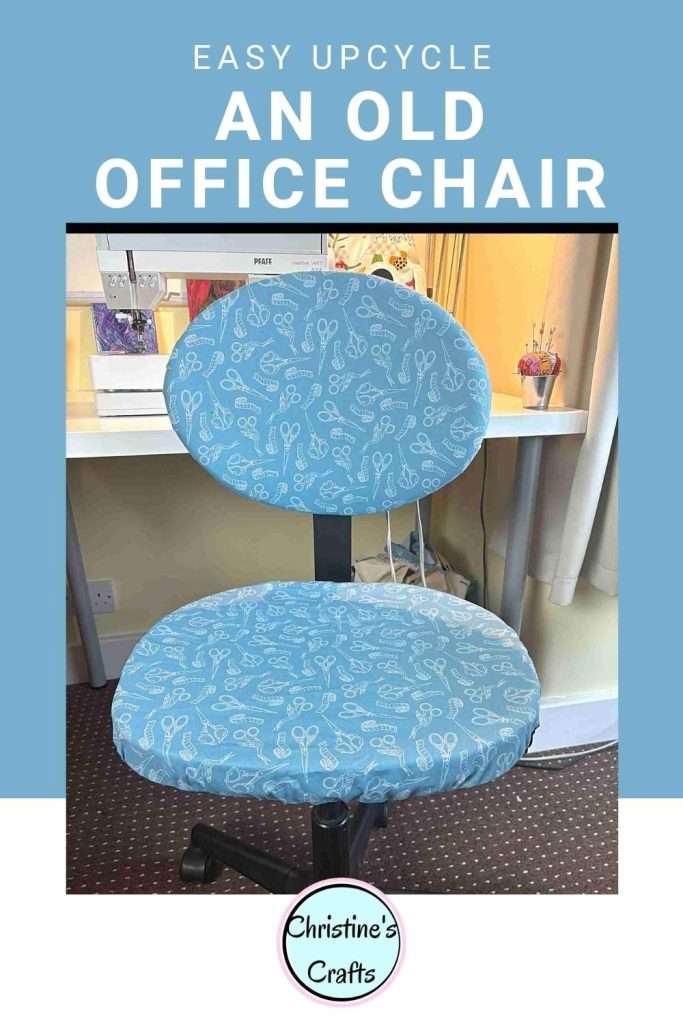
Congratulations you now have a fully upcycled office chair ready for many more years service. I absolutely love mine and it is the chair that I use for sewing on my machine. Notice, the pile of fabric scraps under the table waiting for my next project! The chair is now not only prettier but also more comfortable.

And next …
If you are looking for more sewing projects then check out my sewing section.
But if you are looking more for upcycling projects then how about upcycling all those cardboard boxes into pretty storage solutions? Or perhaps taking your old books that are only fit for recycling and turning them into book page roses?
If, like me, your room is multi-functional check out these great ideas for improving your room and making it feel more spacious.
Whatever you decide to create, make sure you pin this project to your Pinterest board so that you can find it later!