Seed Paper – How to make
As an Amazon Associate I earn from qualifying purchases
In this tutorial I will show you how to make seed paper really easily and inexpensively from items that you probably have at home already. Feel free to adapt what you do have to make your paper. For example an old picture frame makes an excellent frame especially if you want larger pieces of seed paper. Instead of cheesecloth you could use door screen or any fabric that will allow water to pass easily through and stay taught in the frame.
You can use the paper however you like once you have made it but I think that it makes beautiful, original gift tags or bookmarks. Just make sure the person you give it to knows what it really is!
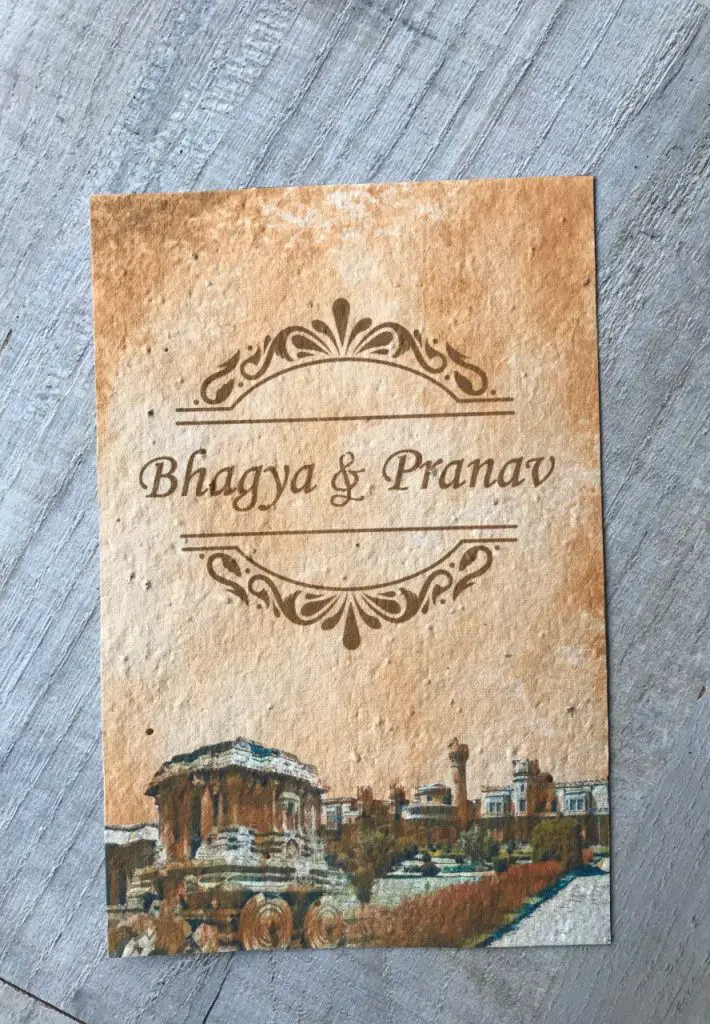
2020 UPDATE: One of my readers has used seed paper for her wedding invitations. Aren’t they gorgeous? There are also instructions on the reverse so that all the guests know how to plant their invitation after the wedding. What a great idea! Have a wonderful day Bhagya and Pranav!
This page contains affiliate links meaning I earn a commission if you use those links at no cost to you. I only recommend brands I use and trust.
You will need:
Old scrap paper (I used copier paper and tissue paper)
Water
4 Craft sticks (popsicle sticks)
Waterproof glue
Stick blender and small container
Old kitchen towels
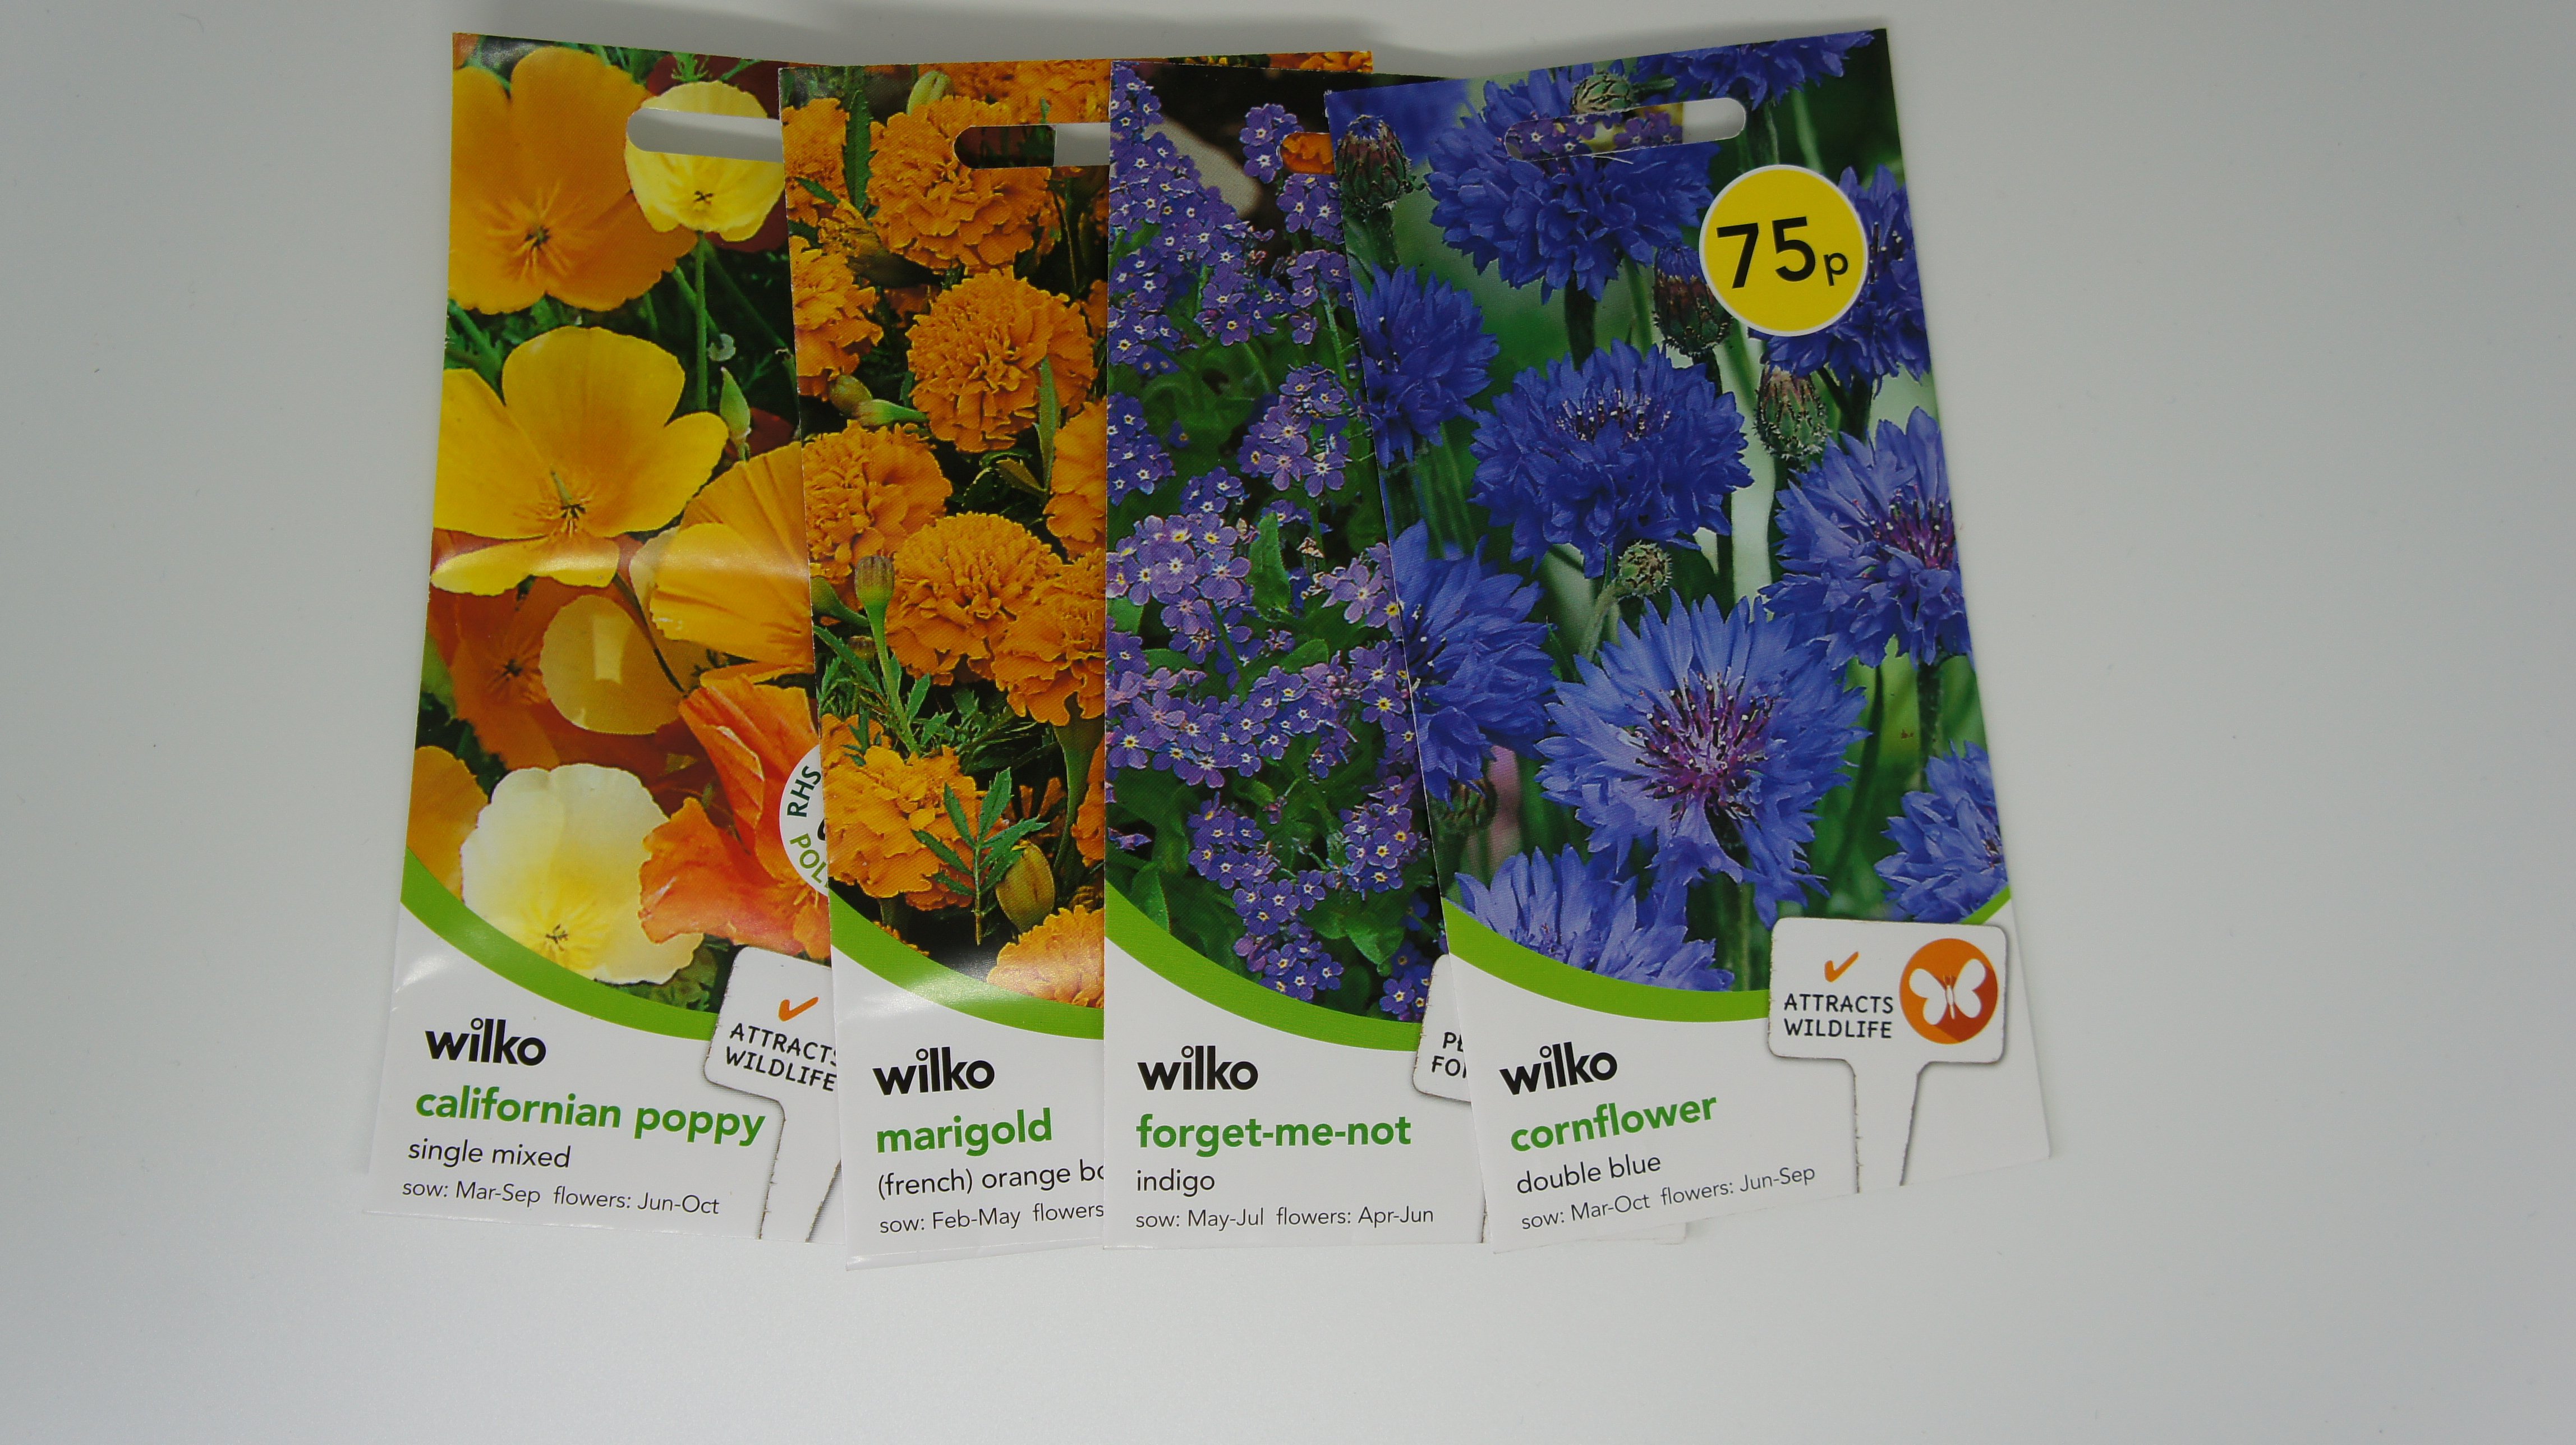
Seeds (available from Suttons)
If you prefer to watch how how to make your seed paper scroll down to the video instructions at the end of the tutorial
Video Tutorial
This video is also available on my YouTube channel.
Make a frame
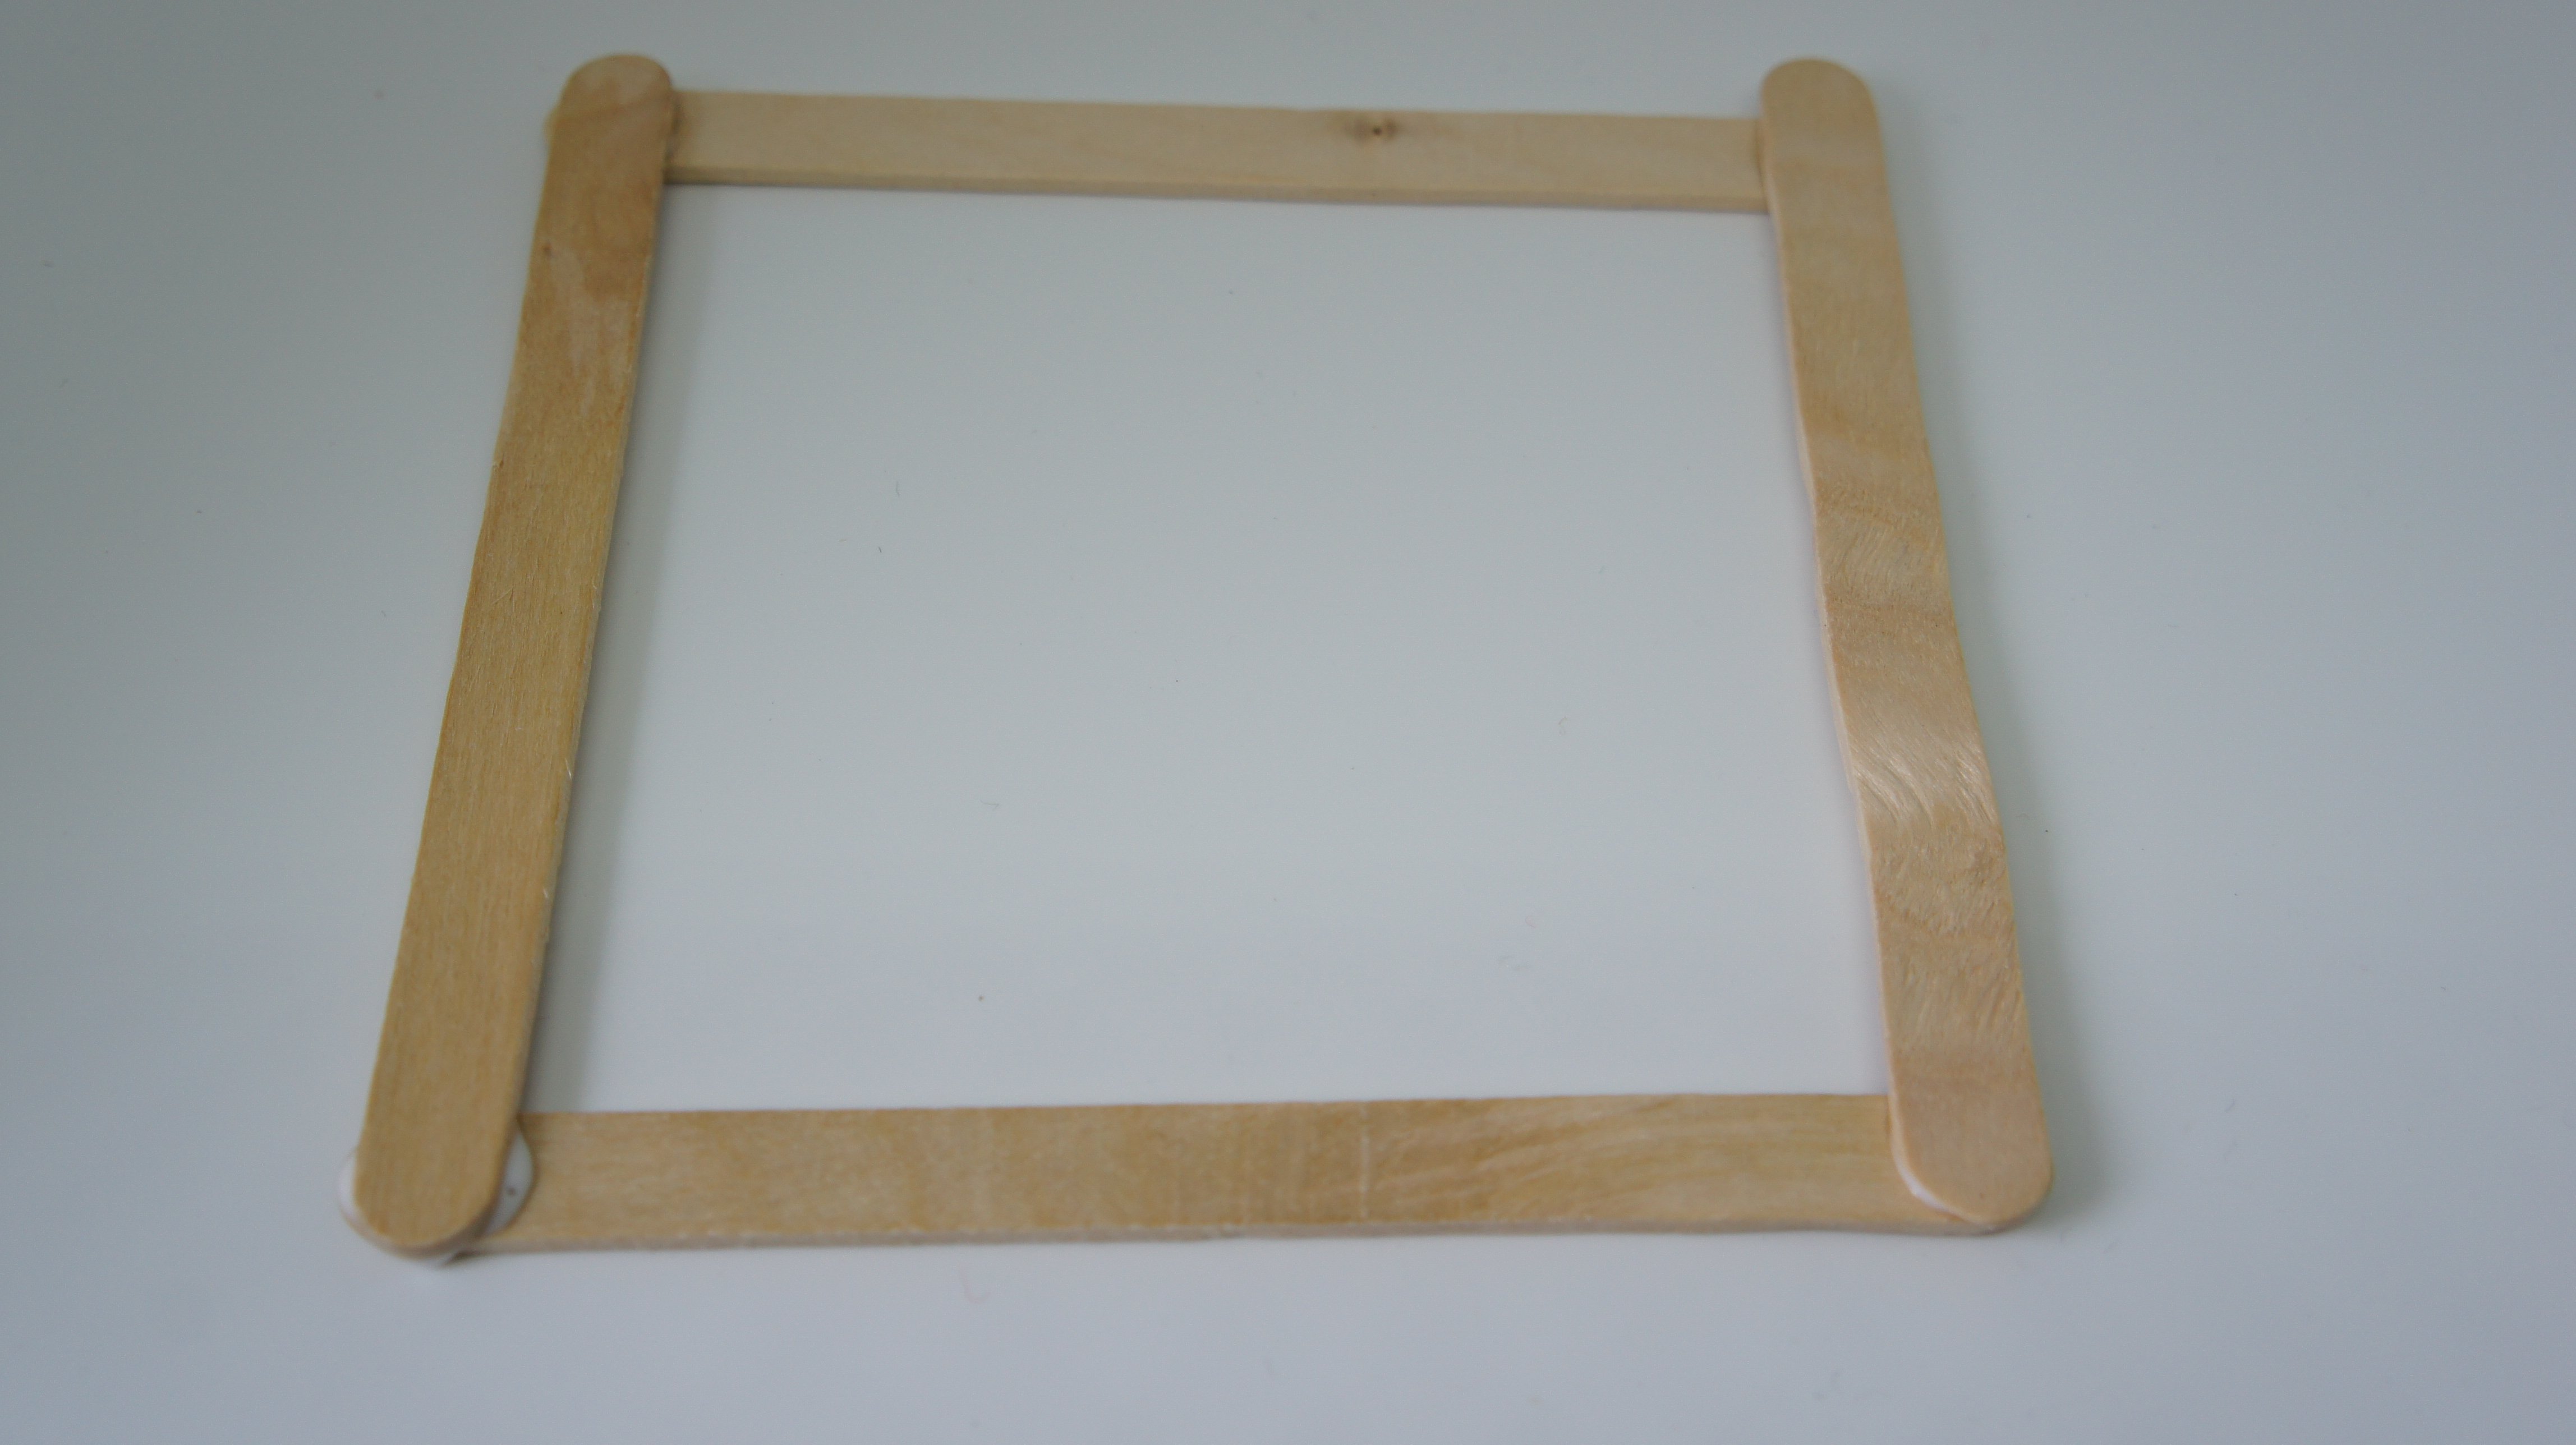
Make a frame to form your paper in. Take the 4 craft sticks and place them to make a square shape with the ends overlapping. Then glue them in this shape using waterproof glue and wait for them to dry.
Add cloth to your frame
Cut a piece of cheesecloth so that it is slightly larger than the frame. You are going to stretch it onto the frame and fasten it.
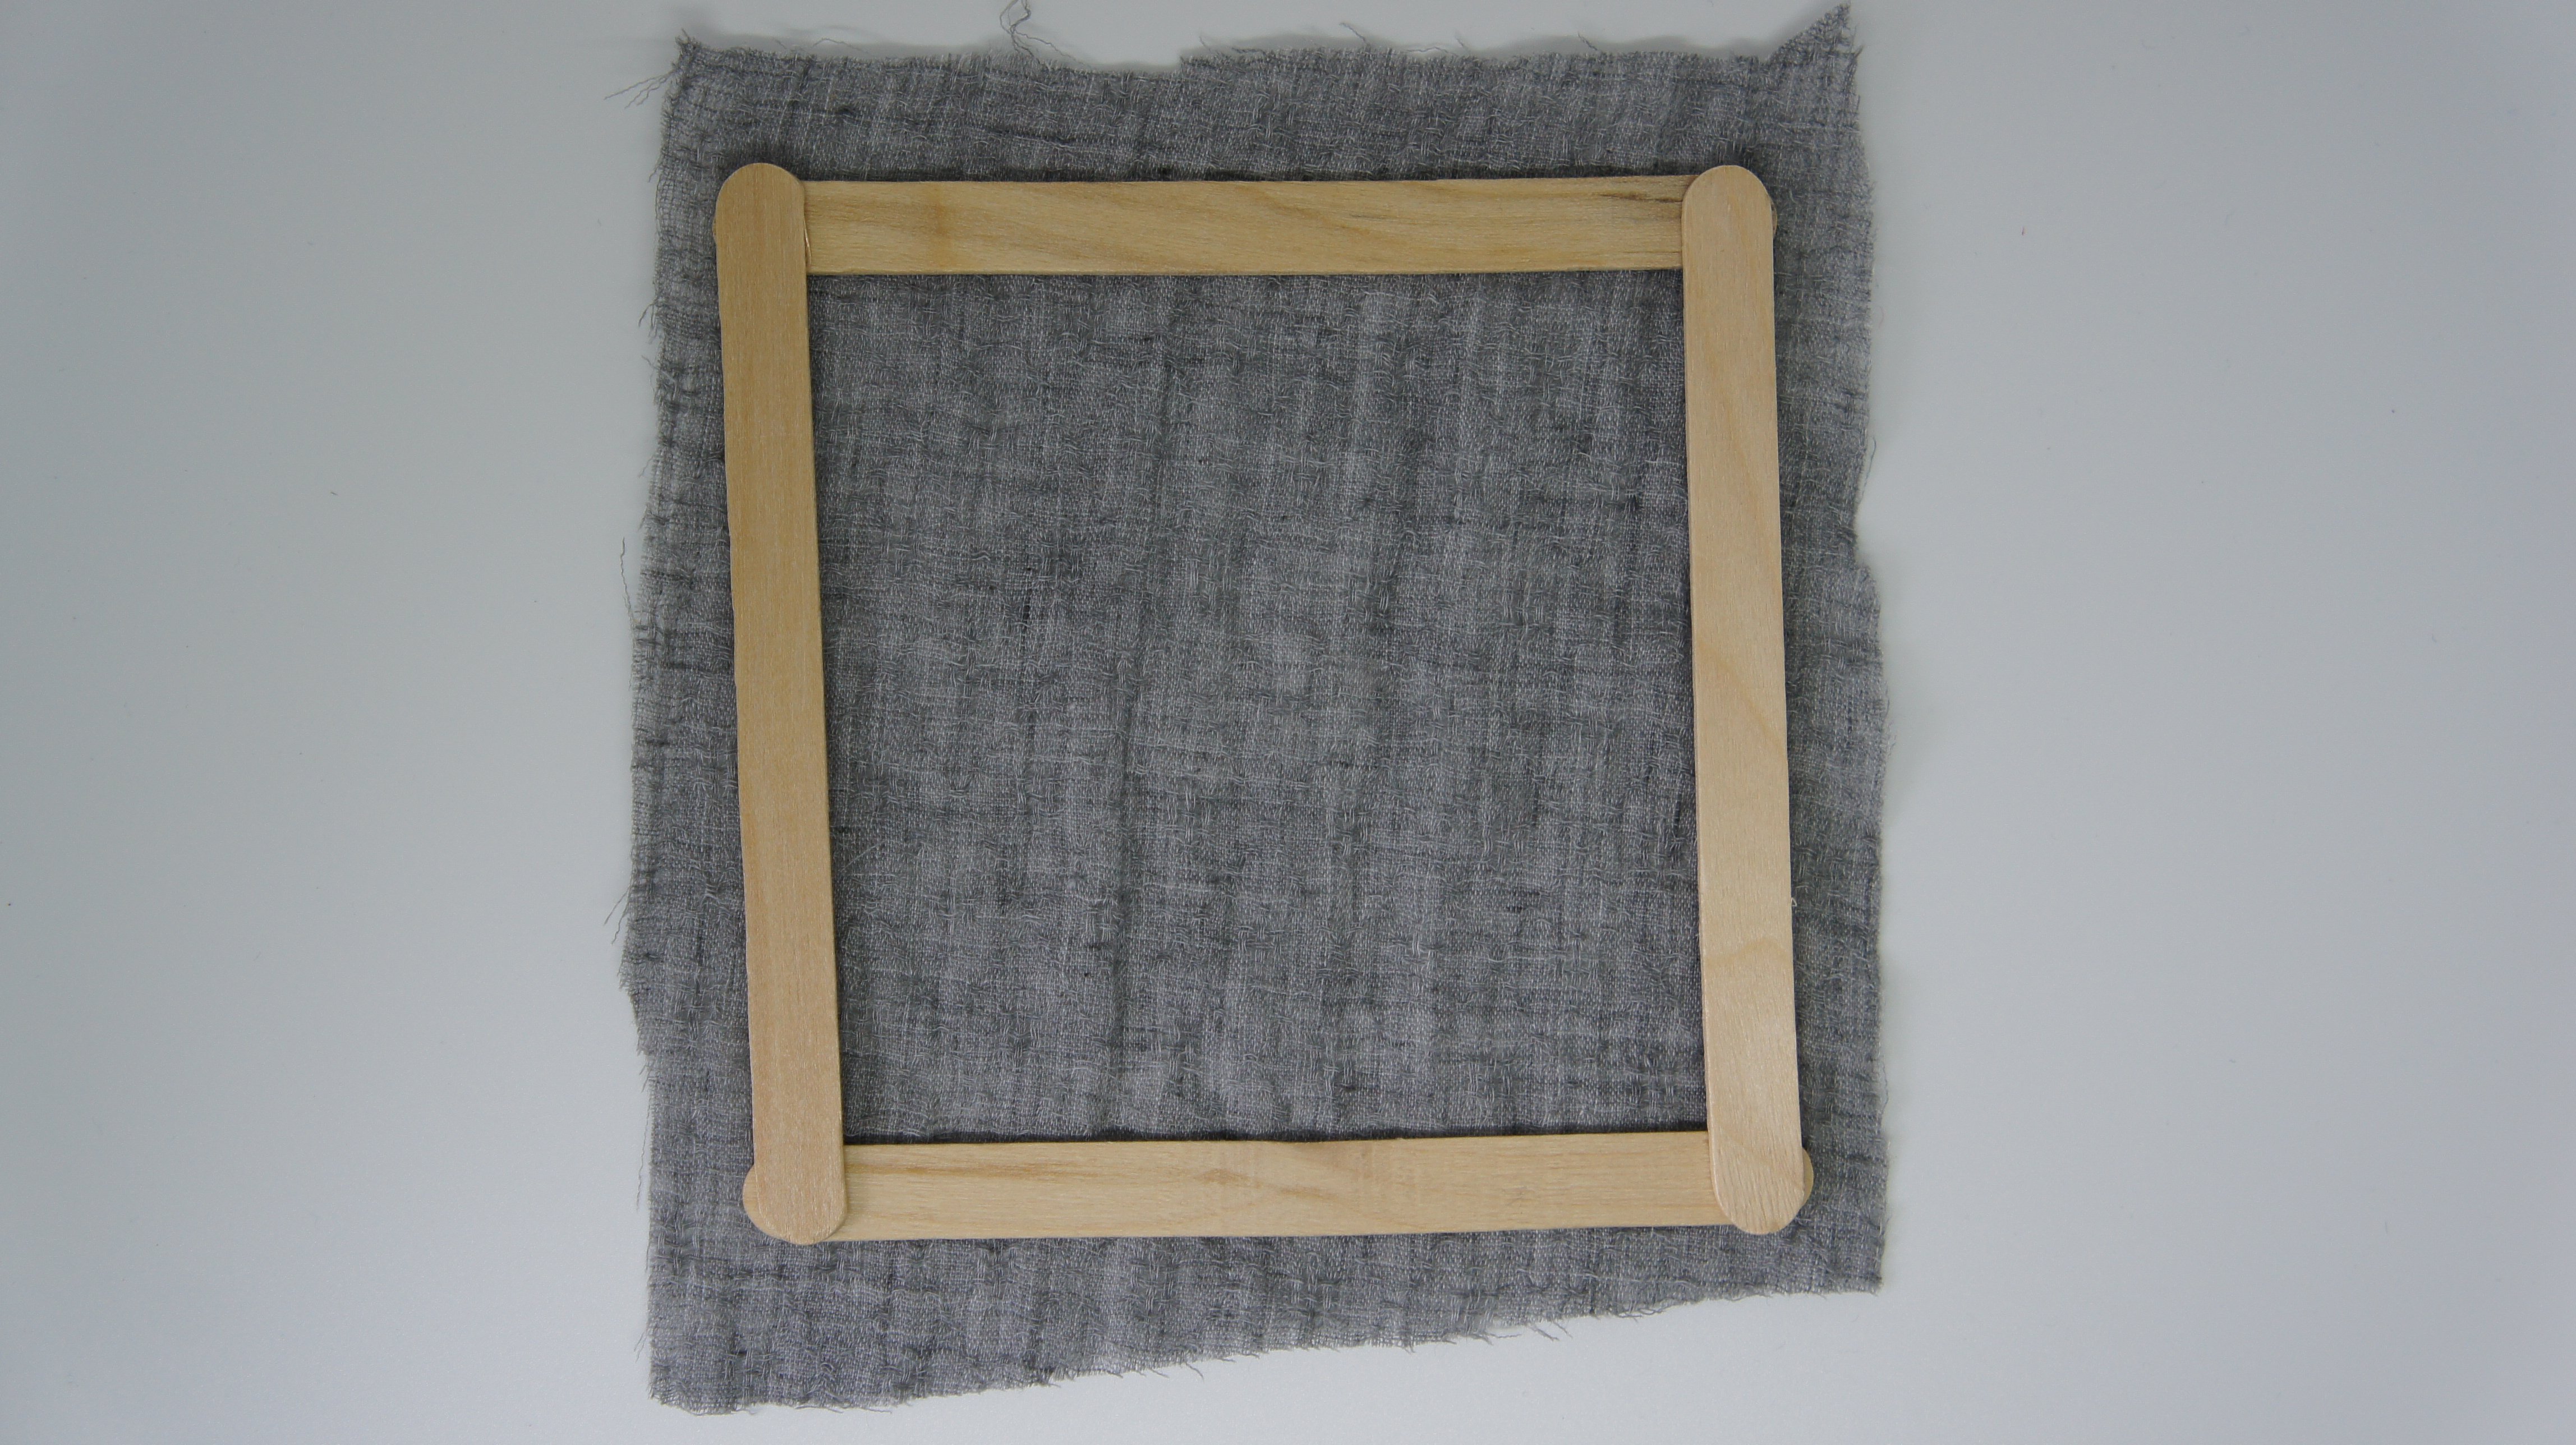
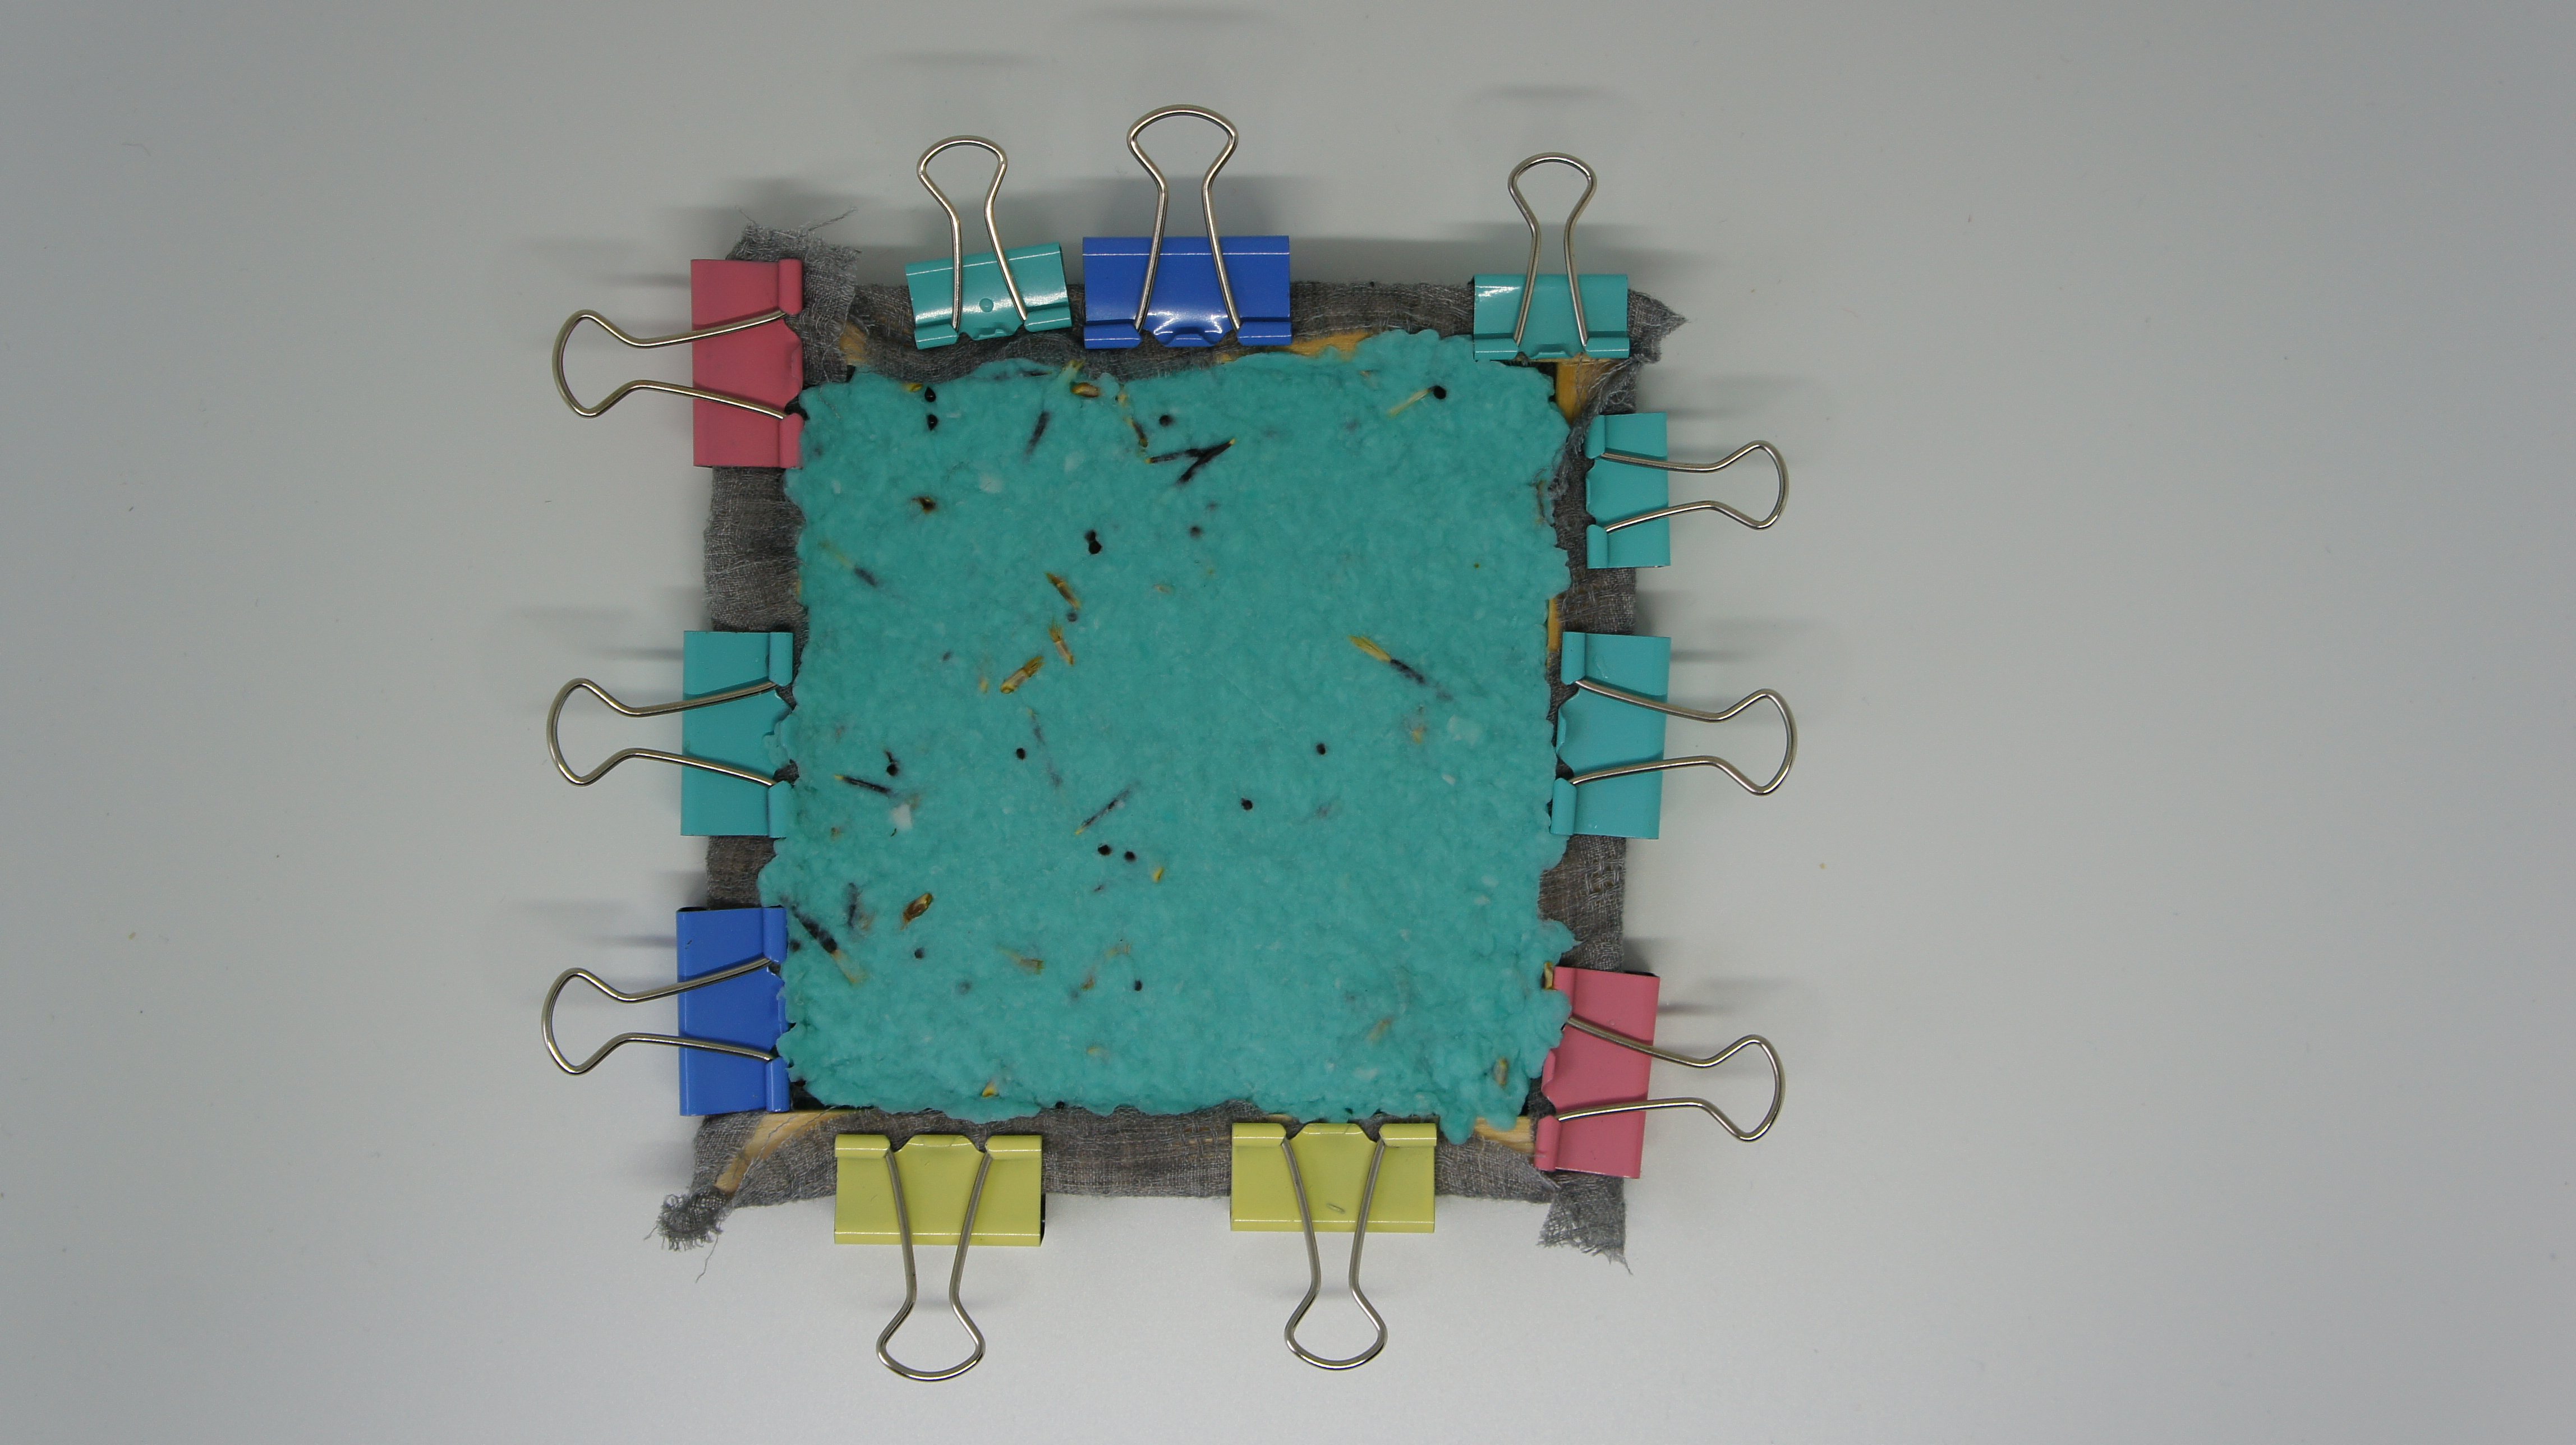
Now attach one side of the cheesecloth to the frame using the staple gun or foldback clips. I decided on the clips so that I could dismantle it easily (it makes getting the paper out easy!).
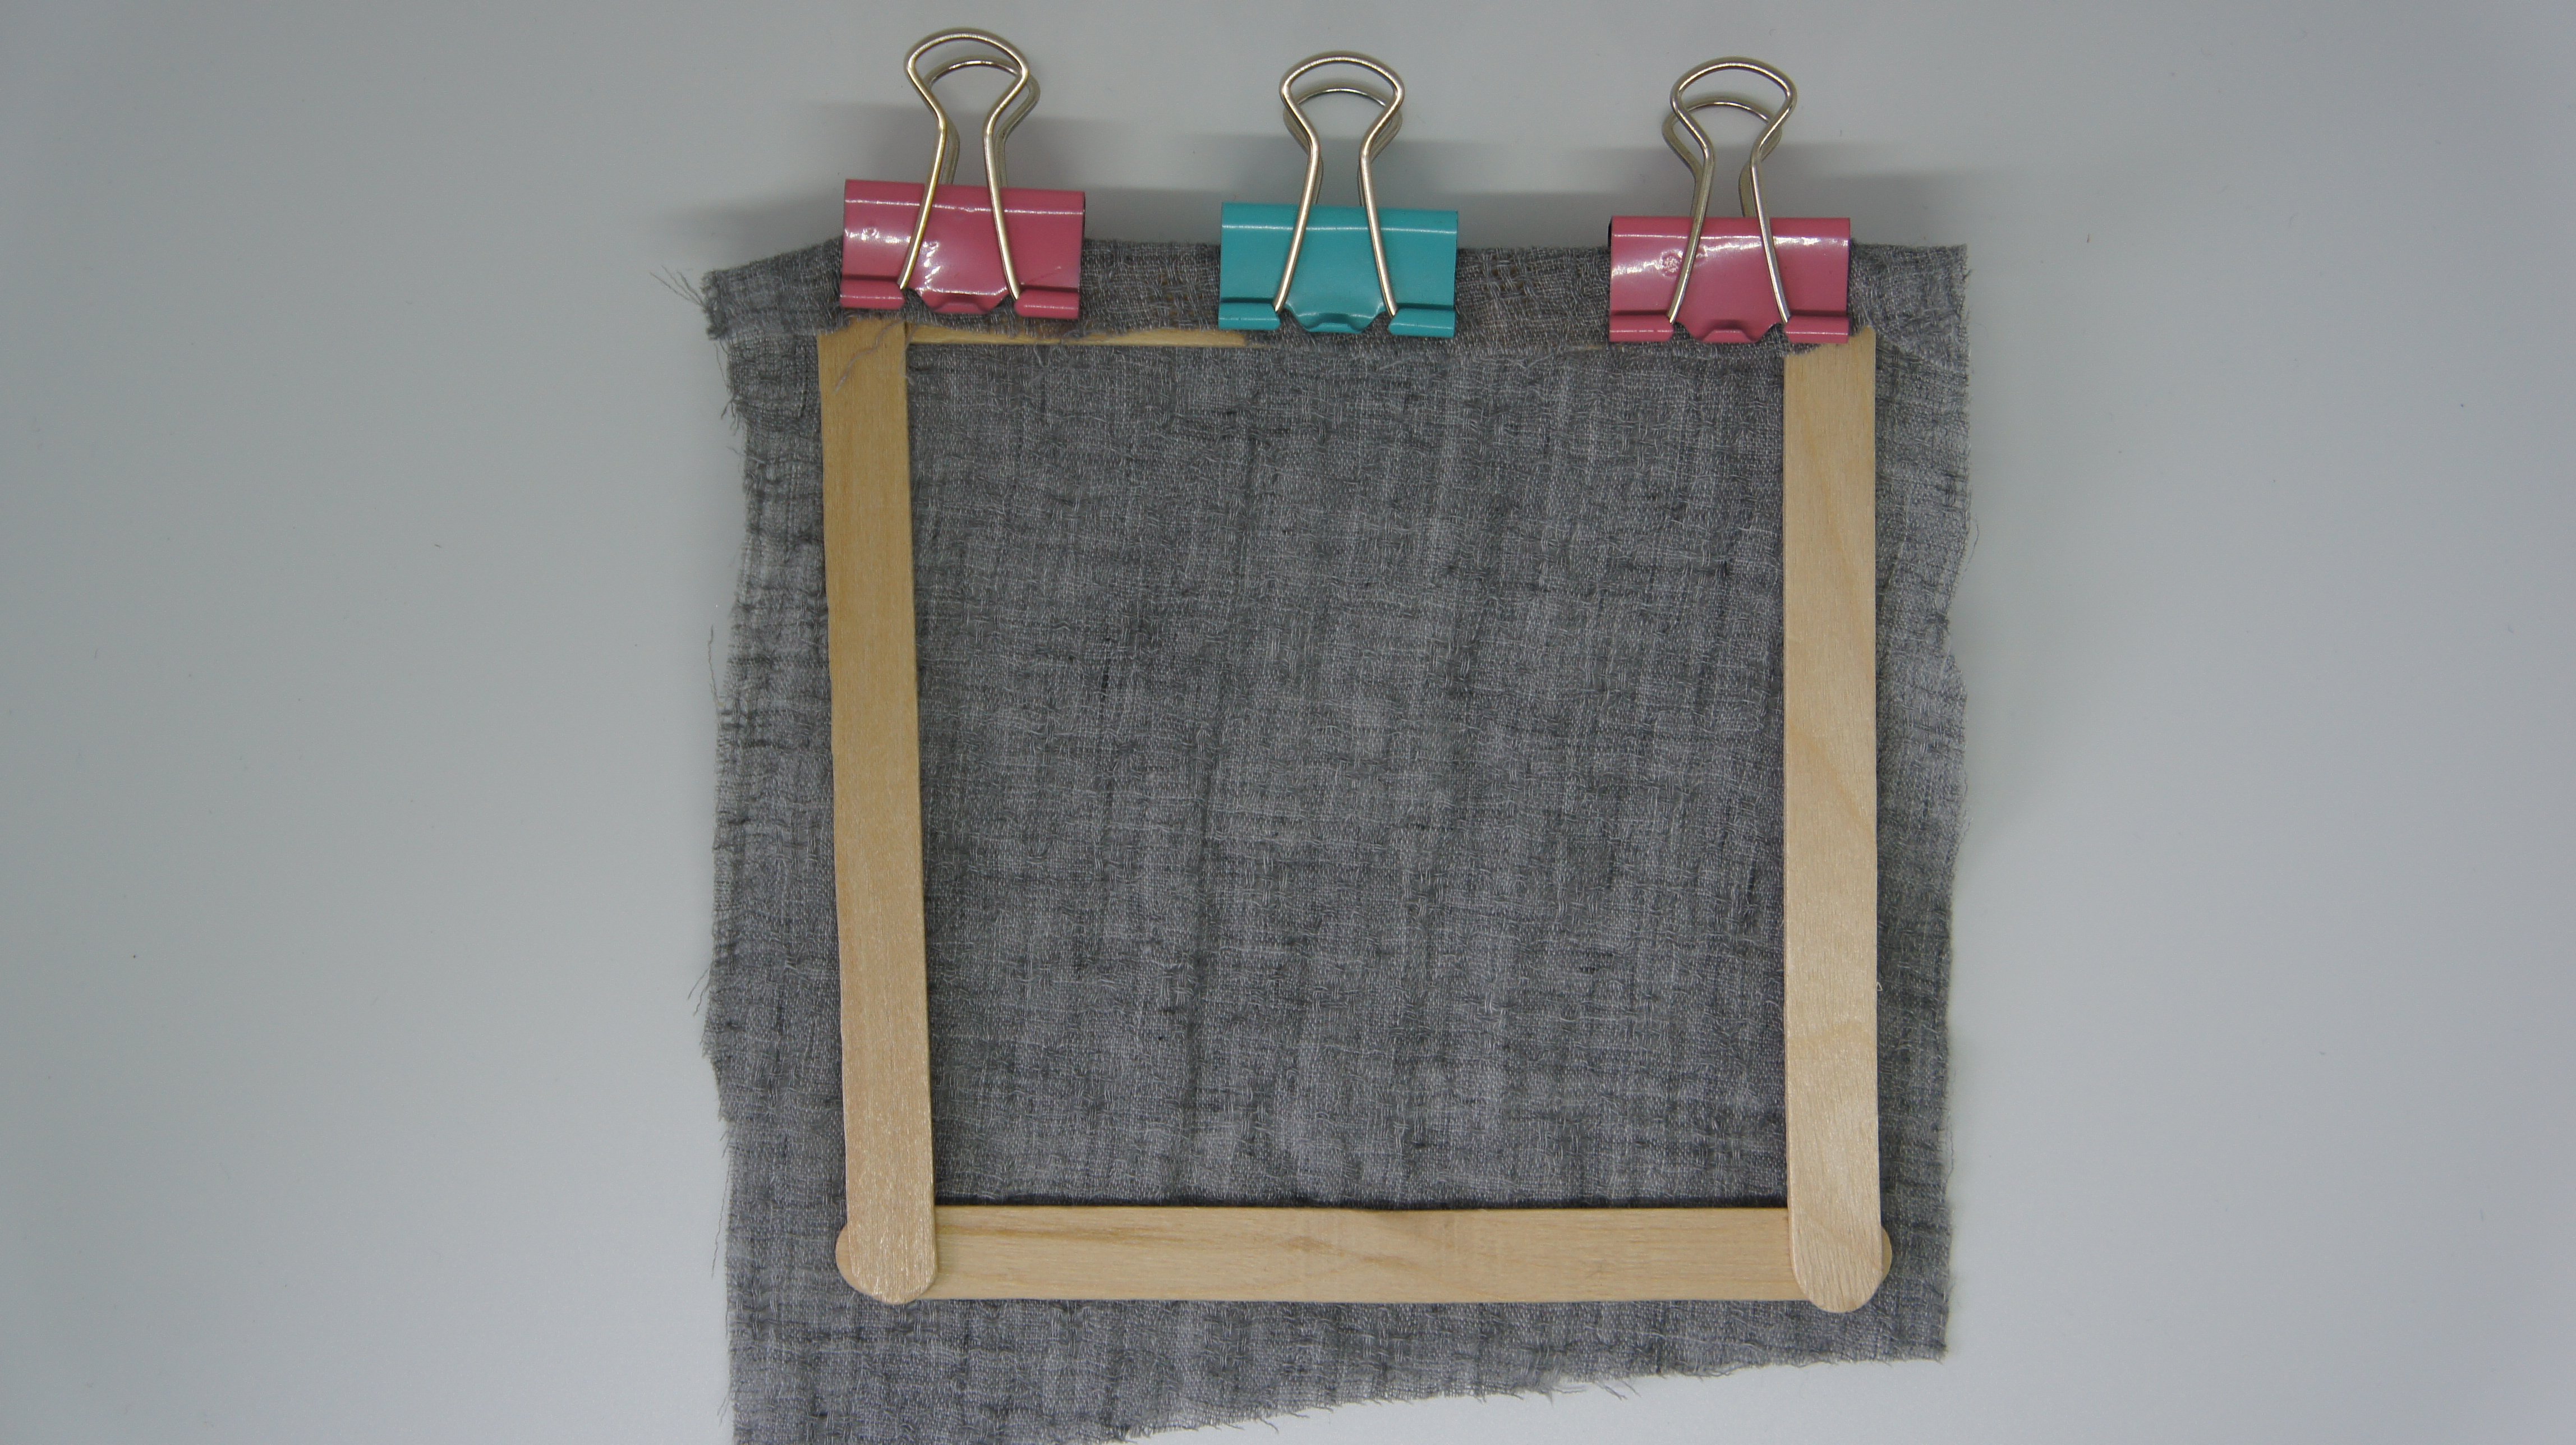
Now pull the cheesecloth taught and fasten it on the opposite side of the frame.
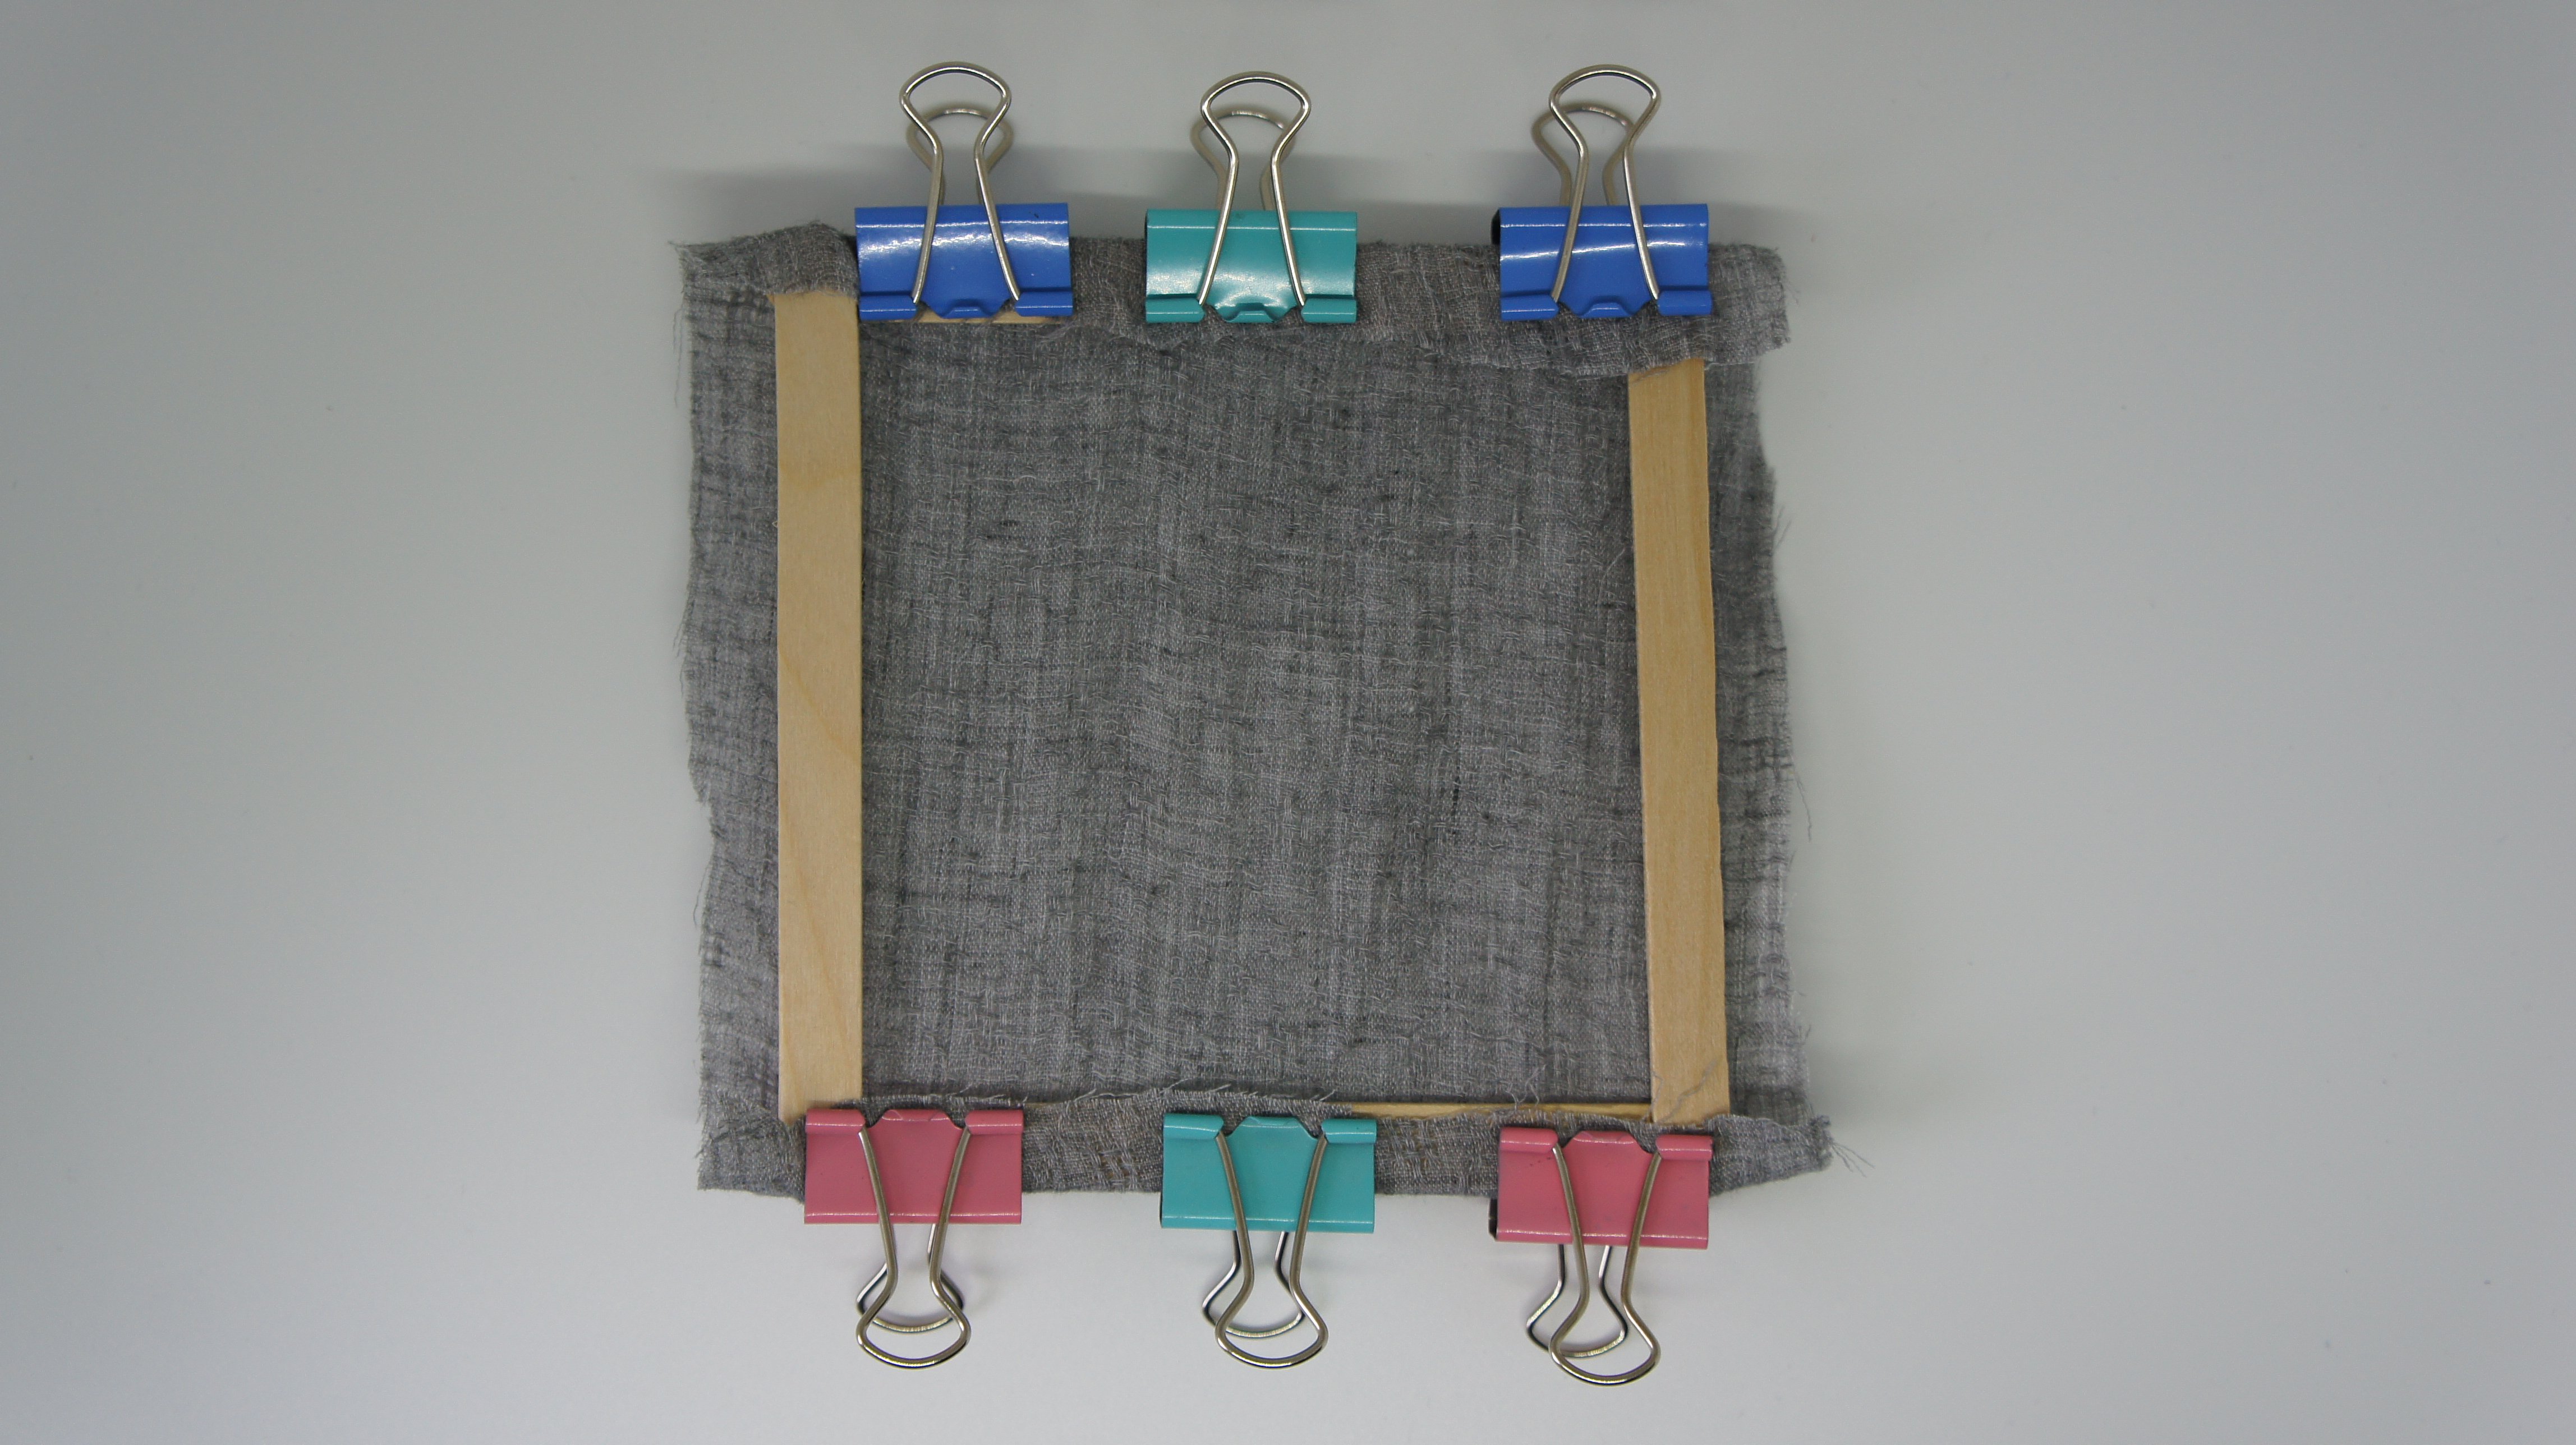
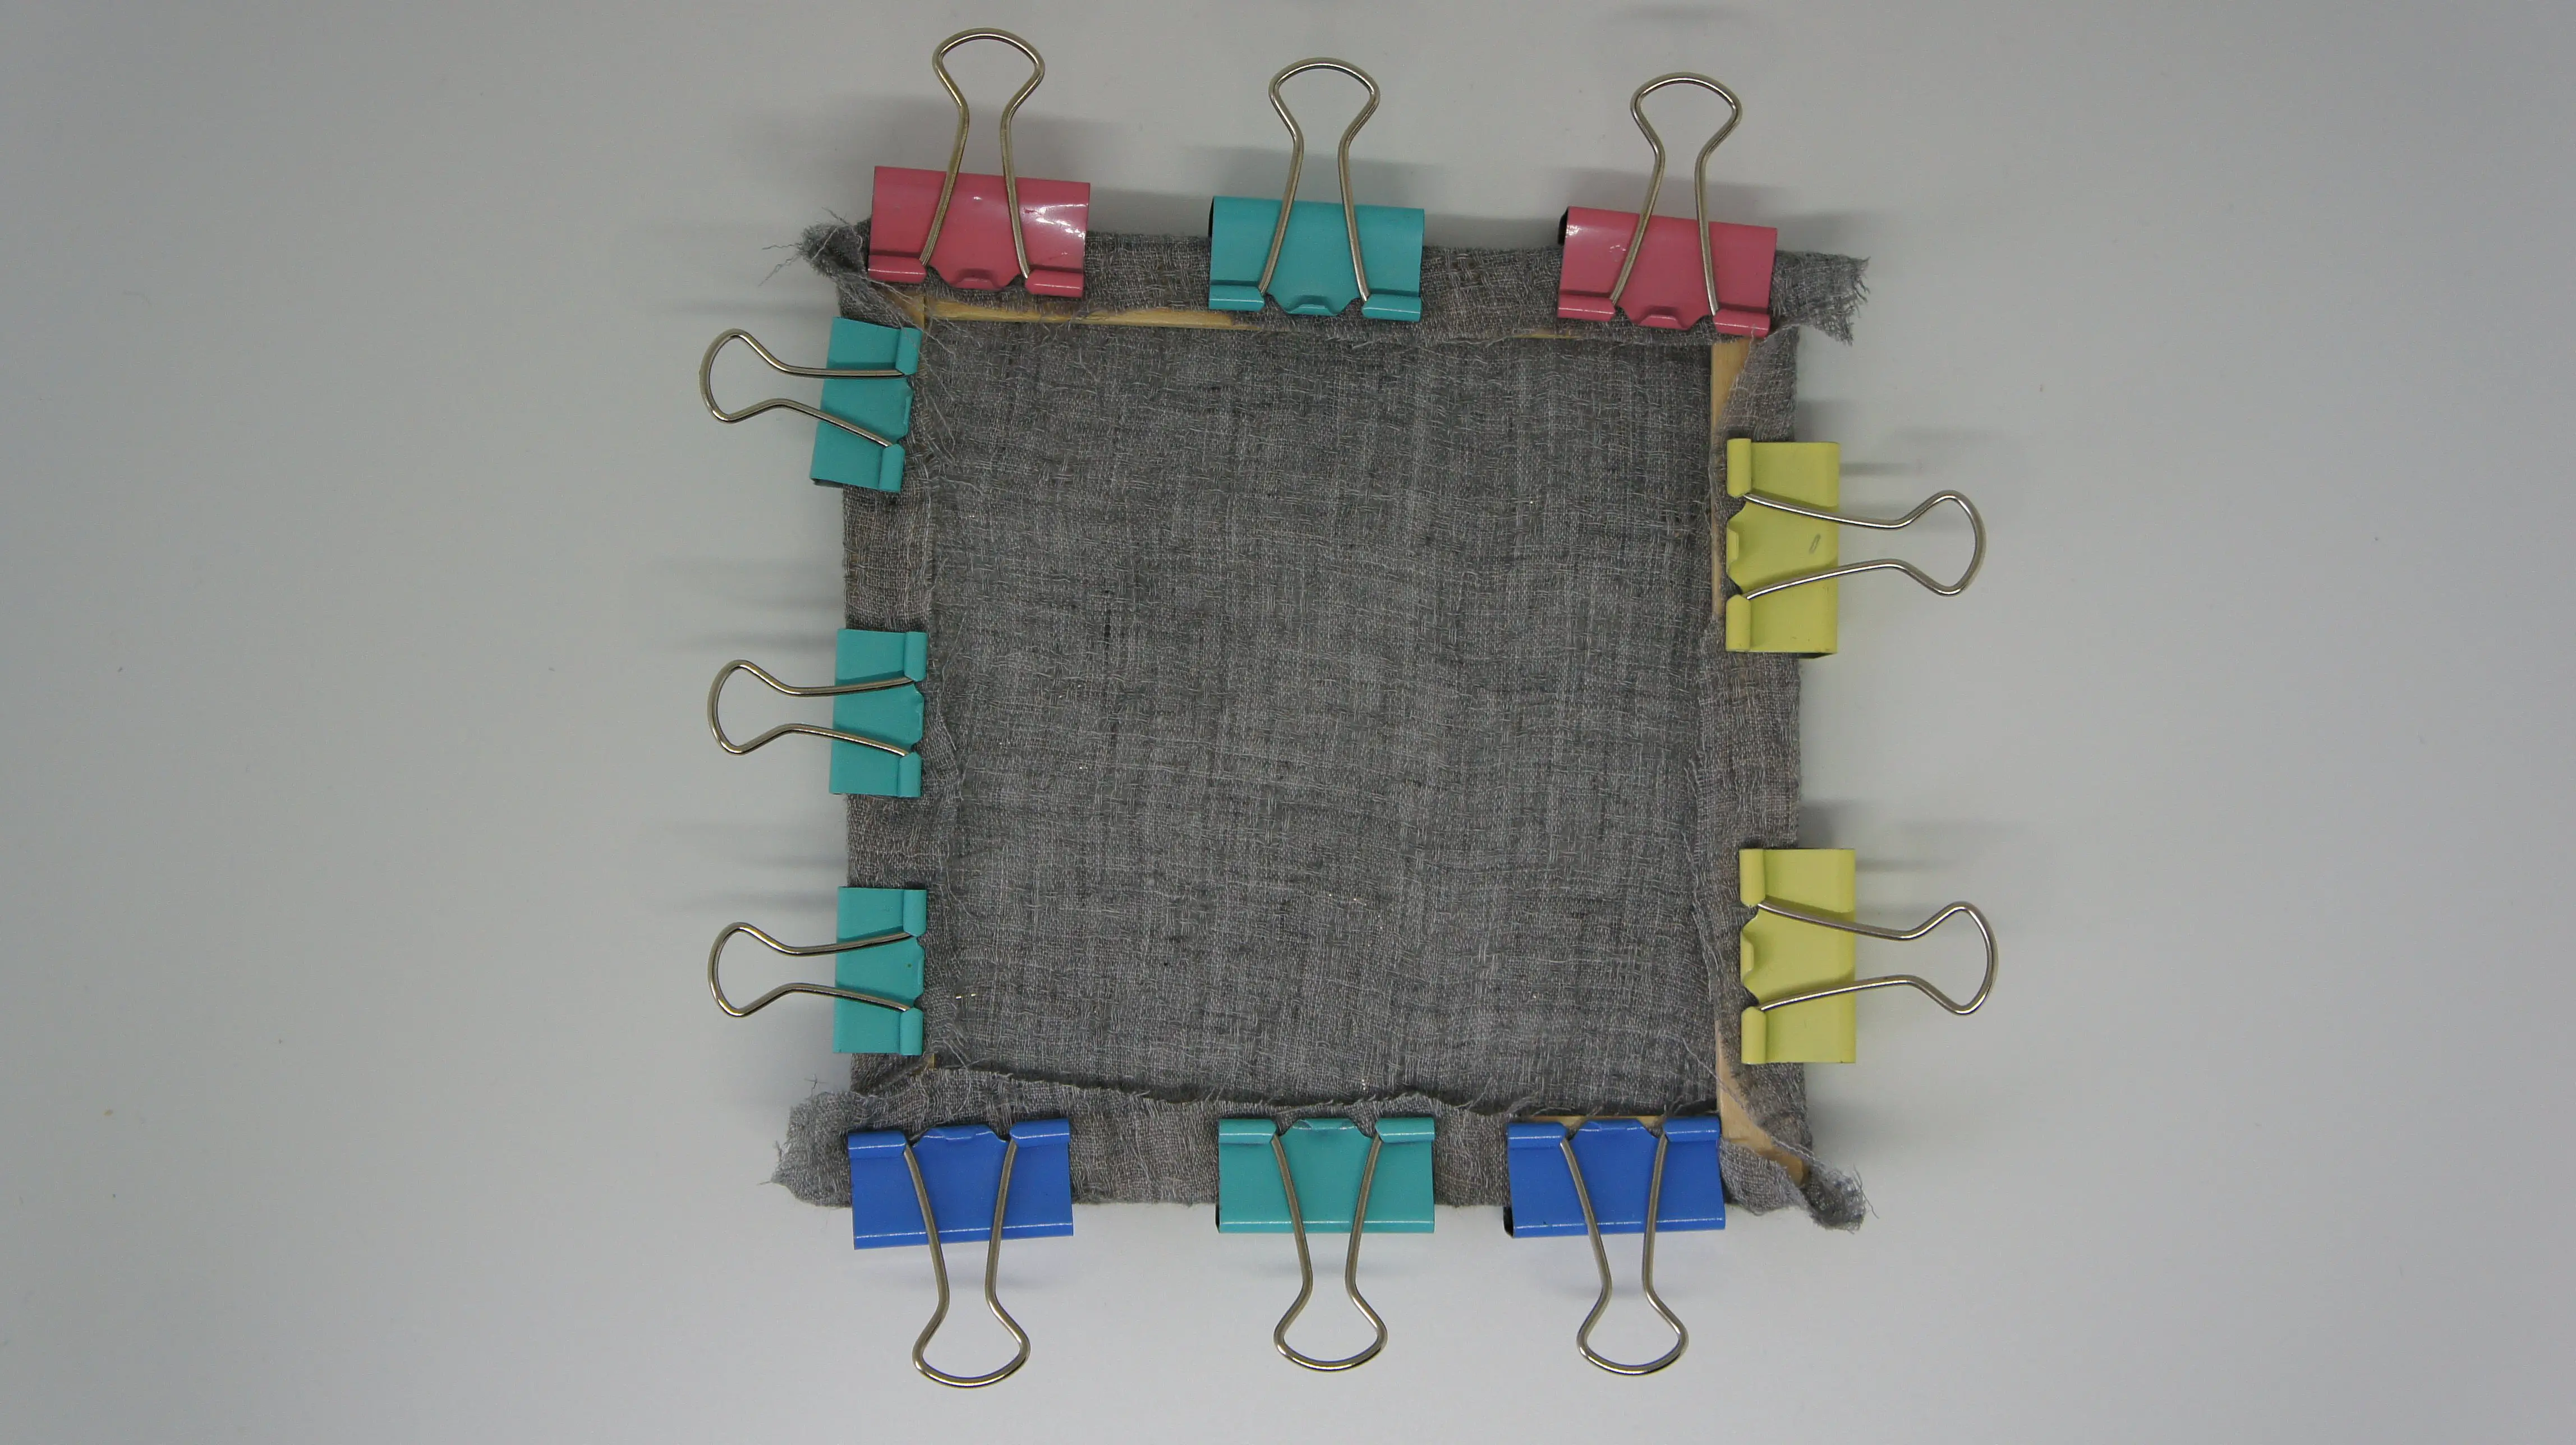
Now fasten one of the other sides, pull the cheesecloth taught and fasten the final side. You have now made your paper making frame.
Make seed paper sheets
Now you need to produce your paper pulp. You can use any paper for this but if you use coloured paper you will get coloured paper at the end. I used a combination of coloured tissue paper and white copier paper. All the paper I used was shredded and/or torn up.
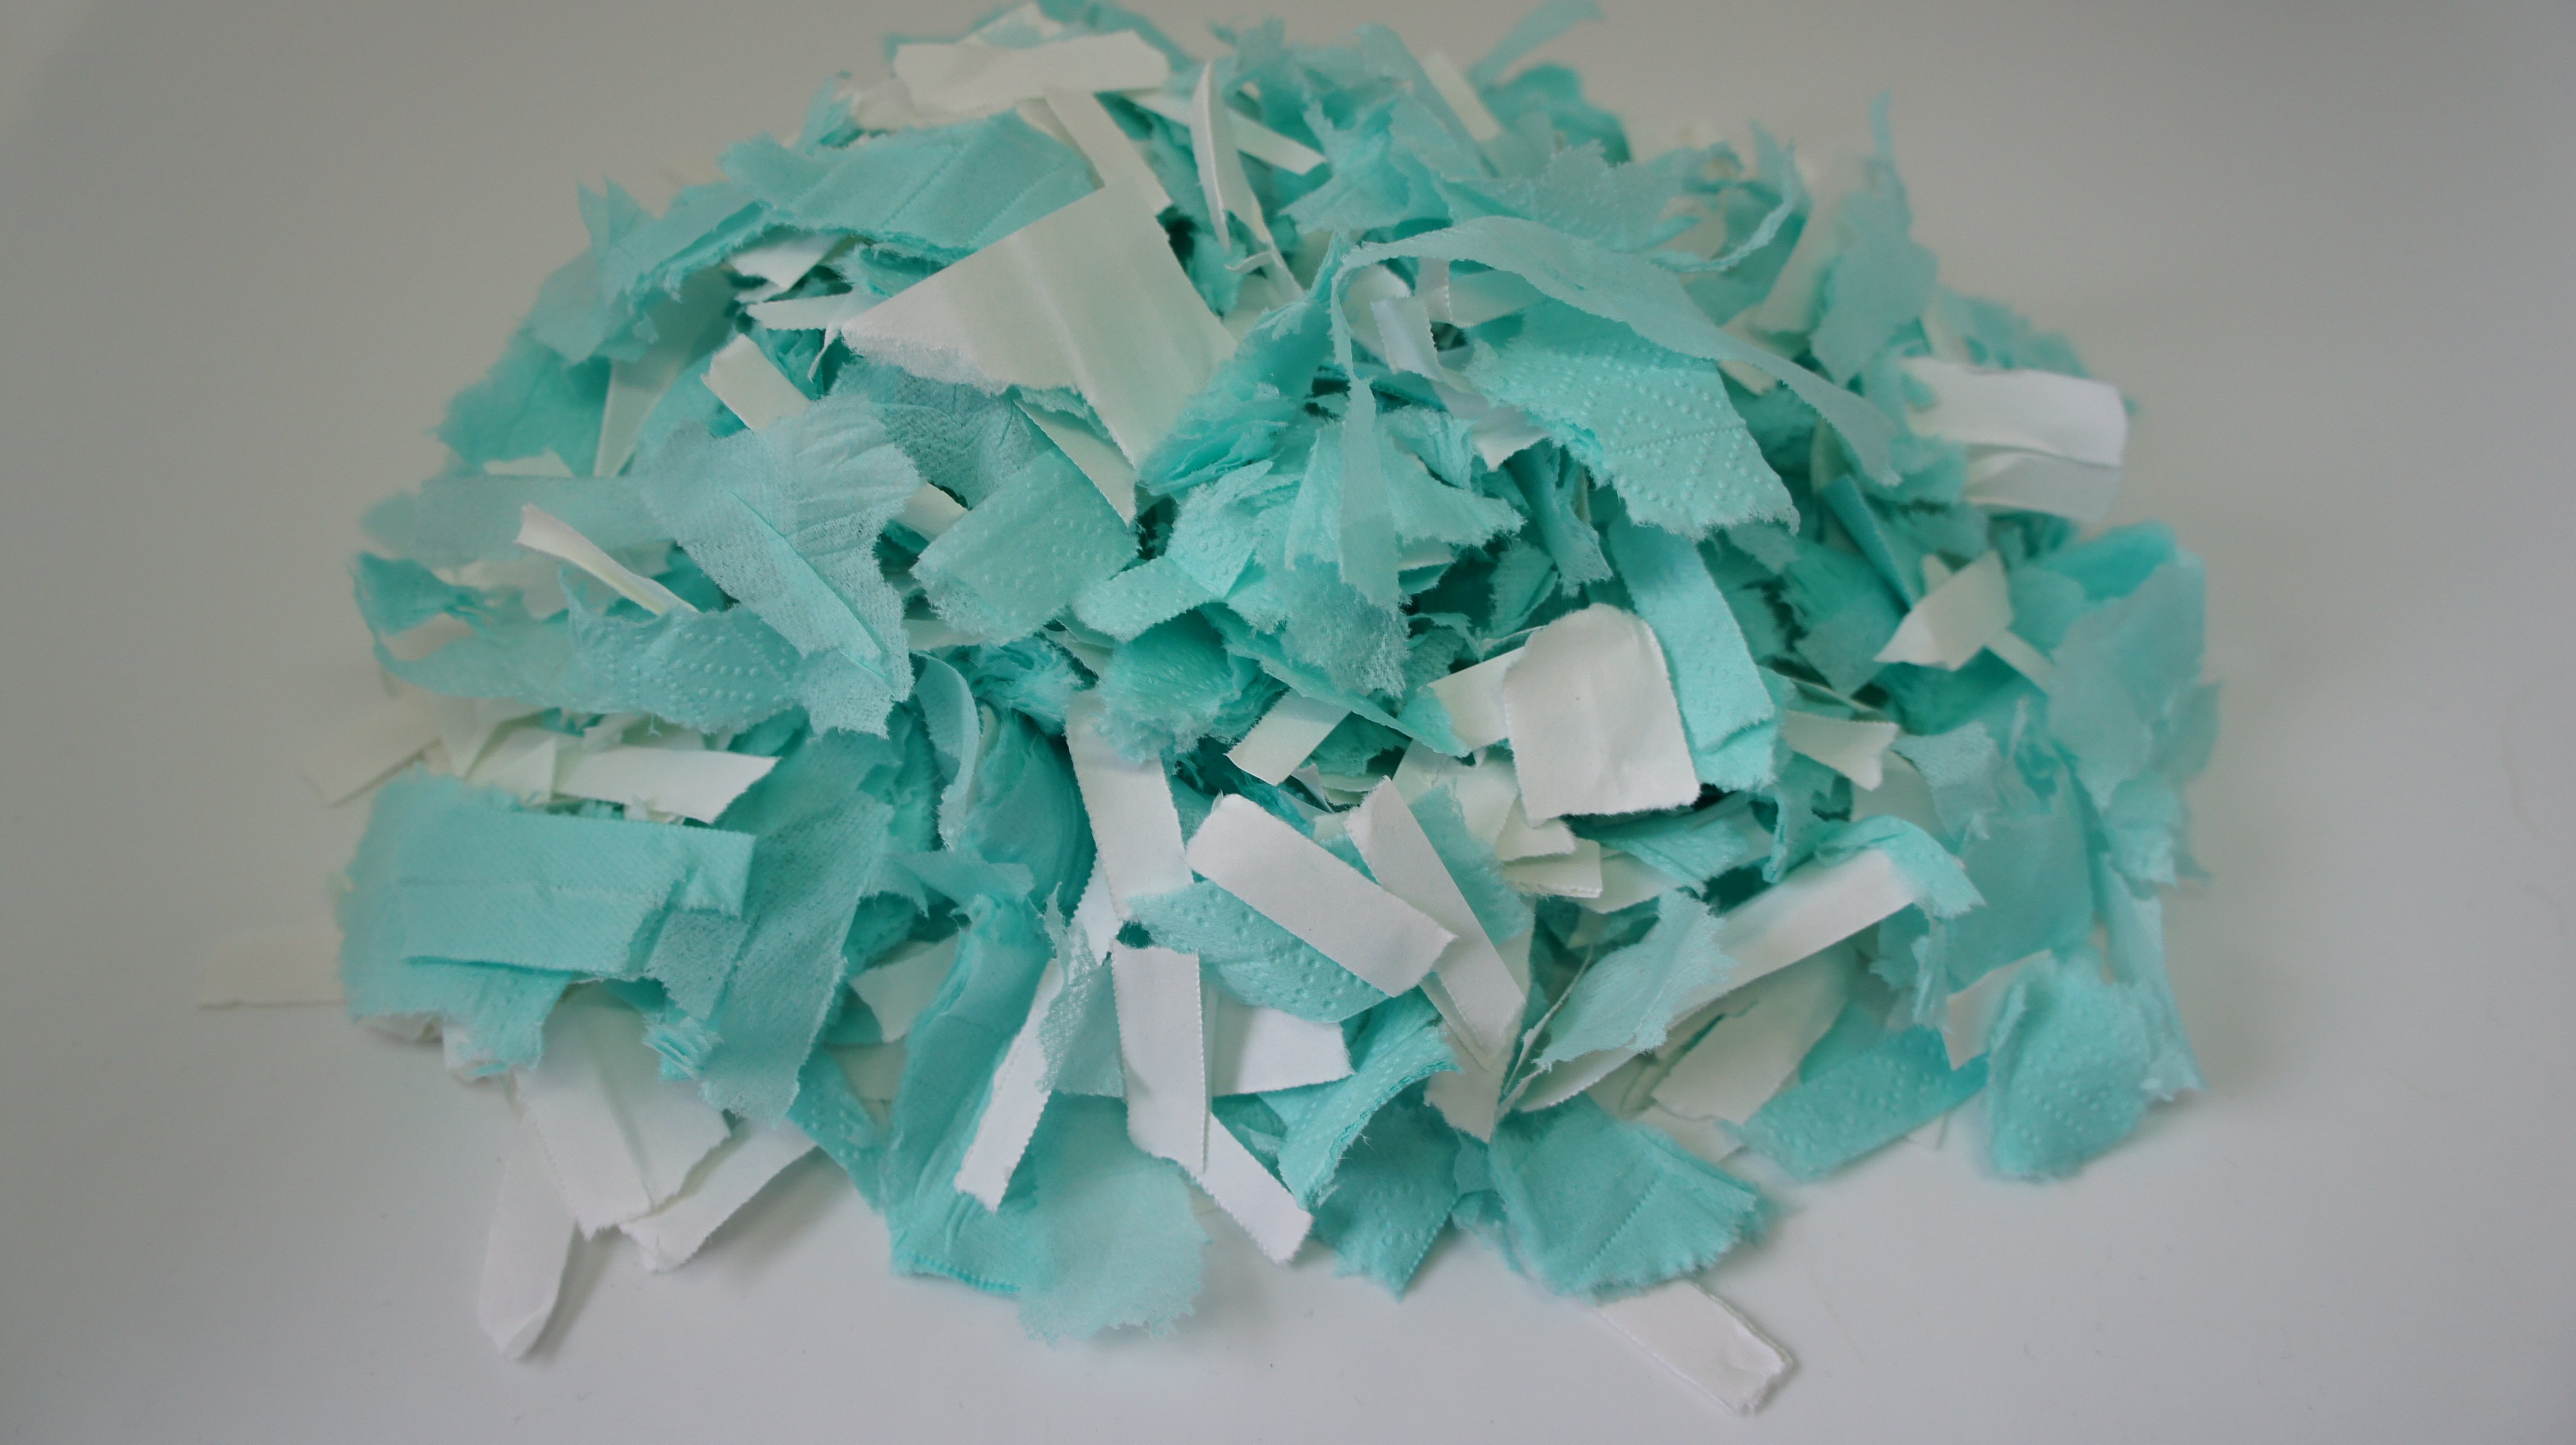
You need to soak your paper in warm water for at least an hour. This is really a guess as that is how long I soaked mine and it worked really well.
After an hour take some of the soaked paper, add some more water and pulp it. I used a stick blender in a glass and did it in several batches.
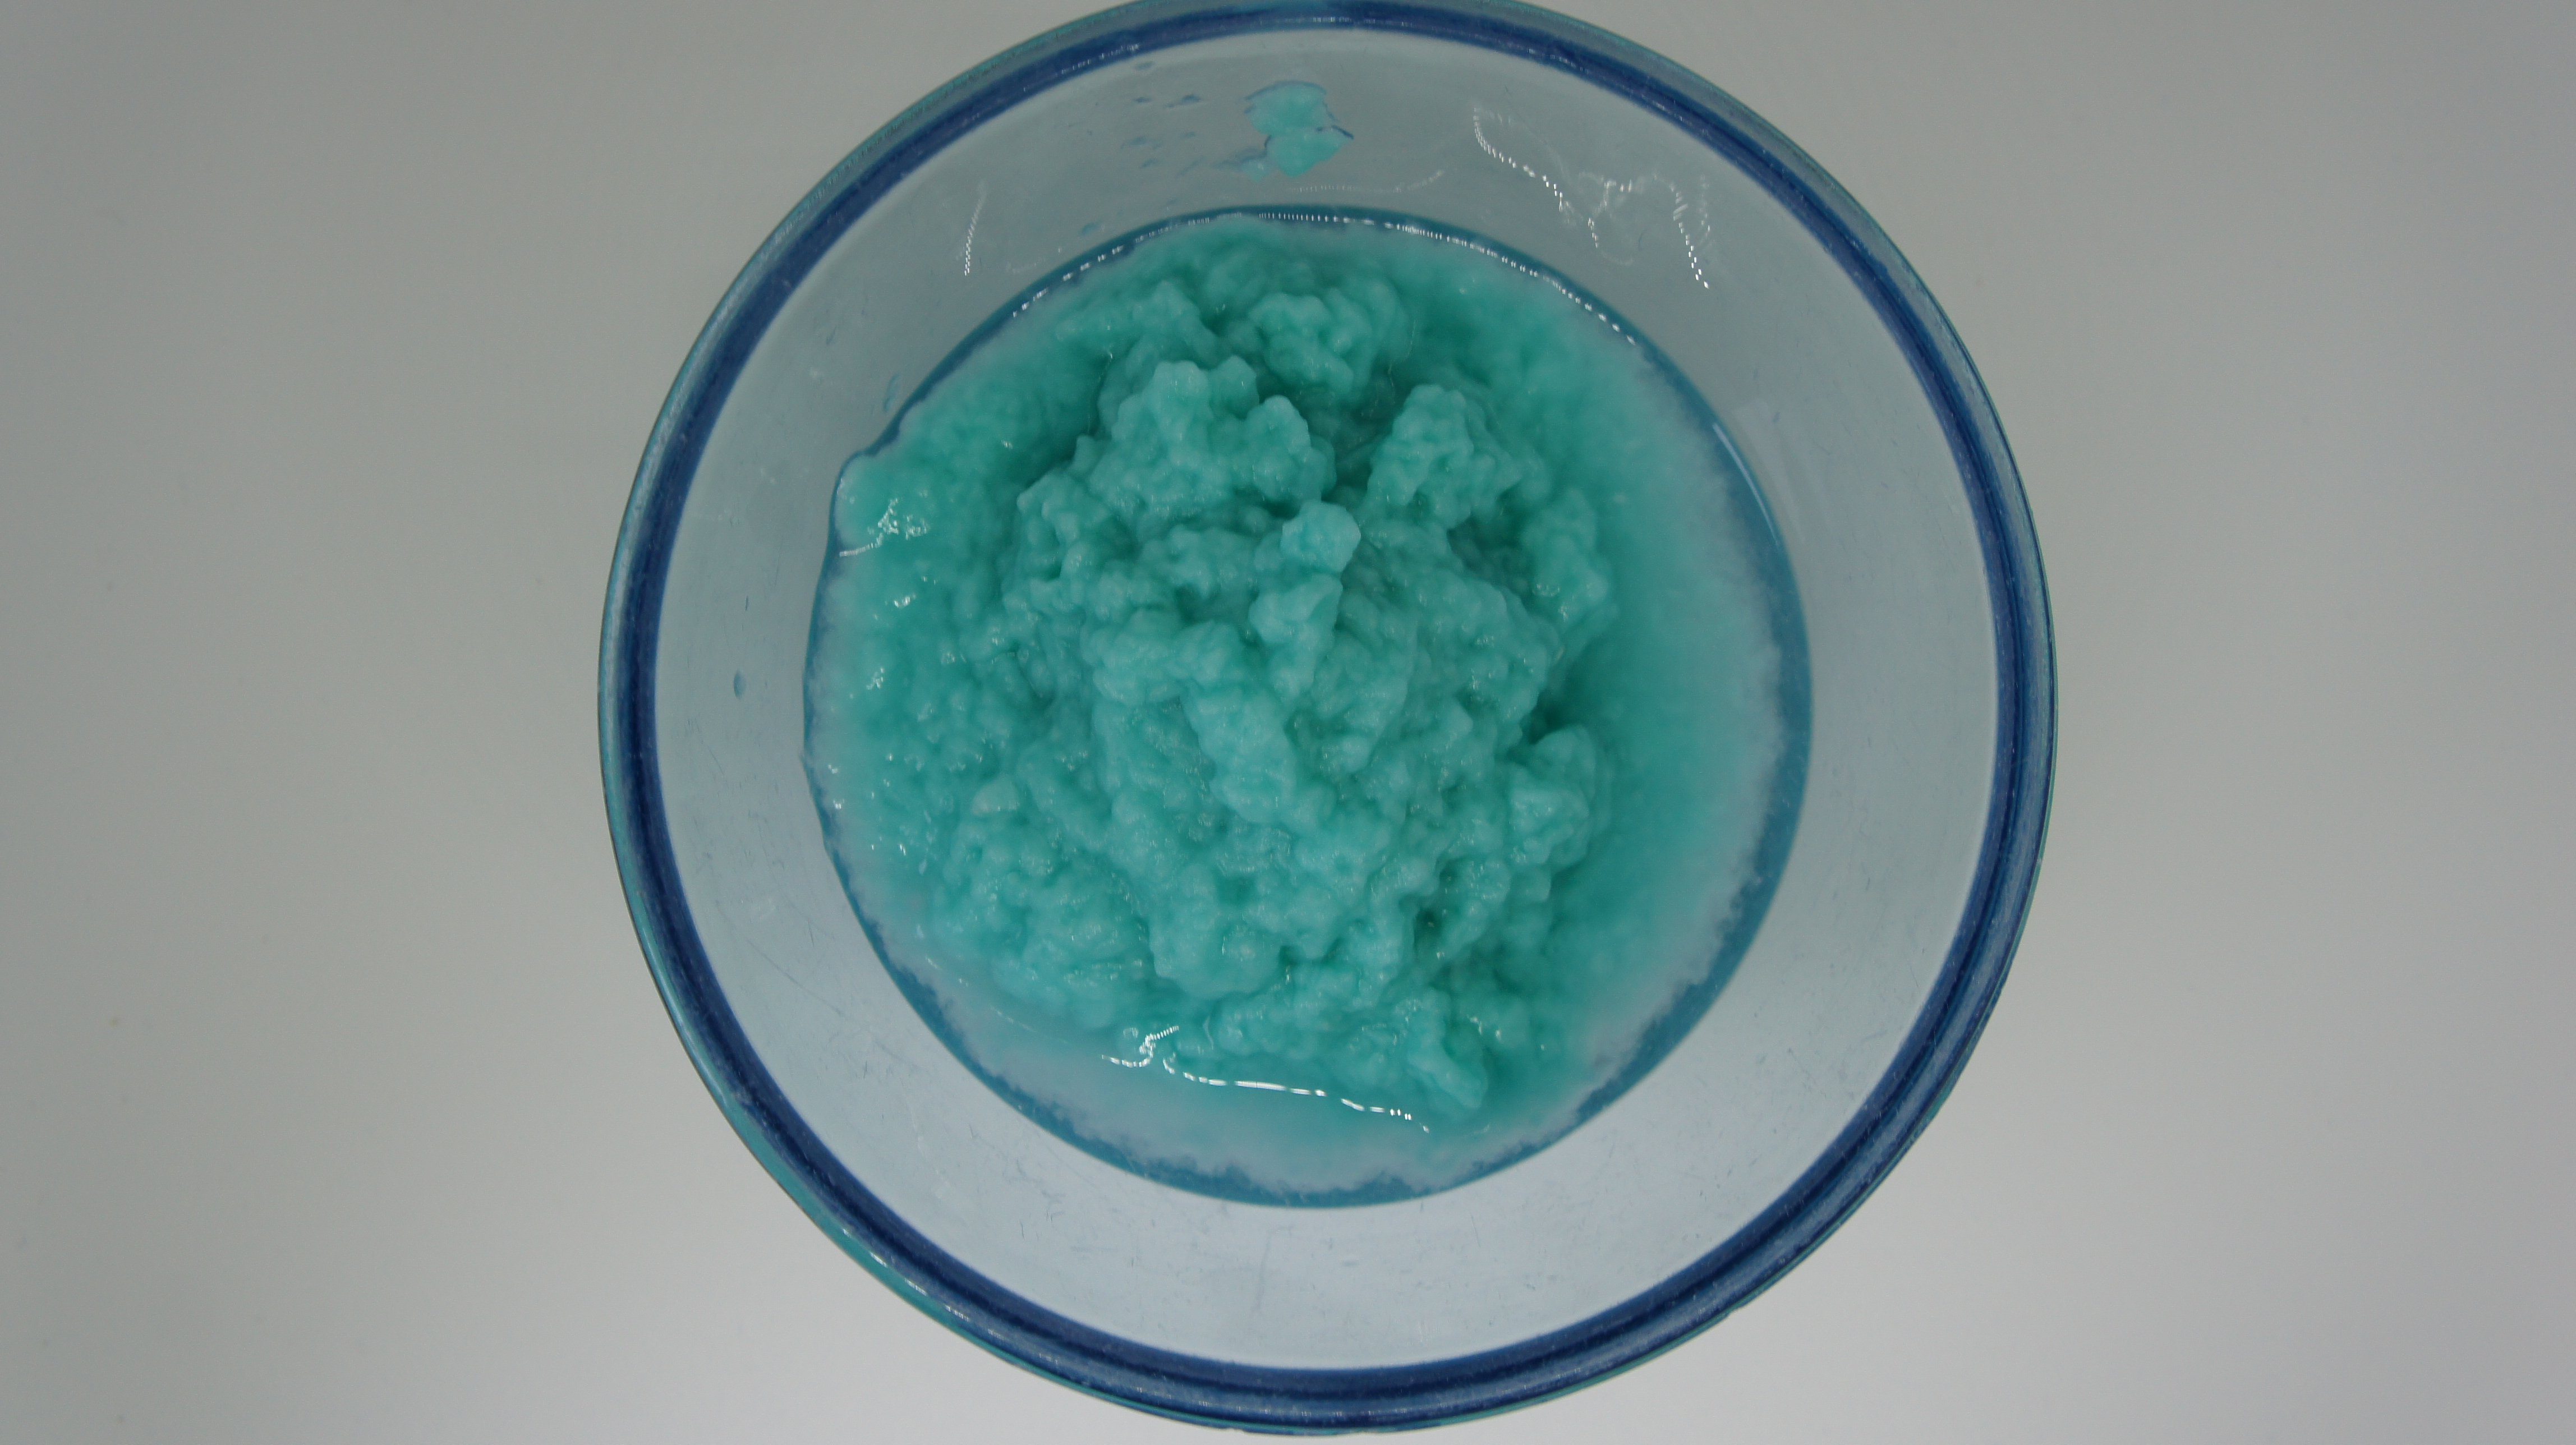
Now is the time to add in your seeds. I used a selection of annuals that should germinate out in the garden in spring without too much assistance.
Once the seeds are thoroughly mixed into the pulp you need to take some of the pulp and squash it into the frame. It works best if you place the frame onto an old kitchen towel and have another one ready to press onto the pulp. Squash the pulp flat onto the frame covering the whole cloth. Then squash it using the extra towel to remove as much water as possible. The more pulp you add the thicker the finished paper will be.
Now gently remove the paper from the frame and place it somewhere flat to dry. Note that this can take up to 2 days depending on how warn and dry it is. Now you can add more pulp to the frame and make another sheet.
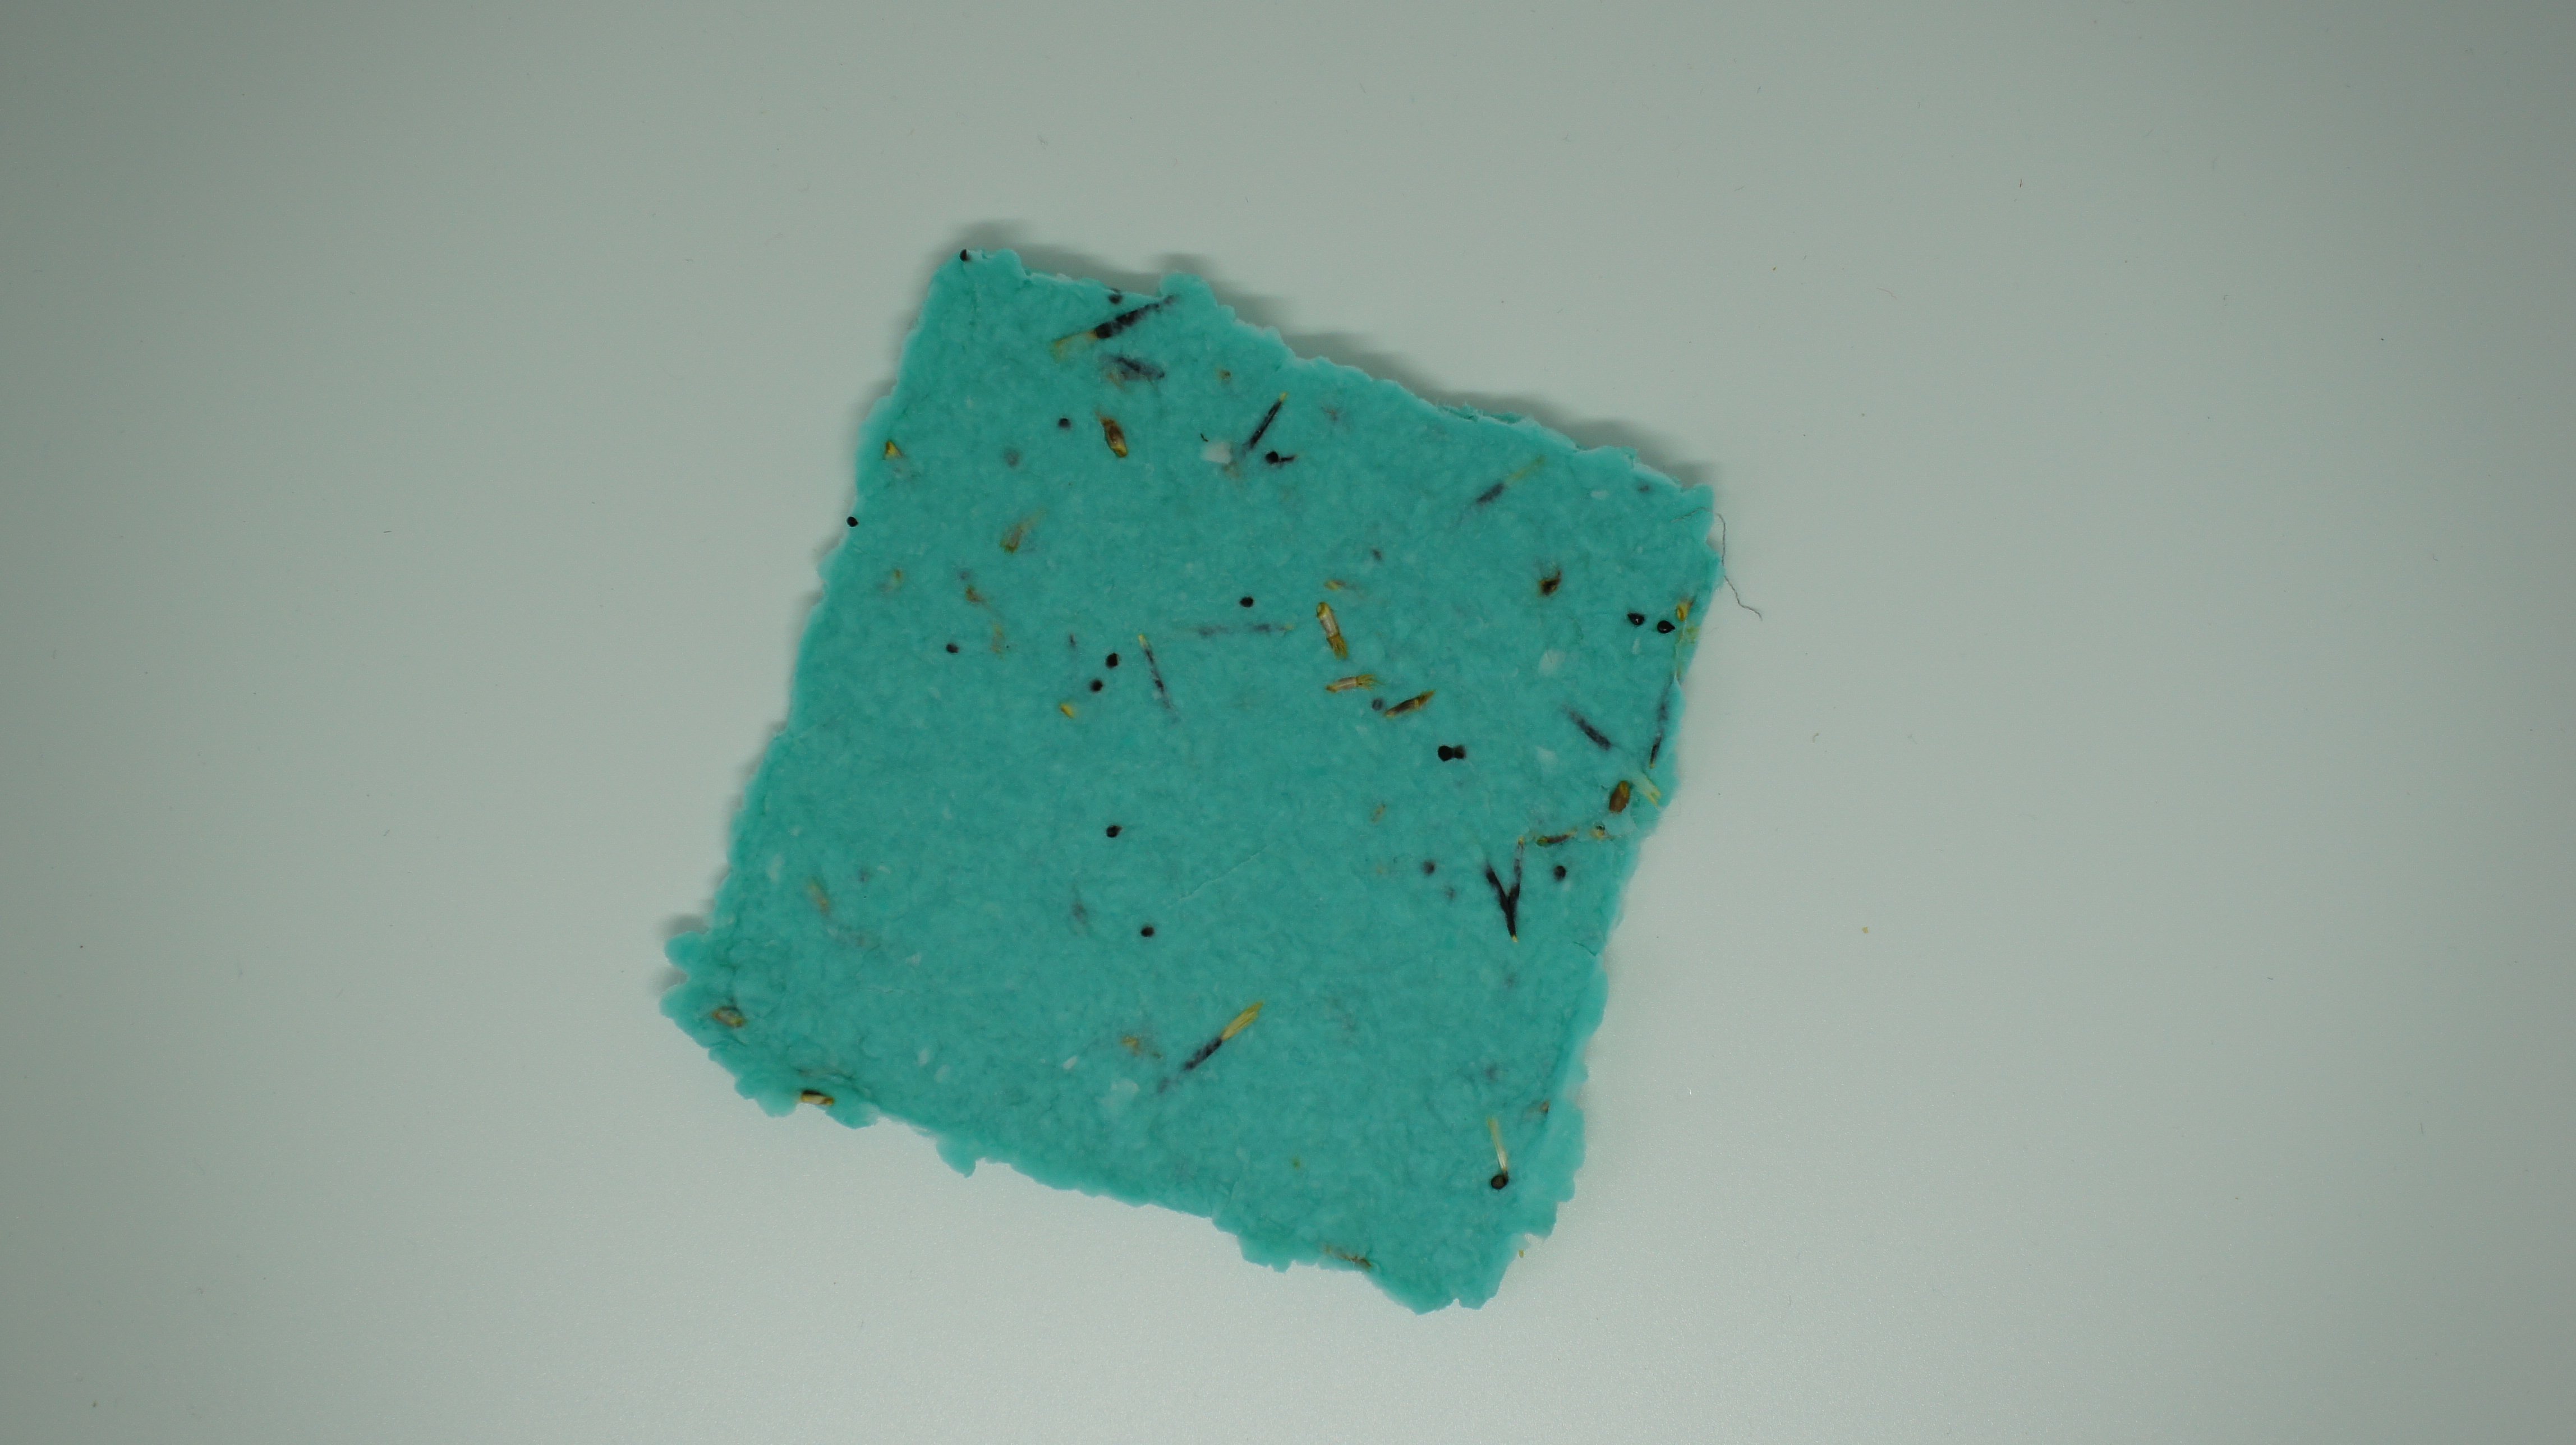
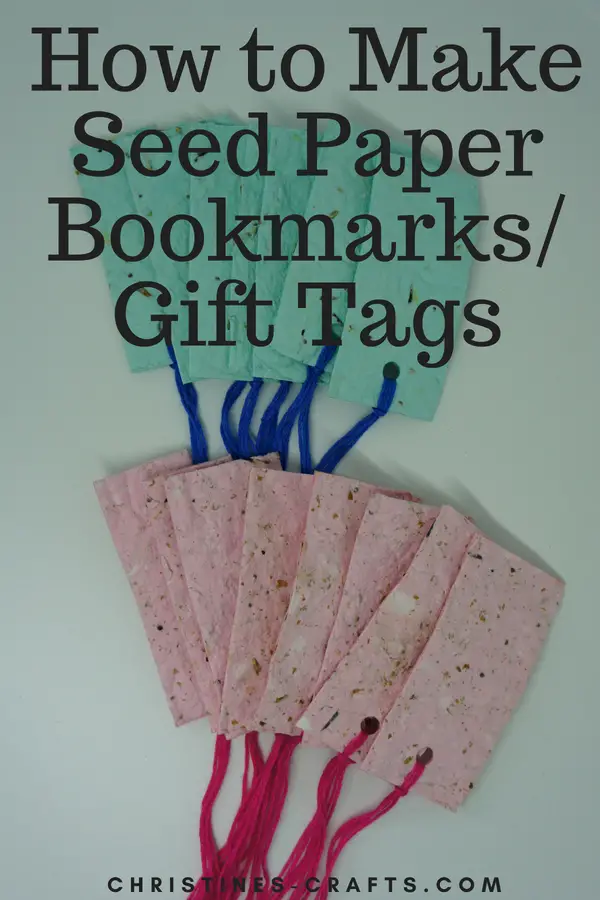
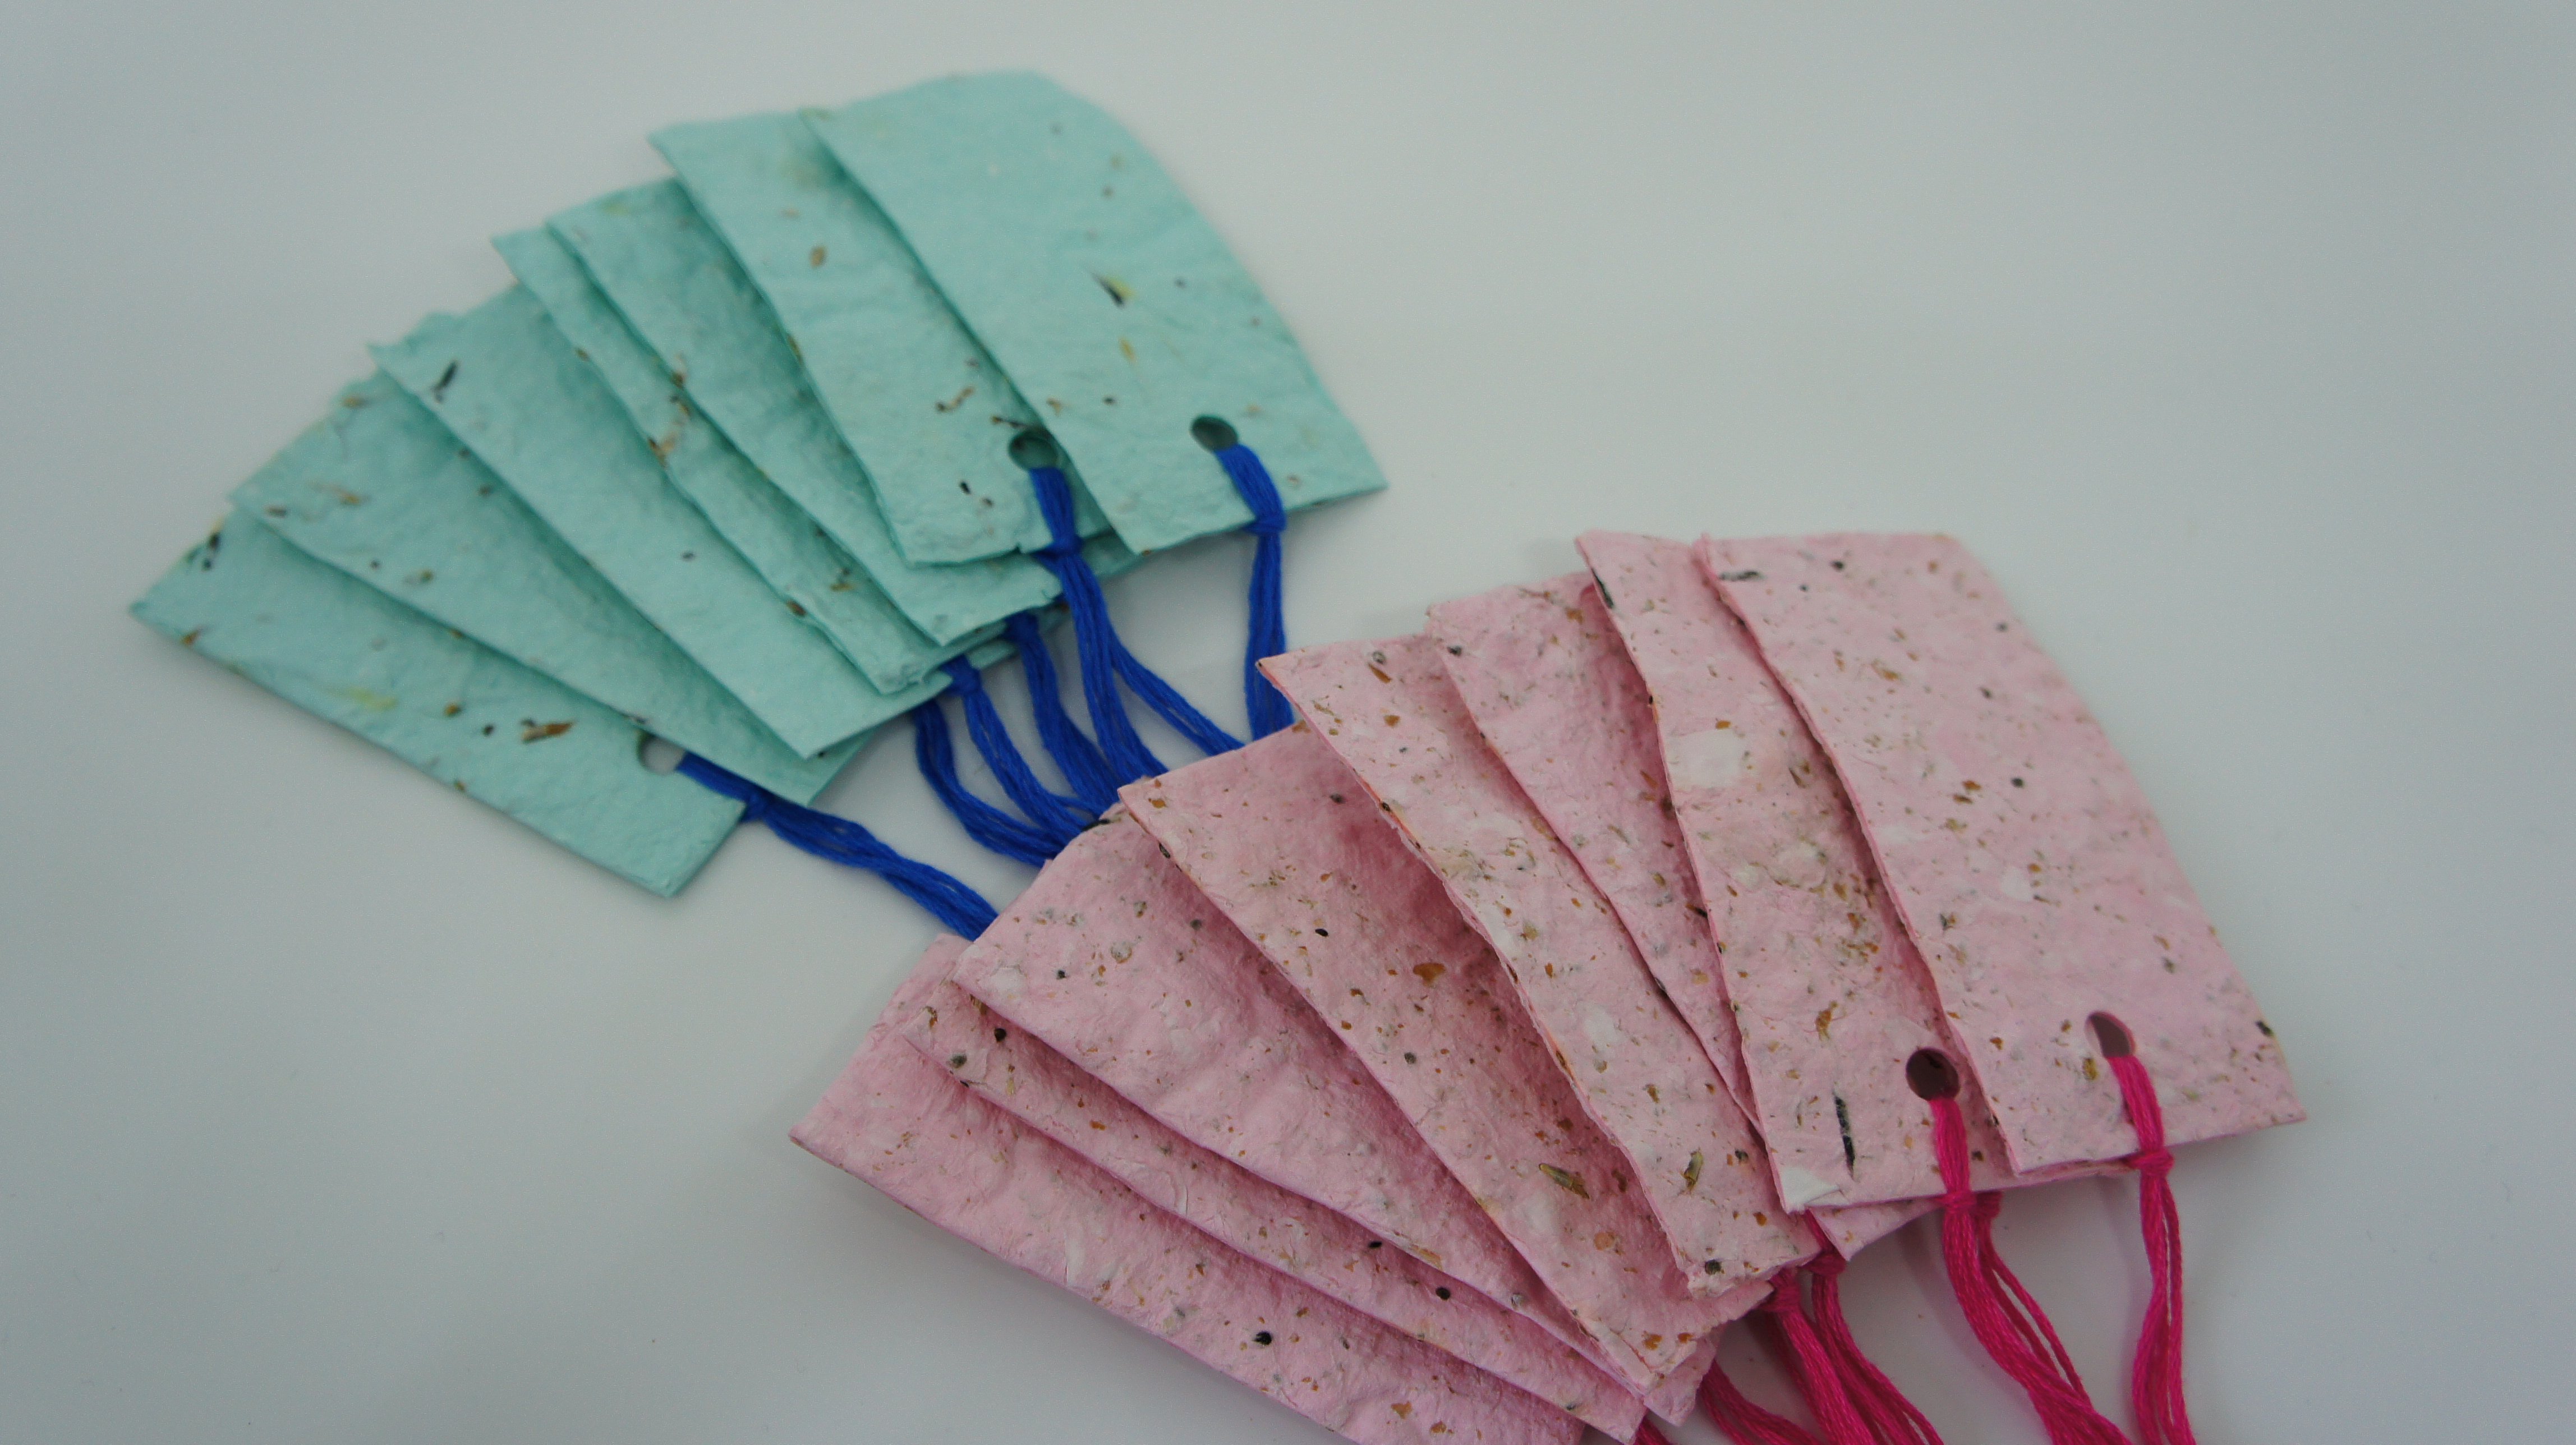
I made some blue paper and some pink paper for a bit of variety. I left them for two days to dry and I also cleaned up my frame so that I can use it again.
Craft with the Seed Paper
Once the seed paper is dry you can use it to make whatever crafts you like. I used mine to make gift tags which you could also use as bookmarks. I simply cut the paper into rectangles, punched a hole in one end of each and fastened some threads of embroidery silk through them.
When you are ready to plant the seeds you can tear up the paper and spread it where you want the flowers to grow.
In summary, this is a really easy craft to do and get great results with. You could make the paper without the seeds and use it for any crafts you like. I am thinking of using it to make cards and I would love to hear your ideas.
I think it would be a great craft to do with children but obviously it would be with adult supervision and assistance as you need a blender!
More Great Paper Craft Projects
Paper Flowers Tutorials-tried and tested
Decoupage Tutorial and Project Ideas
How to Make an Origami Heart Bookmark
Keep Crafting and let me know in the comments below what you make with your seed paper (like Bhagya did!).
