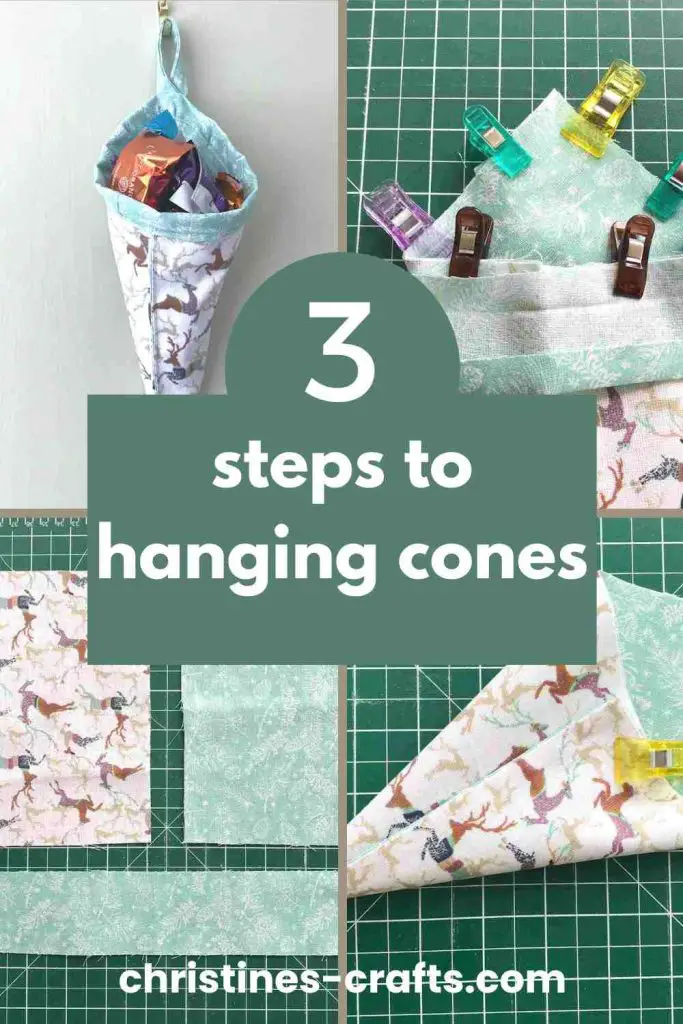
Master the Art of Sewing Hanging Cone Baskets: A Step-by-Step Guide
As an Amazon Associate I earn from qualifying purchases
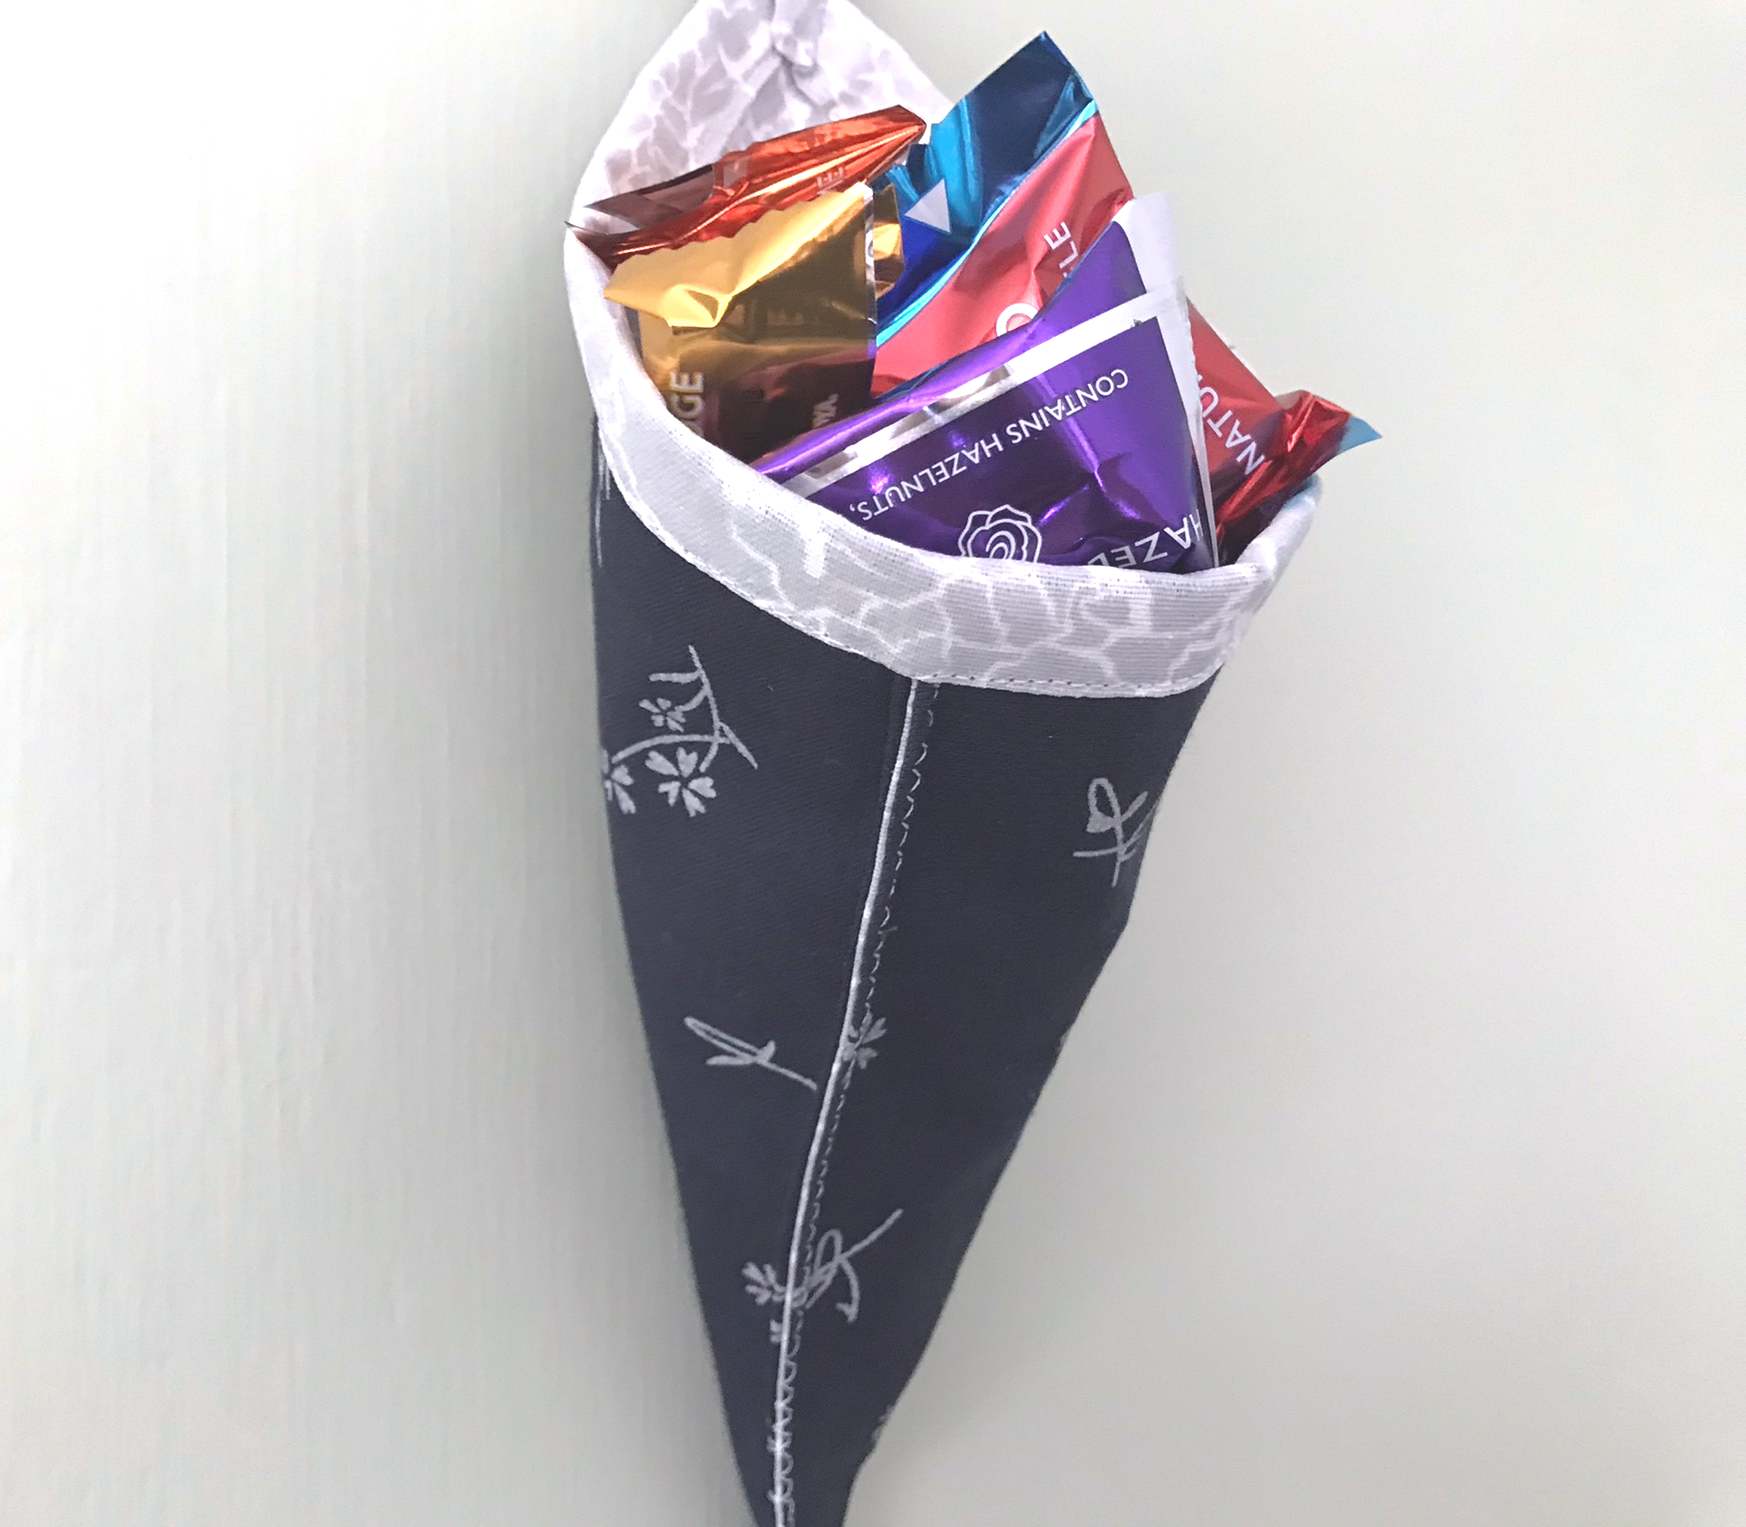
These adorable hanging cone baskets are great for so many purposes. I love them as small gifts or fundraisers. Fill them with sweets or chocolates or maybe small toys. Make them seasonal by using Christmas, Easter, Valentines, etc fabric. How about tools on the fabric for Father’s Day?
Or you could make them larger and use them to store items. You could hang a whole row of hanging cone baskets off the edge of a shelf to store items you want quick access to in your craft room or office. Any more ideas then please let us know in the comments at the end of this tutorial.
This page contains affiliate links meaning I earn a little commission if you use those links at no cost to you. I only recommend brands I use and trust.
You will need:
- Small amount of 2 different complementary fabrics (fat quarters are ideal for these)
- Sewing Supplies

Video Tutorial for Hanging Cone Basket
This video is also available on my YouTube channel.
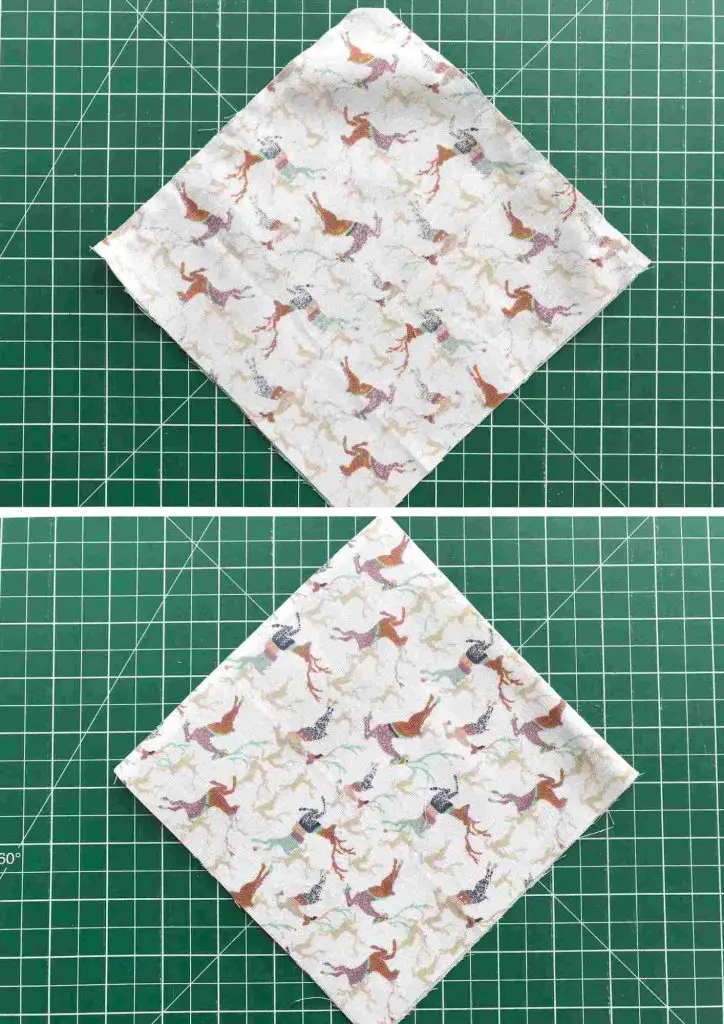
Cut out your Fabric
From each fabric cut a square that is 7″ by 7″ (18cm by 18cm) . Choose which fabric you would like to bind the top of the cone with (I tend to use the lining fabric). From that fabric cut a rectangle that is at least 17.75″ by 2″ (45cm by 5cm). If you want a longer hanger then cut your rectangle longer. I must admit that I like a slightly longer hanger but some fat quarters are only 17.75″ long. This is your choice but you will need your rectangle to be at least 17.75″ long!

Form the Hanging Cone Shape
Take your 2 squares of fabric and place them together with right sides facing each other. Pin or clip around 2 sides of the square. Sew along these 2 edges.
Clip the corner that you have sewn and then turn the squares the right side out. You can then press your seams but that is up to you.
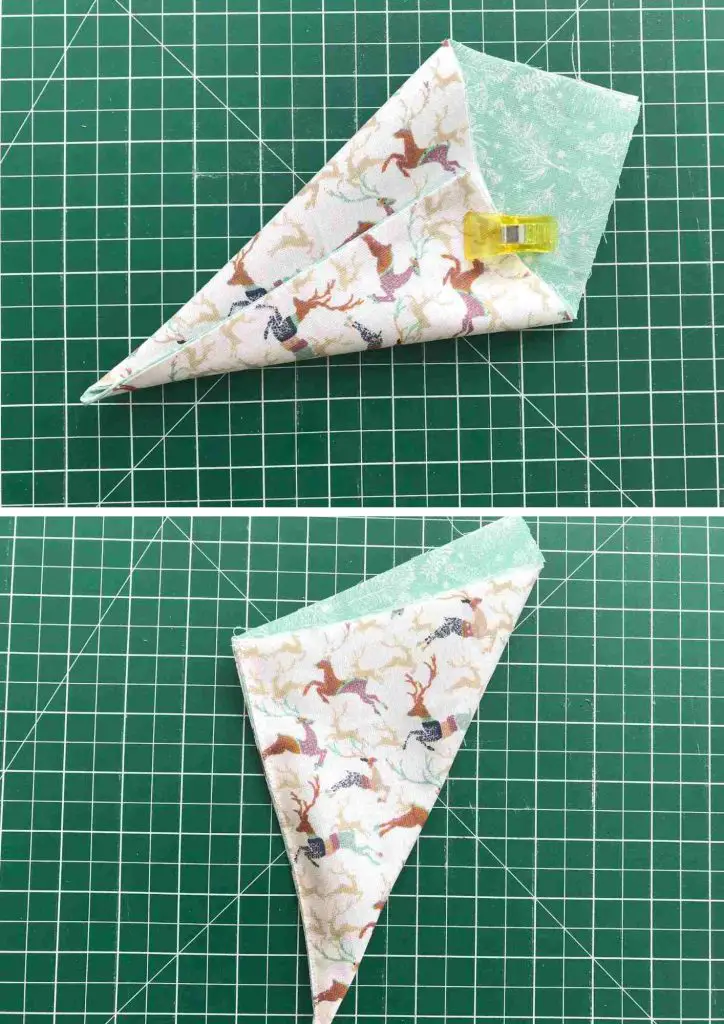
Fold the square into a cone shape with the fabric you want outside your cone on the outside. Keep the raw edges at the top! Allow a 0.75″ (2cm) overlap at the front edge of the cone and pin or clip the overlapped edge in place.
Fold the cone so that the seam that you have pinned is to one side. Now machine along that seam using a small zig zag stitch. This will make a really tidy edge to your cone.
Bind the Top and Hang your Cone!
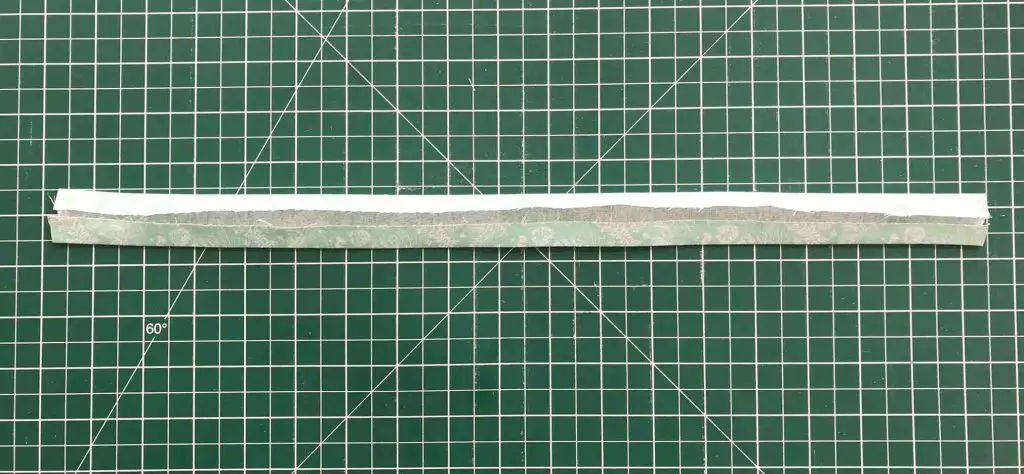
Now take your rectangle of fabric and press 3/8″ (1cm) along both long edges towards the wrong side. This will allow you to form a neat binding around the cone.
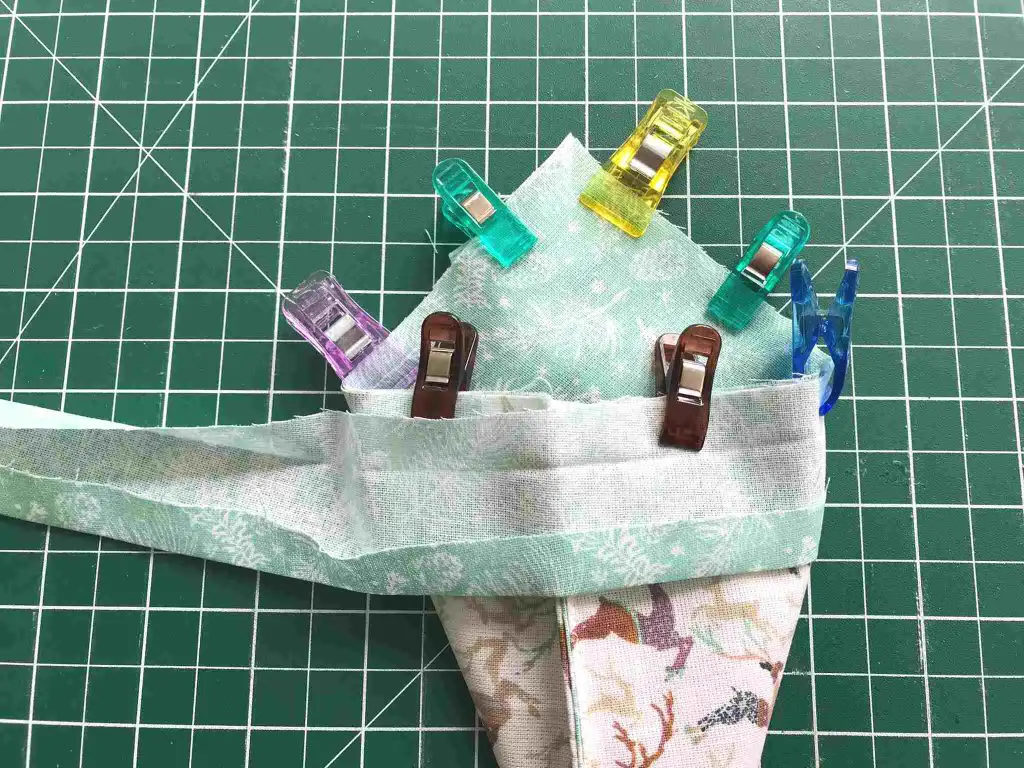
Pin the binding to the top edge of the cone so that the right side of the binding is against the right side of the outside of the cone. Overlap the ends so that there is no gap. (you can fold the ends over if you want to so that there are no raw edges but it is not essential. Trim off the excess as that will form your hanger. Sew along the fold line that you made.
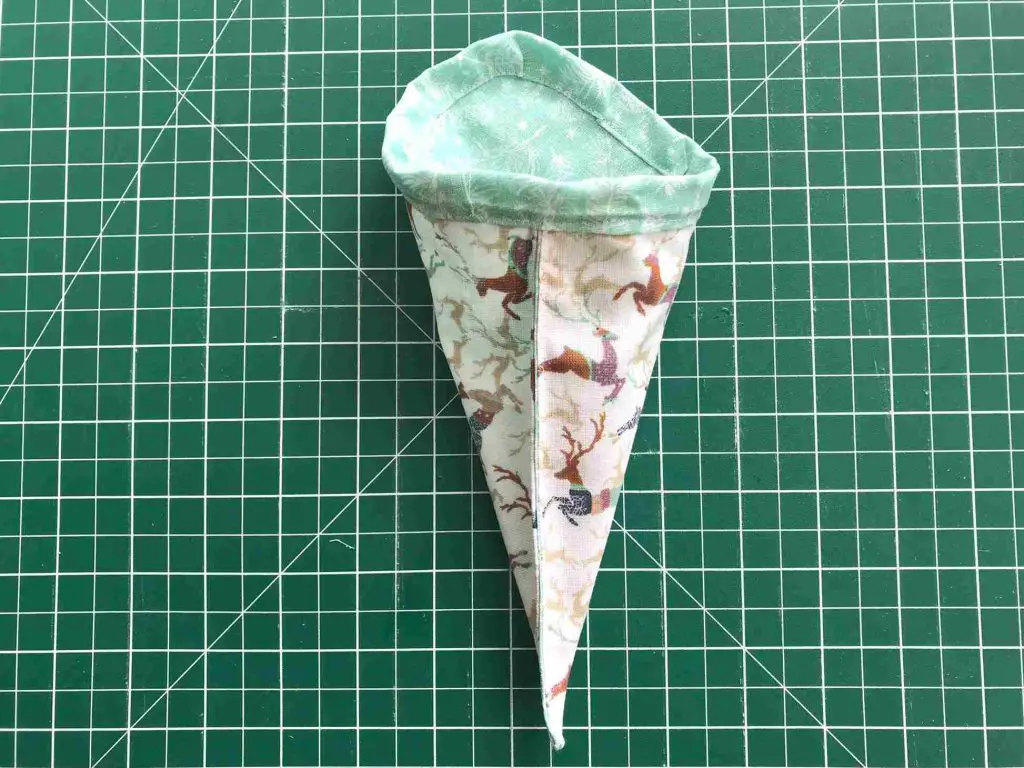
Fold the binding over the top of the cone (over the raw edges). Pin it in place so that it lines up with the outside of the binding. Sew around the folded edge. The stitches will show on both sides of the binding so take care especially if there is a high contrast between your outer and inner fabrics.
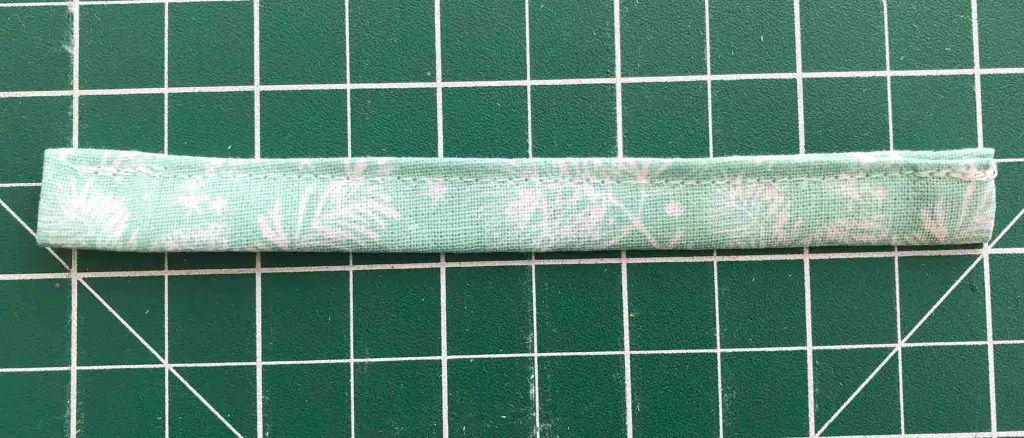
Now take the length you cut off your binding. Fold in the 2 short ends to hide the raw edges. Fold it in half and sew along the length. There should be no raw edges showing. This will form your hanging loop.
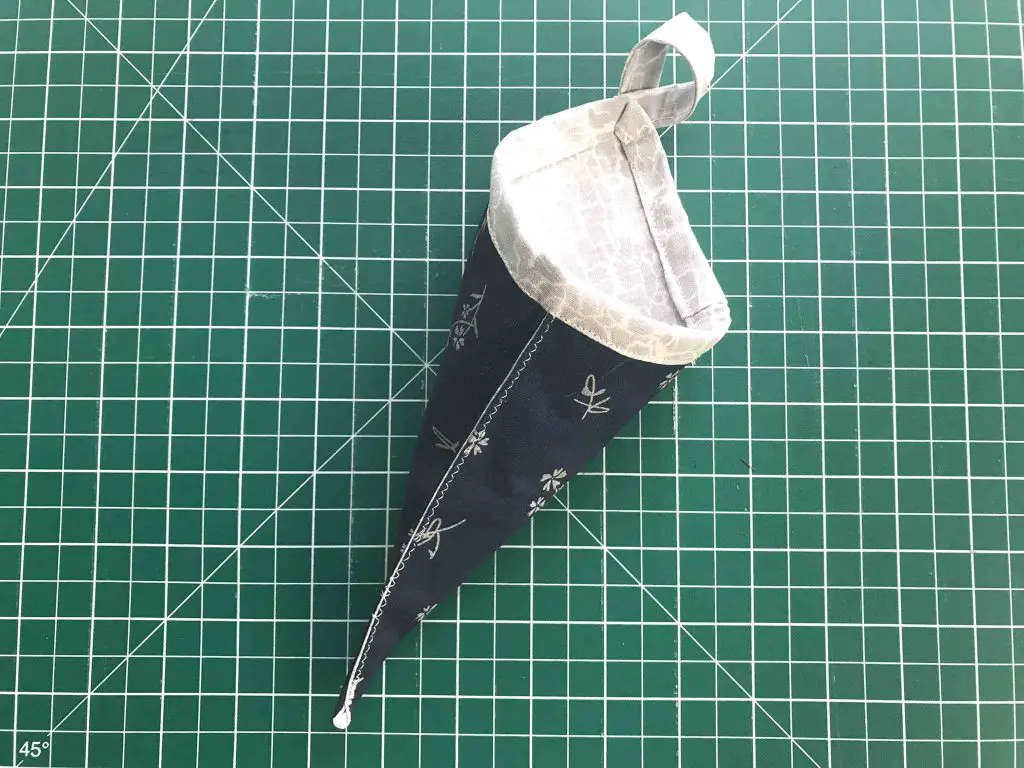
Loop your fabric around and pin or clip it to the back of the top of the cone. Sew it in place. You can machine sew it but it is tricky and there are a lot of layers. I hand sew mine in place.
You have now finished your first hanging cone basket and can use it for whatever you like.
You can try experimenting with larger squares but just remember that you will need a longer binding for the top.
And next …
If you love sewing all sorts of small projects then check out my sewing section which is full of great tutorials using up scrap fabrics and larger pieces of fabric.
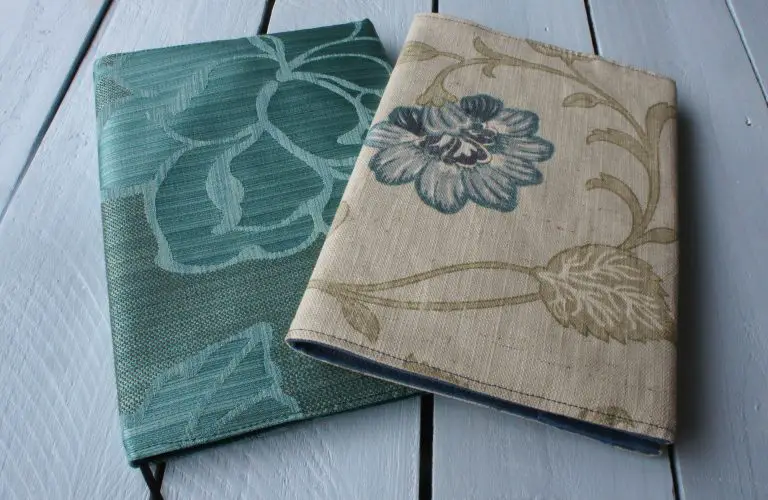
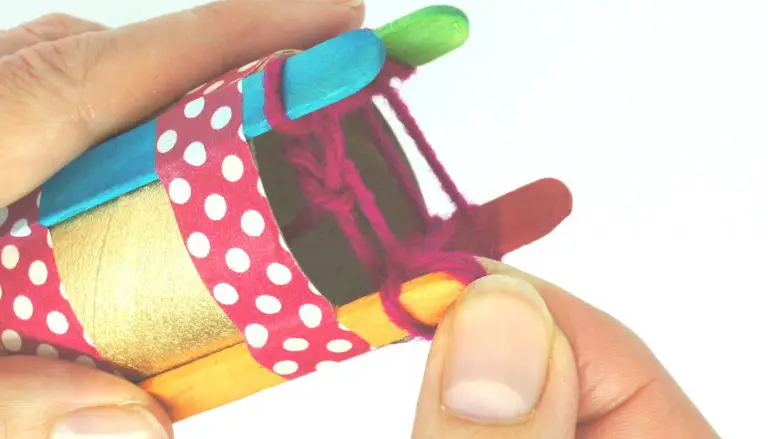
If you are specifically looking for small gift items then how about a gift basket made from an aerosol lid and fabric scraps. Or perhaps a corner bookmark for the book lover in your life.
Whatever you are looking to make this site is packed full of detailed tutorials to help you achieve your desired result. I hope you enjoy making your own hanging cone baskets.
Remember to pin this tutorial on Pinterest so that you can find it later.