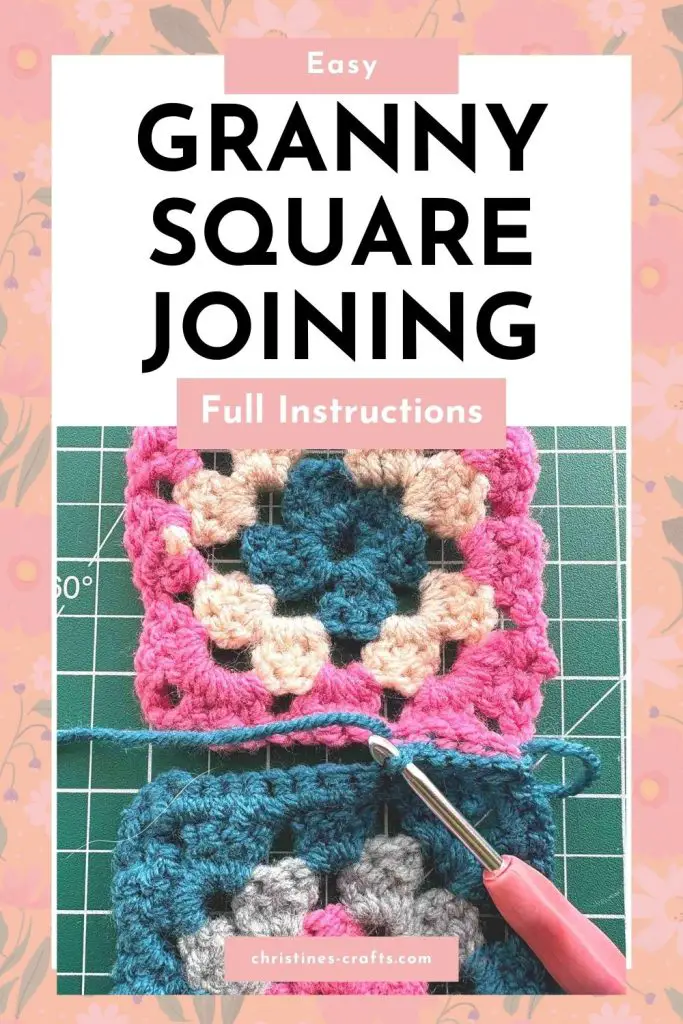
Join Granny Squares Like a Pro: Easy Techniques Revealed!
As an Amazon Associate I earn from qualifying purchases
Ever gazed longingly at a gorgeous granny square blanket or cardigan, but felt intimidated by the thought of joining all those squares together? Fear not! Today, we’re diving into two super simple methods to join your granny squares, and I promise, you’ll be a pro in no time.
I will show you 2 different methods you can use to get different effects. I’ll also be sharing my favourite tips and tricks to make the process smooth and enjoyable.
Once you can join 2 squares together you can join all granny squares together to tackle any project. If you want a tutorial on crocheting granny squares then check out mine here.
Why Joining Matters
Before we jump into the how-to, let’s talk about why joining is so important. A good join can make or break your project. It adds structure, creates a neat finish, and brings all those beautiful squares together.
But, don’t get too hung up on which joining method to use. There are loads of them out there to experiment with once you are confident but these 2 are simple and very effective. You do not need any more!
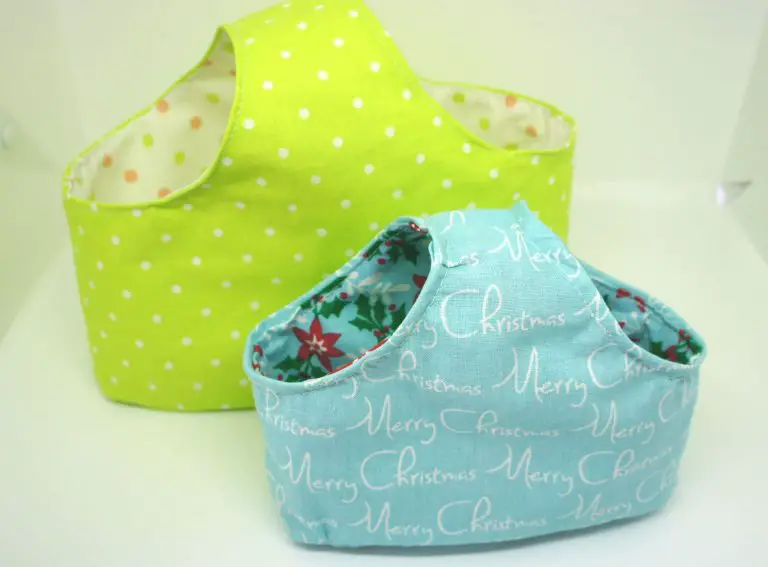
I crocheted granny squares to make a cute bag and you can too here.
Video Tutorial for Joining Granny Squares
This video is also available on my YouTube channel.
Slip Stitch Join: Simple and Seamless
The slip stitch join is a classic for a reason. It creates a flat, almost invisible but sturdy seam, perfect for projects where you want the granny squares to take centre stage.
- Place two granny squares right sides together
- Insert your hook into the back loop of a corner stitch of both squares.
- Yarn over and pull through all loops on your hook.
- Continue slip stitching along the edges, working through back loops only of each stitch.
- You can work through both loops but only using the back loop gives a flatter finish.
- At the end of the square you can fasten off or carry onto the next two squares.
Keep your slip stitches loose to avoid a tight seam and puckering.
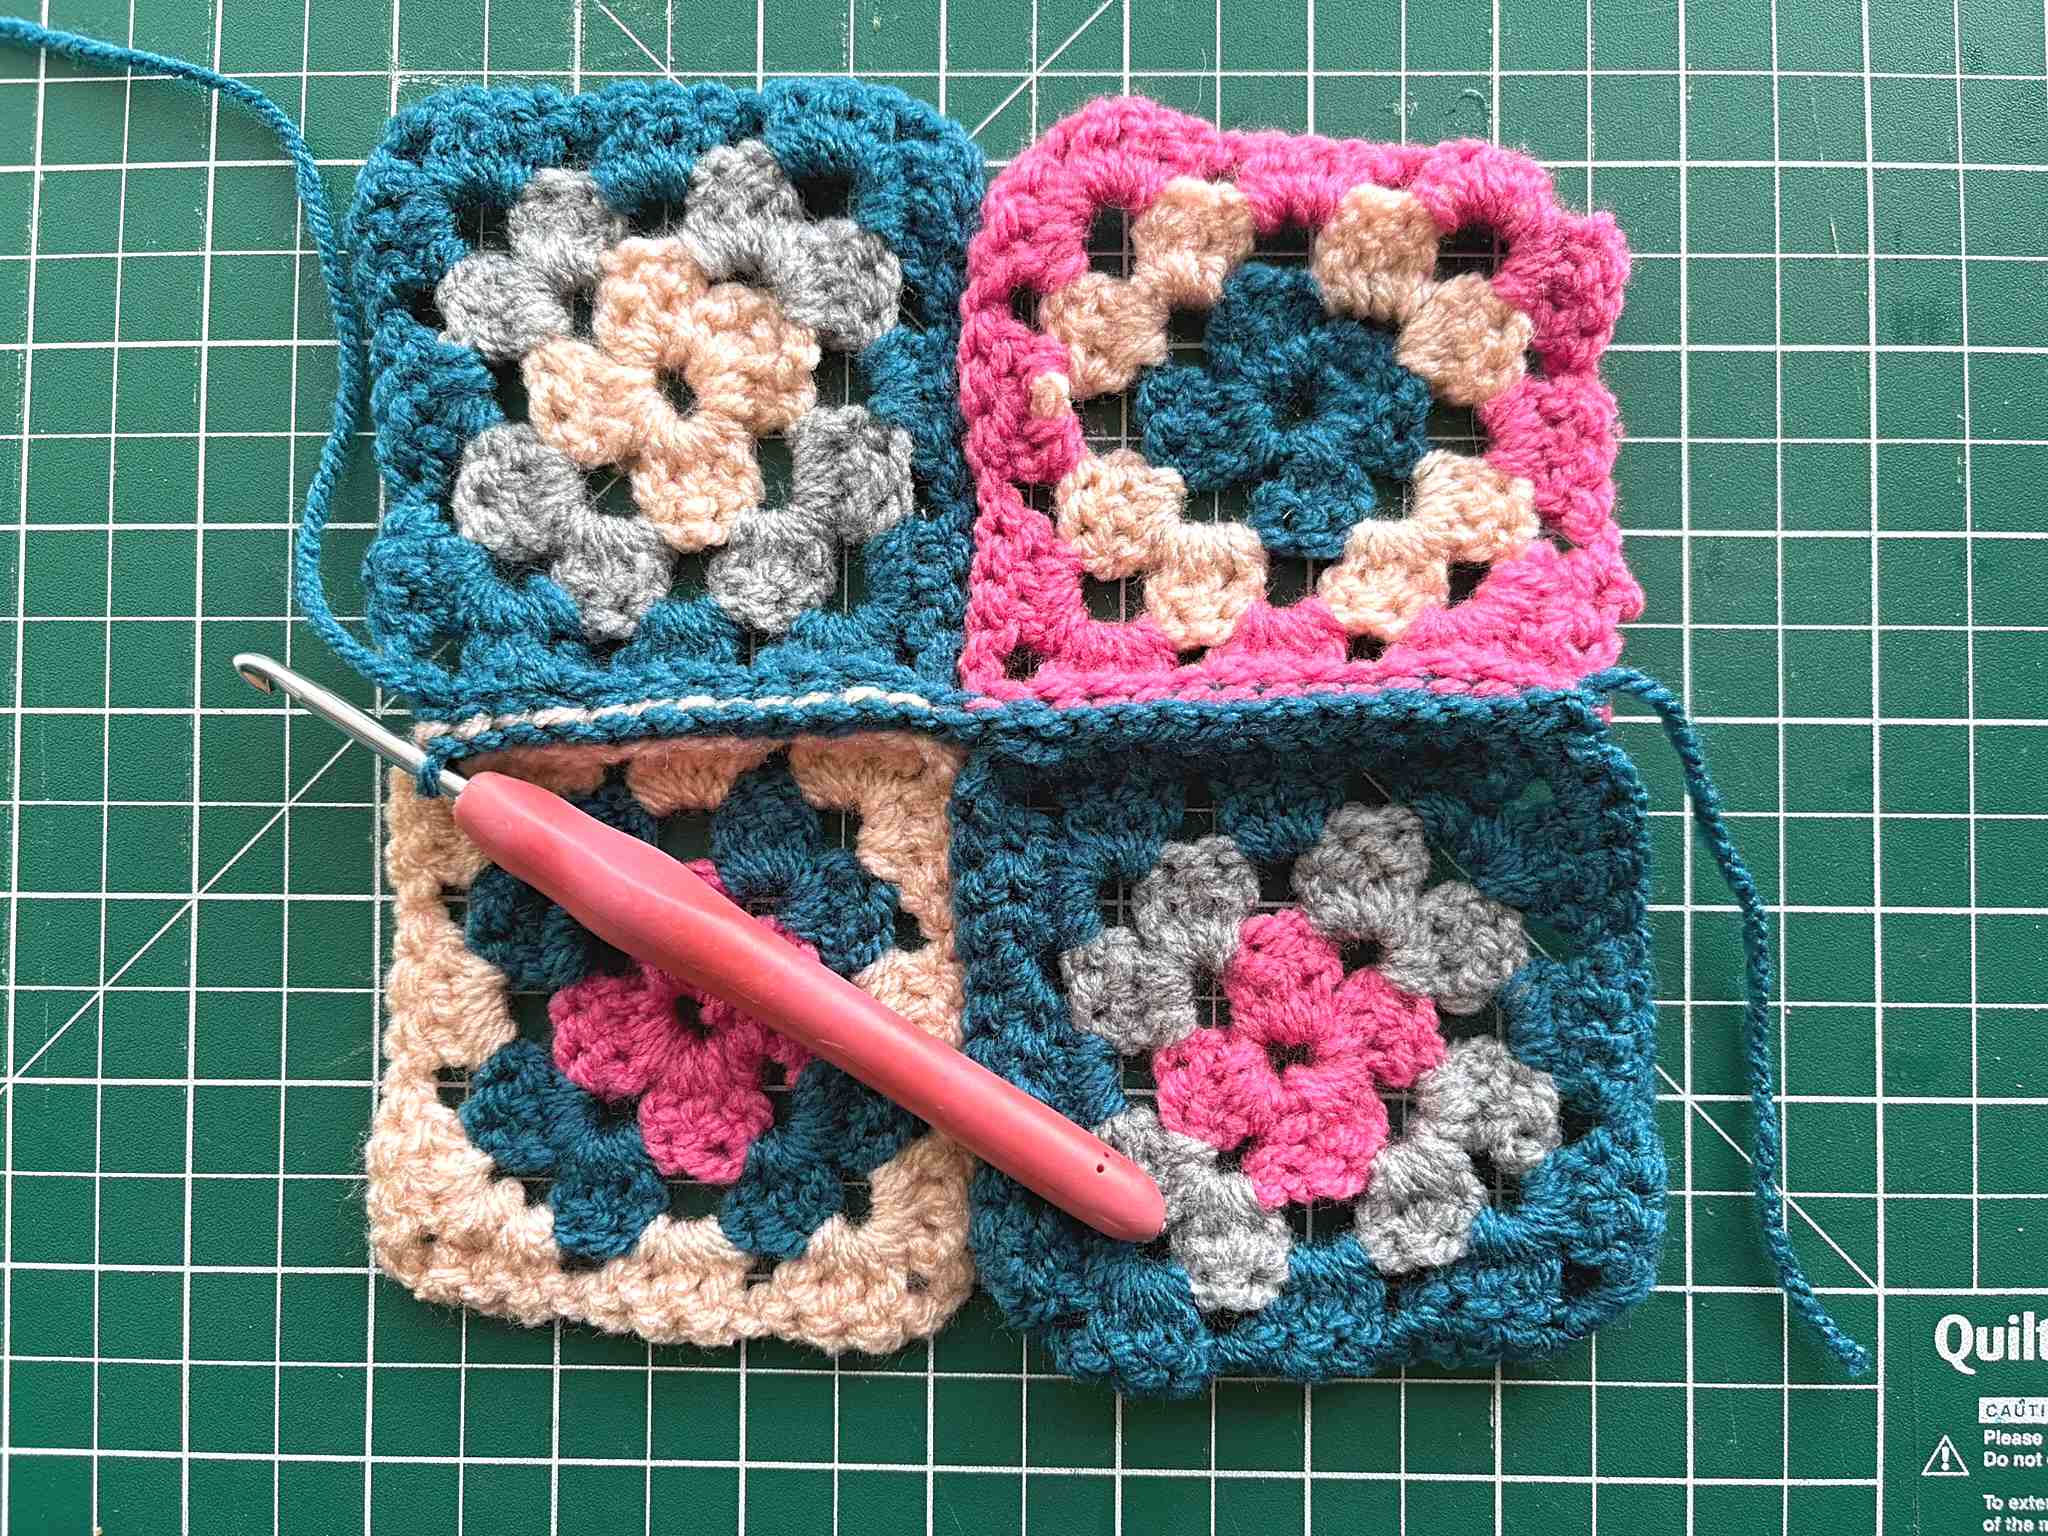
You can then join your pairs of squares together to form a larger rectangle or square. Then, the sky is the limit!
Double Crochet Join: A Decorative Edge
This is called double crochet join in UK terms but is exactly the same as the single crochet join in US terms. So, don’t worry which one you use, just follow along.
The double crochet join (UK) creates a slightly raised seam, adding a decorative touch. It’s great for projects where you want a more defined join.
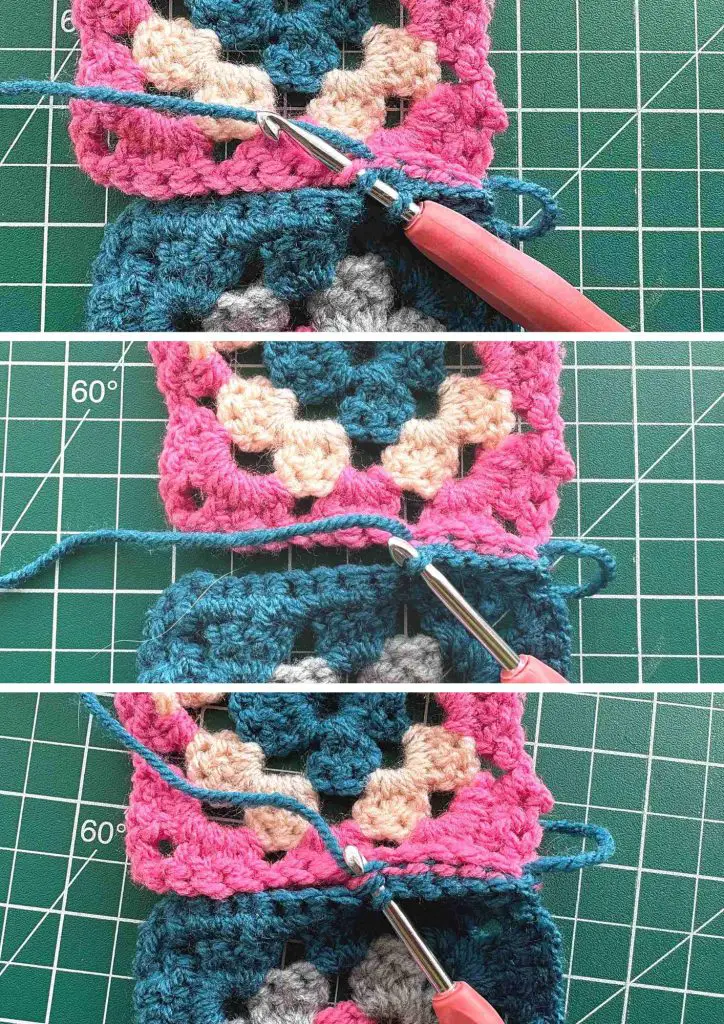
- Place two granny squares right sides together.
- Insert your hook into the back stitch of the corner stitch of both squares.
- Yarn over and pull through both stitch loops (leaving 2 loops on hook)
- Yarn over and pull through both loops.
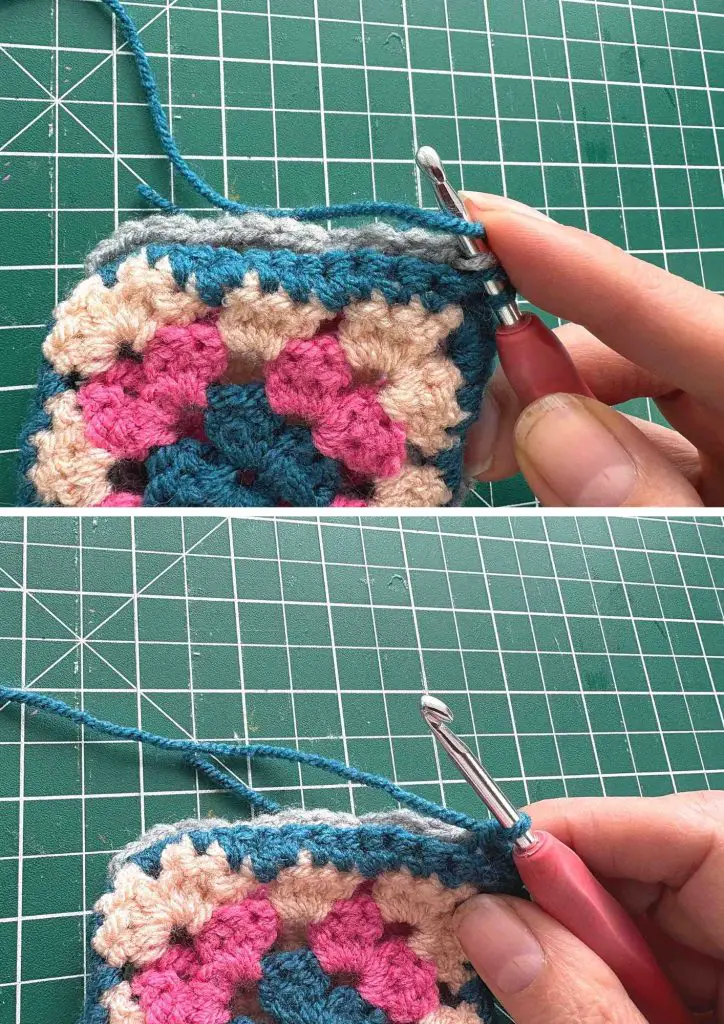
- Continue double crocheting (single crocheting in US terms) along the edges, working through the back loops of each stitch.
- You can work through both loops but only using the back loop gives a flatter finish.
- At the end of the square you can fasten off or carry onto the next two squares.
Top Tips for Joining Crochet Granny Squares
- Use the same hook size you used for your granny squares for a consistent finish.
- If you find it difficult to keep your tension even, try using a hook one size larger.
- Double-check you’re working into every stitch. You don’t want to miss any out.
- You can use a contrasting yarn for a pop of colour.
Pros and Cons: A Quick Comparison
Slip Stitch:
- Pros: Flat seam, subtle finish.
- Cons: Can be tricky to maintain even tension.
Double Crochet (UK):
- Pros: Decorative seam, more forgiving tension.
- Cons: Creates a raised edge.
And more:
Joining granny squares doesn’t have to be daunting. With a little practice, you’ll be joining them like a pro! Whether you prefer the subtle slip stitch or the decorative double crochet, you now have the skills to create stunning granny square projects.
If you would like some guidance on crocheting granny squares then check out this open granny square tutorial.
If you would like some crochet projects how about some cute hearts to use up fabric scraps? Or perhaps you fancy crocheting a rug for your home?
Whatever you crochet be sure to let me know in the comments below so that we can all share ideas. So far, I have crocheted a granny square cardigan and some cute bags. I will soon be adding instructions for the bags and I will add a link here when I do.