How to Create a Cozy Outdoor Crafting Corner in Your Garden
As an Amazon Associate I earn from qualifying purchases
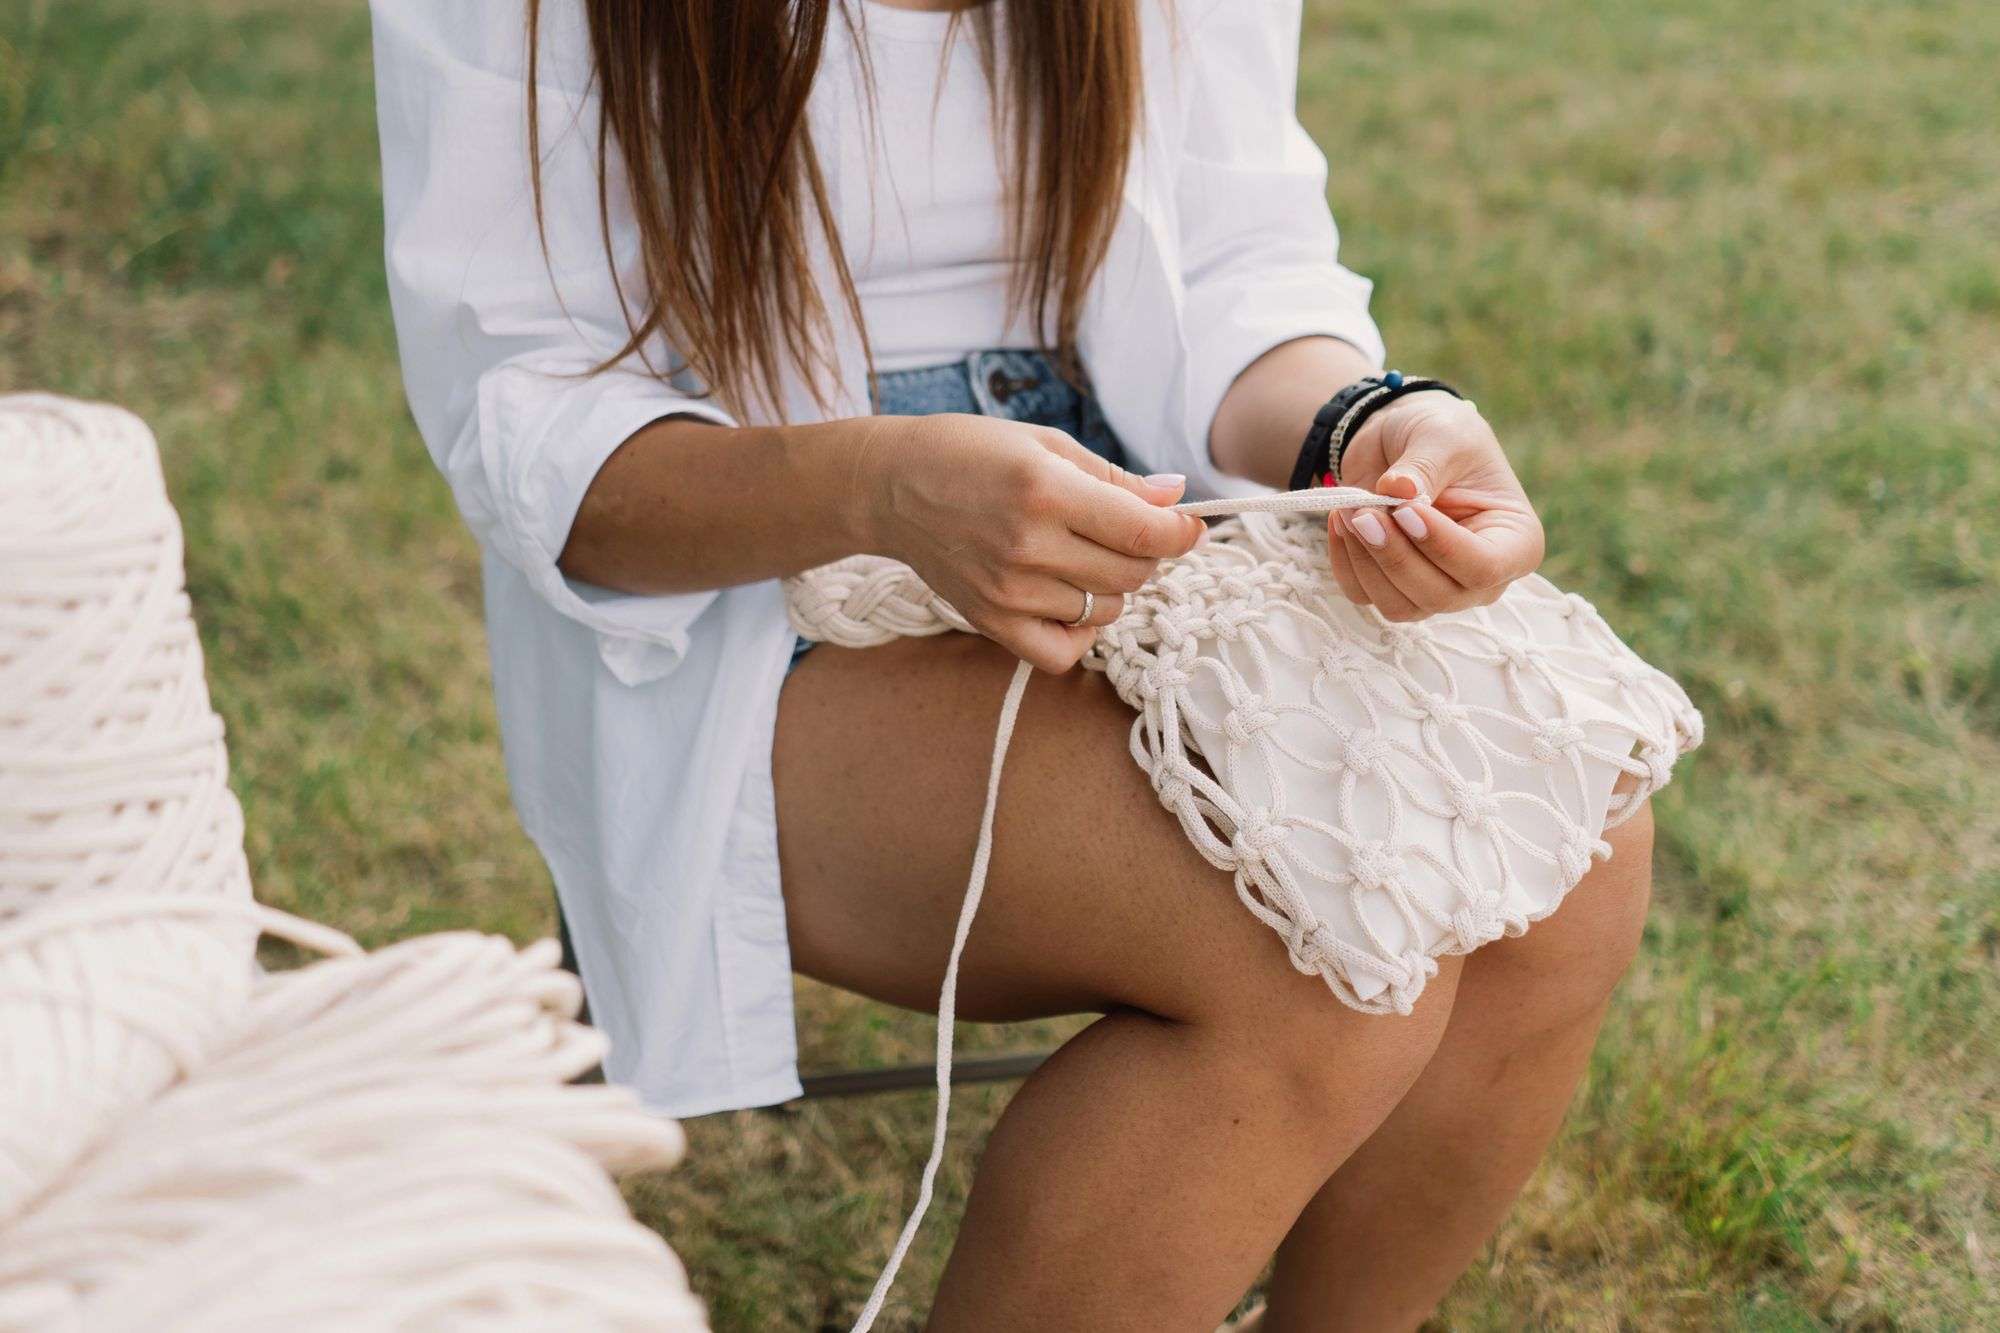
Well, it has been really hot here and I have been taking the opportunity to craft outside. It really got me thinking about how to make it easier to do that in the future. I could set up a crafting corner outside!
No need to set up your workspace in the attic or to take over your living room. If you have a patio or even a garden corner, you can set up a quiet corner for your activities outdoors. And don’t think you need a large area or an expensive renovation. Even a modest patio or garden nook can become an inspiring spot for the crafty soul.
A cozy craft corner can be created in a modest patio or garden area with a few simple components such as a work surface, storage, a chair, and a few handmade finishing touches.
1. Choose the Right Spot
This is all going to depend on what space you have available, your climate and who else you live with! But, here are a few things to think about.
You could put your new outdoor crafting area in a partial shade spot in your garden, as direct sunlight can make the space less comfortable to work in, and some crafts could also be damaged by the sun or dry out too quickly.
Consider how close the area will be to your back door or kitchen, as this will make it easier to move between the two spaces with your work, refreshments, and completed projects. I can’t be the only crafter who needs constant refreshments!
Also, make sure the area is out of the wind, is partially hidden from view, and is not too close to a noisy area of the garden, as you don’t want to be distracted from your crafting. It may only take a hedge or a fence to help break the wind. Take a chair and sit on it in the various locations you are considering. It can feel very different sitting down to simply walking around.
2. Prepare a Stable and Comfortable Surface
Before you create and possible decorate the space for your work, prepare the ground. Make sure the space is level, solid, and clean so that your tables and chairs don’t get ruined by uneven or sloppy ground. A firm surface will keep your workspace neat and allow you to focus on your work without distraction.
For a patio or already existing deck, think about the cosmetic issues with the decking, steps, and railings. If you are planning a DIY type of project, then some minor repairs might be fine to do, but issues such as loose boards, leaning or unstable railings, or uneven steps are better addressed by a professional company that specializes in backyard outdoor living services.
An outdoor rug will help to protect the ground beneath the furniture and make your flooring look much neater. An outdoor rug can also be used to create a warmer surface when laid upon a cold patio or outside space. This can be really useful if you are likely to be sitting out there for long periods. When picking a rug for your garden, consider using a rug that has been made for use outside, as these types of rugs are designed to withstand being used outside in all weather.
3. Add a Practical Crafting Table
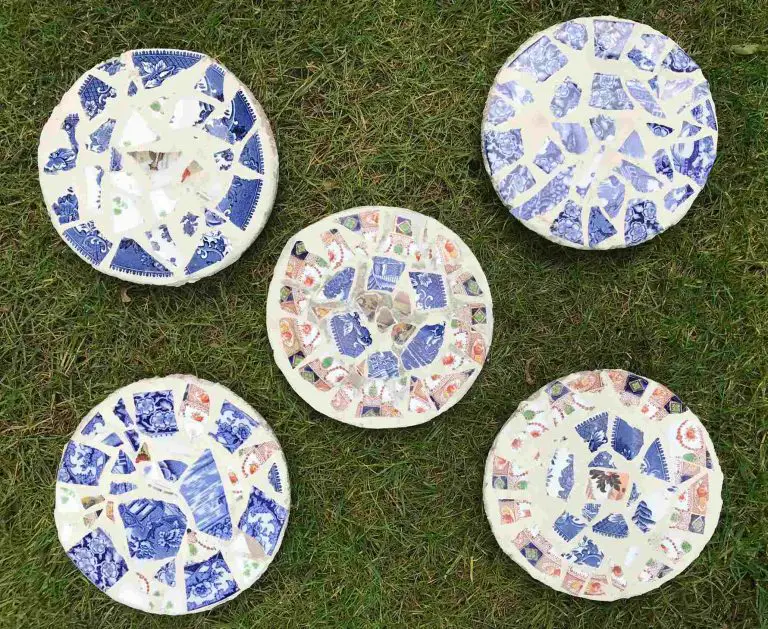
If you are using a piece of existing garden furniture as an outside work surface, it may need to be re-faced. As for the back, use mosaic tiles to add a feature to your garden. The tops of tables can also be tiled to help protect the wood and to add a splash of color to your work area. This will help to hide any marks that might be left on the surface of the table.
Of course, you may be happy to simply use your existing table as it is and embrace the wear and tear.
If you are lucky enough to be buying new furniture then it’s worth noting that there are many different options to consider when choosing outdoor furniture to use for your space. Think about what crafts you will be doing out there and how much preparation time you want. Maybe you are happy to tape paper down to protect your table every time you paint. Or perhaps, you just want to give it a quick wipe and start journaling.
Also consider what weather it will have to cope with and if it will be suitable for that. Another top tip is to try out the furniture and make sure that your chair is at the right height for the table or is adjustable. This is so important when crafting!
Another thought is to choose a table big enough for your projects, but don’t overcrowd it. Add a small container for storing tools and supplies next to your crafting area. Obviously, this is heavily dependent on the space you have available.

4. Create Simple Weather-Resistant Storage
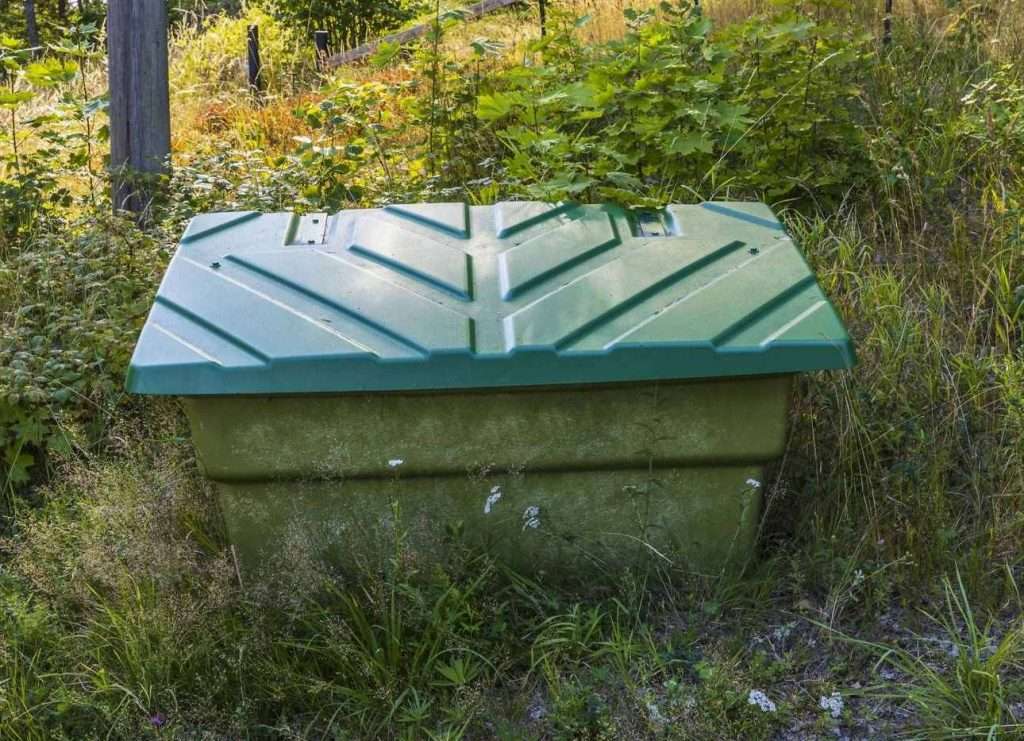
Depending on the weather you experience you may, or may not, want to store some supplies outside. Personally, I do sometimes but only for short periods. For example, I have a large plastic box which I will store a sewing project in (along with blankets for when it gets cool). But, it is only there in the summer when I am working on it. Most craft materials should not be permanently exposed to damp conditions.
A range of storage solutions are on the market, including lidded plastic containers and metal chests as well as large wicker baskets. These need to be weather-resistant to stop your outside space from turning into a muddy mess and also to stop materials inside from getting damaged. Glass jars are another good idea, as they can hold small brushes, pencils, rulers, pens, paint, etc. These do need to be brought inside when it is raining or damp.
Another great idea is a portable craft caddy as you can make up your supplies ready indoors, then carry them all outside to your crafting are with little effort.
5. Decorate with Handmade Details
Add some handmade touches to your garden or patio area, such as painted flowerpots, homemade bunting, recycled planters, garden ornaments, or hand-decorated stones.
Outdoor furniture can be easily enhanced by adding soft cushions to make it more comfortable. Solar-powered lights and lanterns can also be used in your garden to extend the time you can spend in your crafting corner in the evening. Also, adding scented plants to your garden, such as lavender, mint, and rosemary, can create a very relaxing atmosphere in your outdoor space.
Don’t worry if your new area does not look perfect; remember, it is for you to enjoy creating in, and it will develop as you use it. Look around and see what you can make use of, then add a few of your own handmade touches. Soon enough you will have your own inspiring space to retreat to in the fresh air.