Learn the French Knot for Hand Embroidery – Slow Stitching for Beginners
As an Amazon Associate I earn from qualifying purchases
The French knot — that beautiful little raised stitch that adds such gorgeous texture to your embroidery. I know it has a bit of a reputation for being tricky, but in this tutorial I’m going to break it down nice and slowly so you can master it with confidence.
There are step by step instructions and a video tutorial to help you.
Once you’ve got the rhythm of it, the French knot opens up a whole new world of embroidery — flower centres, scattered dots, textured patterns, stars — and we’re going to practise it together.
All you need is some fabric, a needle, and a little thread — nothing fancy, nothing expensive. Just have a play and be patient with yourself.
This page contains affiliate links meaning I earn a little commission if you use those links at no cost to you. I only recommend brands I use and trust.
You will need:
- Fabric (whatever you have)
- Needle (eye large enough for your thread)
- Thread (embroidery thread works really well)
- Scissors


Video Tutorial for French Knots
This video is also available on my YouTube channel.
Step-by-Step French Knot Tutorial
Step 1: Prepare your fabric & thread
Choose your fabric and cut it to size. If you want a specific design you can draw it on your fabric with a pencil or a heat erasable pen. Thread your needle with embroidery floss (you can use anywhere from 1 to 6 strands depending on the thickness you desire) and tie a knot at the end to prevent the thread from pulling through the fabric.
I often use 3 threads and that works really well. If you prefer a chunky stitch then use the whole embroidery thread. It is great to experiment with different threads and numbers of threads. That is one way to change the size of your French knots and we will see another way too.
Step 2: Bring the Needle up
Start where you want your French knot to be by bringing the needle up from the back of the fabric to the front. Pull the thread until your knot is sitting snugly behind the fabric.
Step 3: Forming your first French knot
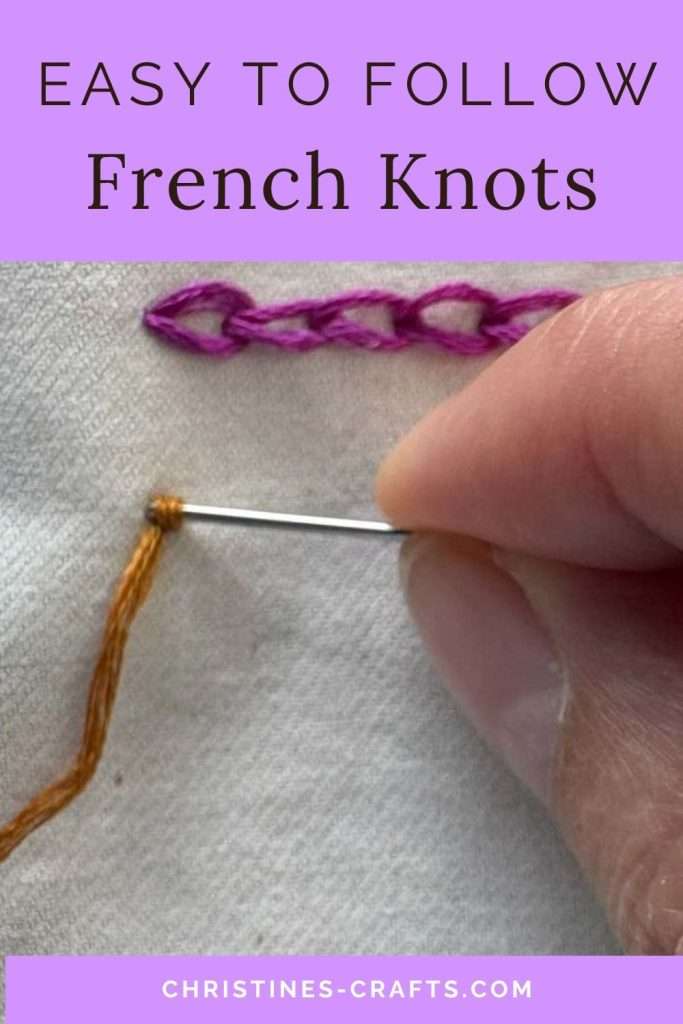
Take the thread in the hand that you don’t have your needle in. Wrap the thread around the needle as many times as you like. The more times you wrap it around the needle the larger your French knot will be. I suggest you wrap it round twice the first time you try a French knot.
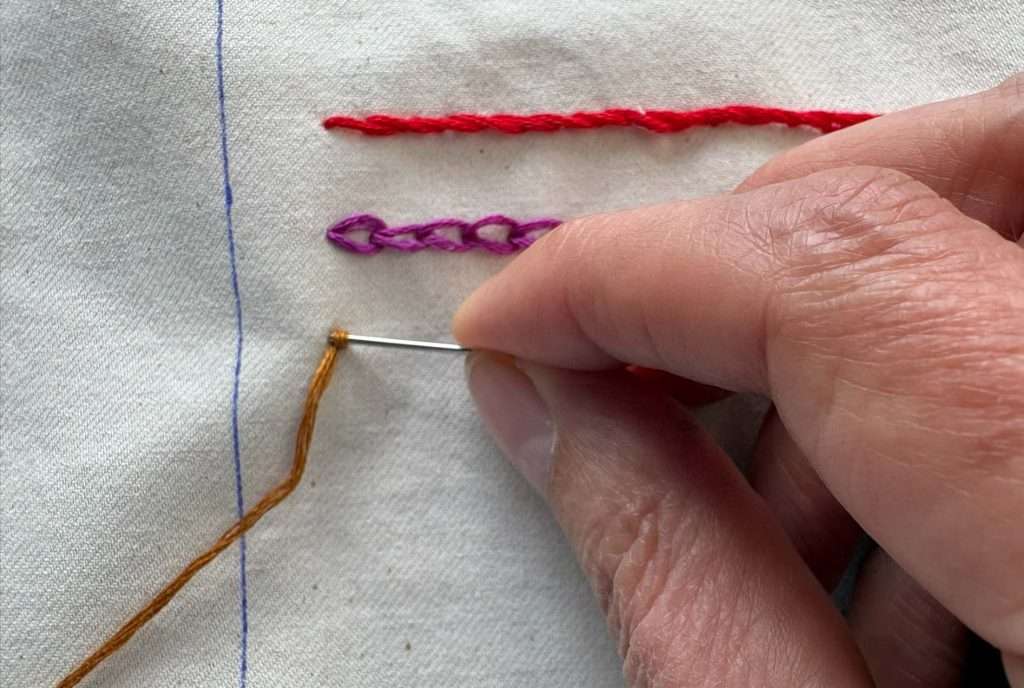
Keep hold of the yarn in your hand. It needs to be reasonably taught but not so tight you can’t pass the eye of the needle through the loops!
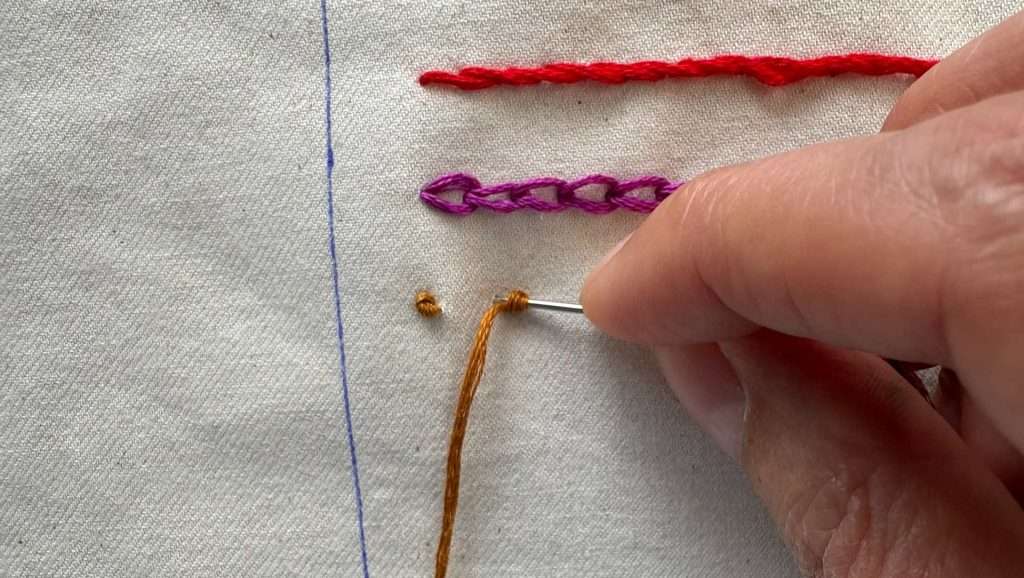
Pass the needle back through your fabric very close to where you came up. Keep hold of the yarn as your needle and the yarn passes through the loops. Let it go when all the yarn is nearly through. As the yarn pulls through your French knot will form.
Repeat as many times as you like and using as many loops as you like. I recommend you start with a sampler and practise. Pretty much what I have done here!
Common French knot problems
Once you master French knots they are not difficult but if you are having problems at the start here are some solutions:
- Knot pulls all the way through – make sure you go back down through the fabric next to where you came up (not down the same hole)
- Thread tangles – keep it taught as you pull it through the loops to form the French knot.
- Too small or too large – experiment on scrap fabric before starting your project – try different numbers of loops and different numbers of threads.
Project Ideas to Practice your French knots
Now you are not afraid of French knots you will want to use them. Here are a few ideas:
- Create a sampler using different threads, colours and stitch sizes.
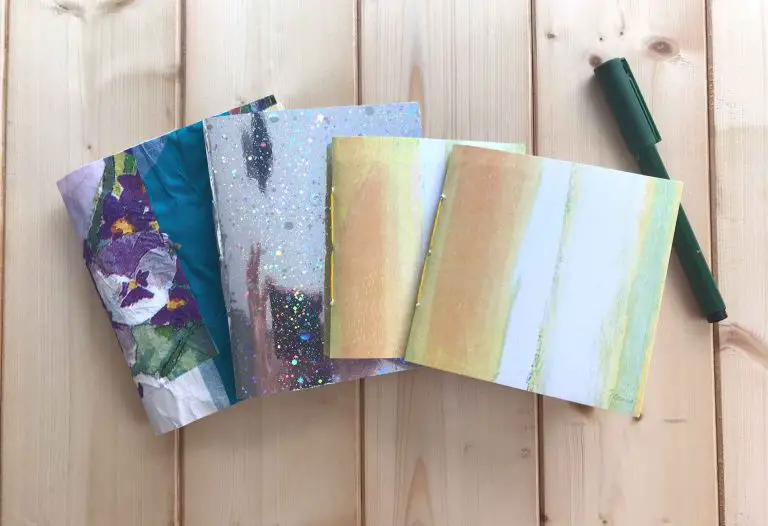
- Create your own slow stitching book
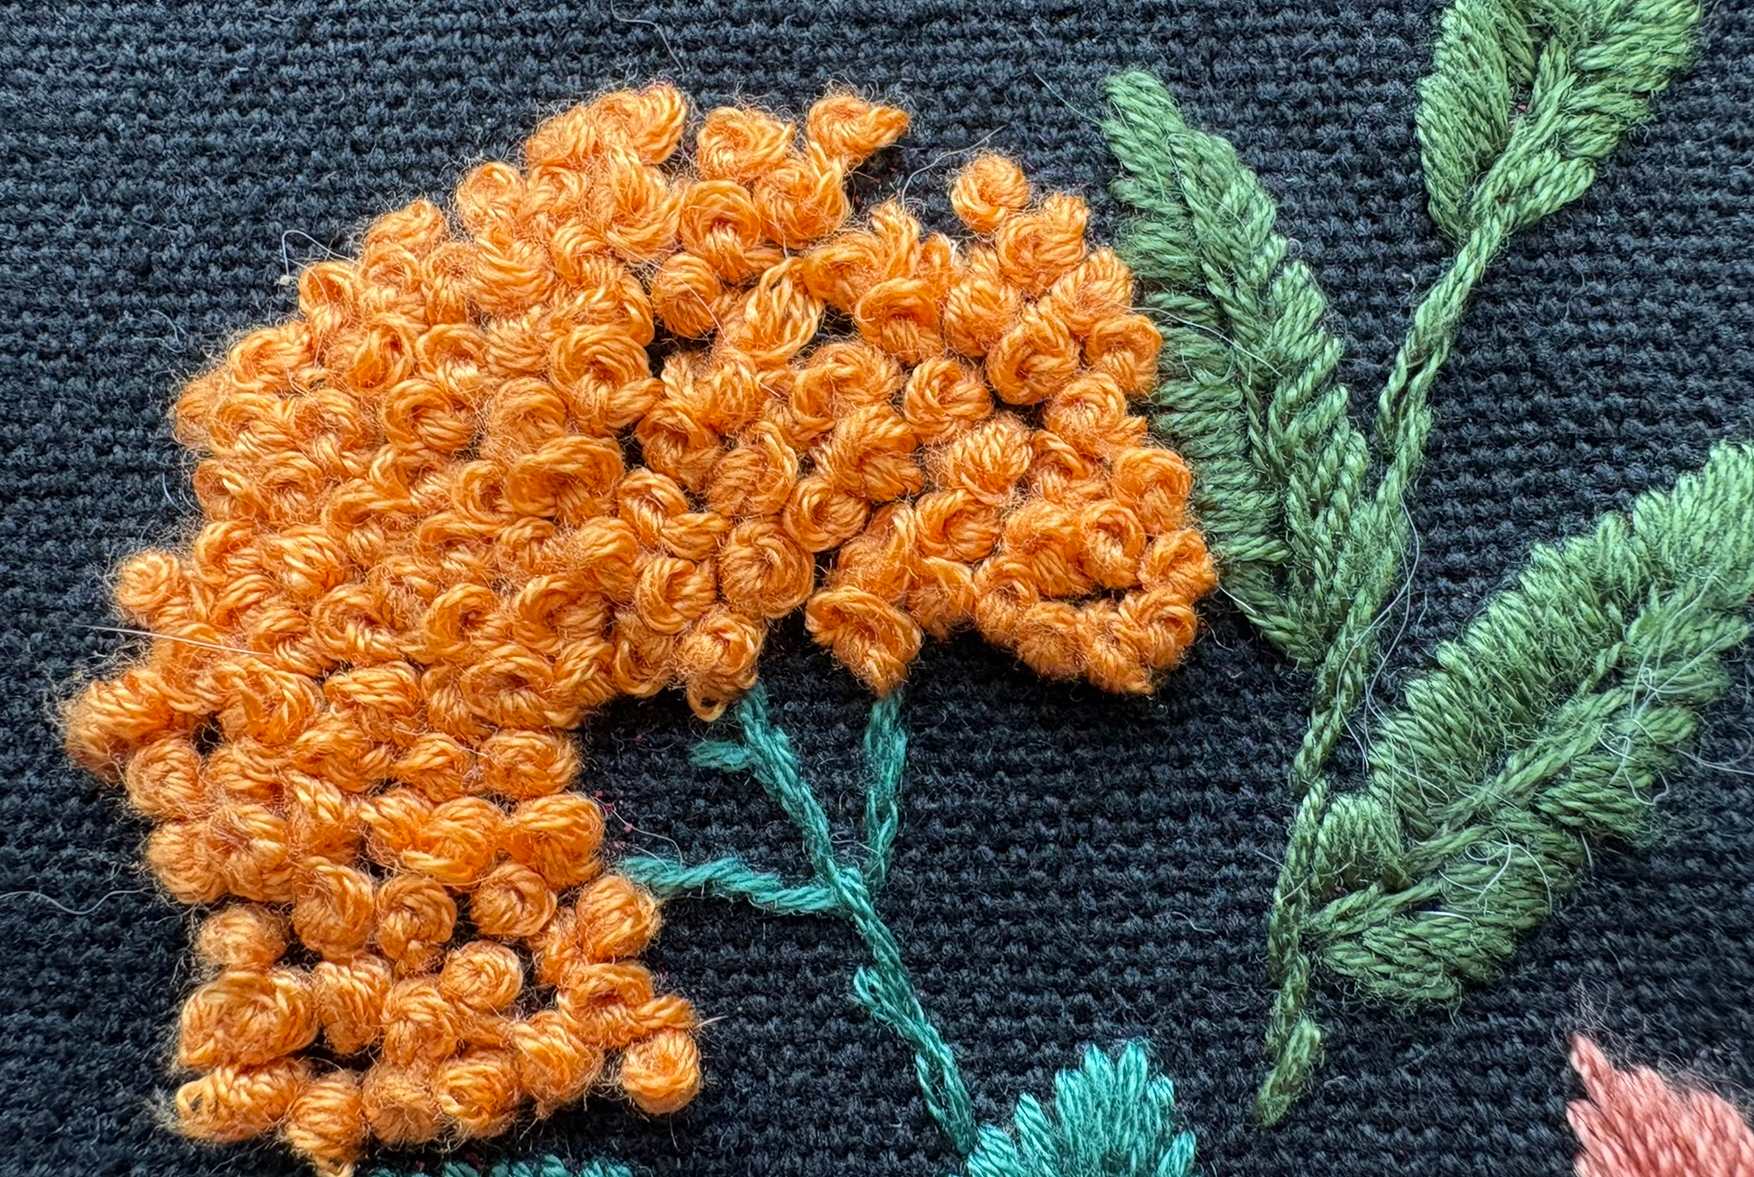
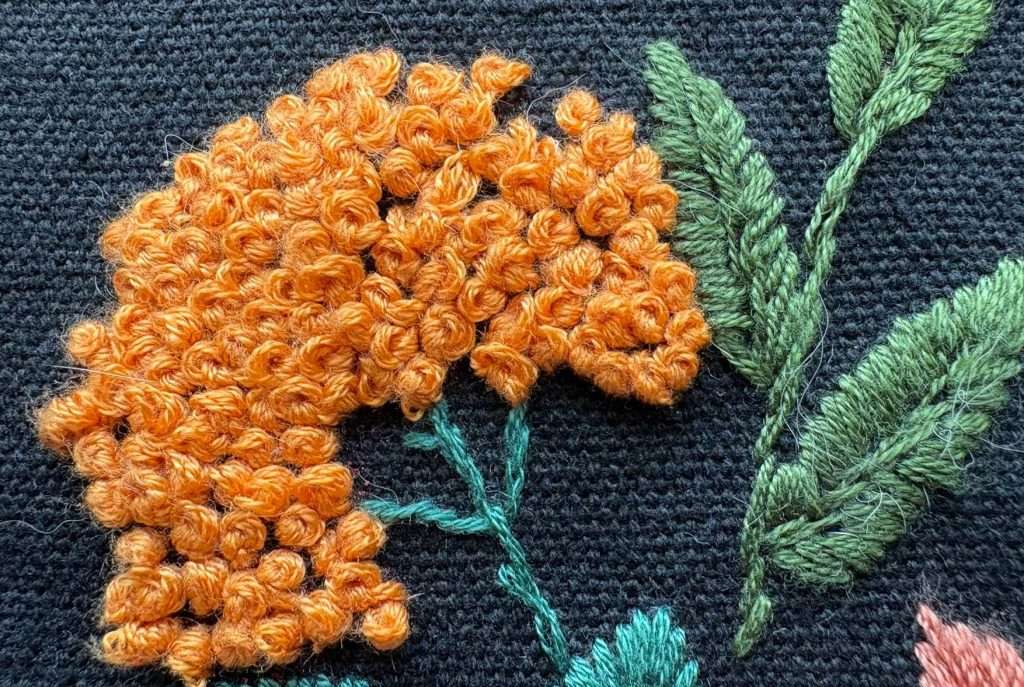
- Use in hand embroidered flowers (like below)
- Add to designs as a dotty background
- Great on bookmarks and pictures
Embrace your Hand Stitching
Now you have mastered the French knot and your hand sewing is expanding you can develop your skills and use them to create many different projects.
How about making a scrap fabric journal to enjoy your creativity and some mindfulness. In fact, you could take a look at this Beginners Guide to Slow Stitching.
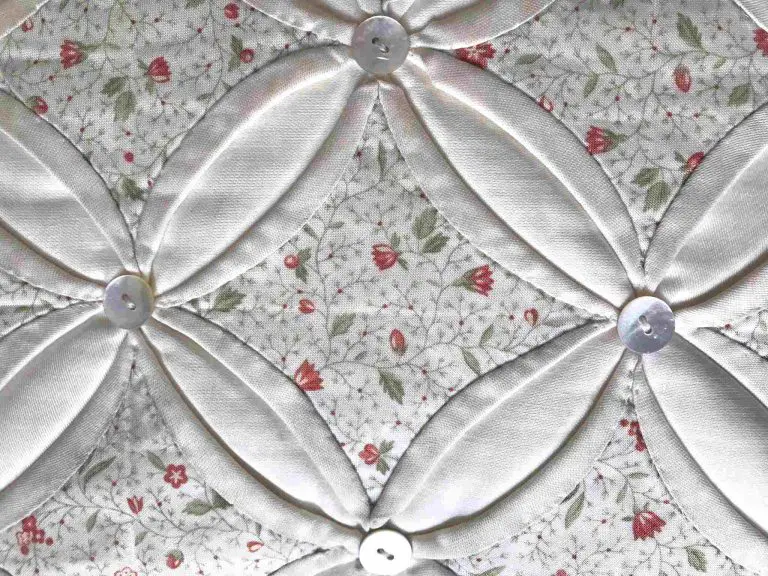
Or, how about trying your hand at Cathedral Window Patchwork which can look stunning on a large or small scale. You could even add your French knots to these too.
Whatever you decide to sew, pin this guide to your favourite board on Pinterest so that you can find it again.