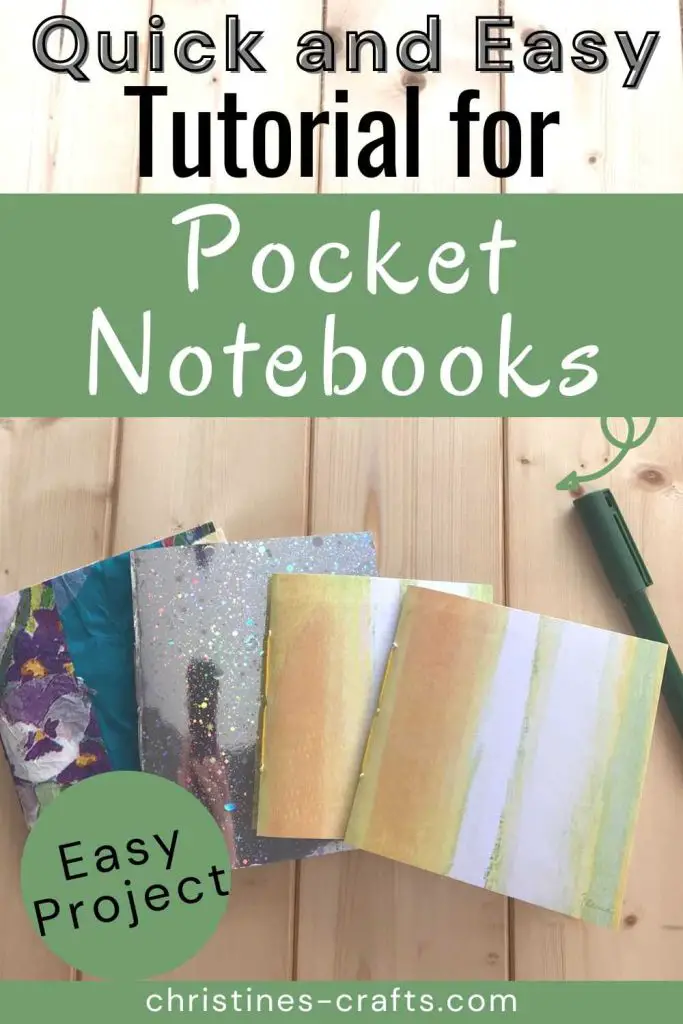
How to Make Cute DIY Pocket Notebooks in Minutes!
As an Amazon Associate I earn from qualifying purchases
Who doesn’t love a pocket notebook. I know we all carry a phone now but nothing beats a good old-fashioned notebook. These DIY pocket notebooks are so quick and easy and you can make them out of whatever you already have lying around. A DIY notebook can be so handy to carry round with you or create one for a particular event such as a holiday. I made one for our holiday to Ireland and put all my useful information in the first half and recorded our trip in the second half. We loved it!
You can use any card and paper that you have to get the notebook you want. Use thicker card for a more robust notebook and thinner card for a flexible one. Lined paper is great to make notes but plain paper is great for sketching or painting.
This technique works really well to make slim pocket notebooks. If you want a thick notebook then you will need to add more than one signature (group of pages sewn in) or use a different technique.
So, let’s get started and make a notebook.
This page contains affiliate links meaning I earn a little commission if you use those links at no cost to you. I only recommend brands I use and trust.
You will need:
- Cardboard for cover
- Paper to fill notebook
- Needle and strong thread (I use embroidery thread)
- Ruler, pencil and scissors (or rotary cutter and cutting mat)


Pocket Notebook Video Tutorial
This video is also available on my YouTube channel.
Prepare Card and Paper
Decide on the size of notebook you want. This could be dictated by the size of cardboard and paper you have or perhaps a location you want it to go, eg your pocket. In this tutorial I am making a pocket notebook that is 4″ by 4″. This was dictated by the size of the card that I adored! ( I actually made two DIY pocket notebooks that are identical except one has lined paper and one has plain paper.)
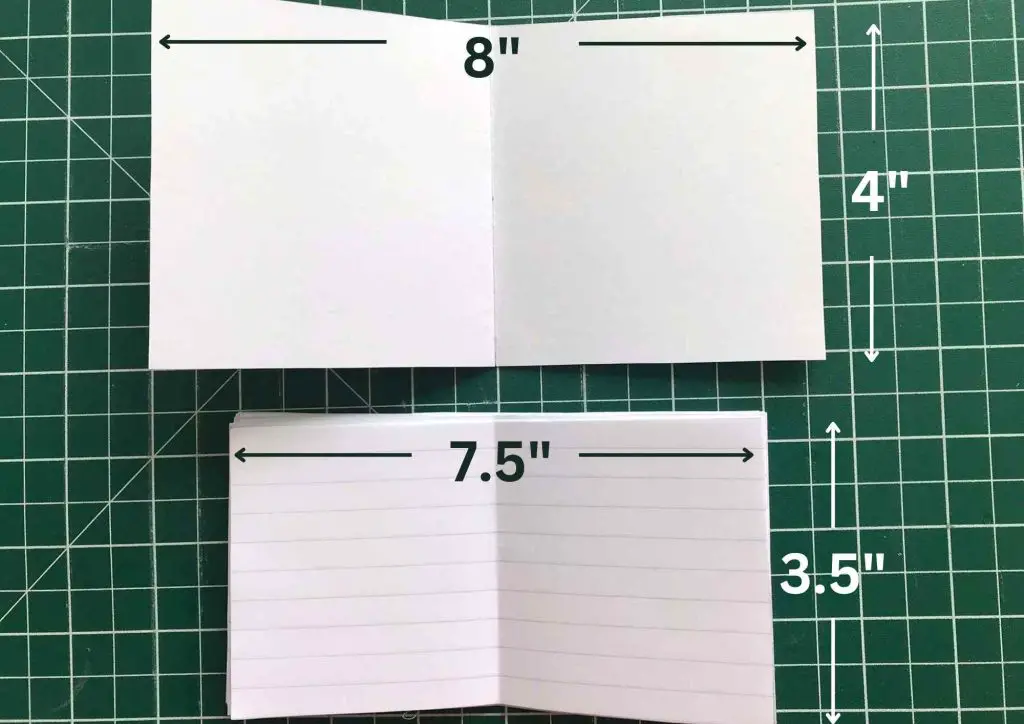
Cut your card so that it is the height that you want your notebook to be and twice the width that you want your notebook to be. In my case I cut it 8″ by 4″.
Then cut your paper to be 1″ smaller in each dimension than your card. For example, in my case, I cut the paper 7.5″ by 3.5″.
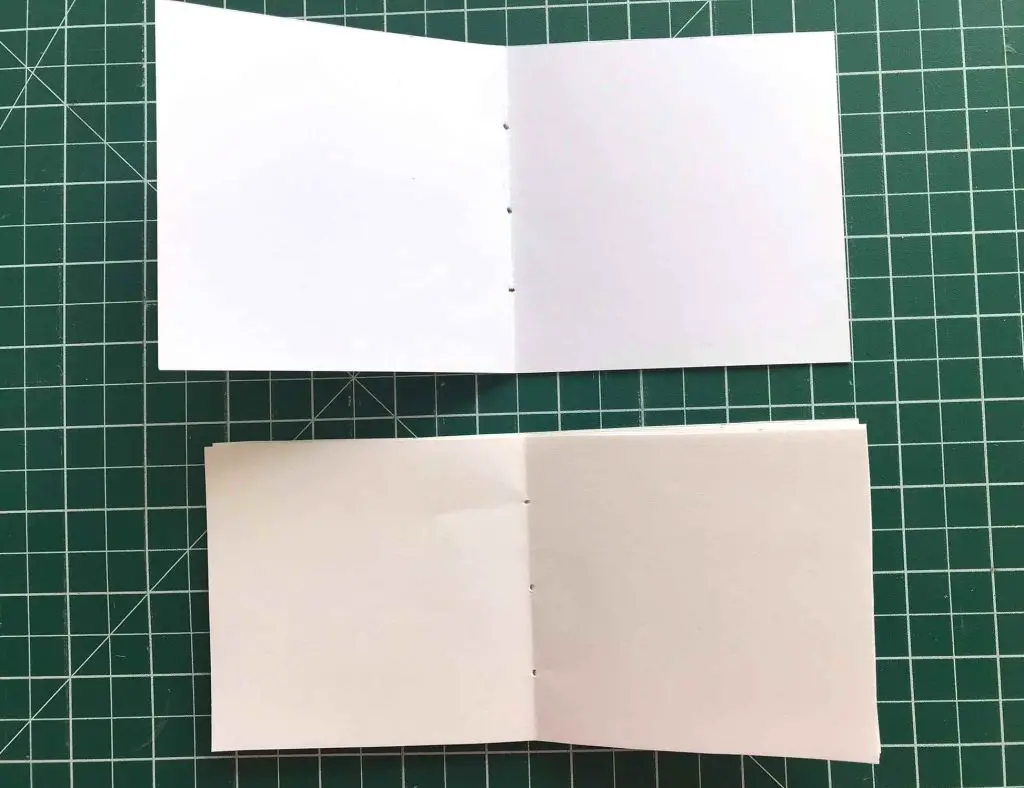
Fold both the card and paper in half. If you have a boning tool use that to get a crisp crease. If not, try using a ruler but be careful not to catch or tear your paper / card.
Along the fold of the card mark the centre with a pencil and then mark 1″ either way along the fold. Repeat for the paper. I only mark one sheet of paper and then use that as a template for the others.
Take a sharp tool (I use the needle that I use to sew the notebook together) and pierce the card at each of the three holes. Repeat for the paper. It may help to do a few sheets of paper at once and repeat until you have done them all.
You are now ready to assemble your DIY pocket notebook.
Assemble the DIY Pocket Notebook
Thread your needle with your chosen thread. I use embroidery thread but you could use any strong thread or string. All that matters is that it won’t break and you can get it through the eye of your needle (oh and that you like it). You do not need miles of thread, an ordinary sewing length is plenty.
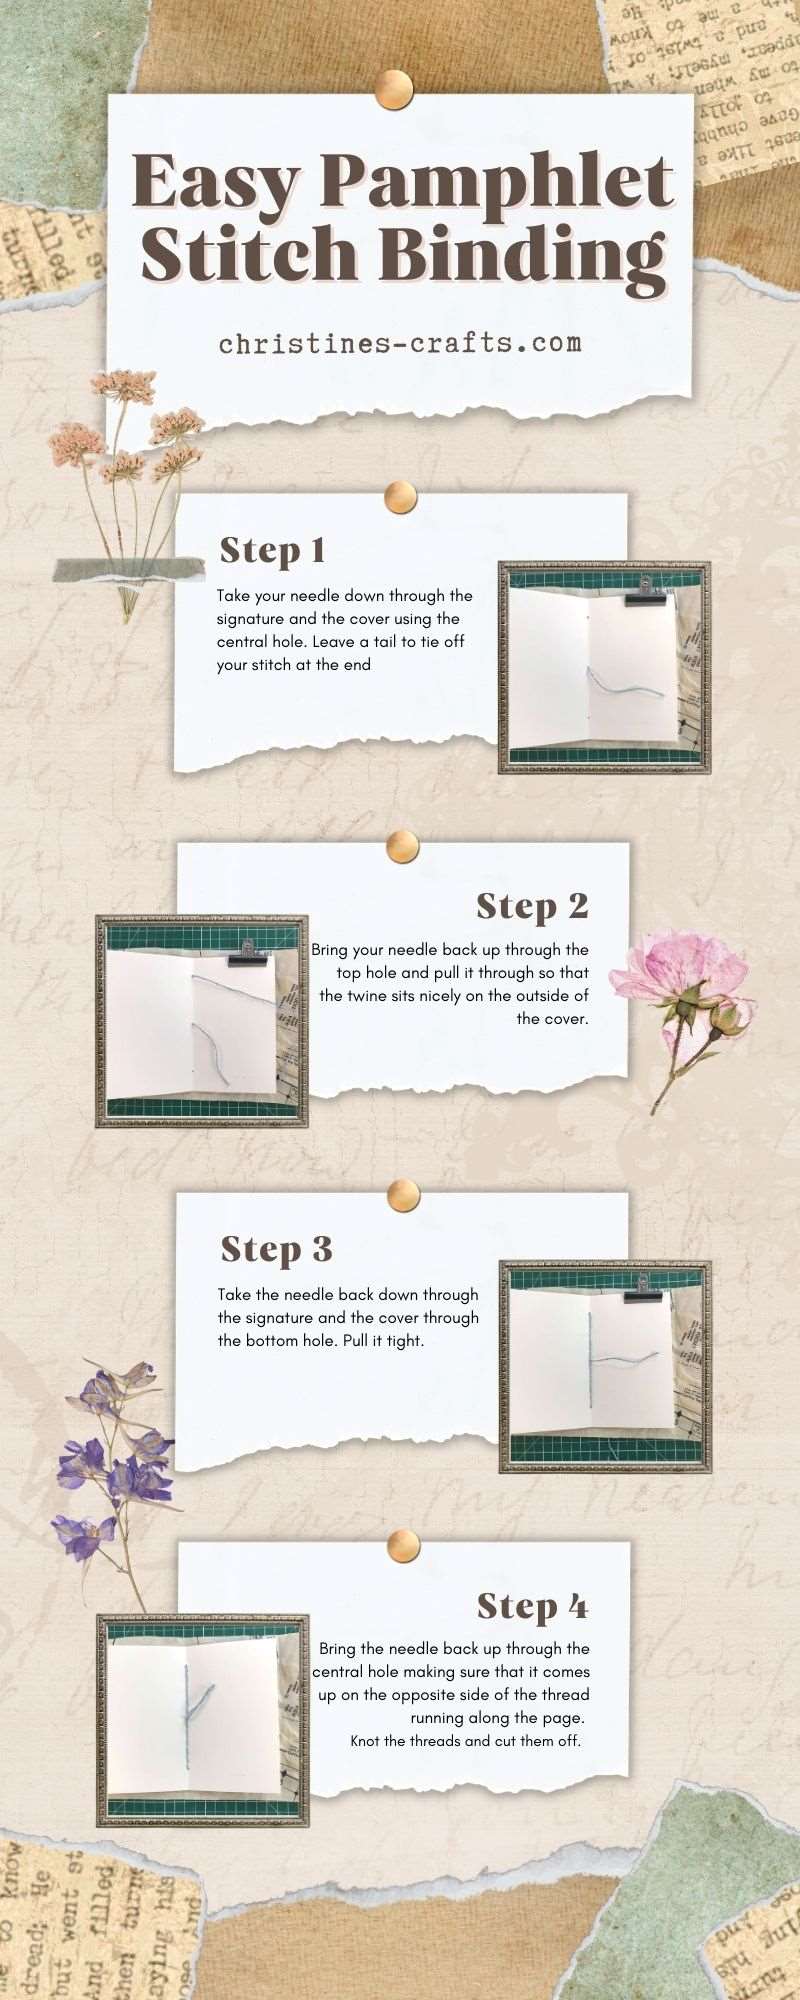
You are going to use a pamphlet stitch which I assure you is incredibly easy. Refer to the following infographic for pictures. Take your needle down through the signature and the cover using the central hole. Leave a tail to tie off your stitch at the end.
Bring your needle back up through the top hole and pull it through so that the twine sits nicely on the outside of the cover.
Take the needle back down through the signature and the cover through the bottom hole. Pull it tight.
Bring the needle back up through the central hole making sure that it comes up on the opposite side of the thread running along the page.
Knot the threads and cut them off.
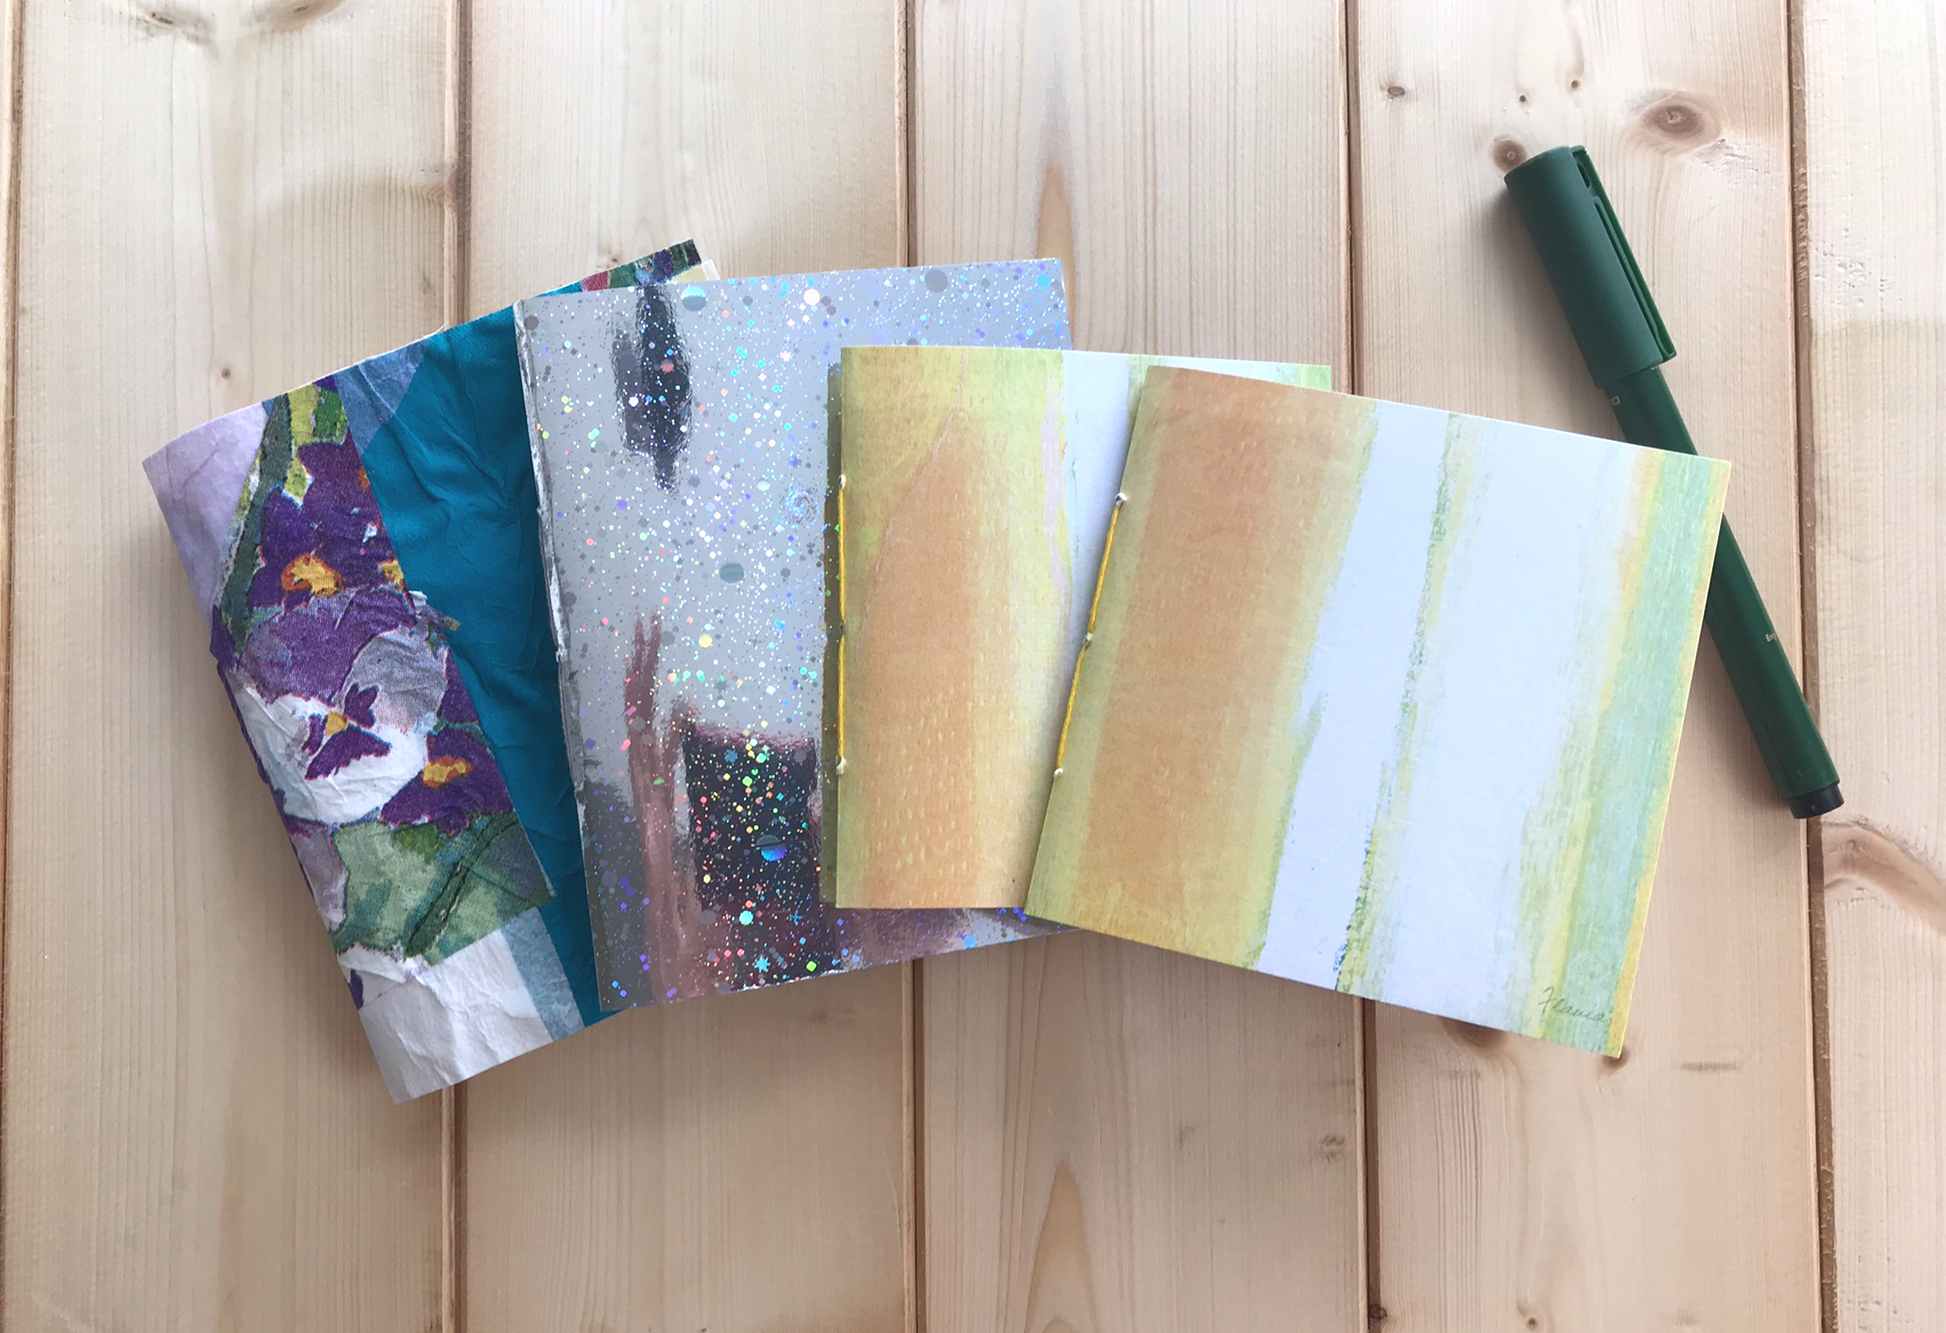
Congratulations you have completed your first notebook. Although I do recommend placing it under a heavy book for a while to flatten it. So, how easy was that? And the real beauty is that you can now make loads of them for hardly any cost. Great for small gifts or fundraisers!

Get Creative with your DIY Pocket Notebooks
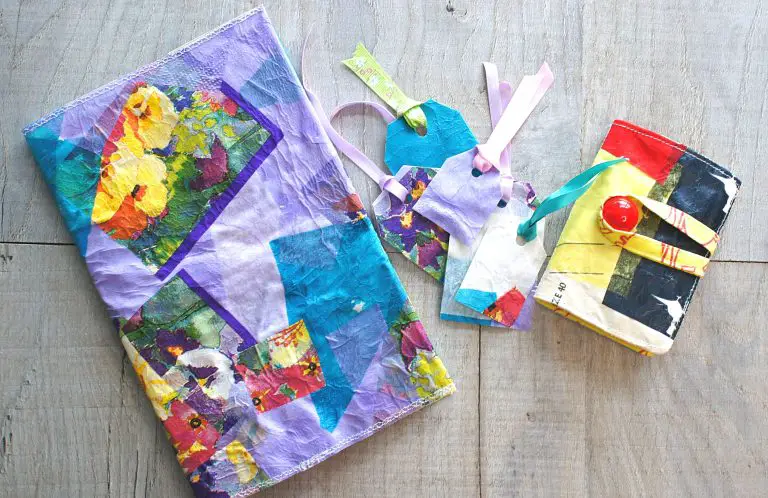
The thicker the cardboard you use the more hardwearing your notebook will be but often thicker card is rather boring so consider decoupaging the card before making your notebook. Or, how about covering it in sticky backed plastic.
I have made some using fabric paper which is soft and pliable but hardwearing. You can learn how to make it at this fabric paper tutorial. Plus you can also use it to make an art journal like this one here.
You could include a mix of lined and plain paper to make your notebook more interesting for the user. If you use thick paper designed for painting on it could even be a miniature art journal!
Whatever you decide to use your pocket notebooks for I hope you enjoy making and using them. Do let us know in the comments below what you decide to use yours for and any suggestions to improve them.