How to Make a DIY Beanbag Frog – Super Simple and Easy to Sew
As an Amazon Associate I earn from qualifying purchases
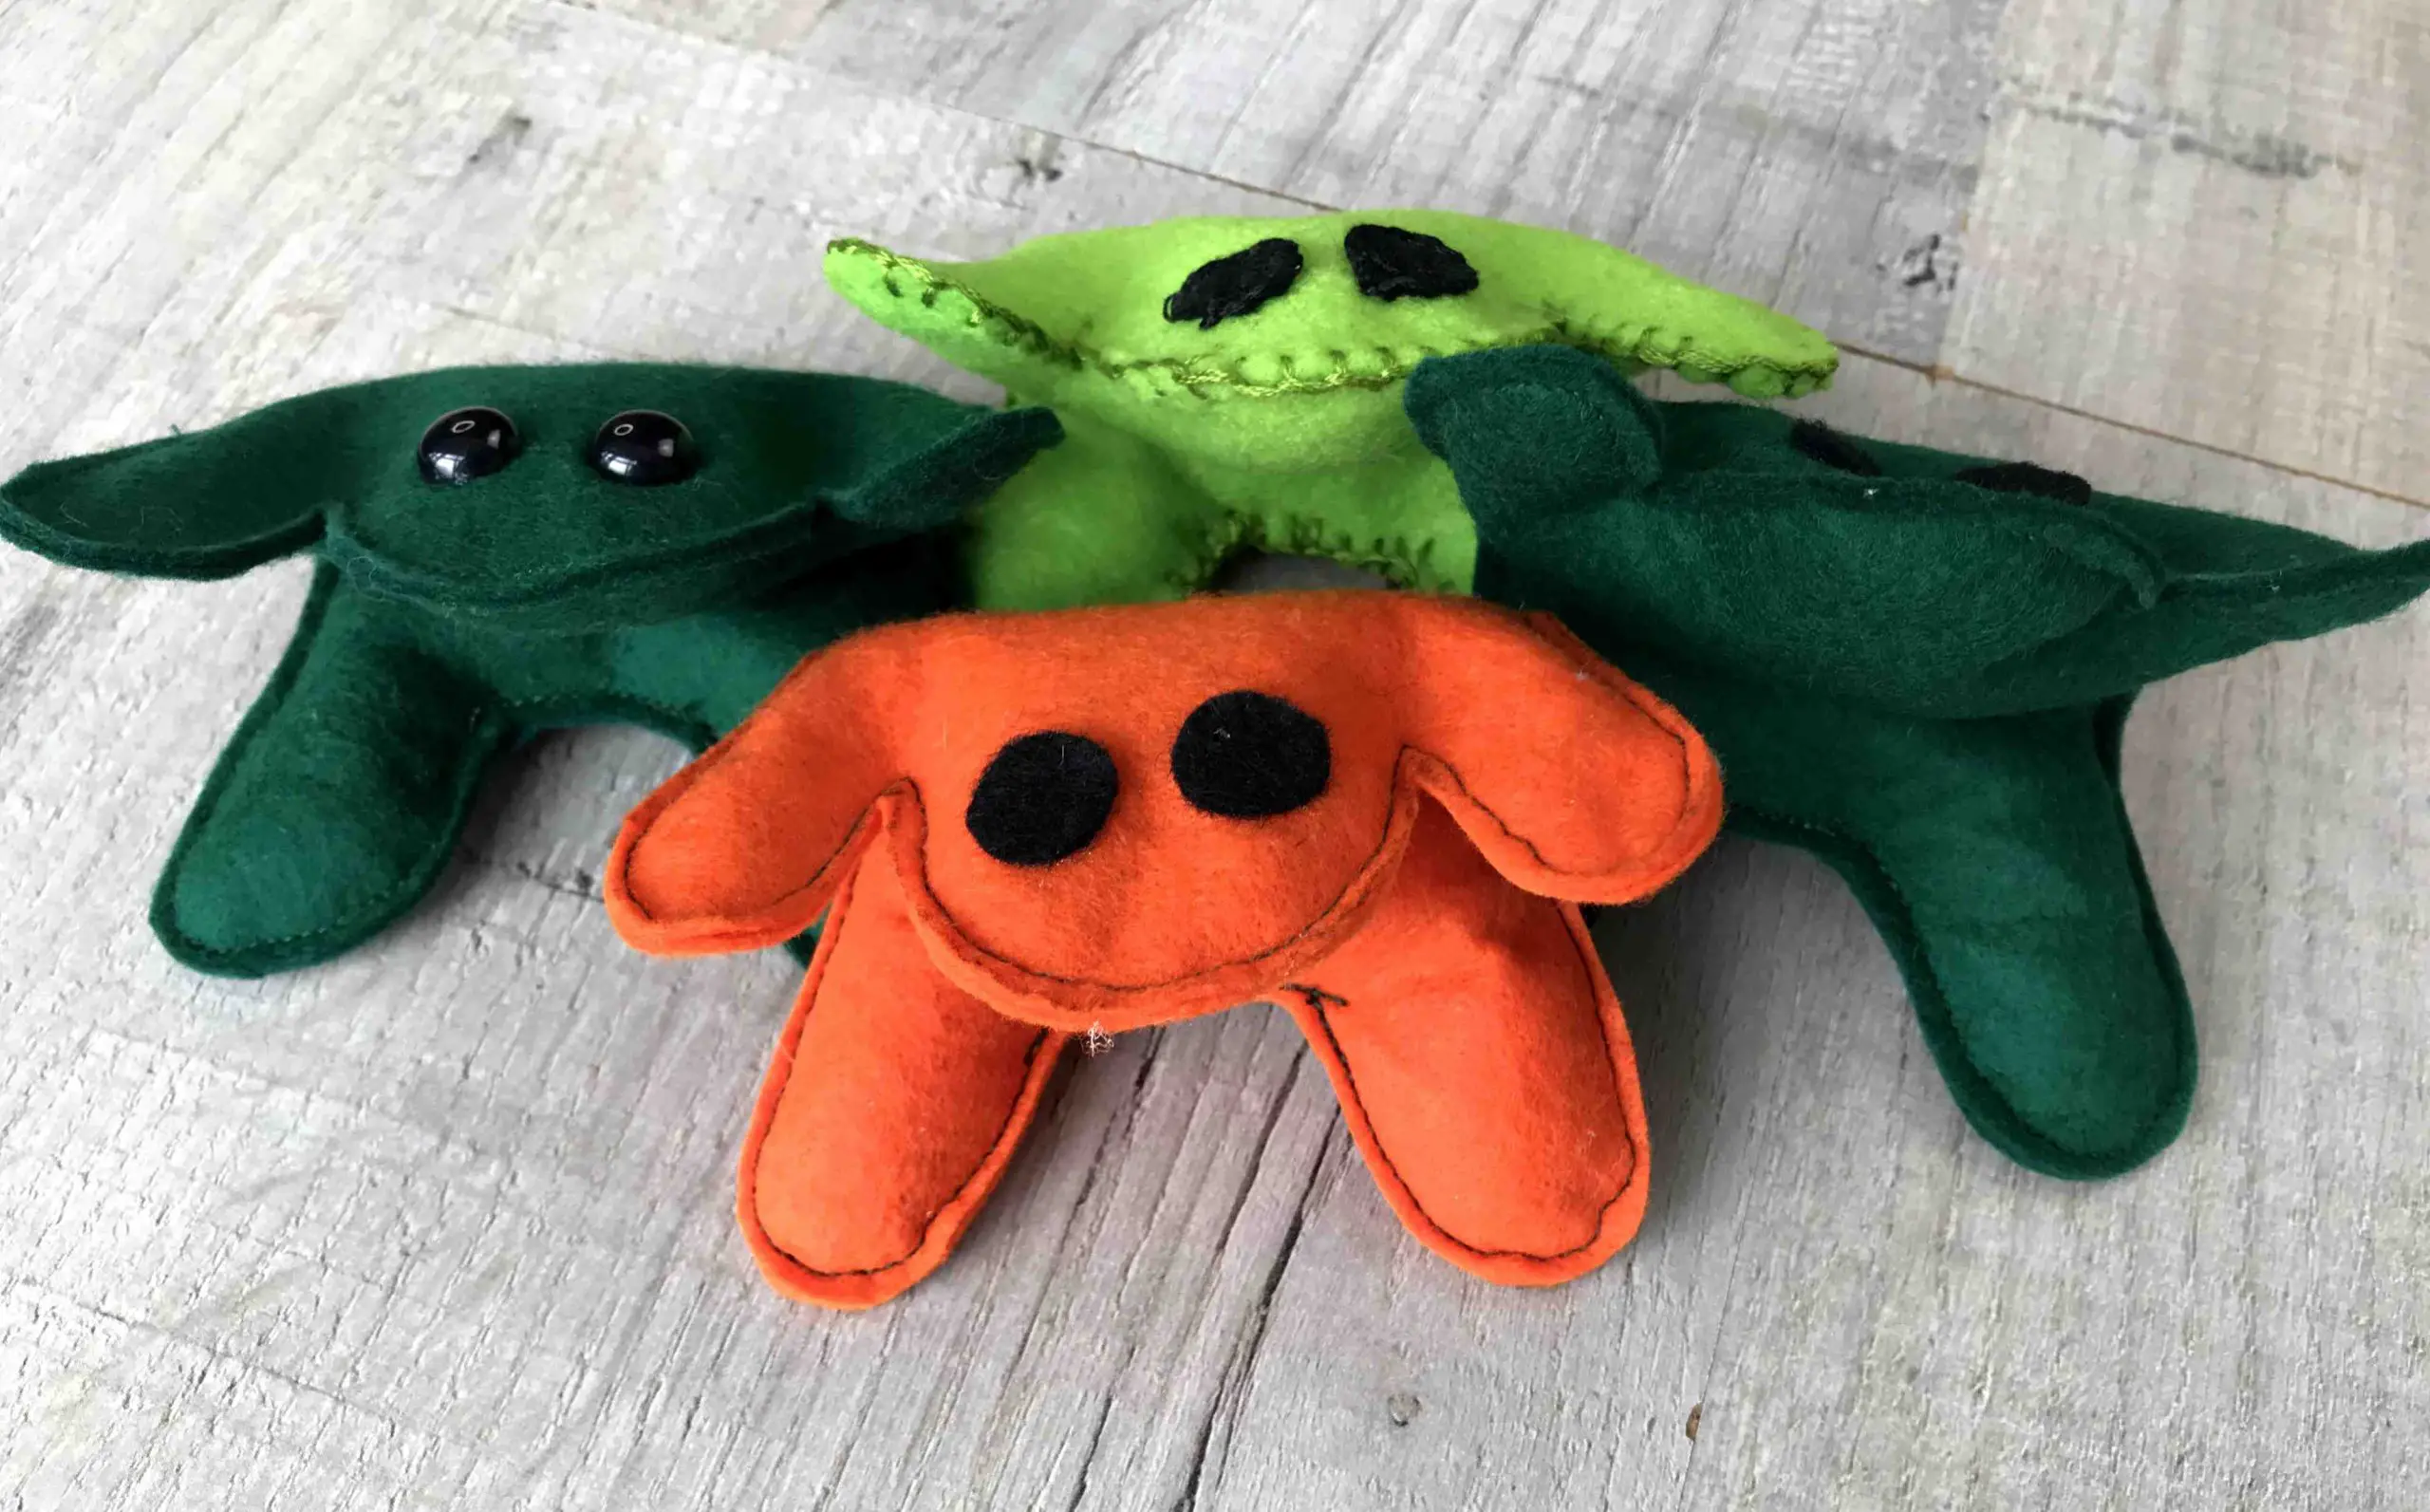
Do you want to sew your own simple beanbag frog? Then these adorable felt frogs are for you. They are super quick and easy to sew and great for using in a beanbag game such as a beanbag toss and selling at bazaars. Who doesn’t like beanbag toys?
You can sew them on a sewing machine or by hand. So, let’s dive right in and sew a small beanbag in the shape of a frog.
This page contains affiliate links meaning I earn a little commission if you use those links at no cost to you. I only recommend brands I use and trust.
You will need:
- Felt (or similar fabric that will not fray)
- Beanbag filling – Poly beads (or for an alternative try rice/ lentils/ dried beans)
- Embroidery thread (if sewing by hand)
- Safety eyes (or felt circles)
- Free Printable Beanbag Frog Template


Video Tutorial for Machine Sewn Frog
This is a video tutorial to help you if you choose to make your frog on the sewing machine. It is also available on my YouTube channel.
Hand Sewn Beanbag Frog
Prepare your Frog Pieces
The first thing to do is to download and print out the free beanbag frog pattern. Cut out the frog template. Take your felt and fold it so that you can pin your template to it through 2 layers of felt. This will simply allow you to cut out both pieces together.
It is up to you whether you simply cut round the pattern or draw around it, remove the pattern and cut around the line you have marked.
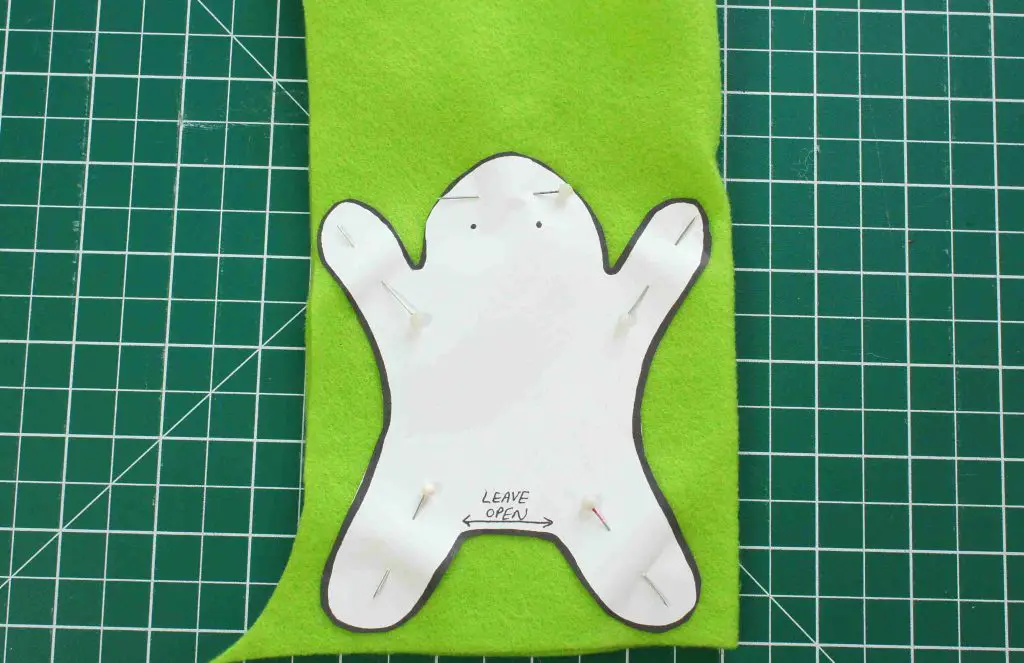
If you are using safety eyes move onto the next step. If you want to sew or glue felt eyes onto your frog then cut out two small circles for eyes in a different coloured felt. My eyes are approximately 0.5″ across.
Sew Your DIY Beanbag Frog
On one frog piece mark the location of the eyes. The marks on the pattern are a suggestion that you can use or move them if you prefer. Either attach your safety eyes or sew/ glue the felt circles in place. You now have an obvious top and bottom piece for your frog!
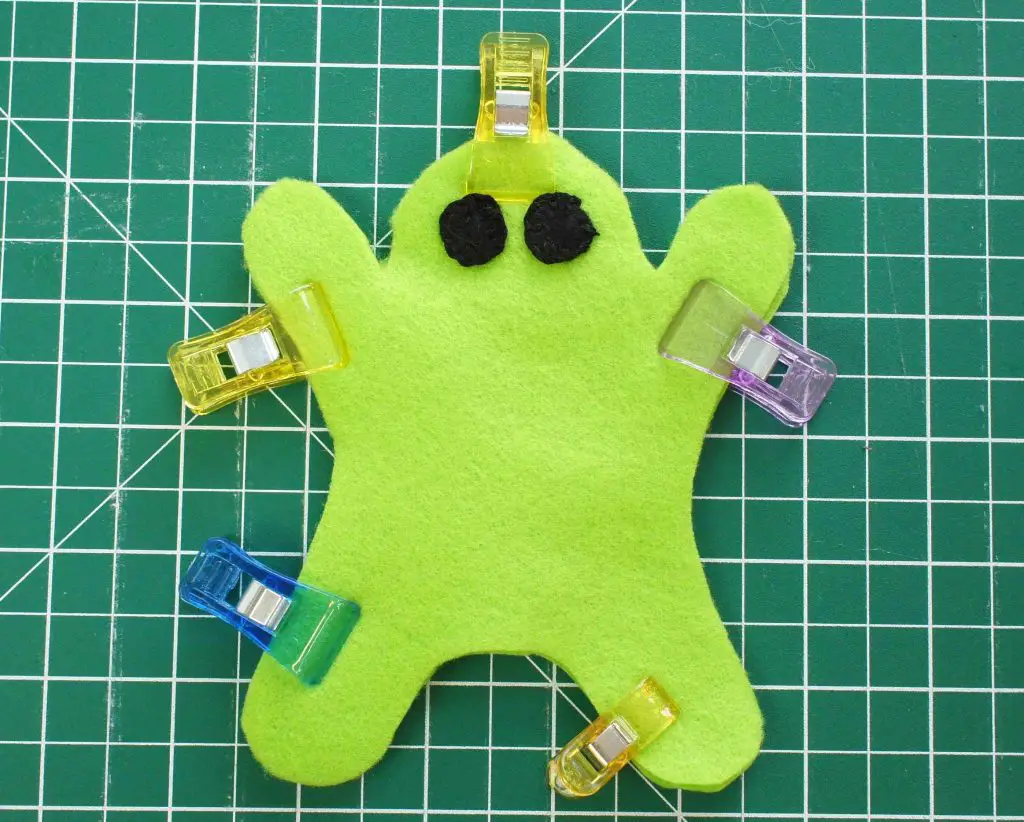
Then pin or clip your frog pieces together so that the right sides are on the outside. Sew around the outside of the frog using your embroidery thread and a blanket stitch. Leave the section open that is identified on your pattern piece. This to allow you to fill the frog.
If you need to learn blanket stitch or just want a refresher then check out the blanket stitch tutorial (including video).
Fill your frog with your chosen filling. Now, I say fill but, of course, you do not want it too full. You want to be able to fold your frog into a seated position as I have done. This will mean that you have a nice soft frog! I recommend using a small funnel if you have one to add your filling. If you do not have one then roll a piece of paper into a cone and use that.
Then sew up the piece that you left open.
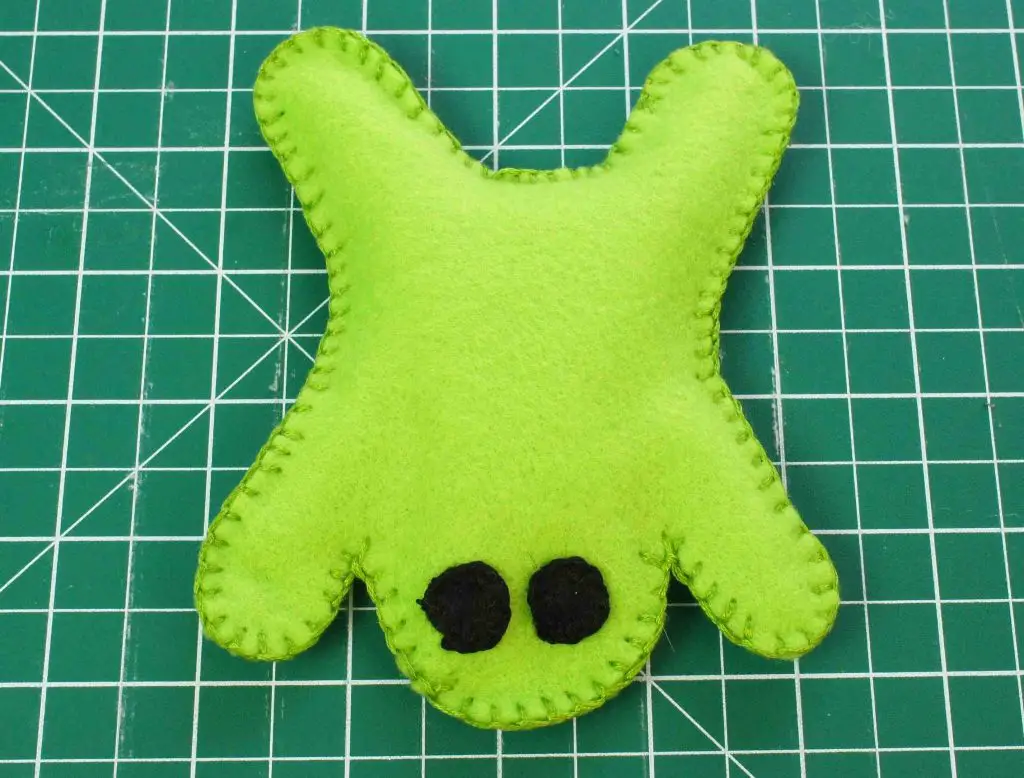
Congratulations, you have finished your first (of many) frog!
Machine Sewn Beanbag Frog
Prepare Your Beanbag Frog Pieces
As per, the hand sewn frog you start by downloading and printing out the free beanbag frog pattern. Cut out the frog template. Take your felt and fold it so that you can pin your template to it through 2 layers of felt.
This time, do not cut out your frog. Simply draw around your template using whatever you have. I use tailor’s chalk but you can simply use a pen.
Add your eyes to one of the frog pieces however you have chosen to do that. Then make sure your felt is folded again so that you have two frog pieces to sew together.
On the sewing machine sew around the frog (except for the part you must leave open to fill it). You want to sew approximately 1/8″ inside the line you drew. Once you have sewn around the frog cut it out along the line that you drew.
Then fill your frog as you did for the hand sewn one. Put it back on the machine and sew up the filling gap that you left.
And next …
I hope that you have enjoyed making your frog and love the simplicity of it.
If you are looking for more sewing tutorials then check out my sewing section where you will find items from bags to mittens to puppets. So many different projects for you to try.
If you are looking for something a bit special how about making a Martin Bear using a kit from the world famous Martin Bear Company (Martin Bären) in Germany. Read all about them and how I got on making my bear here.
Remember to pin this tutorial on Pinterest so that you can find it later and let us know in the comments below what you use your beanbag frogs for.
