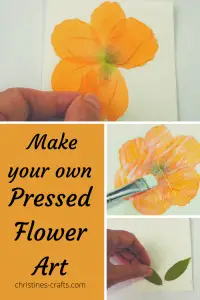
How to DIY Pressed Flower Art
As an Amazon Associate I earn from qualifying purchases
Pressed flower art can look amazing and is a great way of preserving flowers that are special to you. They could be from your garden, a special trip or an event such as a wedding or anniversary. You can press your flowers very easily. You can even make your own flower press by reading how here!
So if you would like your own pressed flower art, however simple or detailed then read on and find out how simple it can be.
This page contains affiliate links meaning I earn a small commission if you use those links at no cost to you. I only recommend brands I use and trust.
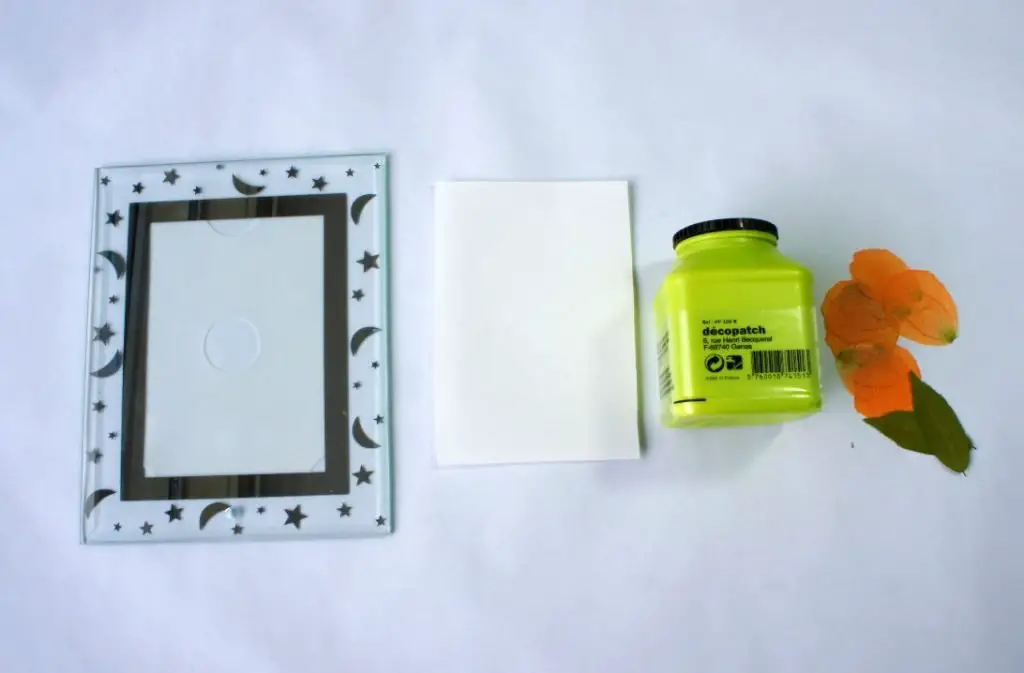
You will need:
Pressed flowers
Card

Step 1: Design your picture
Assuming that you have some card the correct size for your frame then the first step is to complete your design. Note: if possible make sure your card is thick enough not to curl up when it is wet with glue. My frame only takes a thin piece of paper so I had no choice but card works much better.
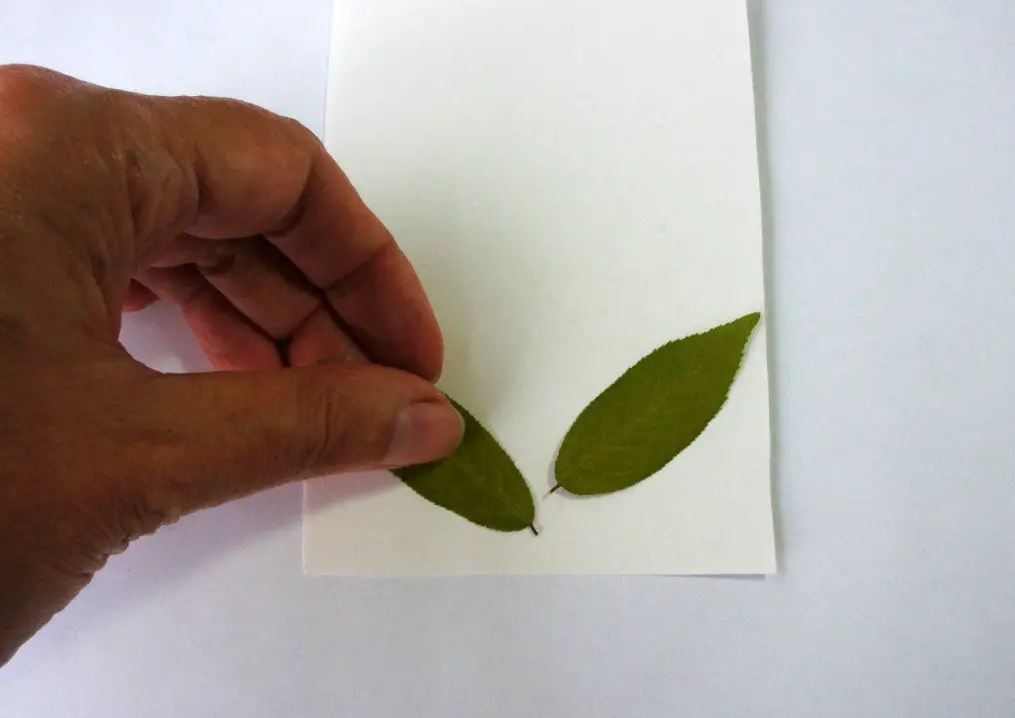
Play around with your petals, flowers and leaves until you get the desired design. I knew that I wanted a simple flower on a stalk.
Firstly I chose the leaves.
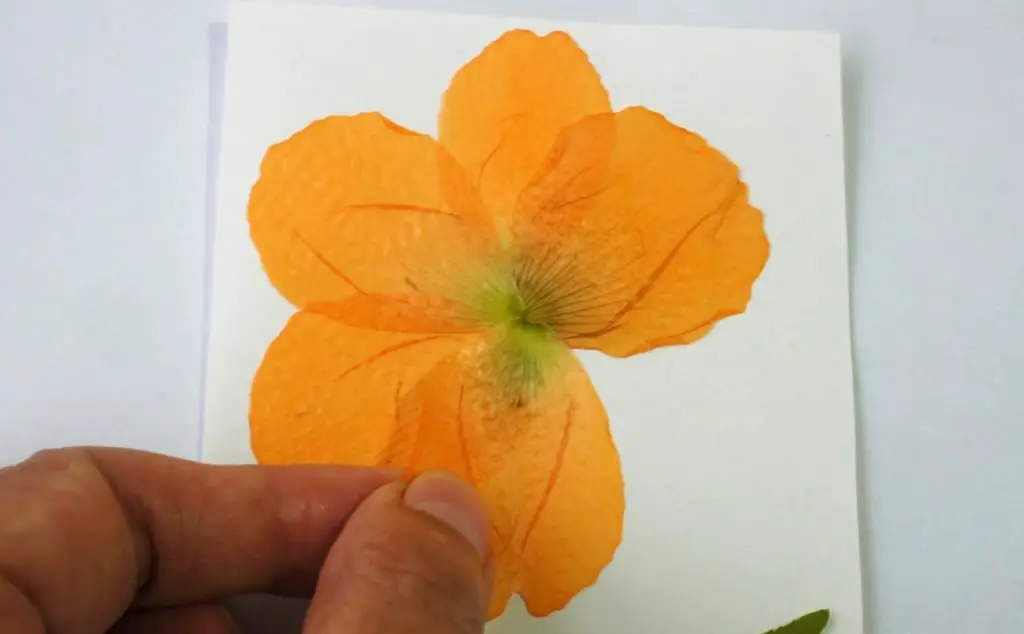
Then I selected some petals to form my flower. I was using petals from poppies but wanted to make something that looked a little like a sunflower.
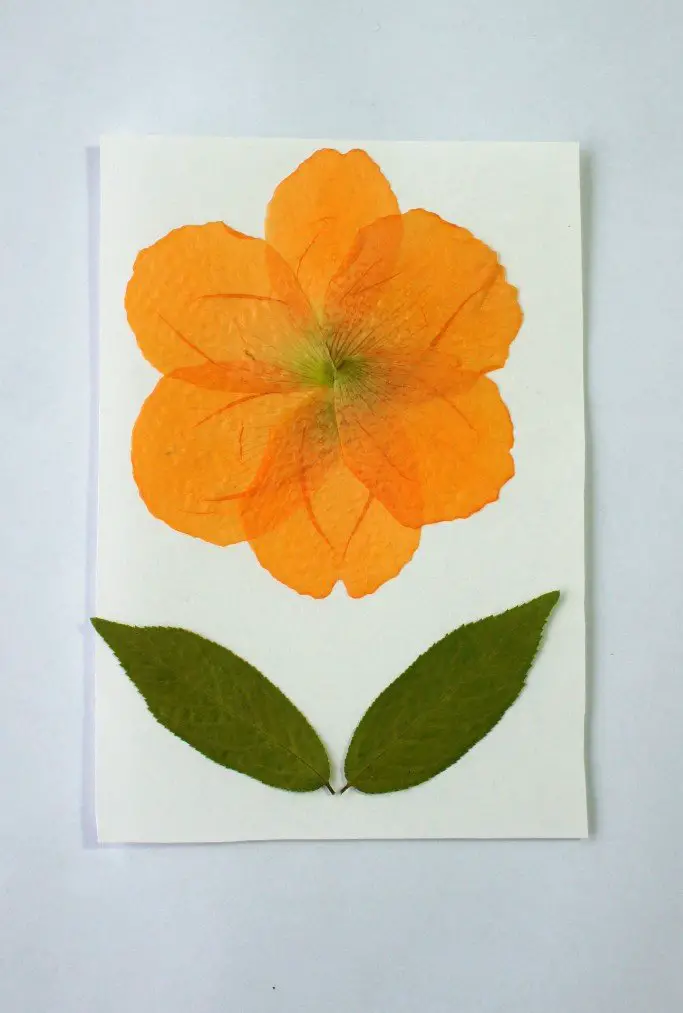
Finalise your design before you think about using any glue. Once you have glued your delicate flowers down it is permanent. Remove the elements to a safe place preferably in the design order.
If you have a complex design I recommend taking a picture of it before you move anything so you can refer to it.
Step 2: Glue down the flowers
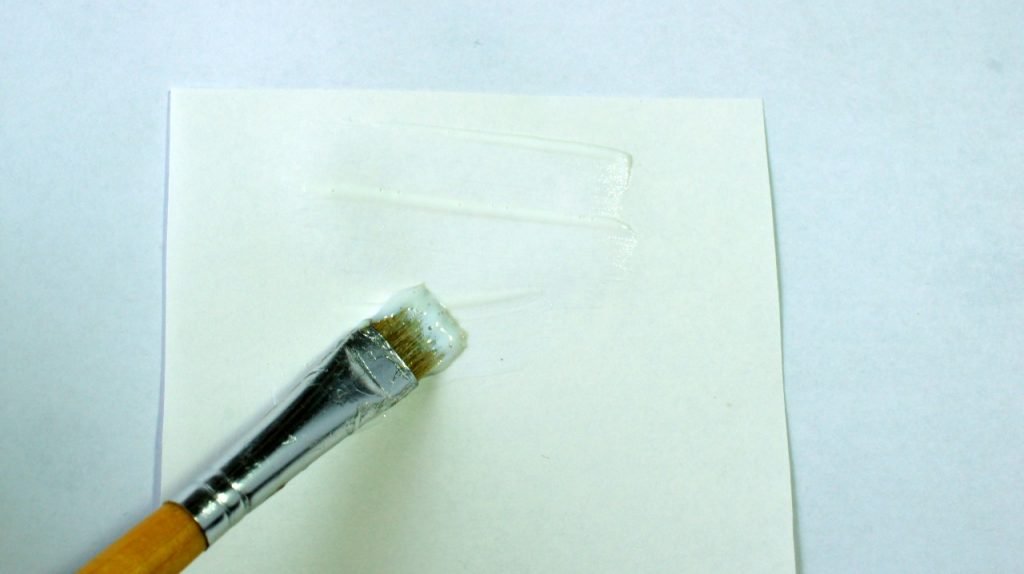
Once you are completely happy with your design cover your card in glue. I am using a water based glue. As it leaves a sheen on the card I recommend covering the whole sheet so that you get a uniform effect.
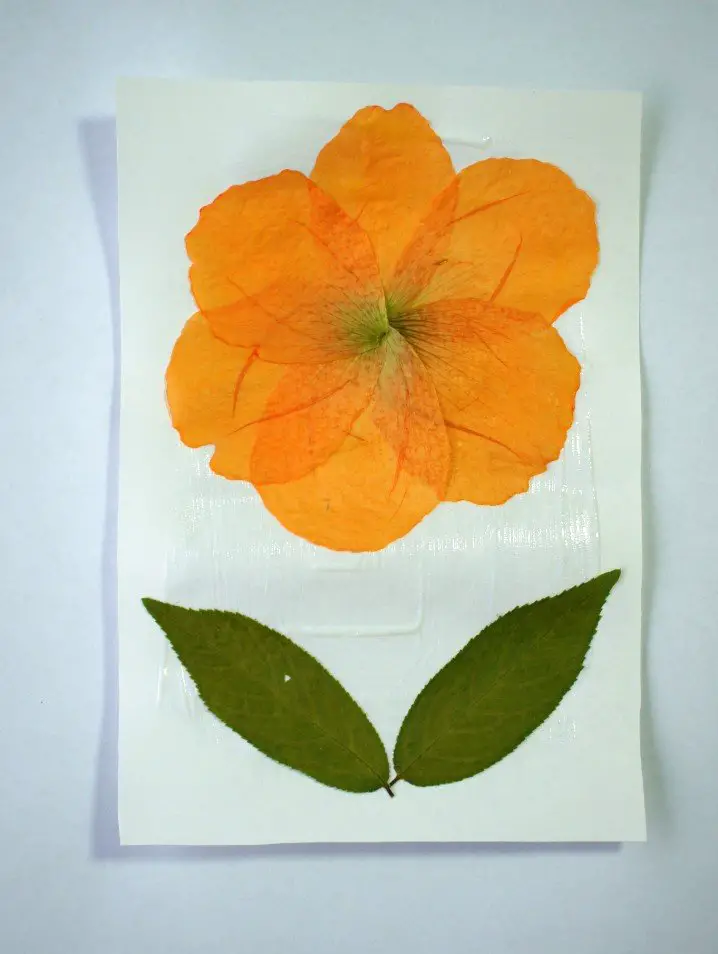
Carefully place each of your elements in place on the card in turn.
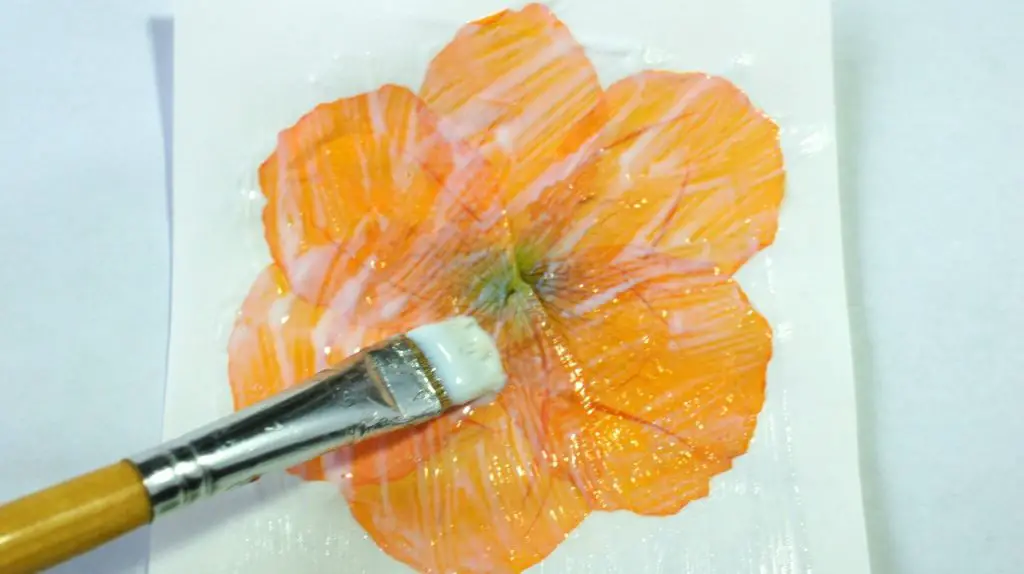
To keep your design held down smoothly you can brush another layer of glue over the whole design. This will seal it in place. This can be important if your frame does not have a glass front to it.
Finally
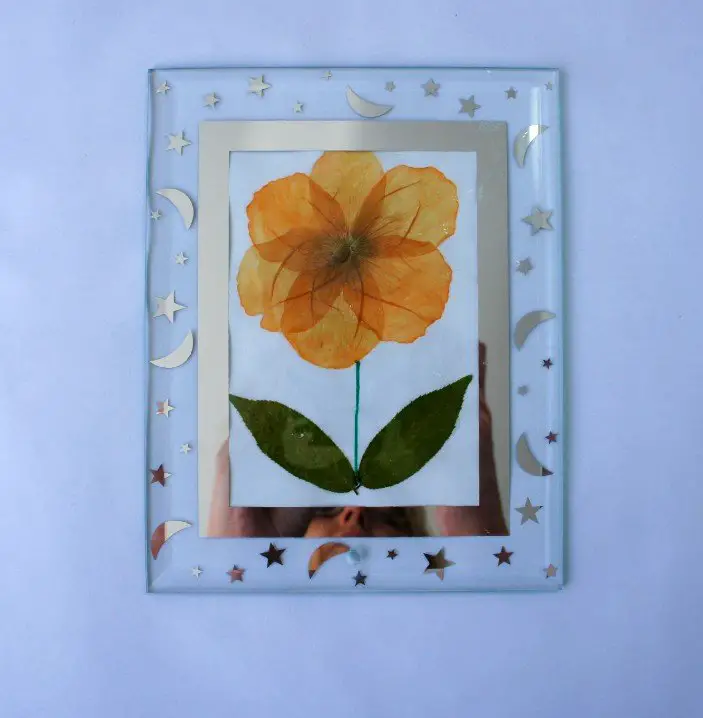
Once your picture is completely dry you can place it in your frame and enjoy it.
You could produce lots of simple pictures or make a complicated picture using many flowers and leaves. It really is up you to be as creative as you like.
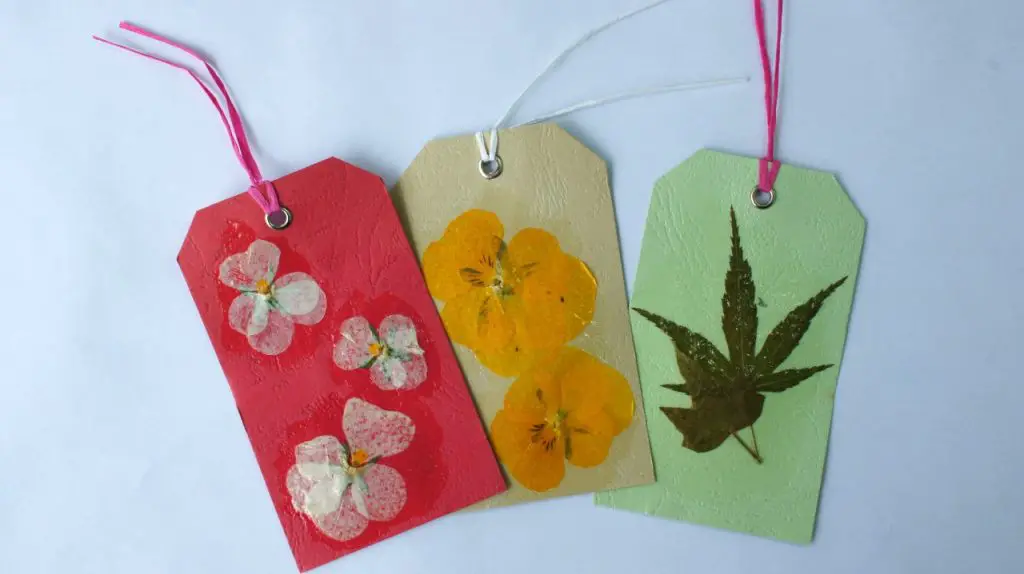
You could even use the same technique to produce gift tags or cards for any occasion.
Whatever you love creating you can always try something new so how about one of these ideas here?
How to make a Pressed Flower Bookmark
Upcycle an old t-shirt into fabulous flowers
If you are looking for even more inspiration then sign up to my newsletter for some fabulous freebies and regular offers and opportunities to create.
Remember to pin this tutorial for later and you can also follow me on Pinterest as Christine’s Crafts for more great ideas.