Dementia Fidget Blanket – Easy to Make and Adapt!
As an Amazon Associate I earn from qualifying purchases
Sufferers of Dementia including Alzheimer’s often show distress by picking at things with their hands and rubbing them together repeatedly. A great way to sooth such a patient is to provide a tactile stimulation for them. Many people use fidget blankets, sensory blankets, activity mats and twiddle muffs.
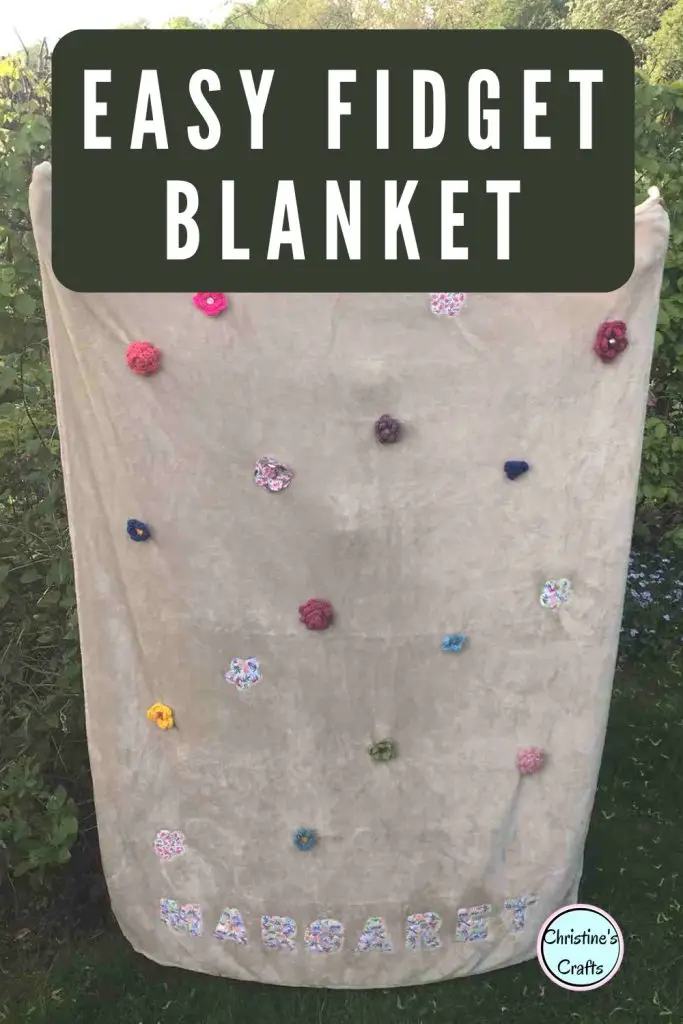
This tutorial has come from my own experience. Despite having advanced dementia and living in a nursing home my mum still believes that she does not have dementia and gets very upset if anyone suggest she has. As a result it can be hard to help her so I decided to make a fidget blanket that was not obviously a fidget blanket for her birthday.
As I made it using lots of items I already had leftover from other projects I am including this tutorial in the Sustainable Craft Challenge Blog Hop for May. The theme this month is typography and as you can see I have certainly been using letters.
At the end of this tutorial you will find all the other fabulous typography crafts so take a look and be inspired!
This page contains affiliate links meaning I earn a small commission if you use those links at no cost to you. I only recommend brands I use and trust.
You will need:
- Blanket or fleece – whatever size and texture you want (think about the person using it)
- Items to attach
- Bondaweb
- Flower template if you want flowers like mine
- Sewing Supplies
Items for attaching to a Fidget Blanket
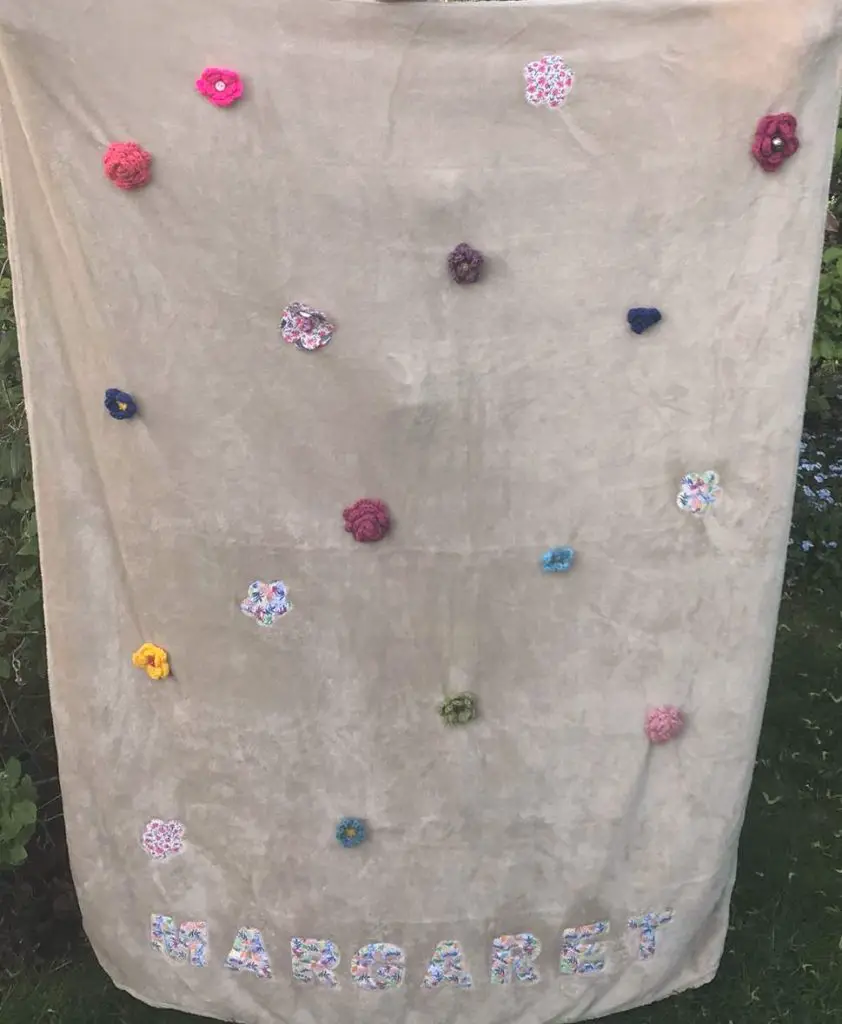
I have given this a section all of its own because, to be honest, you can attach anything you want. The benefit of making your own fidget blanket is that you can personalise it to your person. As my mum does not believe she has dementia I have decorated it with flowers, buttons and her name. She will see it as a pretty personalised blanket for her to sit under. She will naturally fiddle with the flowers and buttons.
However, you can add pretty much anything. The only thing I would say is consider how often it may need washing and how easy that will be. As my mum is in a nursing home I can’t attach anything that will need special care. If your person is at home, you could do.
Here are some ideas for attaching:
- wool
- string
- ribbon
- buttons
- buckles
- keyrings
- beads
- soft toys
- bells
- crinkly fabric
- etc
Plan your Fidget Blanket
Consider the size of blanket you want. Many people simply want a lap blanket and make quite a small blanket – perhaps to fit on a table. If you want a larger one, like me, that is fine too.
You can be very eco-friendly and use a blanket or fleece you already have. I only bought a new one as it is a birthday gift. Lay your blanket out and decide what you want to attach. Get creative and look around your home for suitable items.
This is a great project to incorporate slow stitching. If you have never heard the term then check out a beginners guide to slow stitching here.
Then it is simply a case of placing them on the blanket where you think they should go. At this point you can simply create your own blanket but if you want to copy along with me then let’s go.
Create the Letters
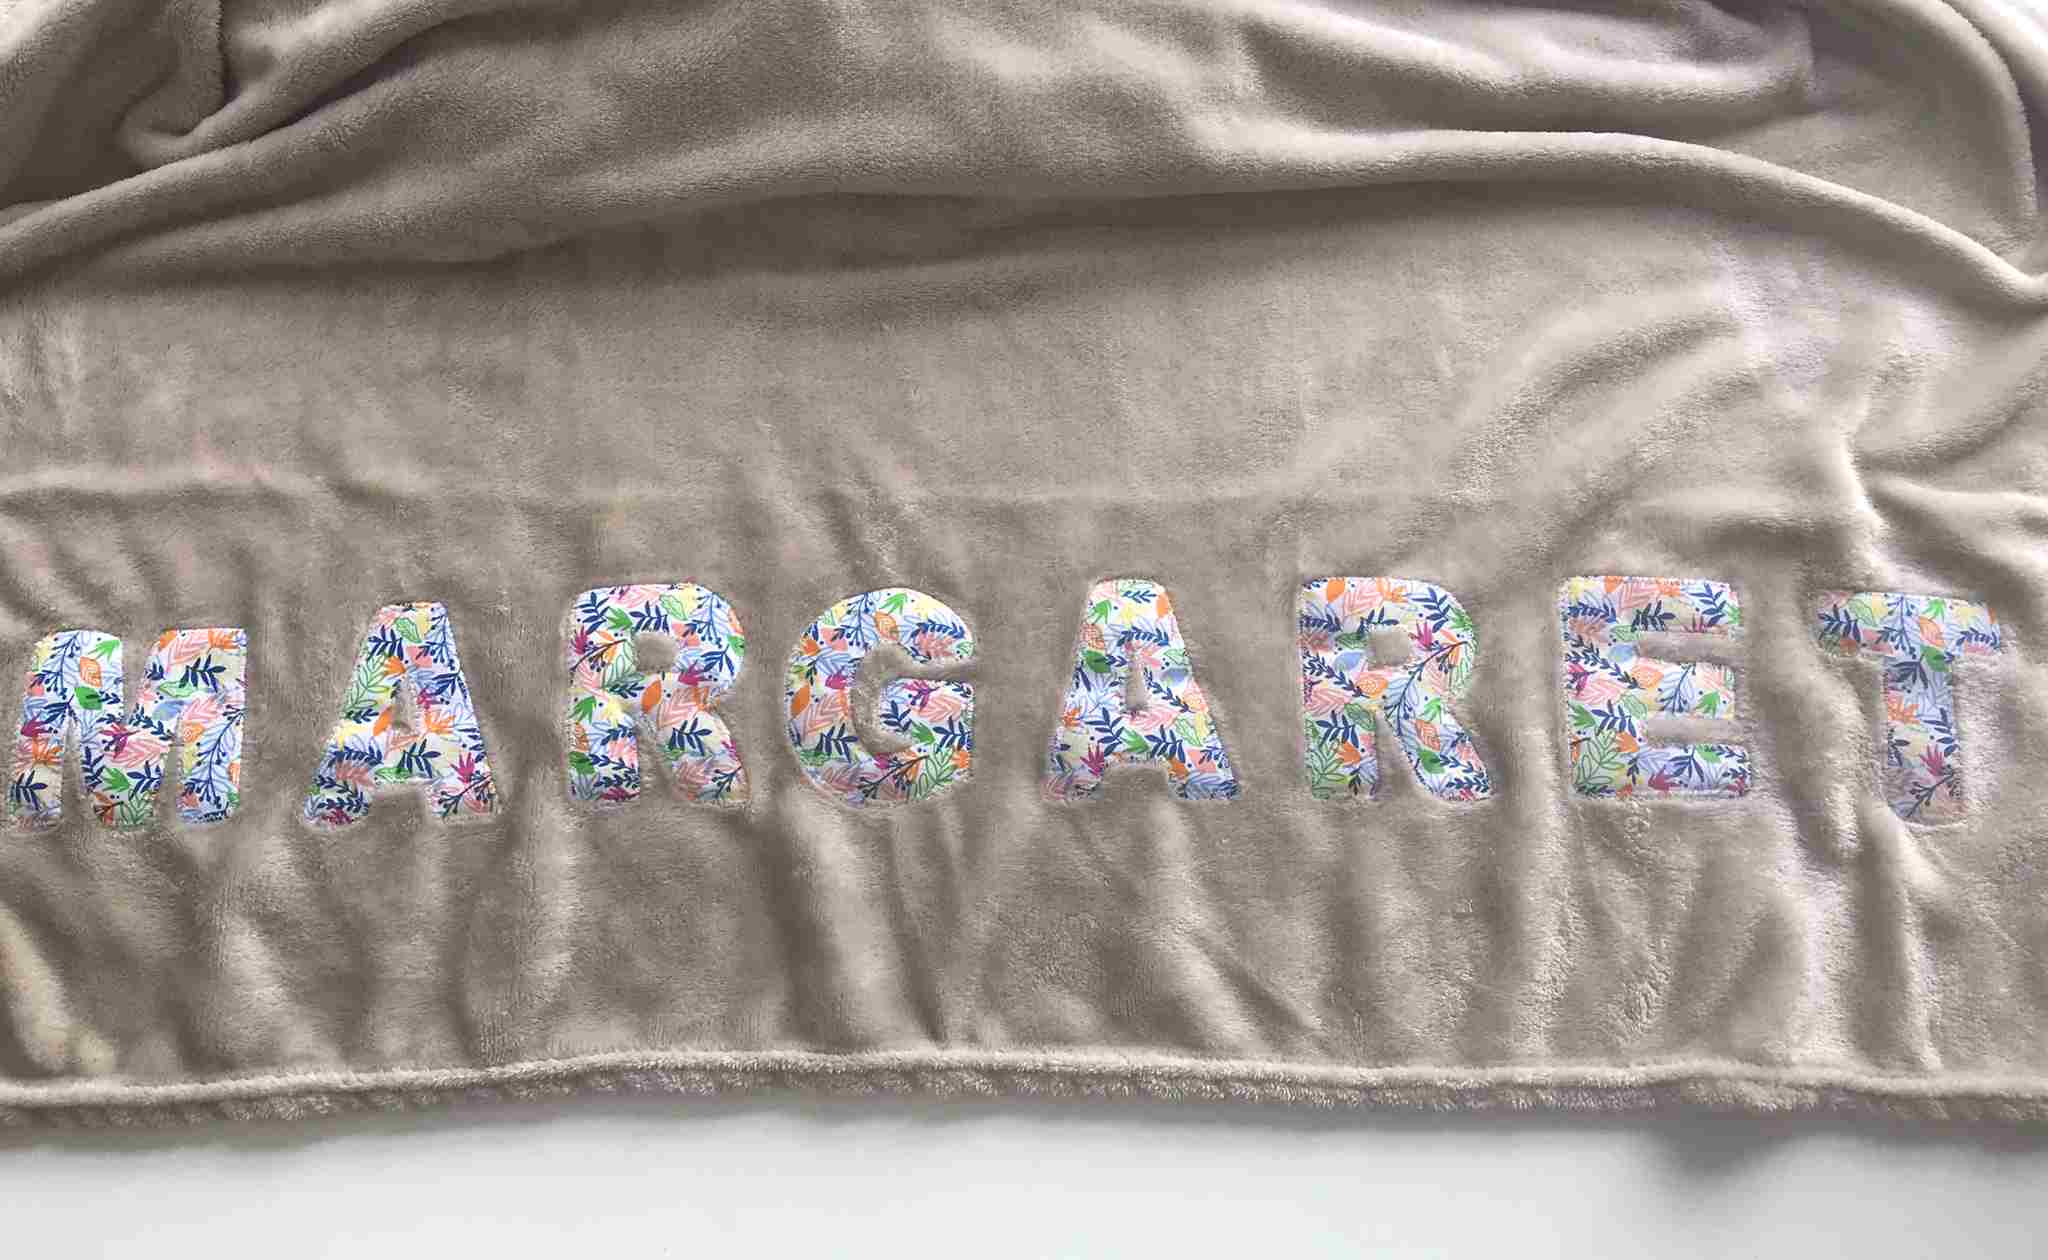
I have a set of wooden letters that I bought in a local store but you can simply choose your own font and create your own letter shapes on the computer.
Then choose the letters that you need for your name and draw them on the Bondaweb BUT make sure that you do them backwards as it is the other side that you will stick to the back of your fabric. This is an easy thing to overlook so take care.
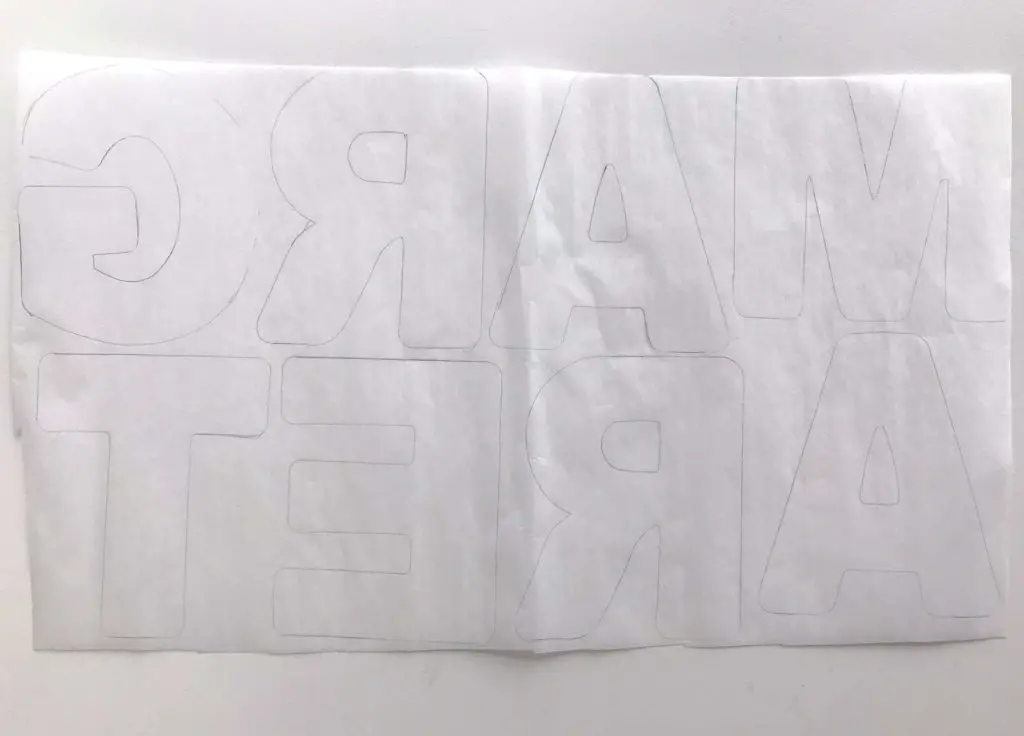
You can now cut out the letters and then attach them to the fabric or attach the whole lot to your fabric and then cut them out. I have done both and I don’t think it matters which way round you do it. However if you are cutting the paper and fabric together you may blunt your dressmaking scissors!
You attach the Bondaweb to the back of your fabric using a low heat on your iron. It is really quick and easy. I have used scraps of cotton but just use whatever fabric you have. Start with a very low temperature and if it does not attach increase it until it does.
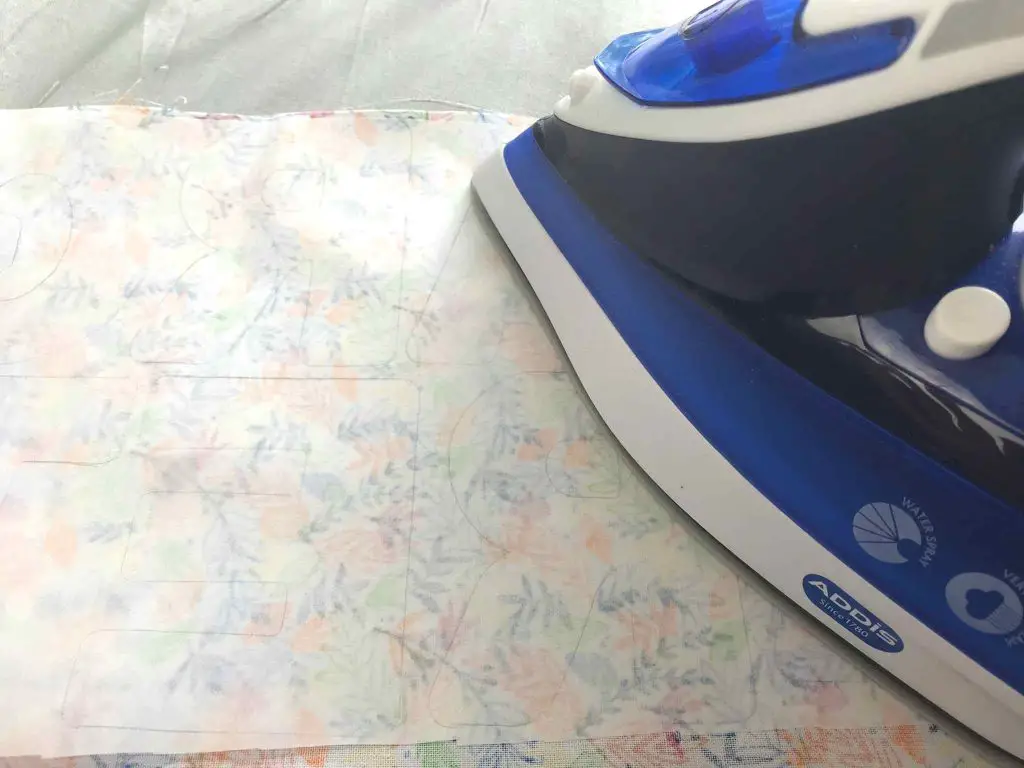
You should end up with all the letters cut out with Bondaweb on the back of them (paper still attached). If you are making any flowers that you want to applique to the blanket simply make those in exactly the same way.
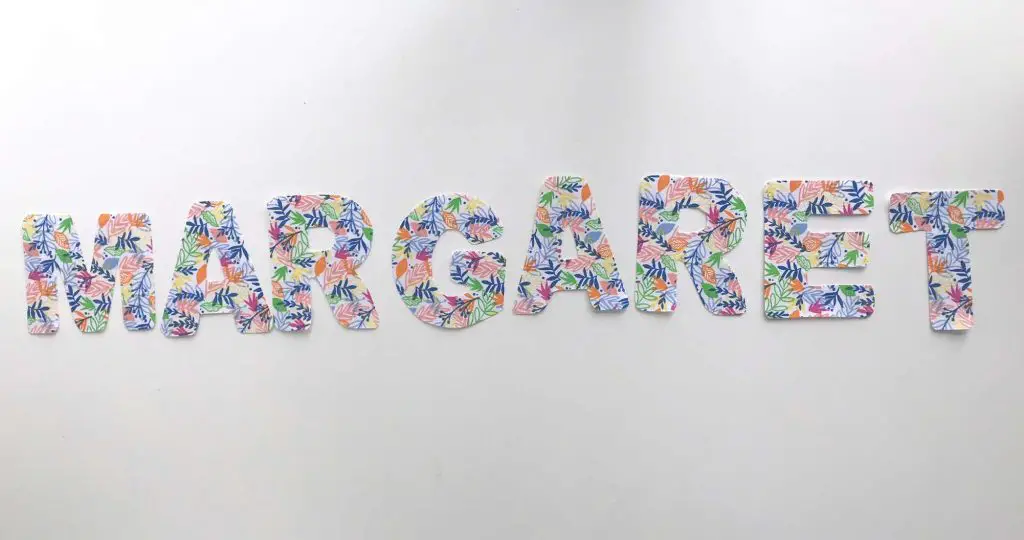
Remove the paper from the back of the letters. I find that running a pin along the centre of the paper breaks it and allows me to peel the paper off more easily.
Attach your Items to the Fidget Blanket
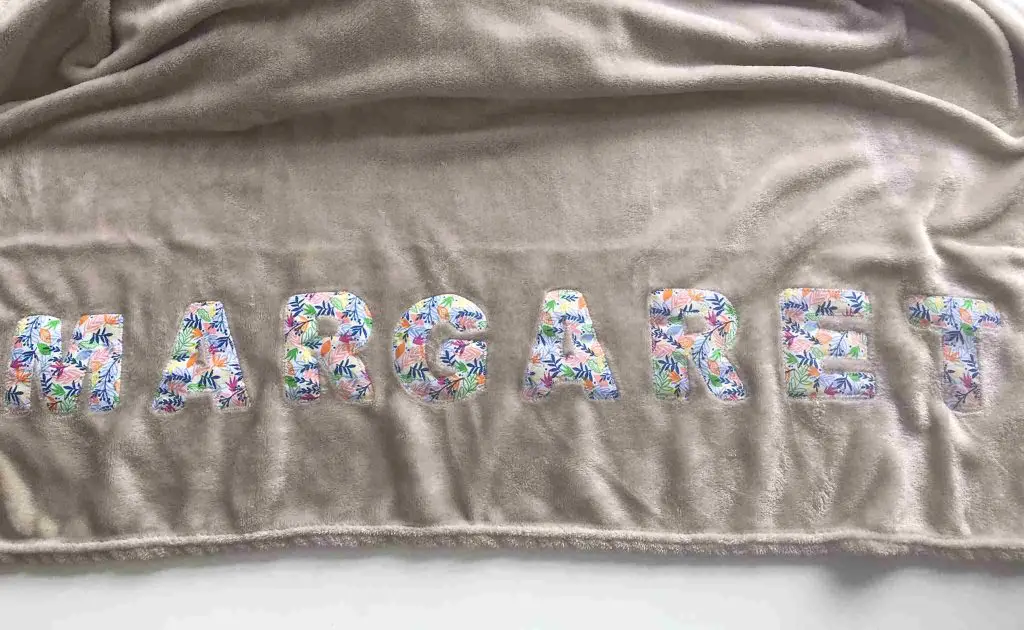
I love applique so that is what I am using for some of my items. If you are writing a name then simply lay the letters out where you want them. Iron them in place. Then, using a zig zag stitch (or a fancier one if you want to ) sew around each letter to secure them. You can do this by hand if you prefer using a blanket stitch. Repeat this process with any flowers (or other shapes) you want down flat on the blanket.
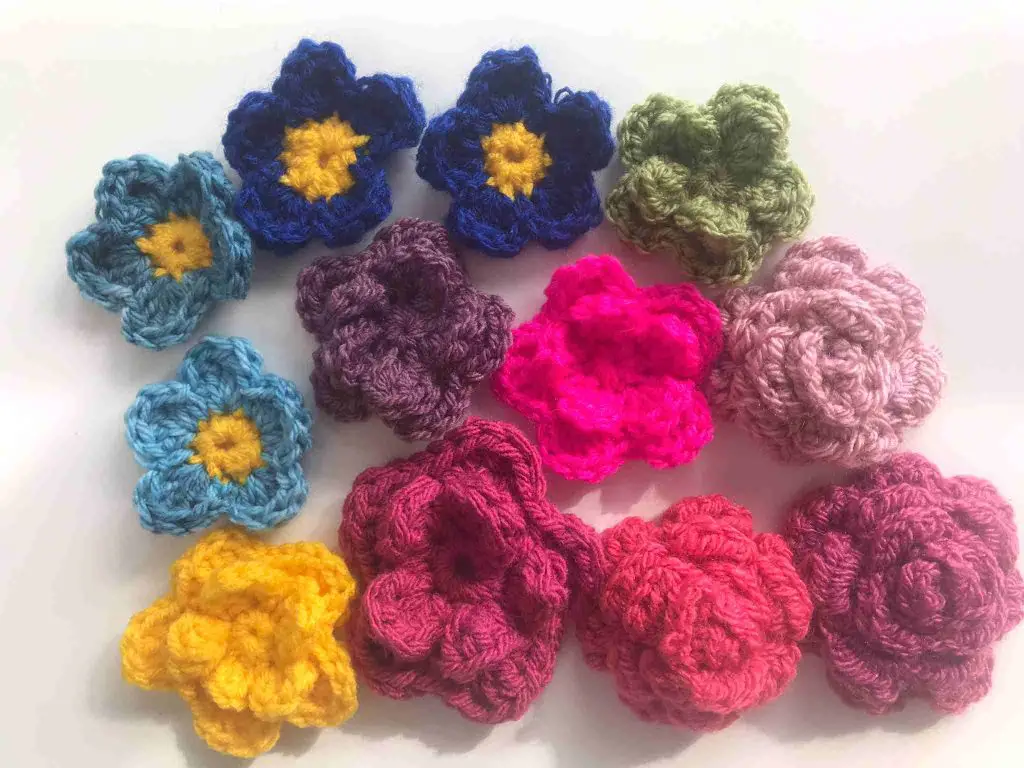
Continue attaching your items around the blanket. I sewed my crocheted flowers on in the centre so that they were still very 3d and quite mobile. I made my crochet flowers using free patterns from Ravelry plus I used a few that I already had and have no idea what pattern I used .
The Forget-me-Knots are a pattern by Lynne Rowe.
The 5 petal flowers are by Chloe Bailey.
There are lots of free patterns available online for both knitted and crocheted flowers so feel free to have a look about and choose some for your special person. They only use tiny amounts of yarn so great for using up those leftover scraps.
If you find that sewing items on leaves a messy bit on the back you can always cover that by sewing a button onto the back. These simply act as more fiddly bits for the dementia patient to play with. Great buttons to use which add even more detail are Dorset buttons that you can create yourself.
Once you are happy with your fidget blanket you are finished. How much you add is entirely up to you.
And next …
As promised here are all the other fabulous sustainable projects involving typography.
- GriffWorld Travel Map Letters DIY
- Quick and Easy Handlettering on Glass
- Rae Dunn Inspired Cutlery Placemat
- Turn left over alphabet stickers into fun bookmarks
- DIY Spring Tin Bucket Vase
Whatever you are up to remember to pin this on Pinterest so that you can find it again when you want it.
