Decoupage Tutorial and Project Ideas
As an Amazon Associate I earn from qualifying purchases
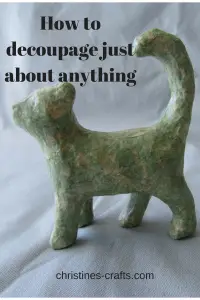
I am sure that you have seen lots of items that have been decoupaged but are you aware how easy it is to do. I have decoupaged quite a few items and there are pictures of some of them at the end of this post. It is a very relaxing craft. So, I am going to show you a step by step tutorial to master decoupage (or at least have a go!).
This page contains affiliate links meaning I earn a commission if you use those links at no cost to you. I only recommend brands I use and trust.
This full tutorial is available as a downloadable PDF for a small charge so that you can avoid the ads and easily print it off if you want to. Simply click here for details.
You will need:
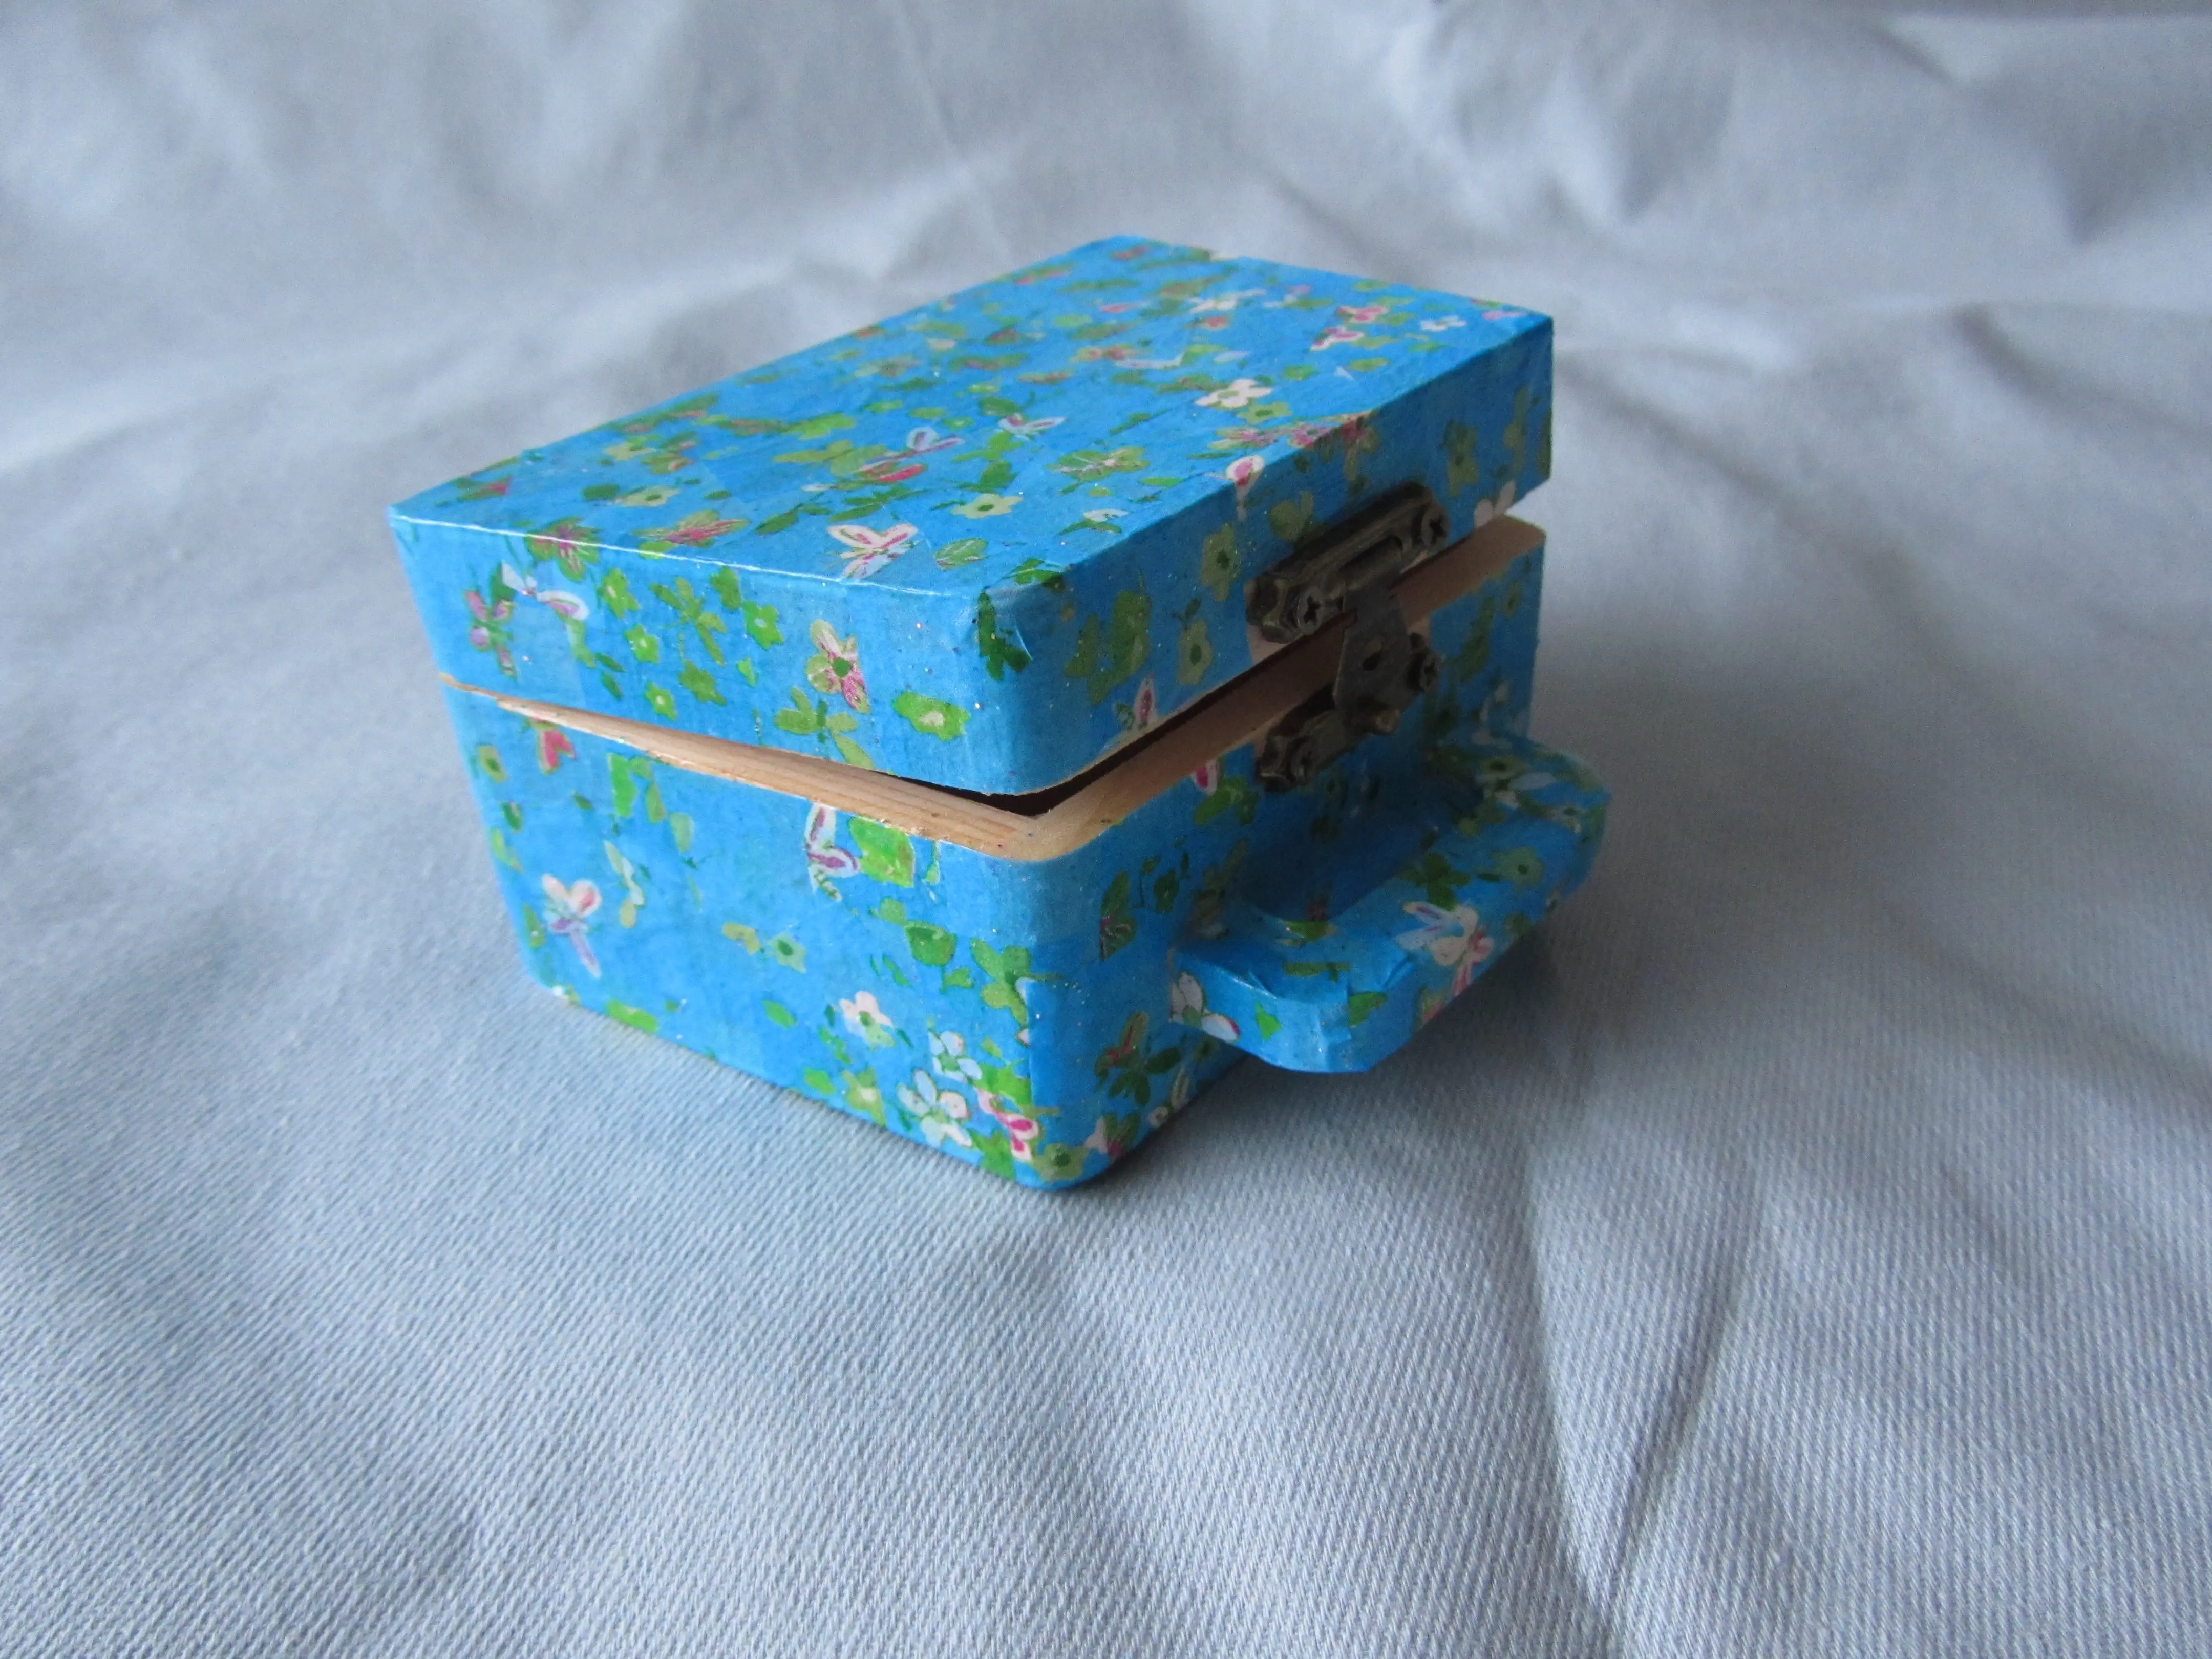
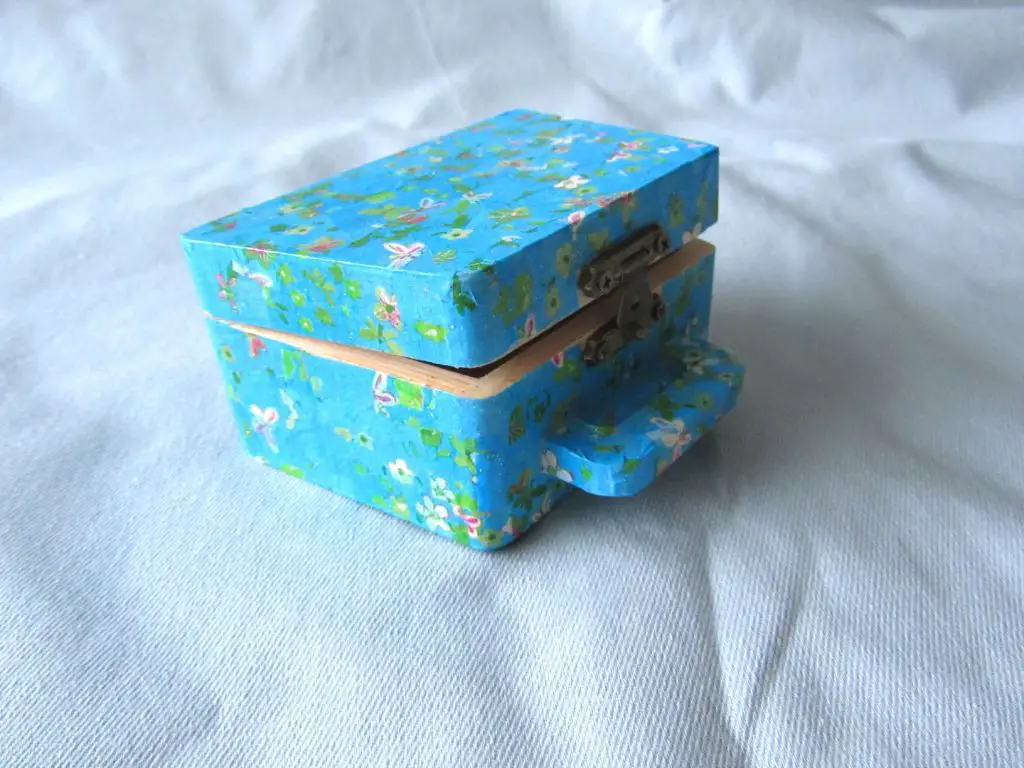
An object to decoupage (just about anything but do not be too ambitious to start with) perhaps a small paper mache or wood item. I have used a small wooden case (10cm x 5cm x 7cm). There are lots to choose from at Amazon.
Decoupage glue (or pva glue if you have it to hand)
A small brush
Pretty paper (thin papers work best) I used this paper from Amazon.

I like the decopatch resources that are widely available. The papers decoupage really well and the glue acts as both a glue and a varnish. Modge Podge is also great for all these crafts.
Tutorial
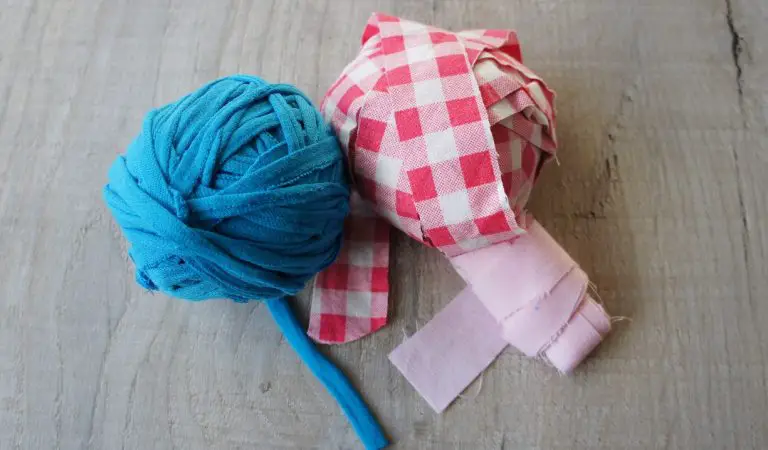
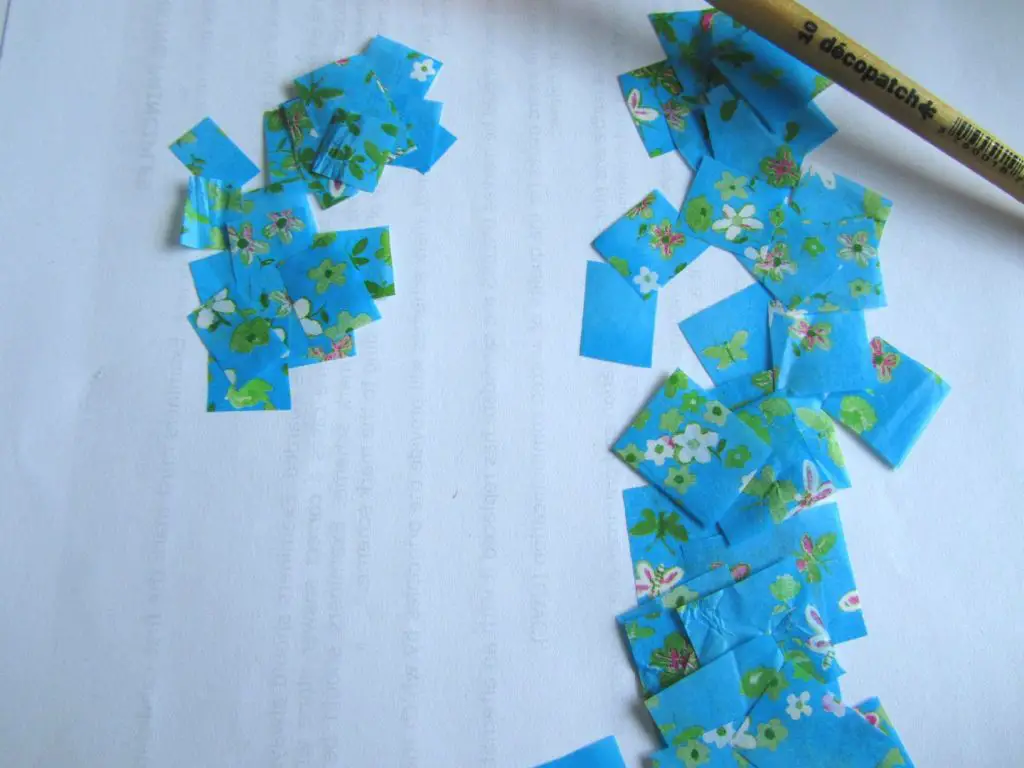
Firstly you need to ‘cut up’ your paper ready for use. Many people tear up the paper and believe that you get a better finish. Personally, I have found that cutting them up works best for me. Unless it is an enormous project I suggest a selection of squares and rectangles up to about 1cm square. I will call them all ‘squares’ from here on. A selection of sizes will allow you to cover any awkward shapes.
Then you need to take your item that you are covering and apply a small amount of glue to an area approximately 3cm square. You do not need too much glue. Then, using the brush pick up a ‘square’ of paper and apply it to the item. Smooth it down using the brush and stroke outwards from the centre of the ‘square’. Then select another ‘square’ and repeat overlapping the first one. You should have glue on top of and underneath all the squares.
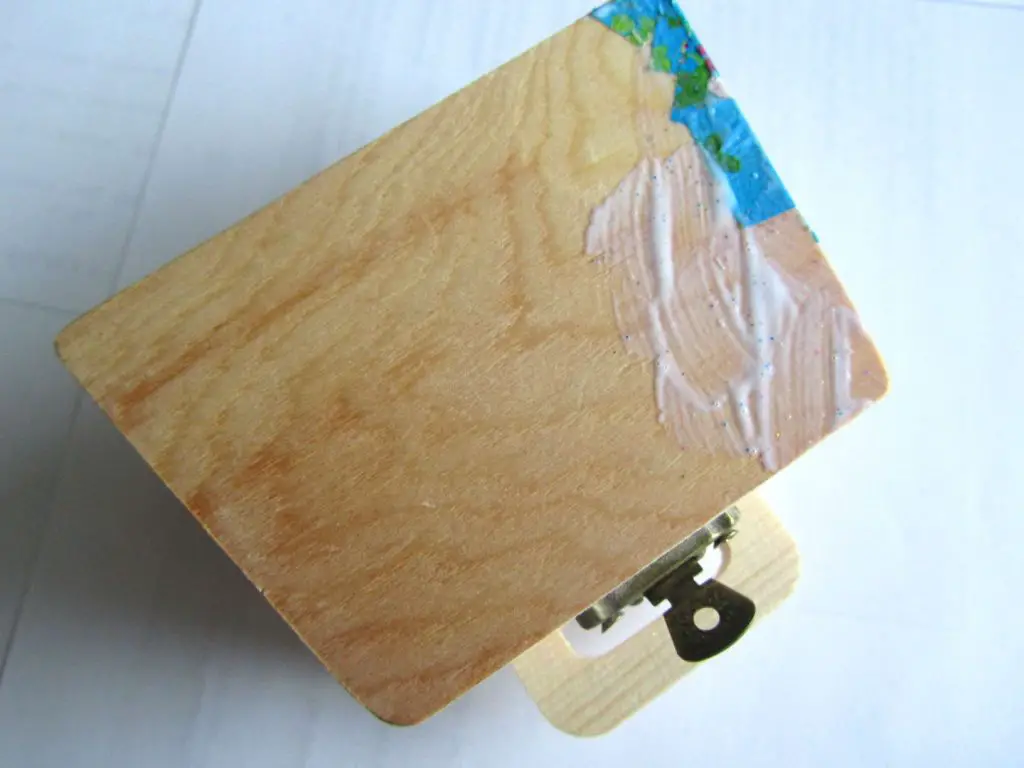
You simply continue to do this until the whole item is covered. Clearly this presents a problem (how to hold it). I suggest completing most of an item and then leaving it to dry. Once it is completely dry turn it over and complete it. In my case I did the lid, let it dry and then did the main body.
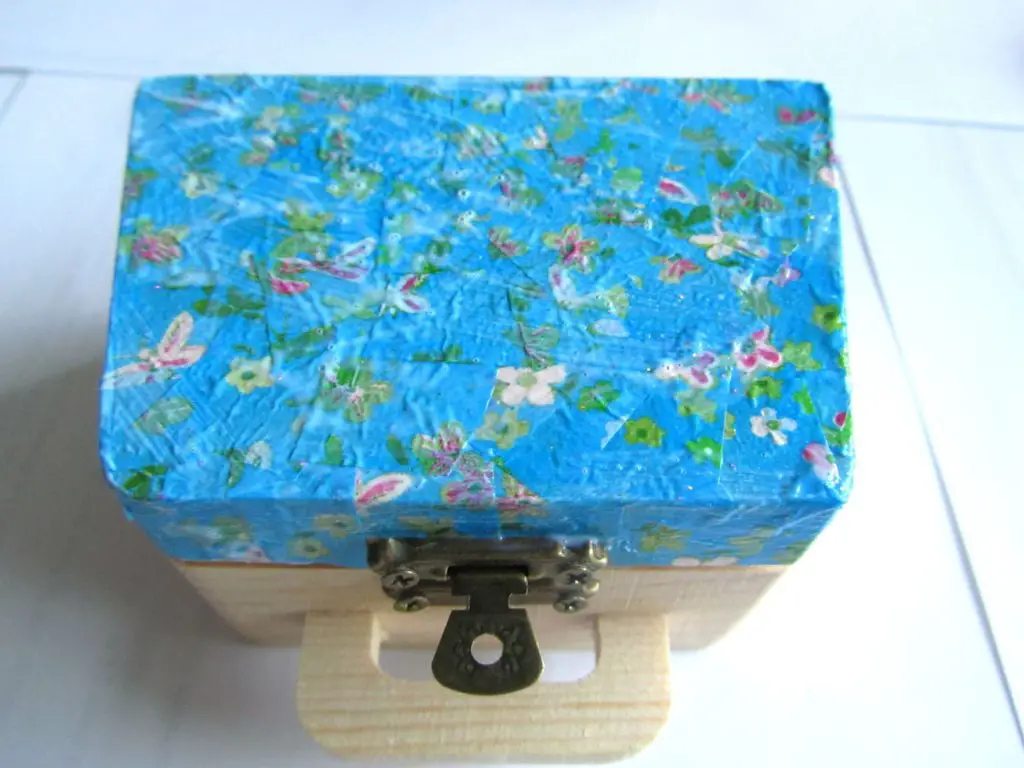
For any fiddly bits (in my case the handle) just use small pieces of paper. Smooth them carefully around any curves or corners using the brush. I elected not to decoupage the inside of the case so it did not take so long but you could easily cover the whole case just waiting for each section to dry before moving on.
Decoupage Ideas
You really can decoupage just about anything and I urge you to search on line for examples and ideas. Pinterest is a superb source of ideas and you can follow me on there as Christine’s Crafts.
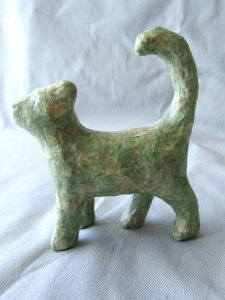
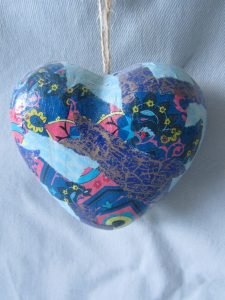
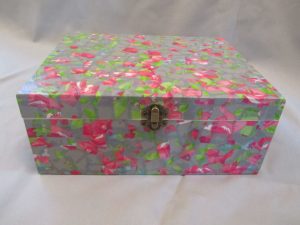
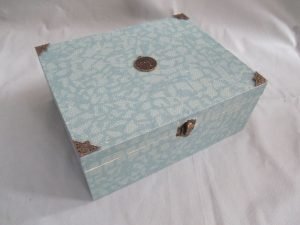
Some of the items I have covered are shown below. The projects I have tackled include small animals and boxes, a hanging heart, a large garden plant pot and a table. The plant pot was a simple plant pot decoupaged and then I gave it an additional coat of varnish. It lasted 2 years outside before the paper started to wear away.
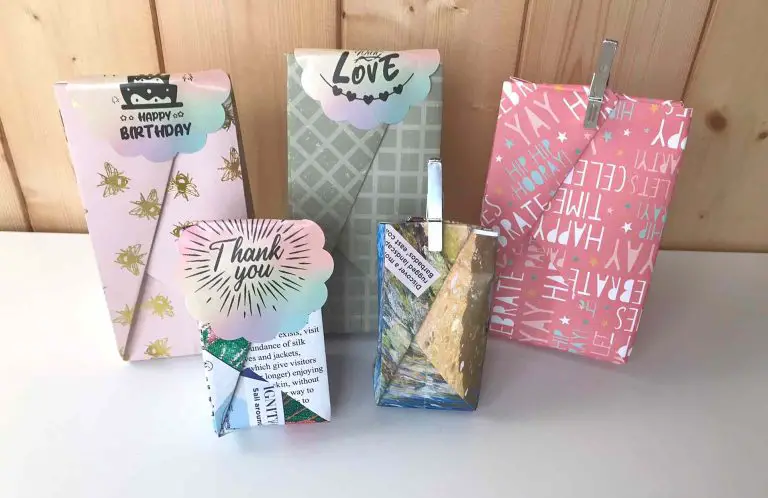
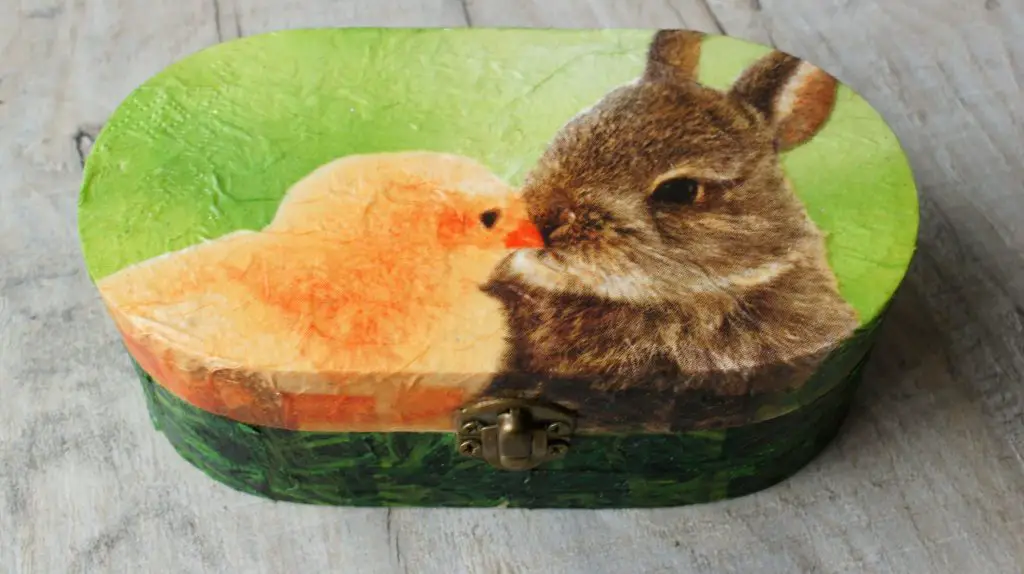
This is an Easter gift box made by using spring paper napkins on a wooden box. One of my new favourites!
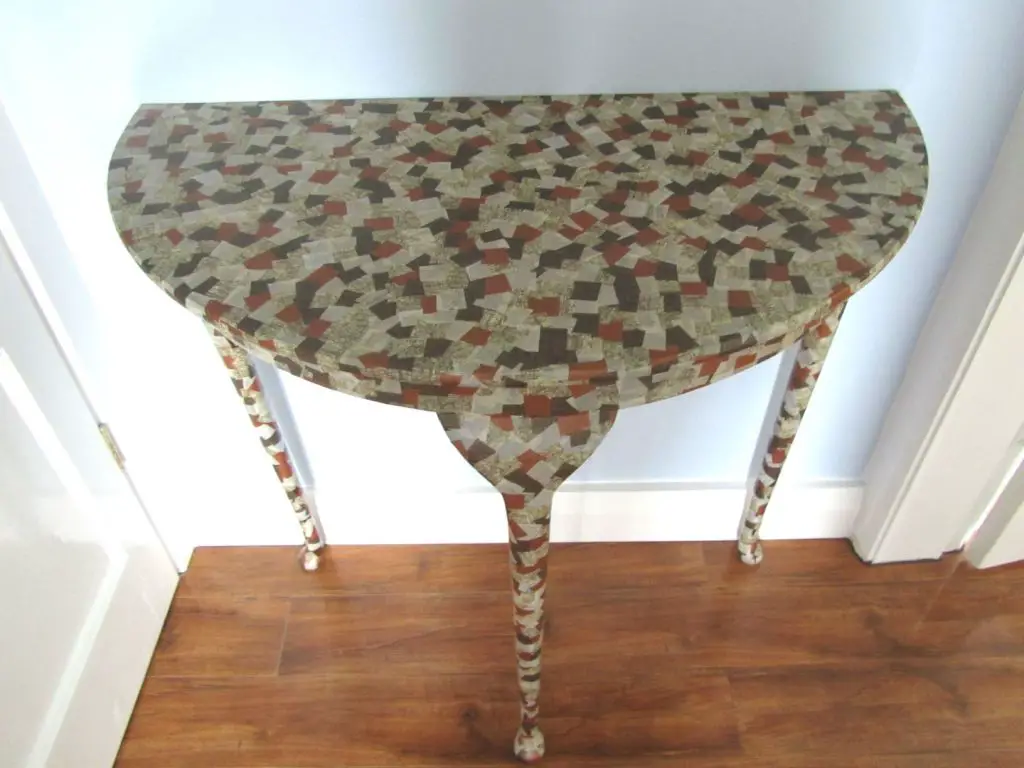
The table is by far my biggest project and I really like it. Before I started the table looked old and the surface was damaged. It is such a beautiful shape that I did not want to lose it. Now it has a new lease of life in my hallway.
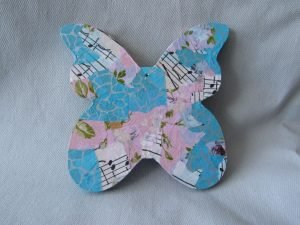
If you want to achieve particular effects you can use certain pictures or colours to produce stripes or indeed any pattern. The final result is very personal to you and can be achieved using paper personal to you. Perhaps use old copies of your favourite magazine, music or wrapping paper. I am just starting a project renovating a garden table. Details will follow as I complete it! It is now complete and you can read all about it here!
So, what are you waiting for, get decoupaging and let me know what you make.
If you would like this full tutorial as a downloadable PDF for a small charge so that you can avoid the ads simply click here for details.
If you love making things for the home or gifts then why don’t you try:
Paper Organiser from a Cereal Box
Remember to pin these instructions in Pinterest so you have them handy when you want them.