Craft Your Own DIY Gift Tags from Upcycled Book Pages
As an Amazon Associate I earn from qualifying purchases
Would you like to use some DIY gift tags that are a bit quirky with a vintage feel? Then, how about using old book pages? They are so easy to make and you can adapt them for pretty much any occasion. Custom gift tags in minutes!
I love book page crafts anyway but these are a favourite. You can make a personalised gift tag in minutes at no expense. What could be better? Plus, people always comment on how gorgeous they are.
This page contains affiliate links meaning I earn a little commission if you use those links at no cost to you. I only recommend brands I use and trust.
Occasions for these DIY gift tags
Here are a few occasions when you might find one of these homemade gift tags perfect. Remember that you can choose the book to make it more appropriate.
Holiday gift tags as you can make these applicable to any holiday. Birthday gift tags are super easy to make this way and you could add the number of their birthday to them (if you think they would like that!)
Wedding gift tags are great made this way. You could use a love story as the donor book and select your page carefully.
Cookie gift tags are great made from these. You can print out your cookie information and stick them to your tags. They will make your cookies look extra special.
If you can think of any more do let me know in the comments below.
You will need
- Old book pages
- Paper glue
- Hole punch
- Ribbon or string
- Ink pad (optional) or felt tip pen
- Sticker or printed out message
Video tutorial for DIY gift tags from book pages
This video is also available on my YouTube channel.
Instructions for DIY Gift Tags
If you are new to making gift tags don’t worry as these instructions are brief as they are so easy to make and you have the video to guide you.
Take whatever part of the book page you want. A word of warning here – check what is on the page to make sure there is nothing inappropriate for your event. I once nearly added birth details from an old encyclopedia to tags for hen do gifts! Thankfully I spotted it!
The page section that you cut out should be 4 times the size of the gift tag you want.
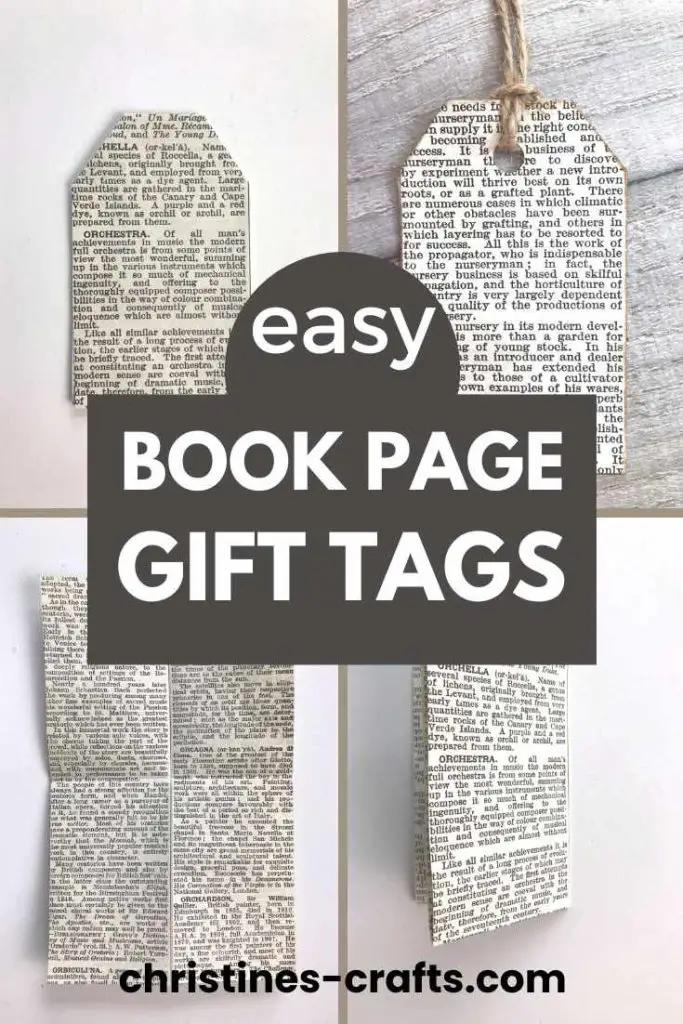
Fold it in half and glue it in place. Fold it in half again and glue that in place. I use a simple paper glue stick. You now have your gift tag size set.
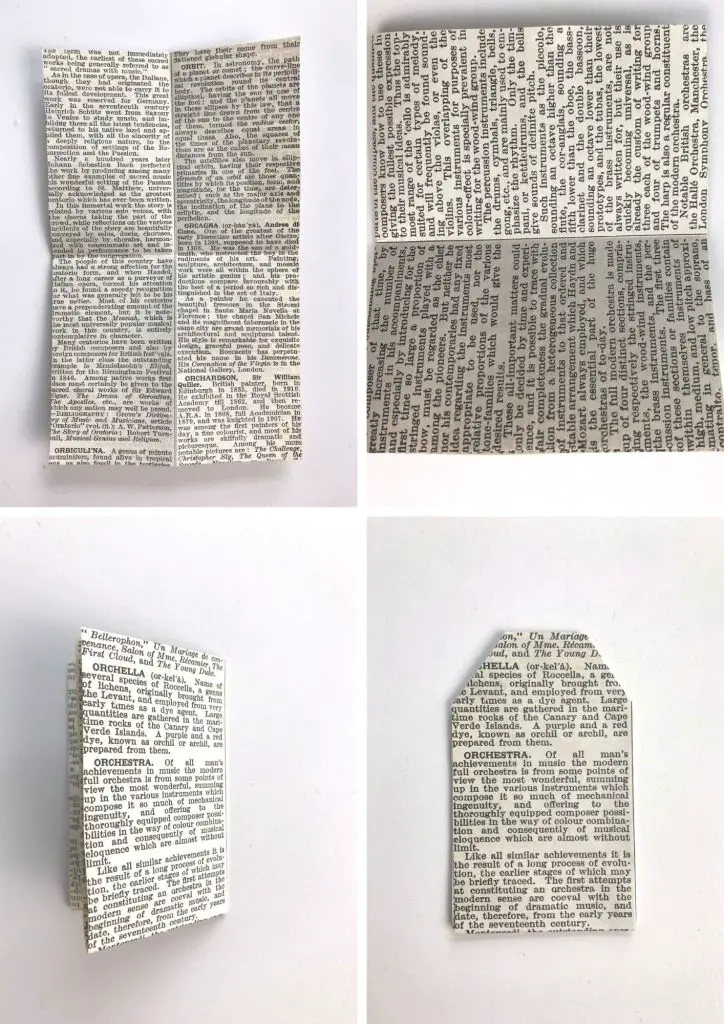
Cut off the top two corners to make your gift tag shape. You can buy gift tag templates to help you get the shape right but you don’t need one for these tags. Simply use the number of rows of text to guide you when cutting. You can make the corners you cut off as large or small as you like. Creating your own tags allows for individuality!
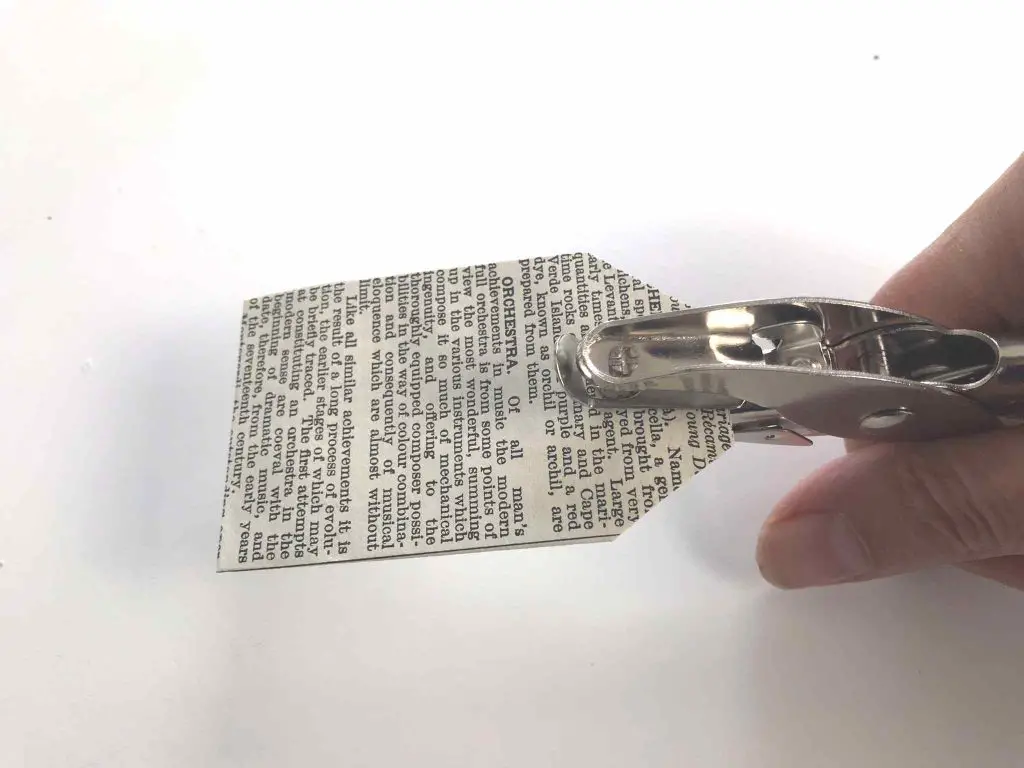
Then punch a hole in the centre of the top of the tag in between the corners you cut off. You can measure and mark this out but I always do it by eye. You can use a single punch or just use half of an ordinary hole punch if you don’t have one.
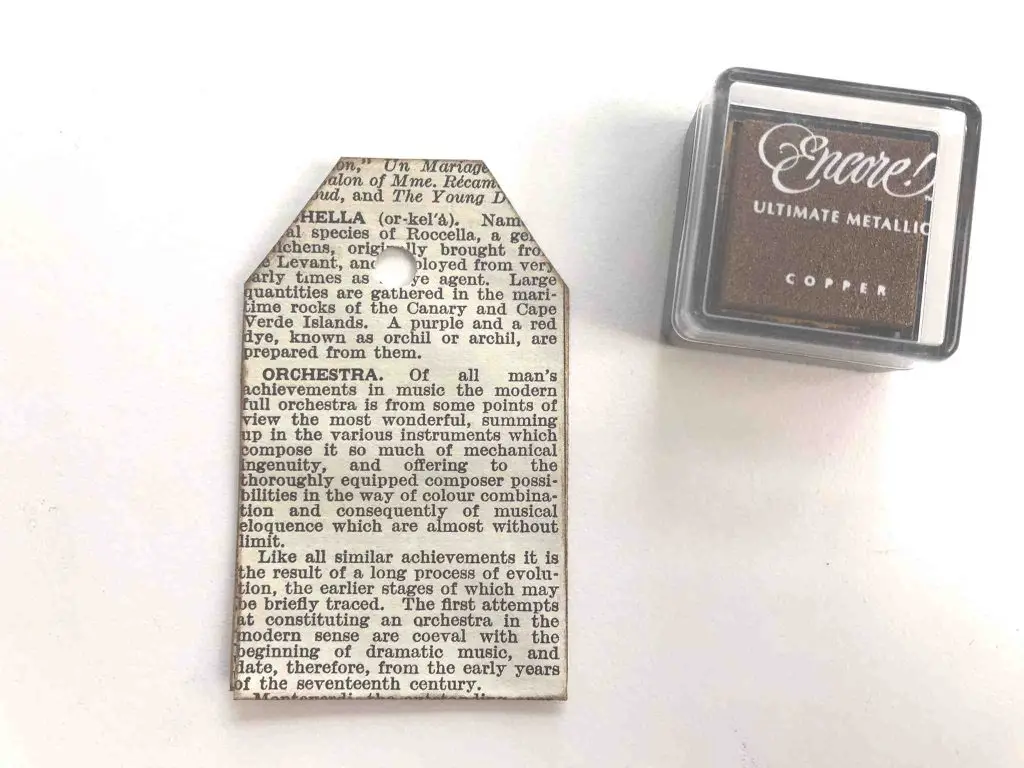
I recommend running an ink pad or a felt tip pen around the edge of your gift tag to give it a lovely finish. I tend to use metallic ones to get a vintage feel as I use old books but you can use whatever you like. If you are using bright book pages then bright colours may be more appropriate.
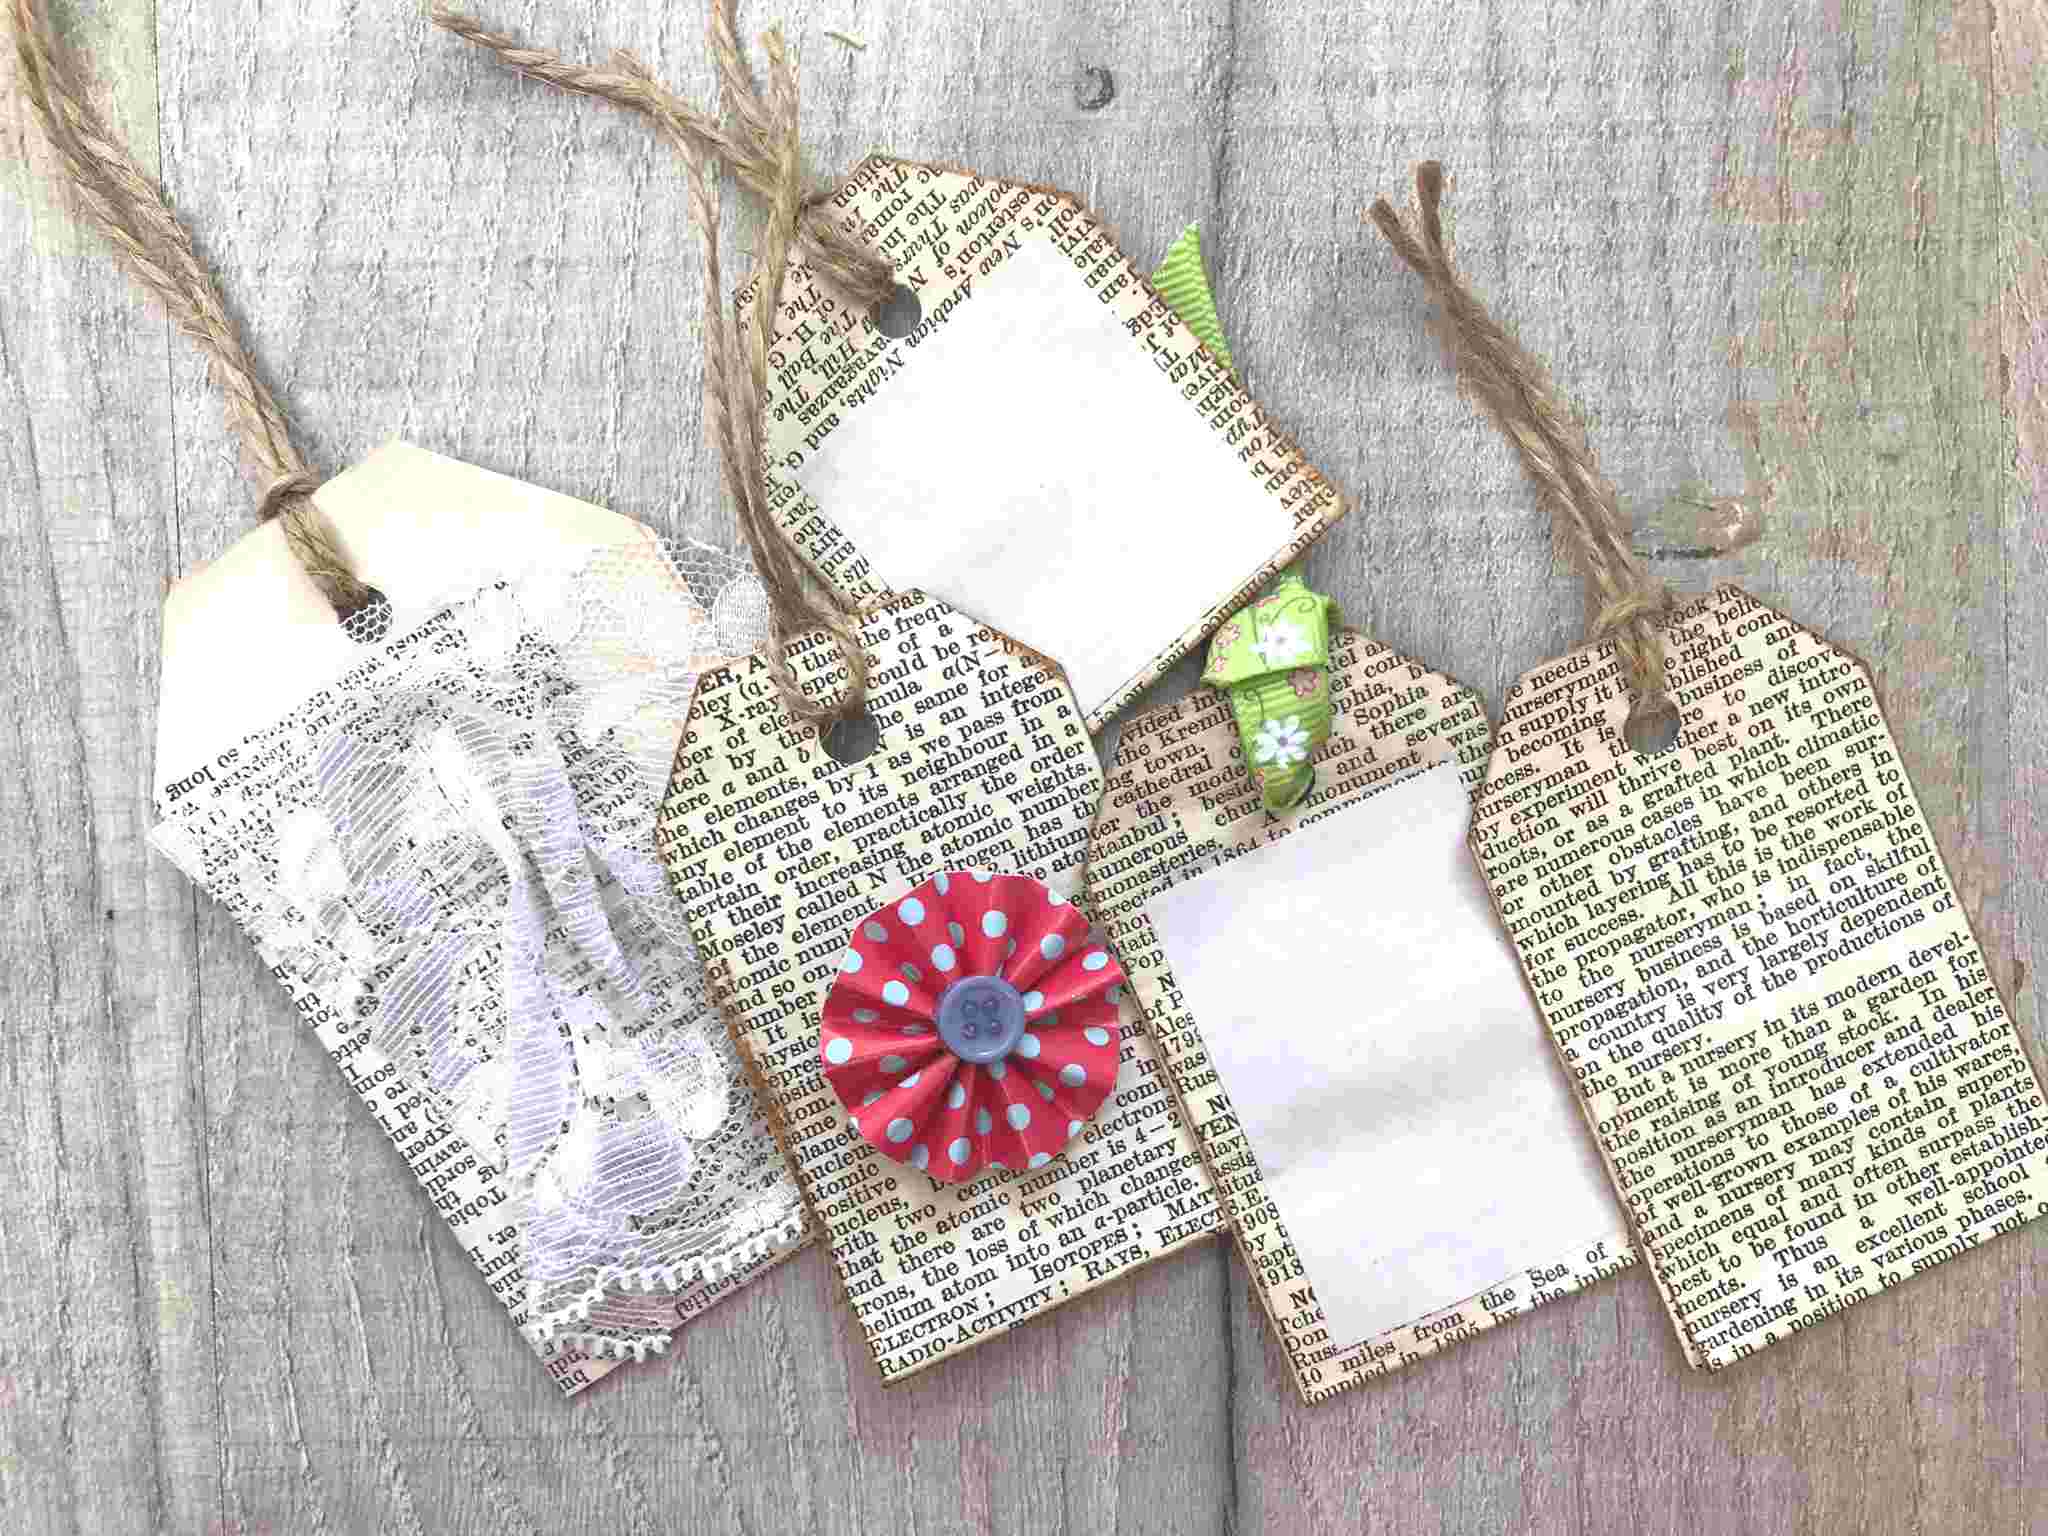
If you want to put a message on your tag you will need to add a sticker to write on or print out your message and glue it to one side of the tag.
The other side of the tag is there for you to get creative. Leave it alone for a simple tag or add whatever you like.
Some ideas are:
- Lace
- Paper Flowers
- Fabric Flowers
- Stickers
- Buttons
- Ribbons
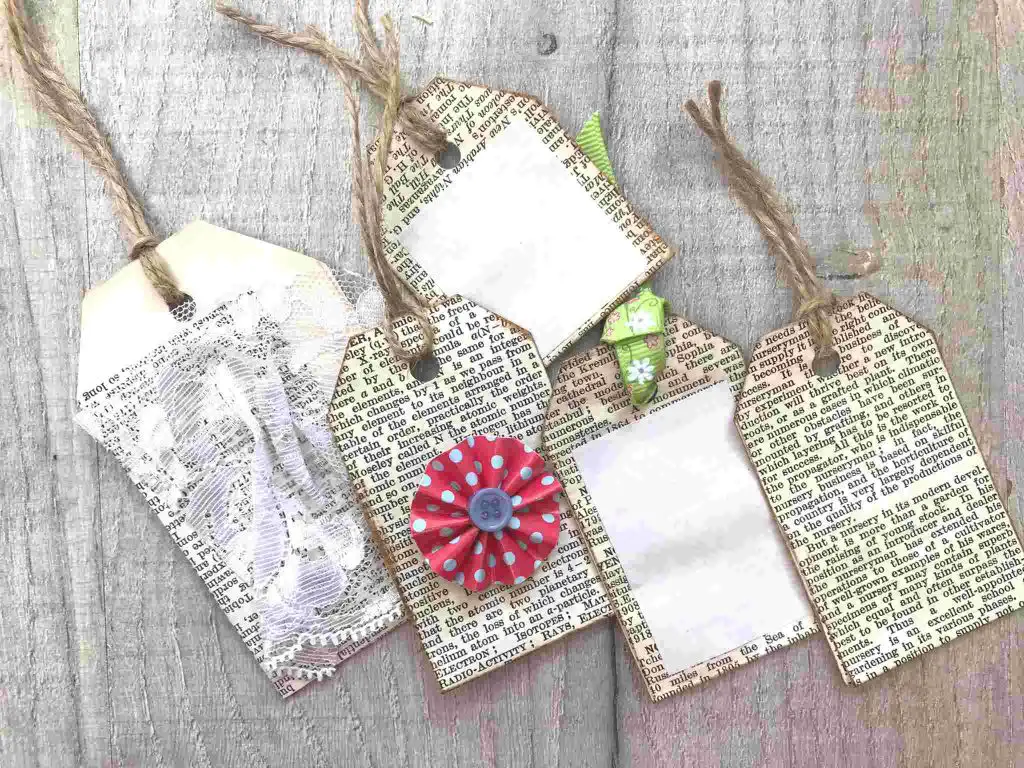
Finally add a length of ribbon or string through the hole in your tag so that you can attach it to your gift.
And next …
So now you have a DIY gift tag made from a book page perhaps you would like to make some more book page crafts. If so, then check out these stunning book page roses. Everyone always adores these.
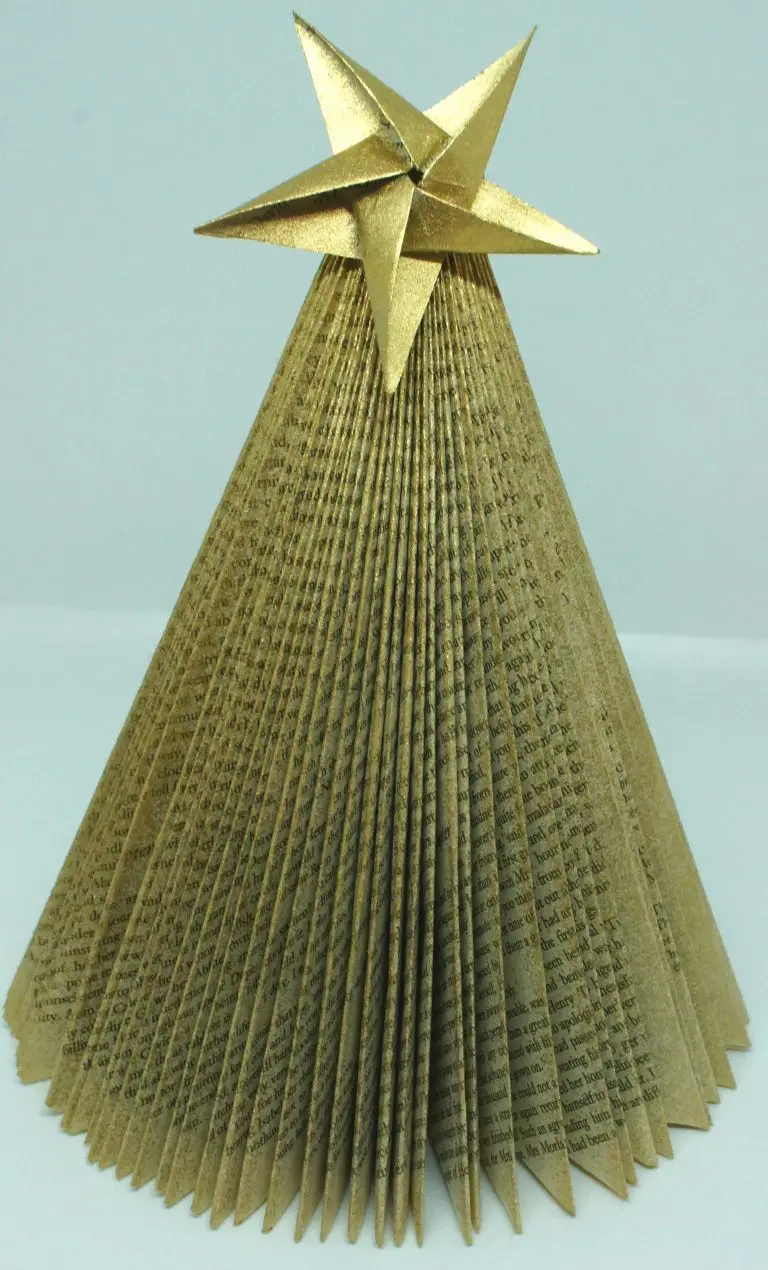
If it is Christmas how about a folded book Christmas angel or a book page Christmas tree? You will not believe how easy these are!
Whatever you are gifting I hope that they love it and your tag!
Remember to pin this tutorial on Pinterest so that you can find it again when you want it.
