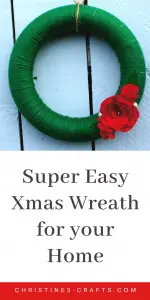
Christmas Wreath DIY – Super Simple Indoor Wreath
As an Amazon Associate I earn from qualifying purchases
So gather your resources and have a go – you will not be disappointed.
This page contains affiliate links meaning I earn a small commission if you use those links at no cost to you. I only recommend brands I use and trust.
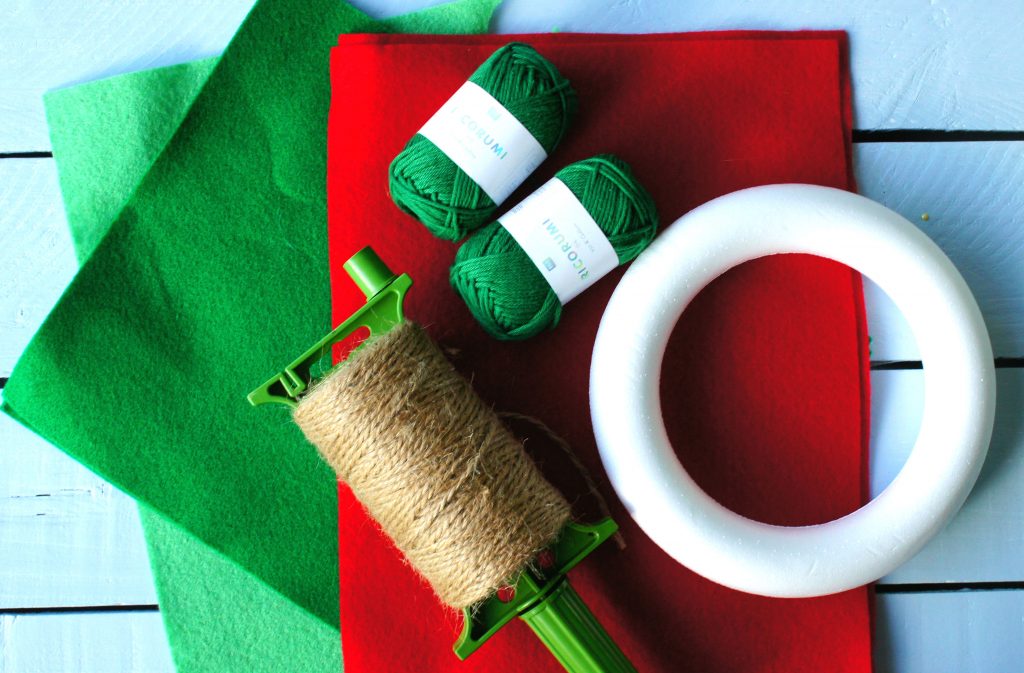
You will need:
Styrofoam /Polystyrene ring or equivalent. Mine is 7″ (18cm) diameter similar to these from Amazon.
Yarn to cover the ring ( I used a 57.5m ball of cotton yarn from Hobbycraft and it was plenty)
Any other decorations you want to add
Twine if you want a rustic hanger.
Step 1: Wrap yarn around the ring
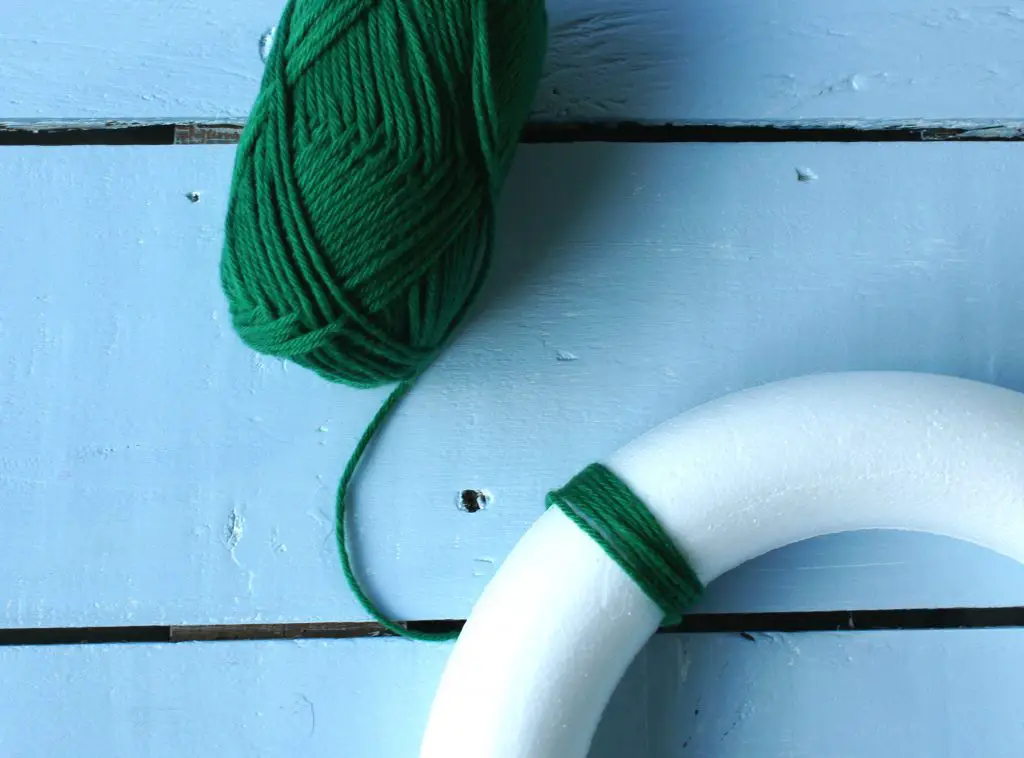
Take your ring and your yarn. Start to wrap the yarn around the ring ensuring that you trap the end so that it does not unravel. I did not glue this down but you could to keep it secure.
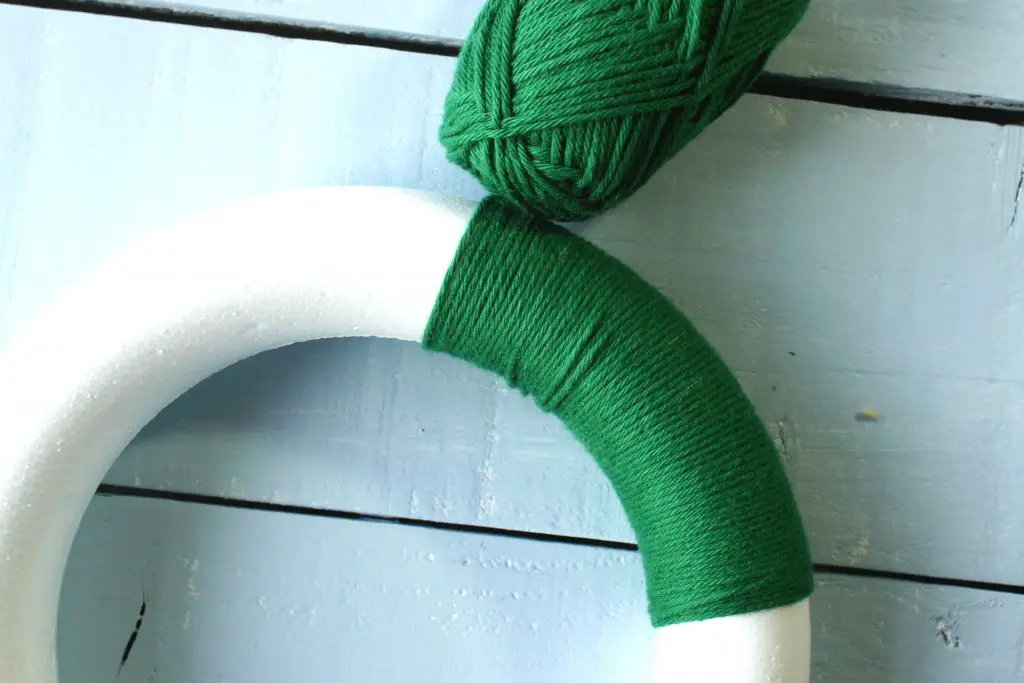
Continue wrapping the yarn around the ring. It is up to you whether you go for a completely uniform coverage or whether you allow the yarn to overlap and make a more rustic finish. I tried to keep mine uniform but there was still some overlap.
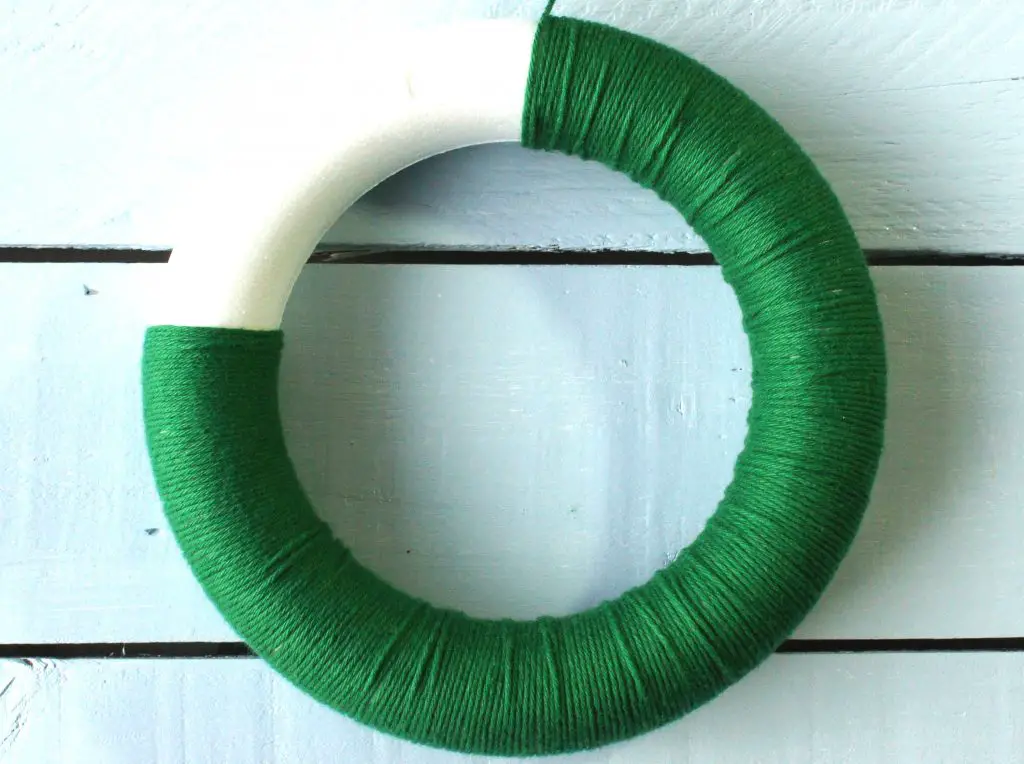
Once you have got all the way round. Glue the yarn at the back of the ring. You can decide which is the back based on how each side looks. If you want both sides to be seen then just make sure you decorate over the glued down end of the yarn.
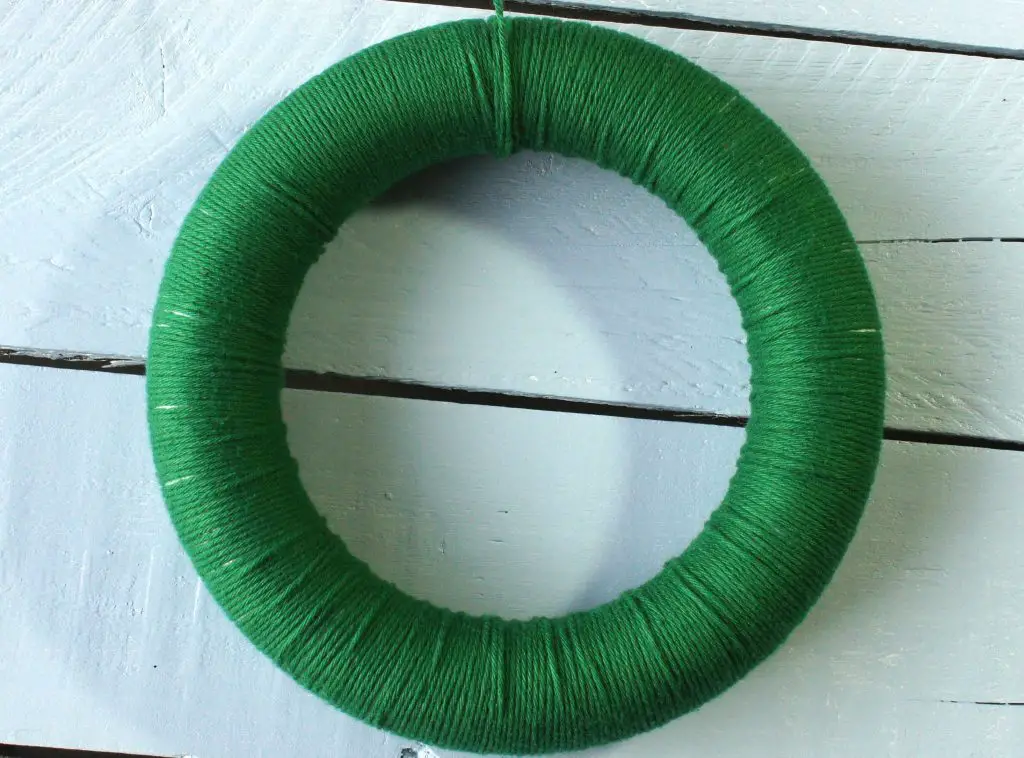
You can use the remaining yarn to hang the wreath but I chose a twine hanger.
Step 2: Make and attach flowers
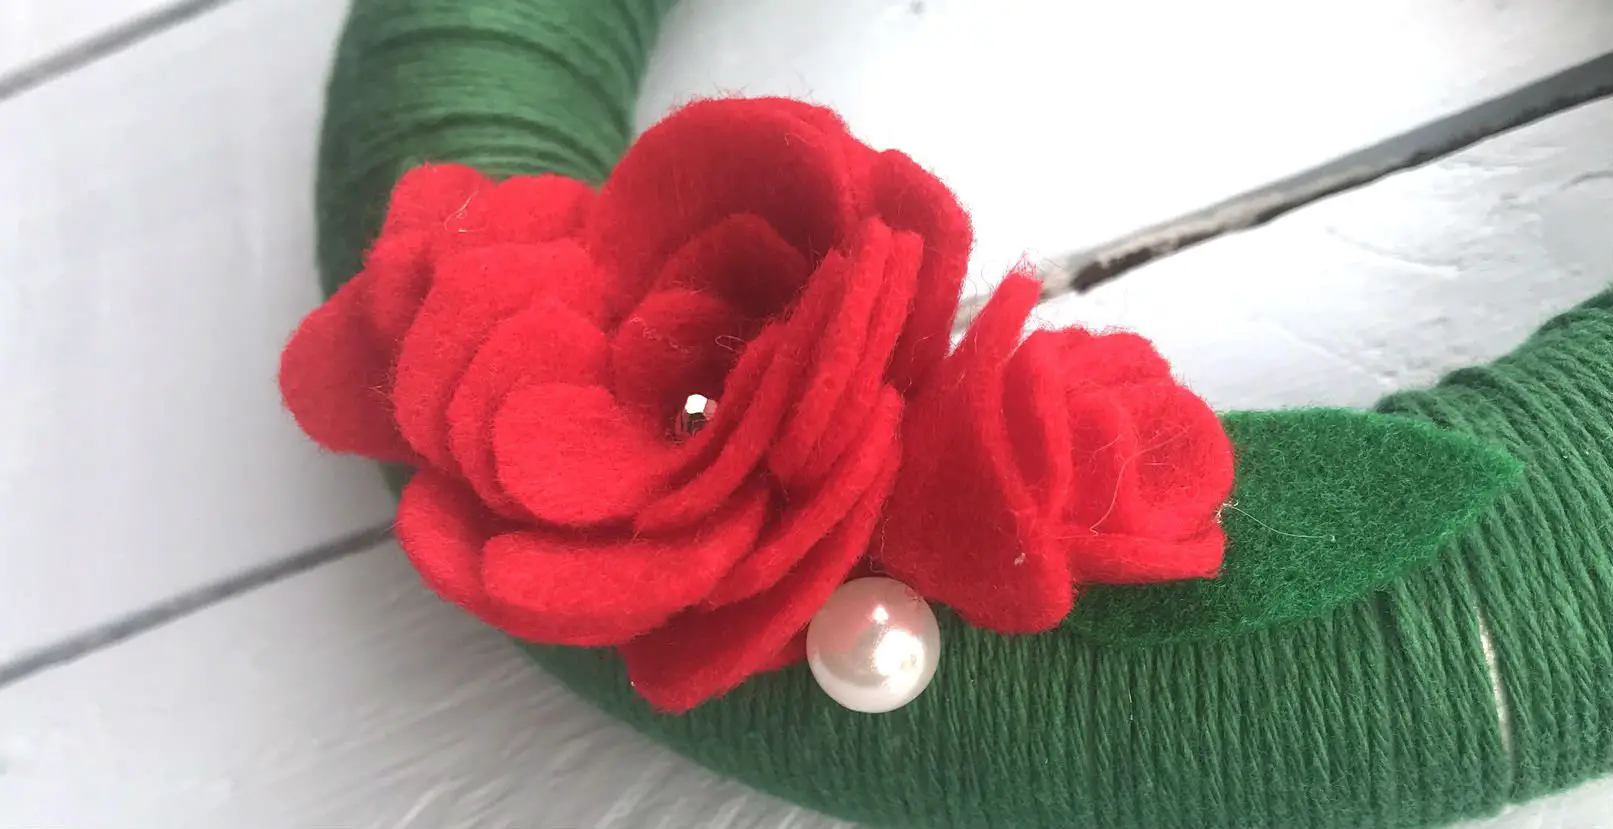
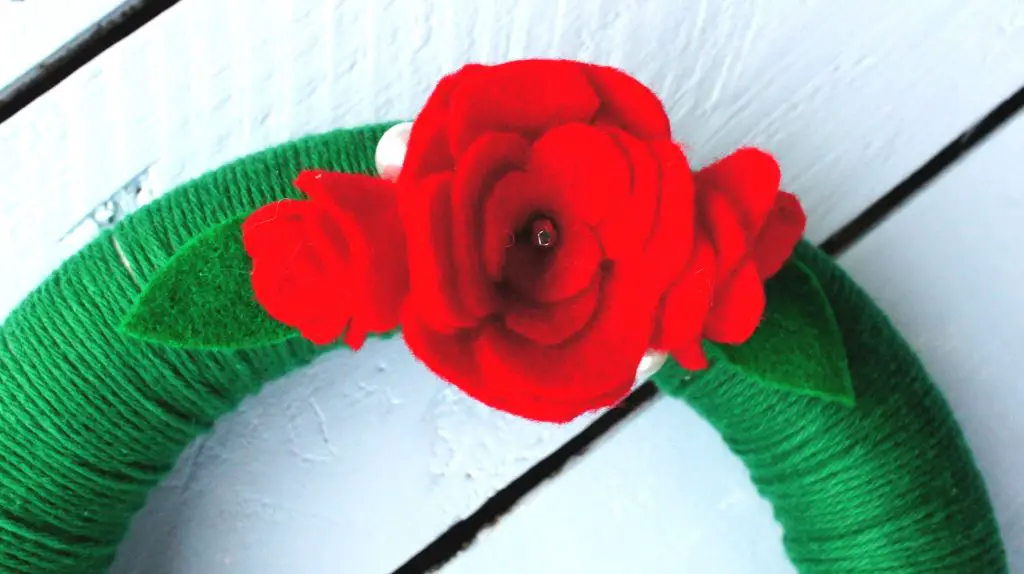
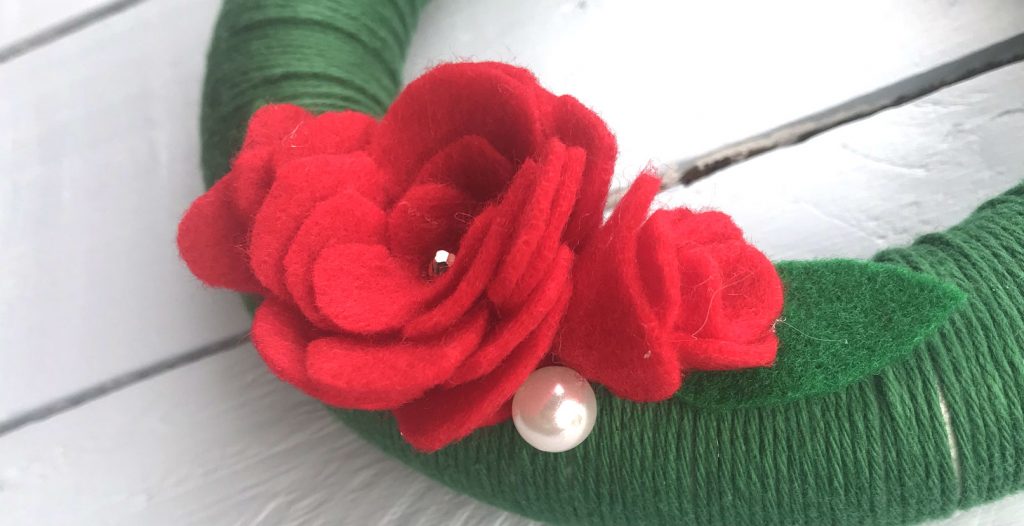
Now you can decorate your wreath however you like. To make one like mine you will need some felt to make some flowers and leaves. I made my main flower using the brilliant tutorial and pattern at Cutesy Crafts . Whilst they are intended for a bookmark I think that they work really well here. It is a simple pattern and you just glue the flower to make it.
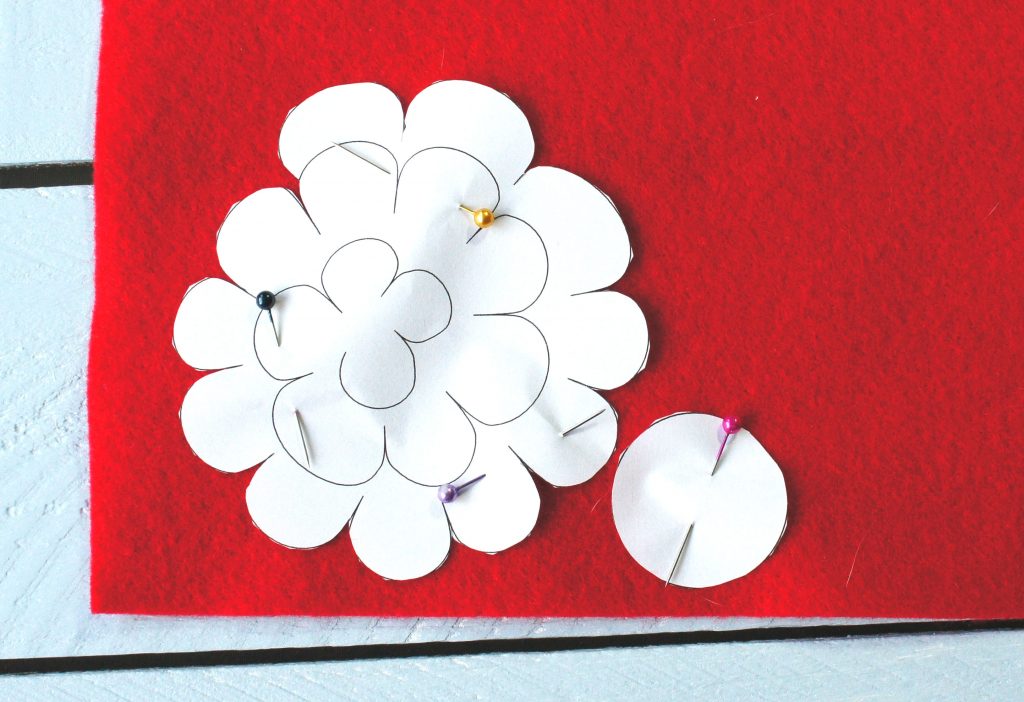
I also made a couple of green leaves using the same pattern and a couple of small simple flowers made by simply rolling and gluing. Instructions for these are available here on the Hobbycraft website. They are intended to be succulents but make pretty little flowers.
Then I planned my design before attaching it to the ring.
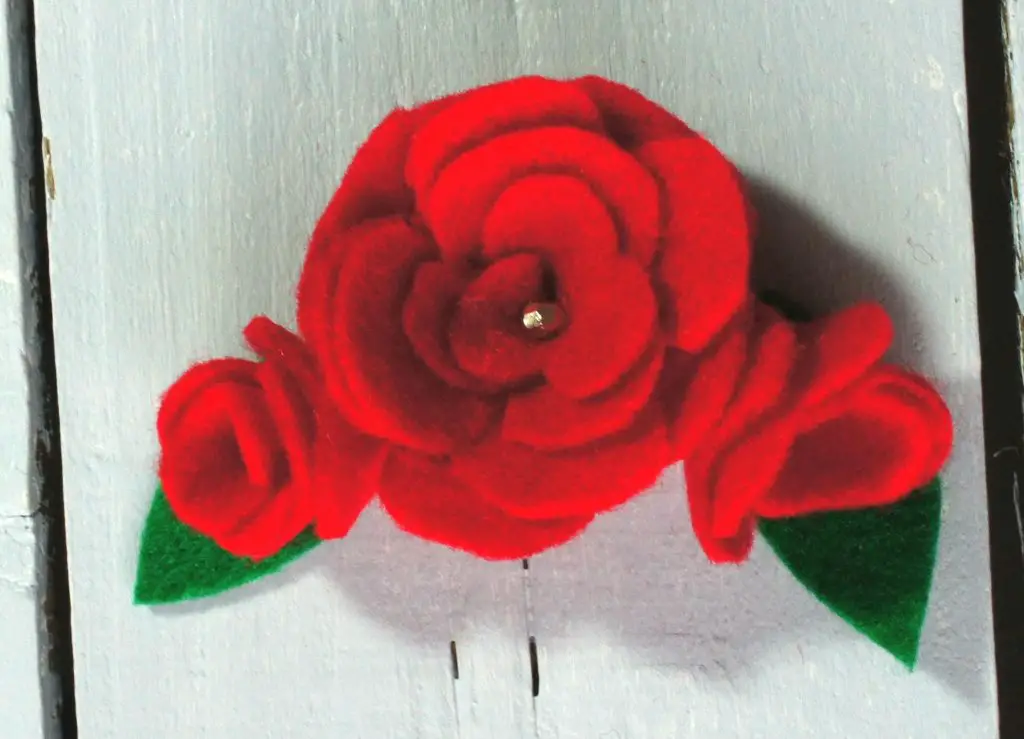
Firstly I glued on the large flower, then the leaves and lastly the little flowers. I then felt that it need a little something more so I raided my craft supplies and found some small ‘pearls’ on wires. I simply pushed them into the ring where I wanted them.
Step 3: Attach a hanger
Attach a hanger of some description. I used twine to give it a bit of a rustic feel. Tie it onto the top of the wreath and then decided how long you want it and tie the two ends together. That is it – your Christmas wreath is all finished. Now all you have to do is decide where to hang it in your festive home.
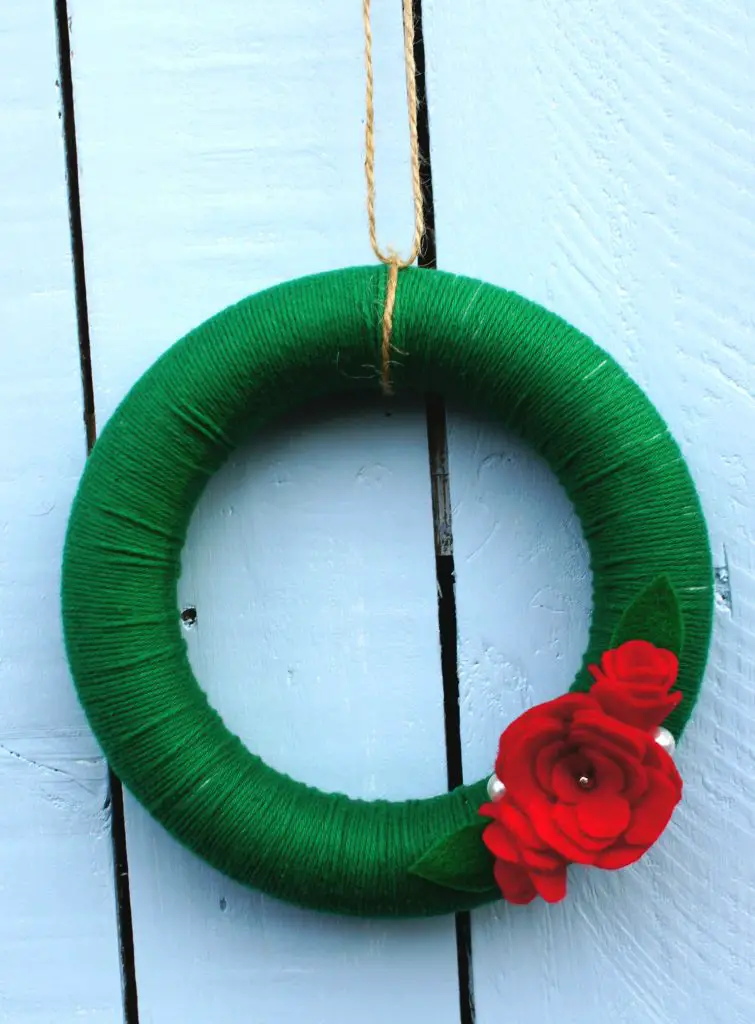
If you want to make a larger wreath I suggest that you use a chunky yarn otherwise it will take a very long time to cover your ring fully. You can also decorate your wreath much more than I have. Perhaps add some battery powered lights for a magical finish.
If you like making your own Christmas / Xmas decorations then check out some of my other festive tutorials.
Tissue Paper Stained Glass Windows
Remember to pin this on Pinterest for later. You can also follow me on there at Christine’s Crafts to find lots of ideas curated from around the internet.

