5 Easy Ways To Display Art Without Trying
As an Amazon Associate I earn from qualifying purchases
Displaying handmade art becomes straightforward once each craft type has a matched display solution, including textile framing for embroidery, matted frames for watercolors, mounted prints for photography, gallery wall sets for grouped arrangements, and shadow boxes for dimensional work.
The challenge most crafters actually face isn’t finishing a piece; it is knowing what to do with it afterward. An embroidery hoop sits completed on the worktable for three weeks, a watercolor sheet gets admired and rolled into a tube, and a photo print stays in its delivery envelope. This avoidance happens not from lack of care but from lack of a ready display plan.
A handmade piece stops being a project and starts being something you live with daily once it has a permanent home on the wall. The five approaches below are mapped by craft output type so you can locate your own situation immediately and act on it.
1. Give Your Embroidery a Frame It Deserves
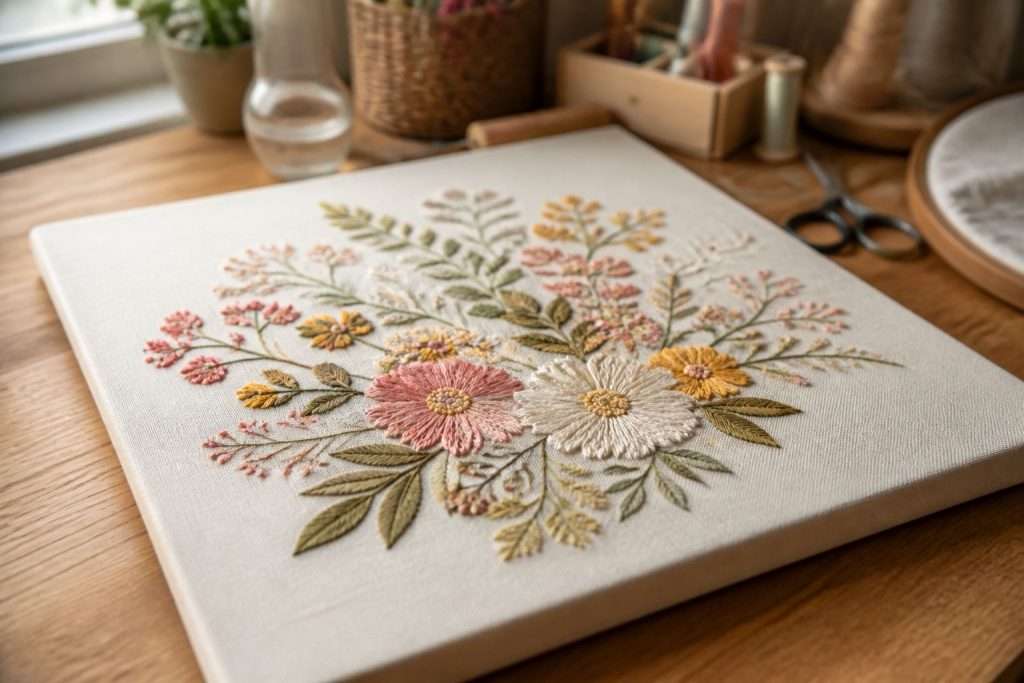
Framing embroidery projects requires a different starting point than framing paper artwork because textile art is not flat. Fabric sags, wrinkles under pressure, and shifts inside a standard frame, which shows through the protective glazing and undermines careful stitching.
The fix begins before the frame by stretching the finished fabric taut across a foam board or acid-free backing board. Secure the fabric edges tightly at the back with either stitching or acid-free tape, then place the mounted textile into the frame as a single stable unit.
Frame depth dictates how well the piece sits behind glass without touching it. Raised techniques like French knots and dimensional thread work need enough clearance that the glazing avoids direct frictional contact with the stitching. Standard frame rebate depth runs approximately 0.5 to 0.75 inches, which actively flattens raised stitch work instead of protecting it.
Finding the correct clearance means choosing deep-rebate or deep-set frames that provide ample interior volume. For the exact combination of depth, finish, and size range required, sleek wall frames from Americanflat cover the dimensions that embroidery work typically demands.
A deep-set black frame adds sharp contrast and visual weight to light-colored fabric, while natural wood maintains a softer aesthetic suited for folk motifs. Local specialist framers can supply exact measurements for unusual hoop sizes or large textile panels.
| Pro Tip: Always choose a deep-rebate frame (1.5 inches or more) for raised stitching like French knots or satin stitch layers to prevent the glazing from flattening the textured surface. |
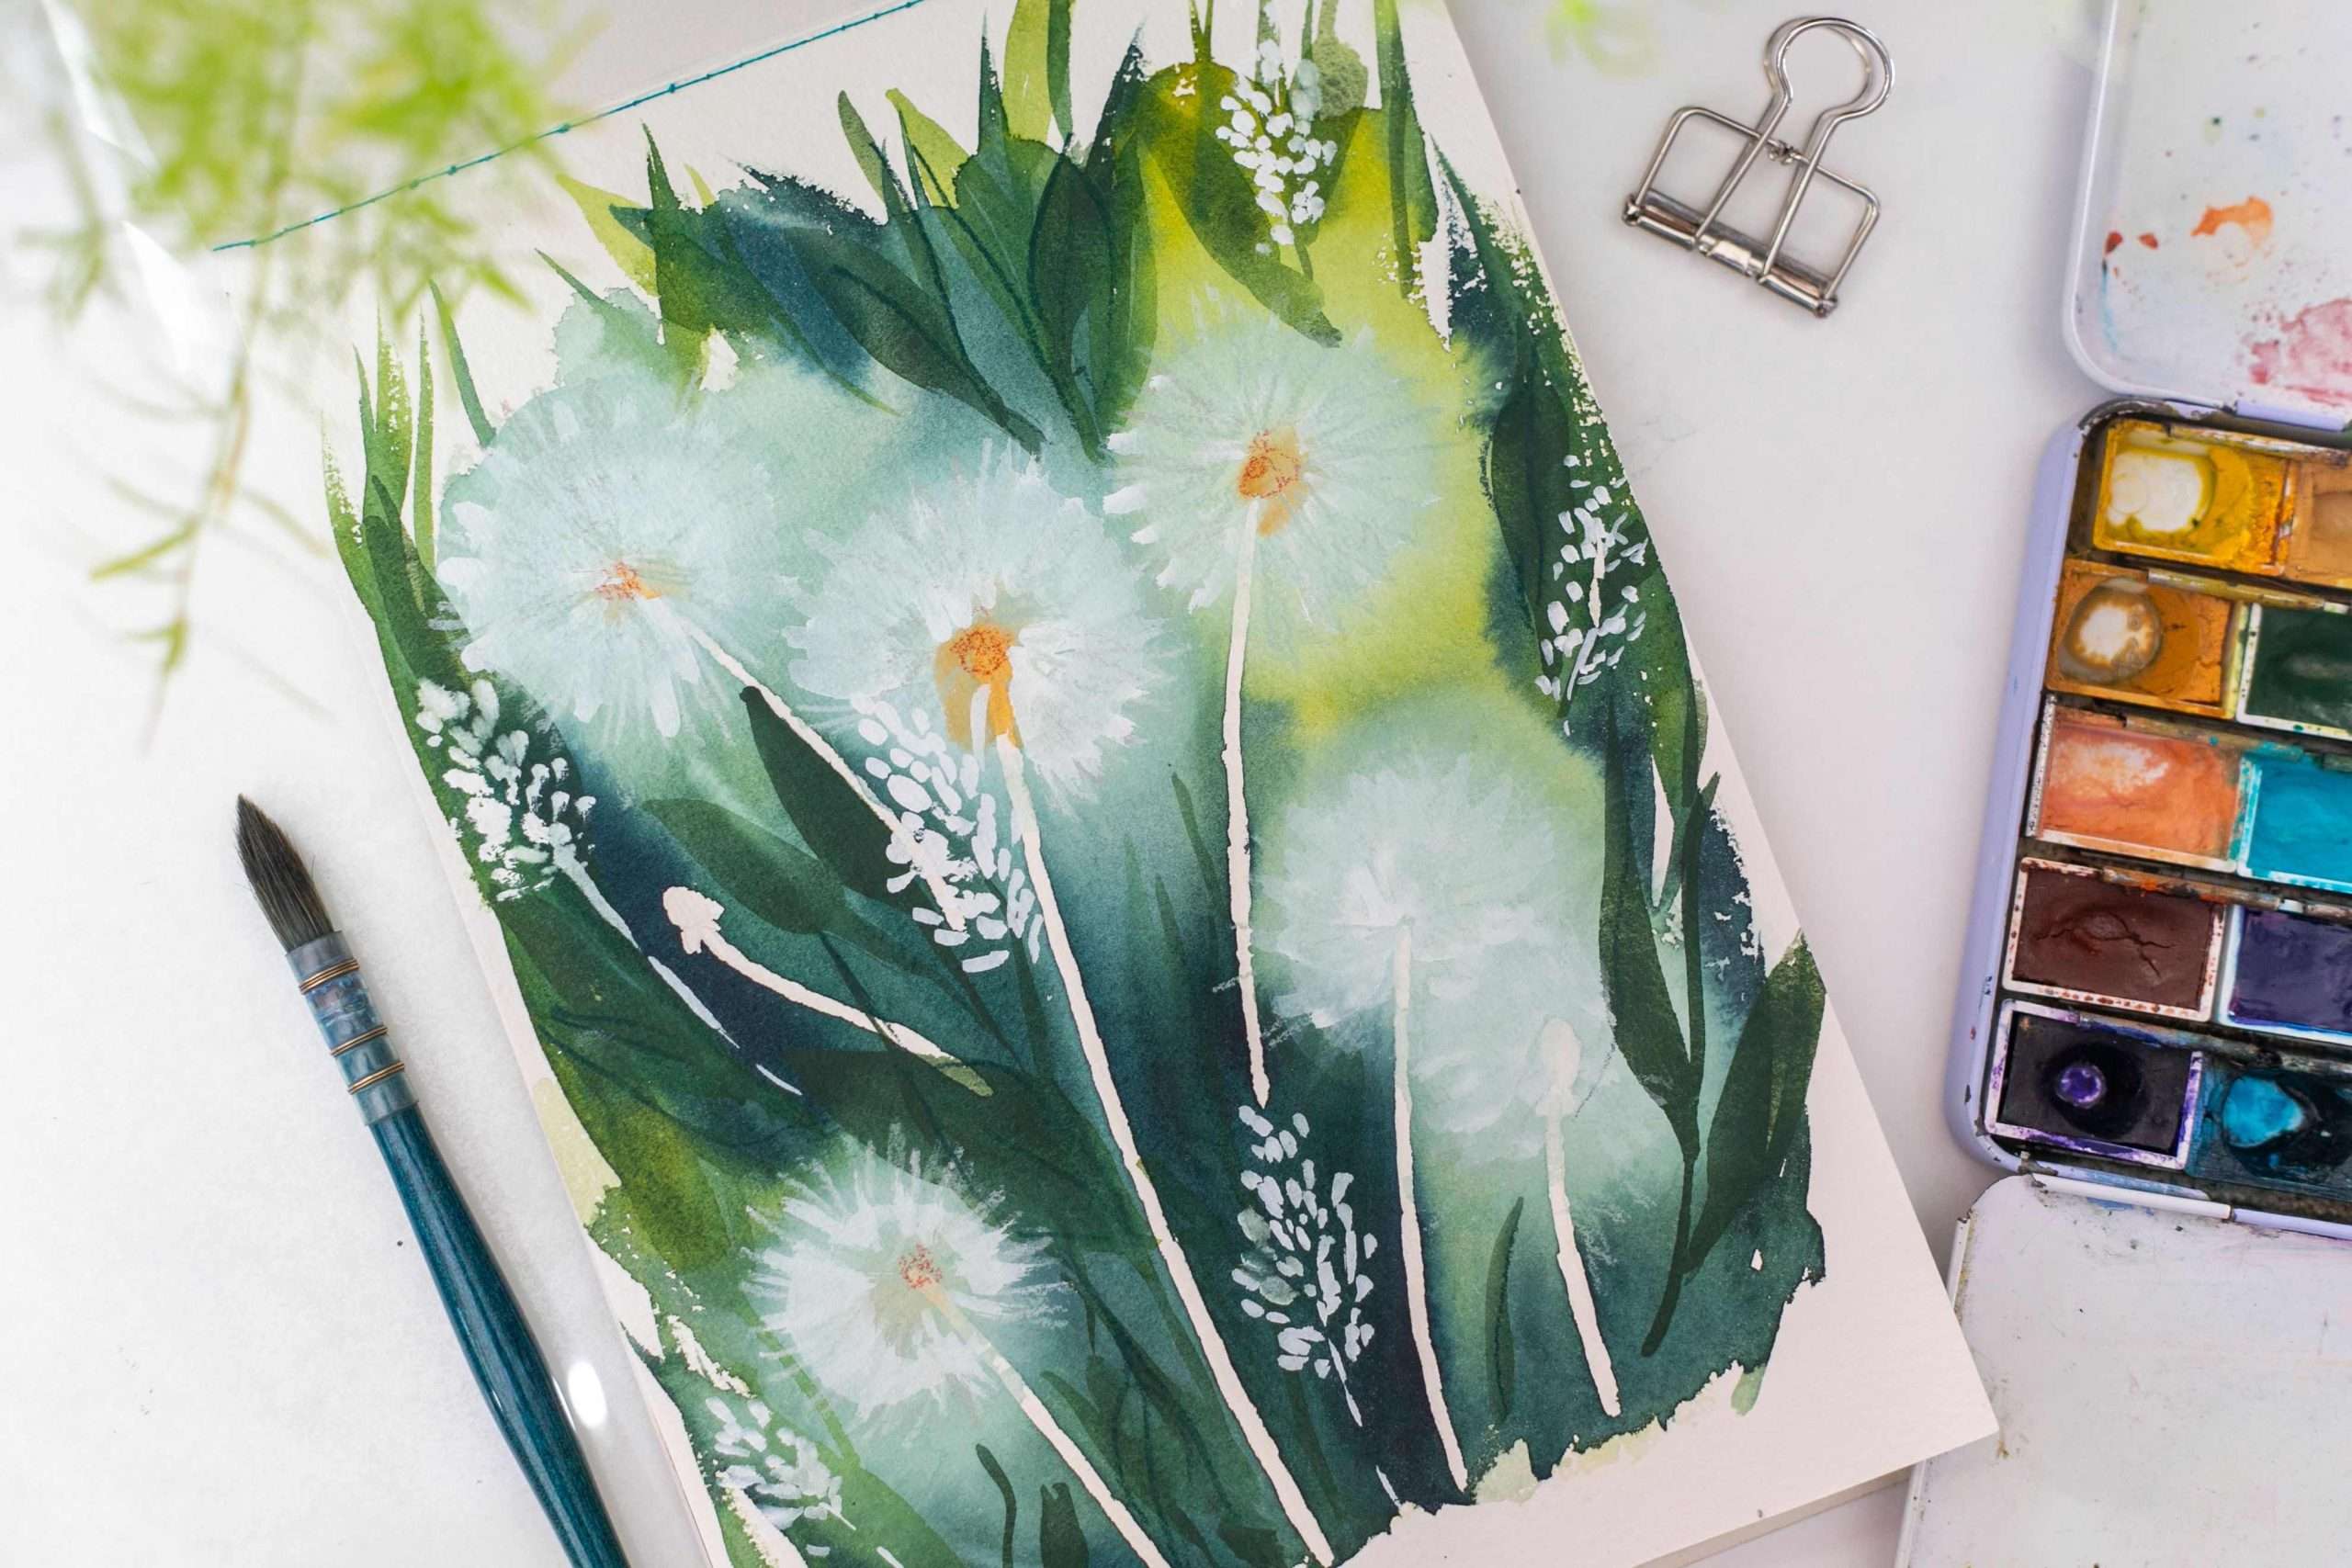
2. Mat and Frame Your Watercolors Like a Gallery Would
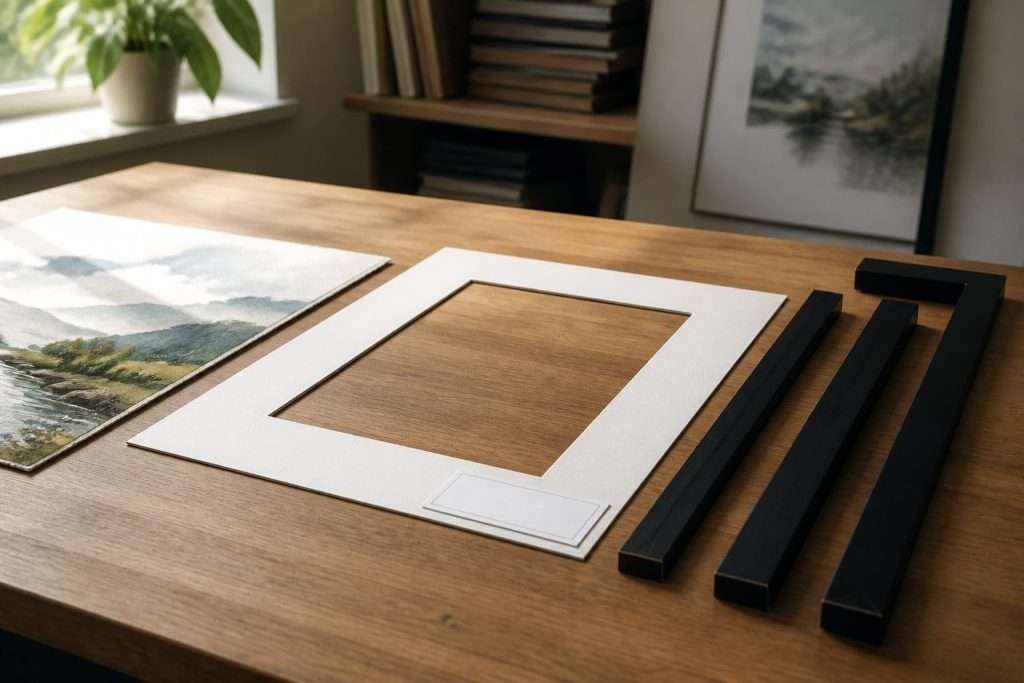
Paper-based artwork including watercolors, ink drawings, and gouache pieces carries a specific set of chemical and visual risks. Without structural matting, a standard-sized watercolor painting often looks visually lost inside its casing rather than standing out as a deliberate focal point.
Beyond aesthetics, placing non-archival materials in direct physical contact with artwork paper induces acid migration across the fibers. This chemical reaction creates a distinct yellowing and browning effect that begins at the outer edges and works permanently inward.
Using acid-free matting eliminates this discoloration risk and acts as a necessary longevity safeguard for original artwork. A bright mat width of 2 to 3 inches suits most standard-sized paintings gently by directing visual focus entirely toward the pigment rather than the outer wooden edge.
Sourcing specialized frames that contain a pre-sized mat insert removes the frustration of measuring interior window dimensions against exterior openings. If the artwork hangs across from windows, adding UV-protective glazing defends the notoriously light-sensitive watercolor pigments from harsh sun exposure.
| Important: Acid migration from non-archival materials causes permanent yellowing and browning of paper art. Once it appears, the damage cannot be reversed, only prevented with acid-free matting. |
3. Turn Personal Photography Into a Statement
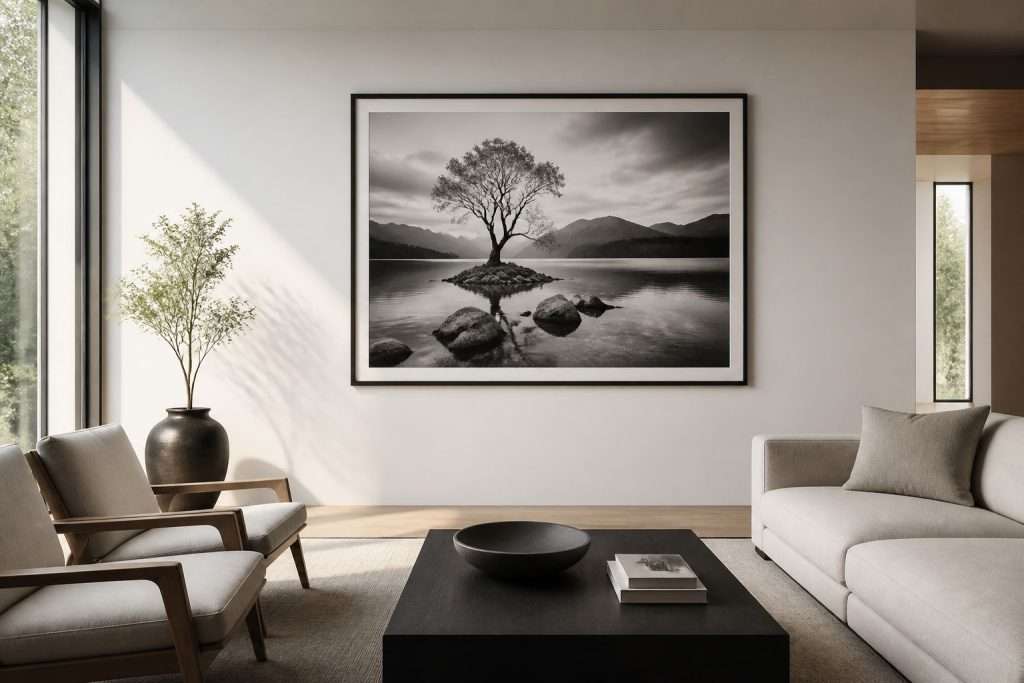
A carefully edited personal photograph loses its scale and impact when confined solely to a mobile screen or digital hard drive. Printing and mounting personal photography solves this issue directly because the visual output is already finished and only awaits physical wall placement.
Photographic prints possess unique chemical vulnerabilities that dictate proper display environments. Because original cyan photo dyes naturally fade faster than other underlying colors, unprotected images appear red and distorted.
To safely bridge the gap between historic preservation and everyday enjoyment, modern prints serve as accessible visual stand-ins. Professional archivists insist that dedicated cold storage strategies remain crucial for the protection of irreplaceable color film originals.
Leaving the originals in safe conditions allows you to scale up duplicate prints to 16 by 20 inches or larger for immediate wall display. The display frame finish should recede rather than compete visually with these prints, utilizing neutral black, white, or natural wood tones to keep the camera subject distinctly primary.
4. Plan a Gallery Wall That Actually Looks Considered
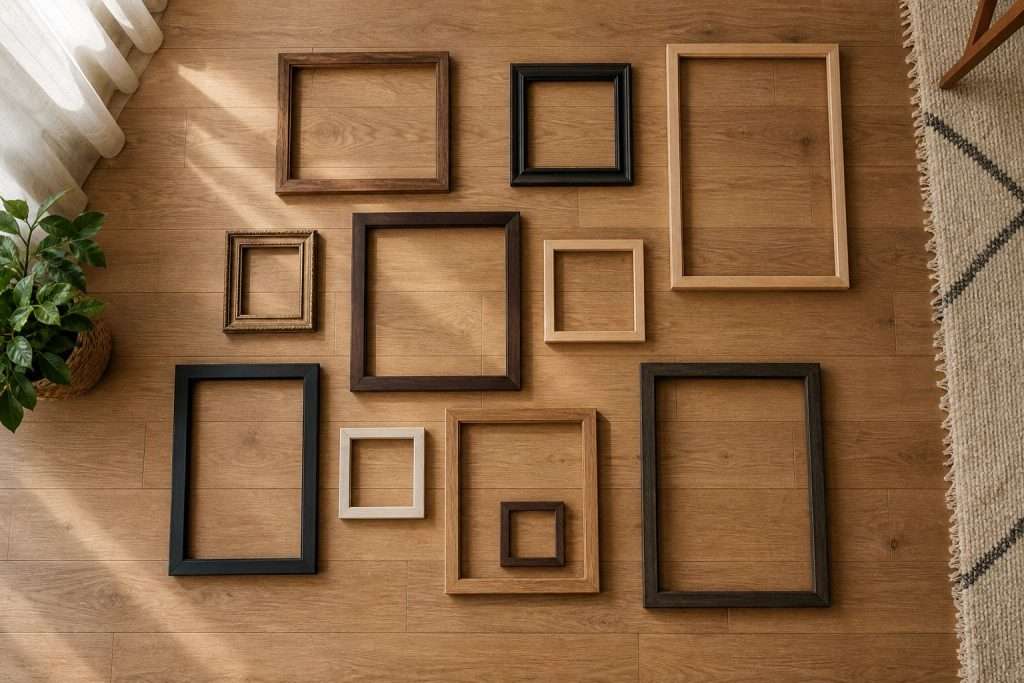
The layout mapping method that successfully prevents crooked gallery arrays starts firmly on the floor before any hardware touches the drywall. Lay every empty frame flat onto the rug, photograph the initial arrangement from directly above, identify the dominant visual center, and then construct outward from that anchor point.
Transfer these physical measurements carefully to the targeted wall using one single strip of painter’s tape per frame. Leaving this taped outline up for a full afternoon helps you judge the visual balance organically.
Repeating one specific exterior finish across the vast majority of pieces builds a deliberate, unified room aesthetic. Dropping one contrasting metallic or colored accent frame into the layout successfully introduces managed visual interest, whereas mixing three distinct finishes reads merely as unorganized clutter.
Proper frame spacing requires identical discipline to look correct. Implementing exactly 2 to 3 inches cleanly between all individual frames establishes the standard visual density for cohesive home arrangements.
Purchasing coordinated frame sets provides crafters with an immediate starting arrangement where the finishes, structural depths, and proportions already align perfectly. A reliable preliminary layout consists of exactly two small embroidery pieces framed in natural wood flanking an oversized photography print. Holding rigidly to 2.5 inches of consistent negative space between each piece ensures the entire horizontal structure feels professionally measured.
| Key Insight: Layout intention separates a gallery wall from a random collection. Floor-first planning arranging frames on the ground, photographing, then transferring measurements prevents unbalanced spacing and visual overcrowding. |
5. Display the Pieces That Don’t Fit a Standard Frame
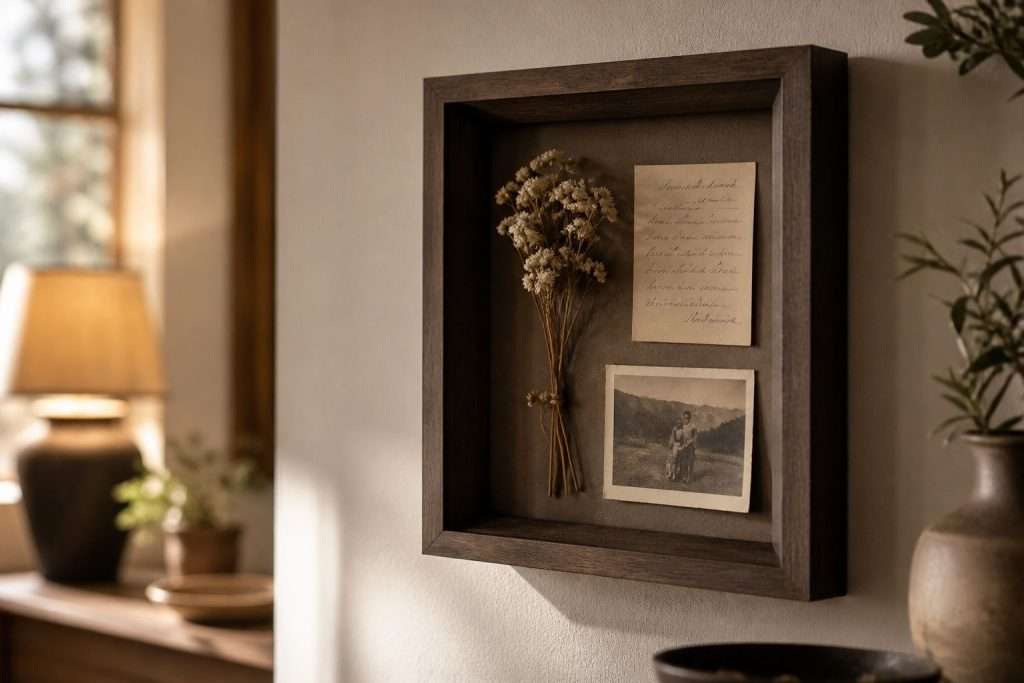
Certain three-dimensional home craft objects physically reject flat glass placements due to their inherent sculptural volume. Thick fabric collages, assembled dried botanicals, complex layered mixed media panels, and memory groupings demand framing solutions built for serious structural volume. Flattening textural artwork directly onto the glass inherently negates the tactile depth that initially made the handmade project intriguing.
Classic shadow boxes solve this volume dilemma immediately by offering nearly 2 inches of protective interior cavity space during wall mounting.
A standard shadow box performs wonderfully for combined keepsake boards, confidently holding a pressed flower, a thick cardstock invitation, and a printed photo within a shared composition. Specialized deep box casing also accommodates layered resin crafts where the structural relief needs significant clearance.
Putting It All Together
Every successful craft display fundamentally hinges upon proper surface preparation, regardless of the chosen interior medium. Executing a highly polished final gallery arrangement requires following an ordered organizational process to prevent damage.
- Measure the exact width and length of the finished craft piece alongside any intended paper mat allowance before shopping for materials.
- Subtract the intended mat overlap window from the total frame opening to accurately confirm the visible piece area matches your cutouts.
- Stretch fabric pieces tightly over an acid-free backing board, or press paper pieces flat to eliminate humidity wrinkling before casing.
- Insert the prepared piece face-down securely into the casing unit, load the rear backing neatly, and lock the metal tension clips into place.
- Deploy robust hollow-wall anchors rated heavily for the verified weight class when mounting any display frame larger than standard notebook sizes.
| Author Profile: Americanflat is a specialized home décor and wall art company that designs, curates, and manufactures picture frames, art prints, and decorative accents for residential interior styling. |