Unlock the Secrets of Dorset Buttons: A Step-by-Step Guide
As an Amazon Associate I earn from qualifying purchases
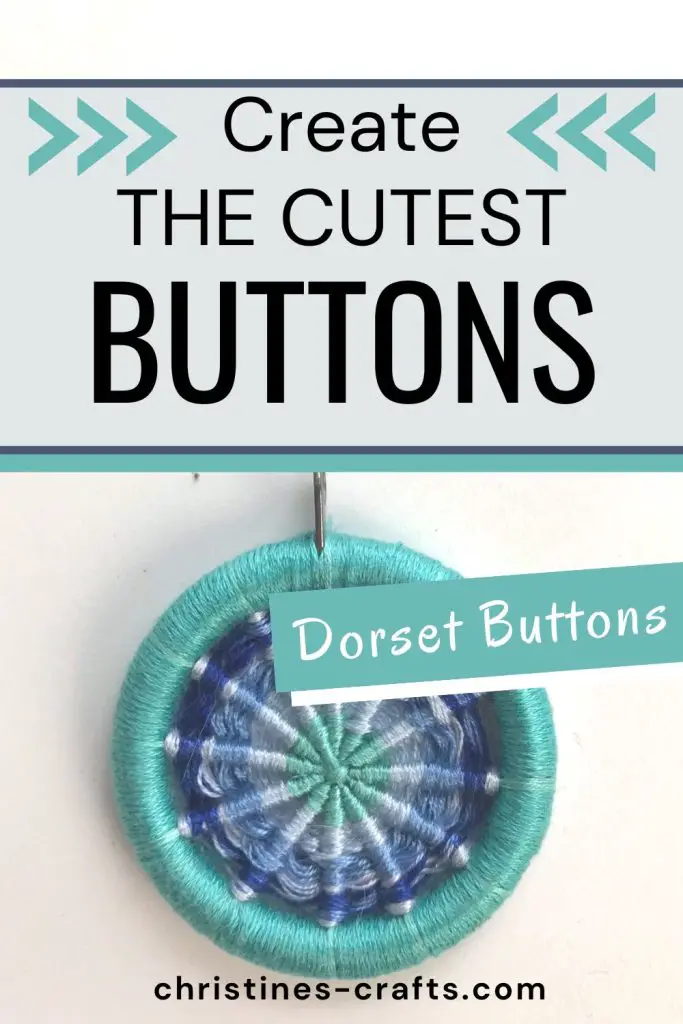
Ever wondered how to create a unique and stylish accessory with just a simple hoop and some embroidery thread? Step into the world of Dorset buttons, a captivating craft with roots in Dorset in the English countryside. These handcrafted buttons have been adorning garments and adding a touch of elegance for centuries.
The buttons were usually made using embroidery thread and a wooden hoop. Often very intricate patterns were used inspired by local folklore and nature. Their history dates back to the late 18th or early 19th century, when local women began creating these intricate buttons as a means of supplementing their income.
Dorset buttons can be used to adorn clothing, particularly jackets and coats. However, their beauty and craftsmanship has made them popular as decorative items and collectibles. Obviously there are mass produced buttons now but that makes a handmade Dorset button even more special and elevates any project.
In this Dorset buttons tutorial, you’ll learn how to make your own buttons and decorations and explore your creativity. So, gather your supplies, unleash your imagination, and embark on a journey of crafting beautiful Dorset buttons.
This page contains affiliate links meaning I earn a little commission if you use those links at no cost to you. I only recommend brands I use and trust.
You will need:
- Embroidery threads
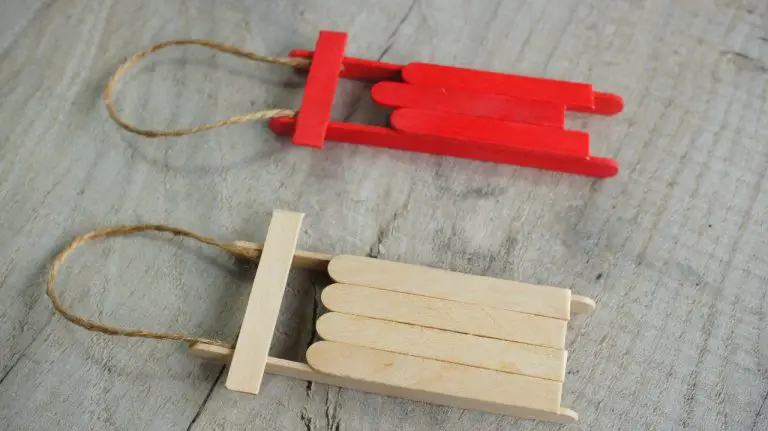
- Rings for Dorset buttons (whatever size you choose or have available) – Curtain rings are great for hanging decorations)
- Needle
- Scissors


Before you Start
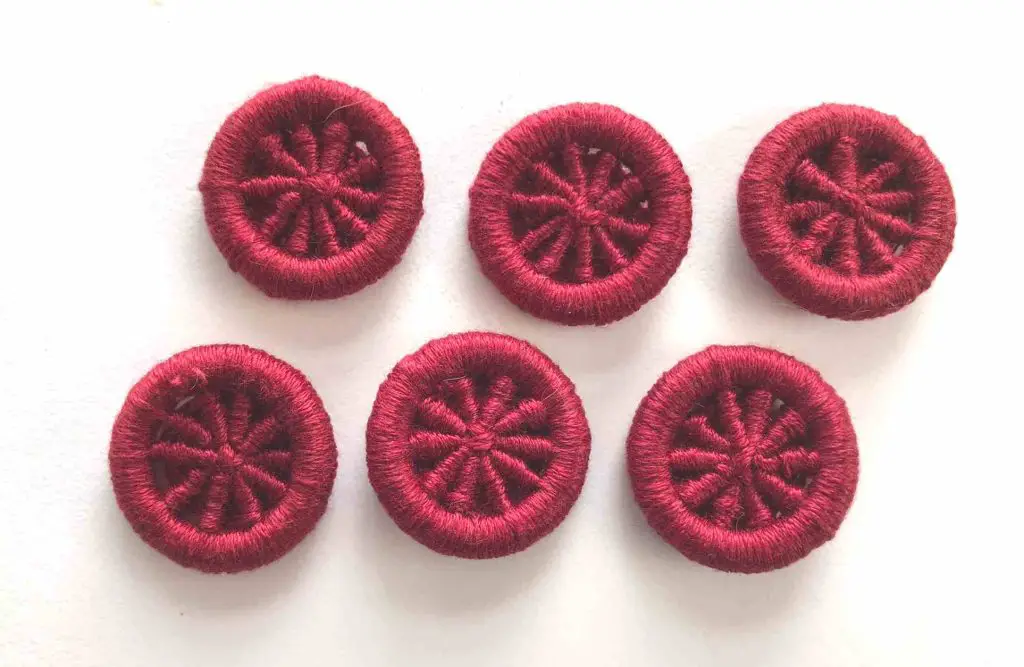
Before you even start your Dorset button you need to consider your design. If you are making buttons for an item of clothing then you may want simple buttons that are all one colour, like these ones here that I have made for a coat.
Or perhaps something more vibrant. As a beginner I suggest stripes are exciting enough. You can add more detail and indeed embroider on top of the button once you have made it but as a beginner I would stick to stripes.
I also recommend reading all these instructions before you start to get an overall idea of the process.
Video Tutorial for Dorset Buttons
This video is also available on my YouTube channel.
Step 1: Covering the Ring
The first step is to cover the ring. This is called casting! Take your chosen thread and cut a long length. Ideally you want to cover the ring and then do the spokes and secure them before you run out of thread. However if you are doing a large ring that may not be feasible. I will explain how to join your thread on the ring if you need to.
To cover the ring you will use a blanket stitch. I have a tutorial showing you blanket stitch here if you have never done it before. Simply secure the thread to the ring using a single knot (it can be your first blanket stitch). Lay the short end of thread along the ring and secure it as you work around the ring. Continue using blanket stitch until it is all covered and keep your thread in place (do not cut it off).
If you run out of thread along the ring simply lay the thread round the ring and start a new length of thread exactly as you did at the start. The new stitches will secure both ends. Trim your end to a reasonable length once it is secure.
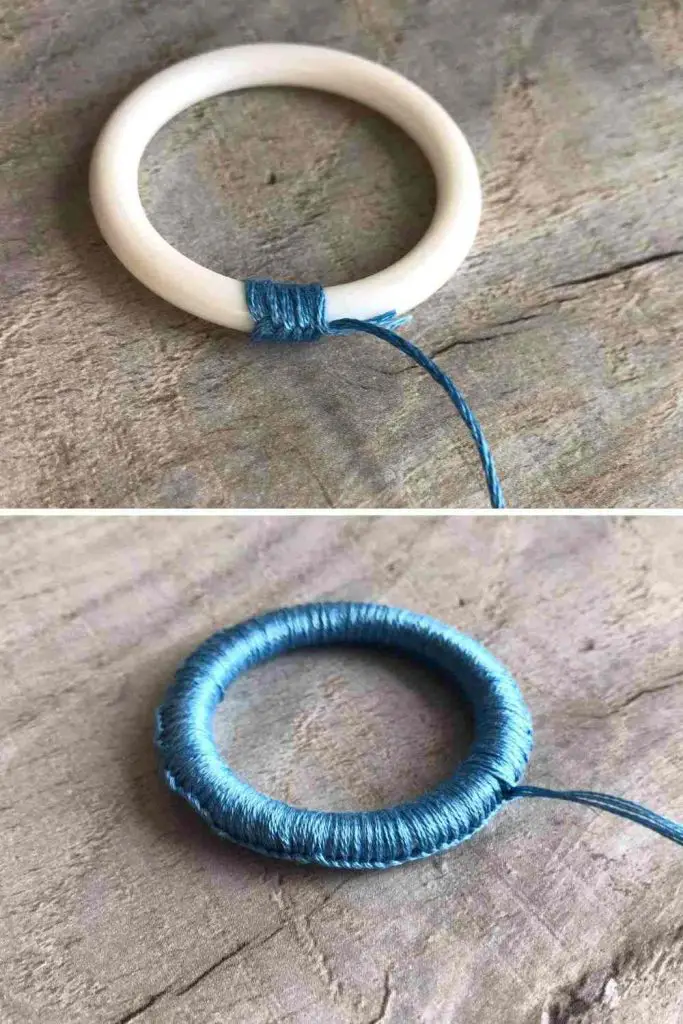
Once the ring is completely covered rotate the stitches so that they are at the back of the ring. This means that you end up with nice neat work and no sign of those stitches at the front or side of your button. This is called slicking!
Step 2: Creating the Spokes
This stage is called laying and it is where you will lay your embroidery thread to form the spokes of the button. It is entirely up to you how many spokes you have but using an imaginary clock to form 12 spokes is a great idea or imagining the clock but only using half of them to form 6 spokes. The more spokes you have the more detailed your designs can be later. In this tutorial I have used 8 spokes.
Make sure that the front of the ring is facing you and the thread is at the top. Wind the thread down the back of the button so that it divides the ring in half. Then wrap it up the front of the button to form your first 2 spokes.
Slightly turn the ring and repeat this process. Keep doing this until you have your desired number of spokes. I really don’t recommend more than 12 at this stage. Do not worry about the back threads being perfect; focus on the front ones.
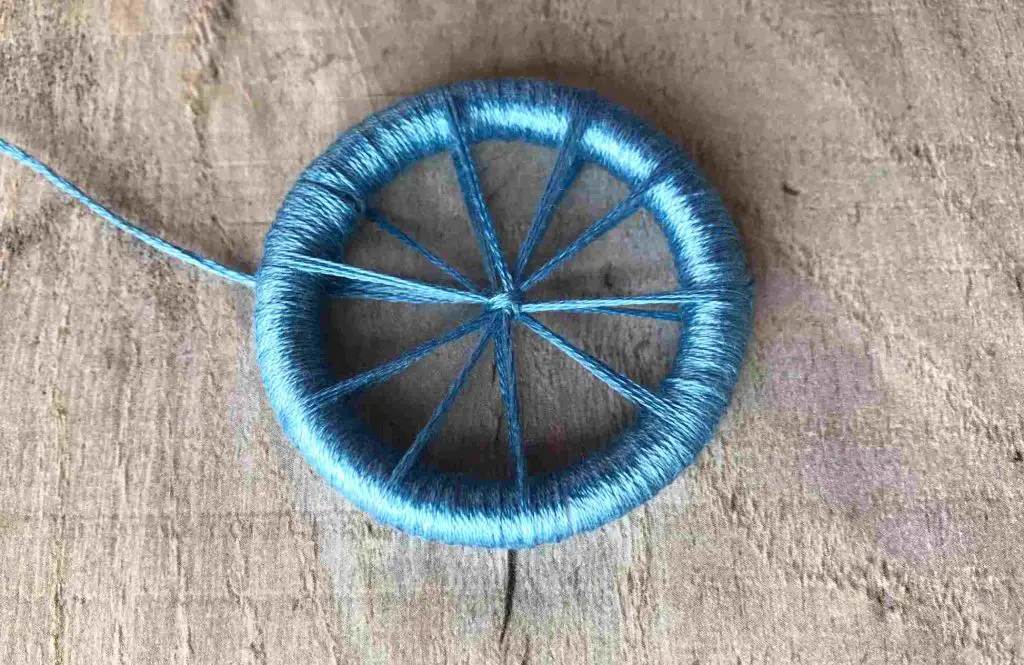
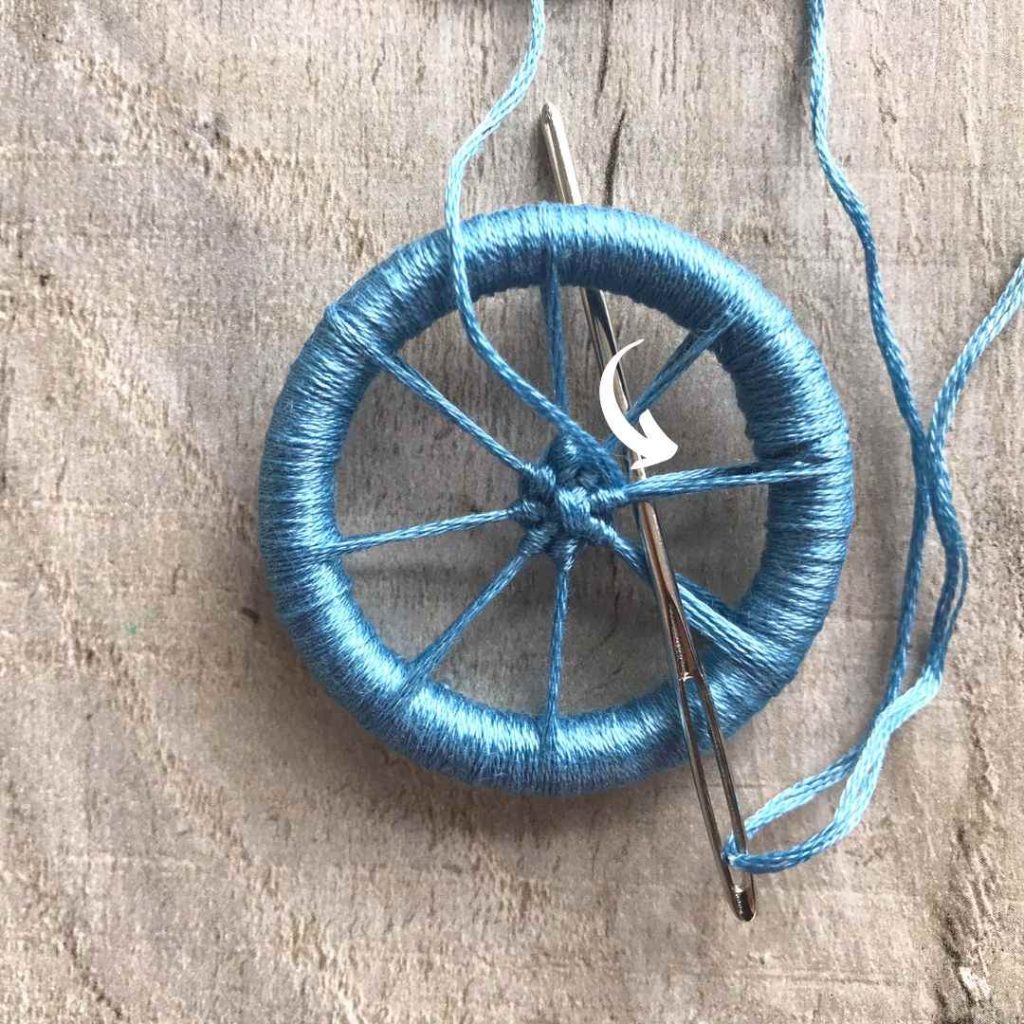
Secure the spokes at the centre using a cross stitch. You are aiming for the centre but do not worry if it is slightly off as you will be able to adjust it a bit as you work round it.
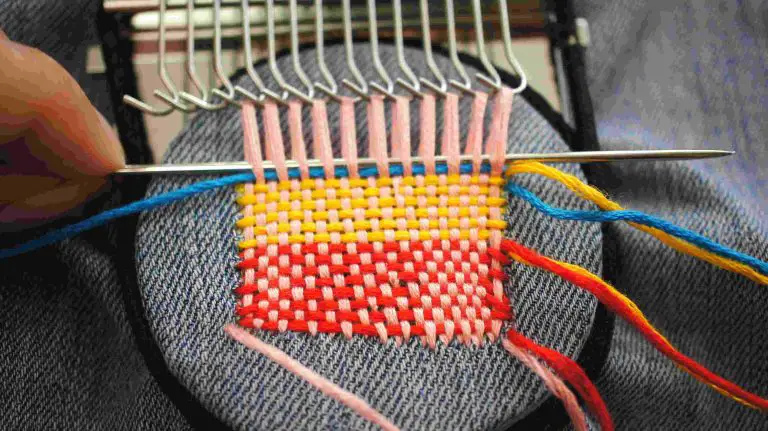
Step3: Creating your Design
This is where you fill in your button and create your design. This step is called rounding as you work around the centre. You still have your thread attached to your button where you did your cross stitch in the centre of the button. It should be at the back of the button. If not, pass it to the back now.
Bring the needle up to the front of the button between 2 spokes. Now return the thread to the back of the button by taking it around your first spoke. Then bring it back up between the next 2 spokes (not the one you just went around). I have tried to show you where to bring your needle up and where to take it back down to wrap around the next spoke using the white arrow.
Keep repeating this around and around your button.
Basically you are looping around each spoke and then moving onto the next one.
If (when) your thread runs out simple knot a new one on and carry on. You can either cut these lengths short or thread them onto your needle and run them along the back of the button towards the centre. Just make sure they do not show on the front.
Once you have filled your button it is time to cast off. Simply run your needle along the back of the button to the centre. Do a couple of stitches (passing the needle through the loop) and then you are done. You can cut off your thread or leave it on to sew the button in place.
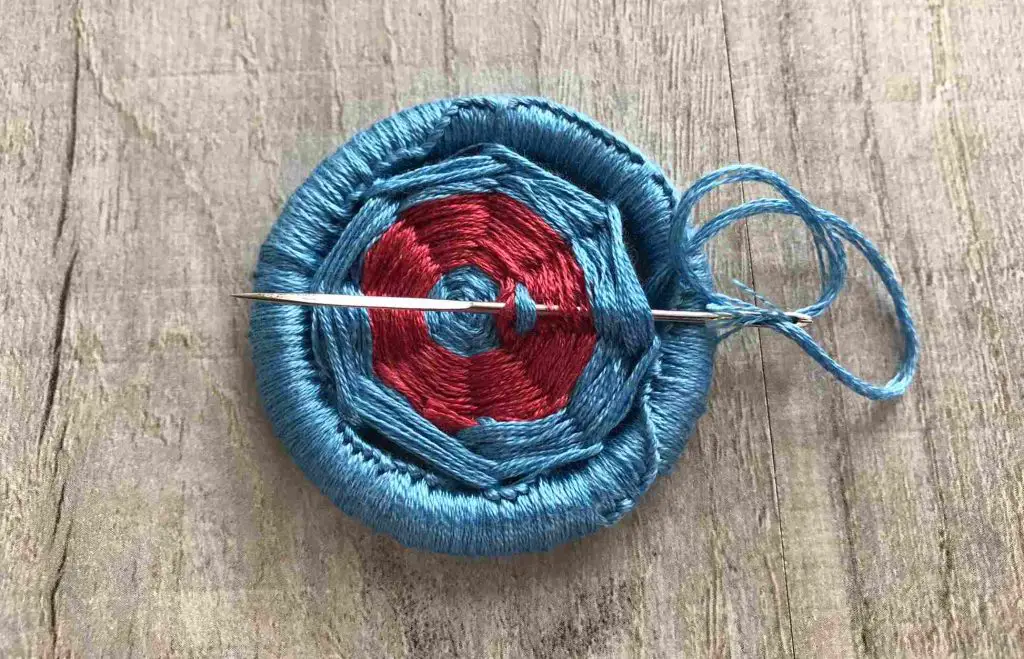
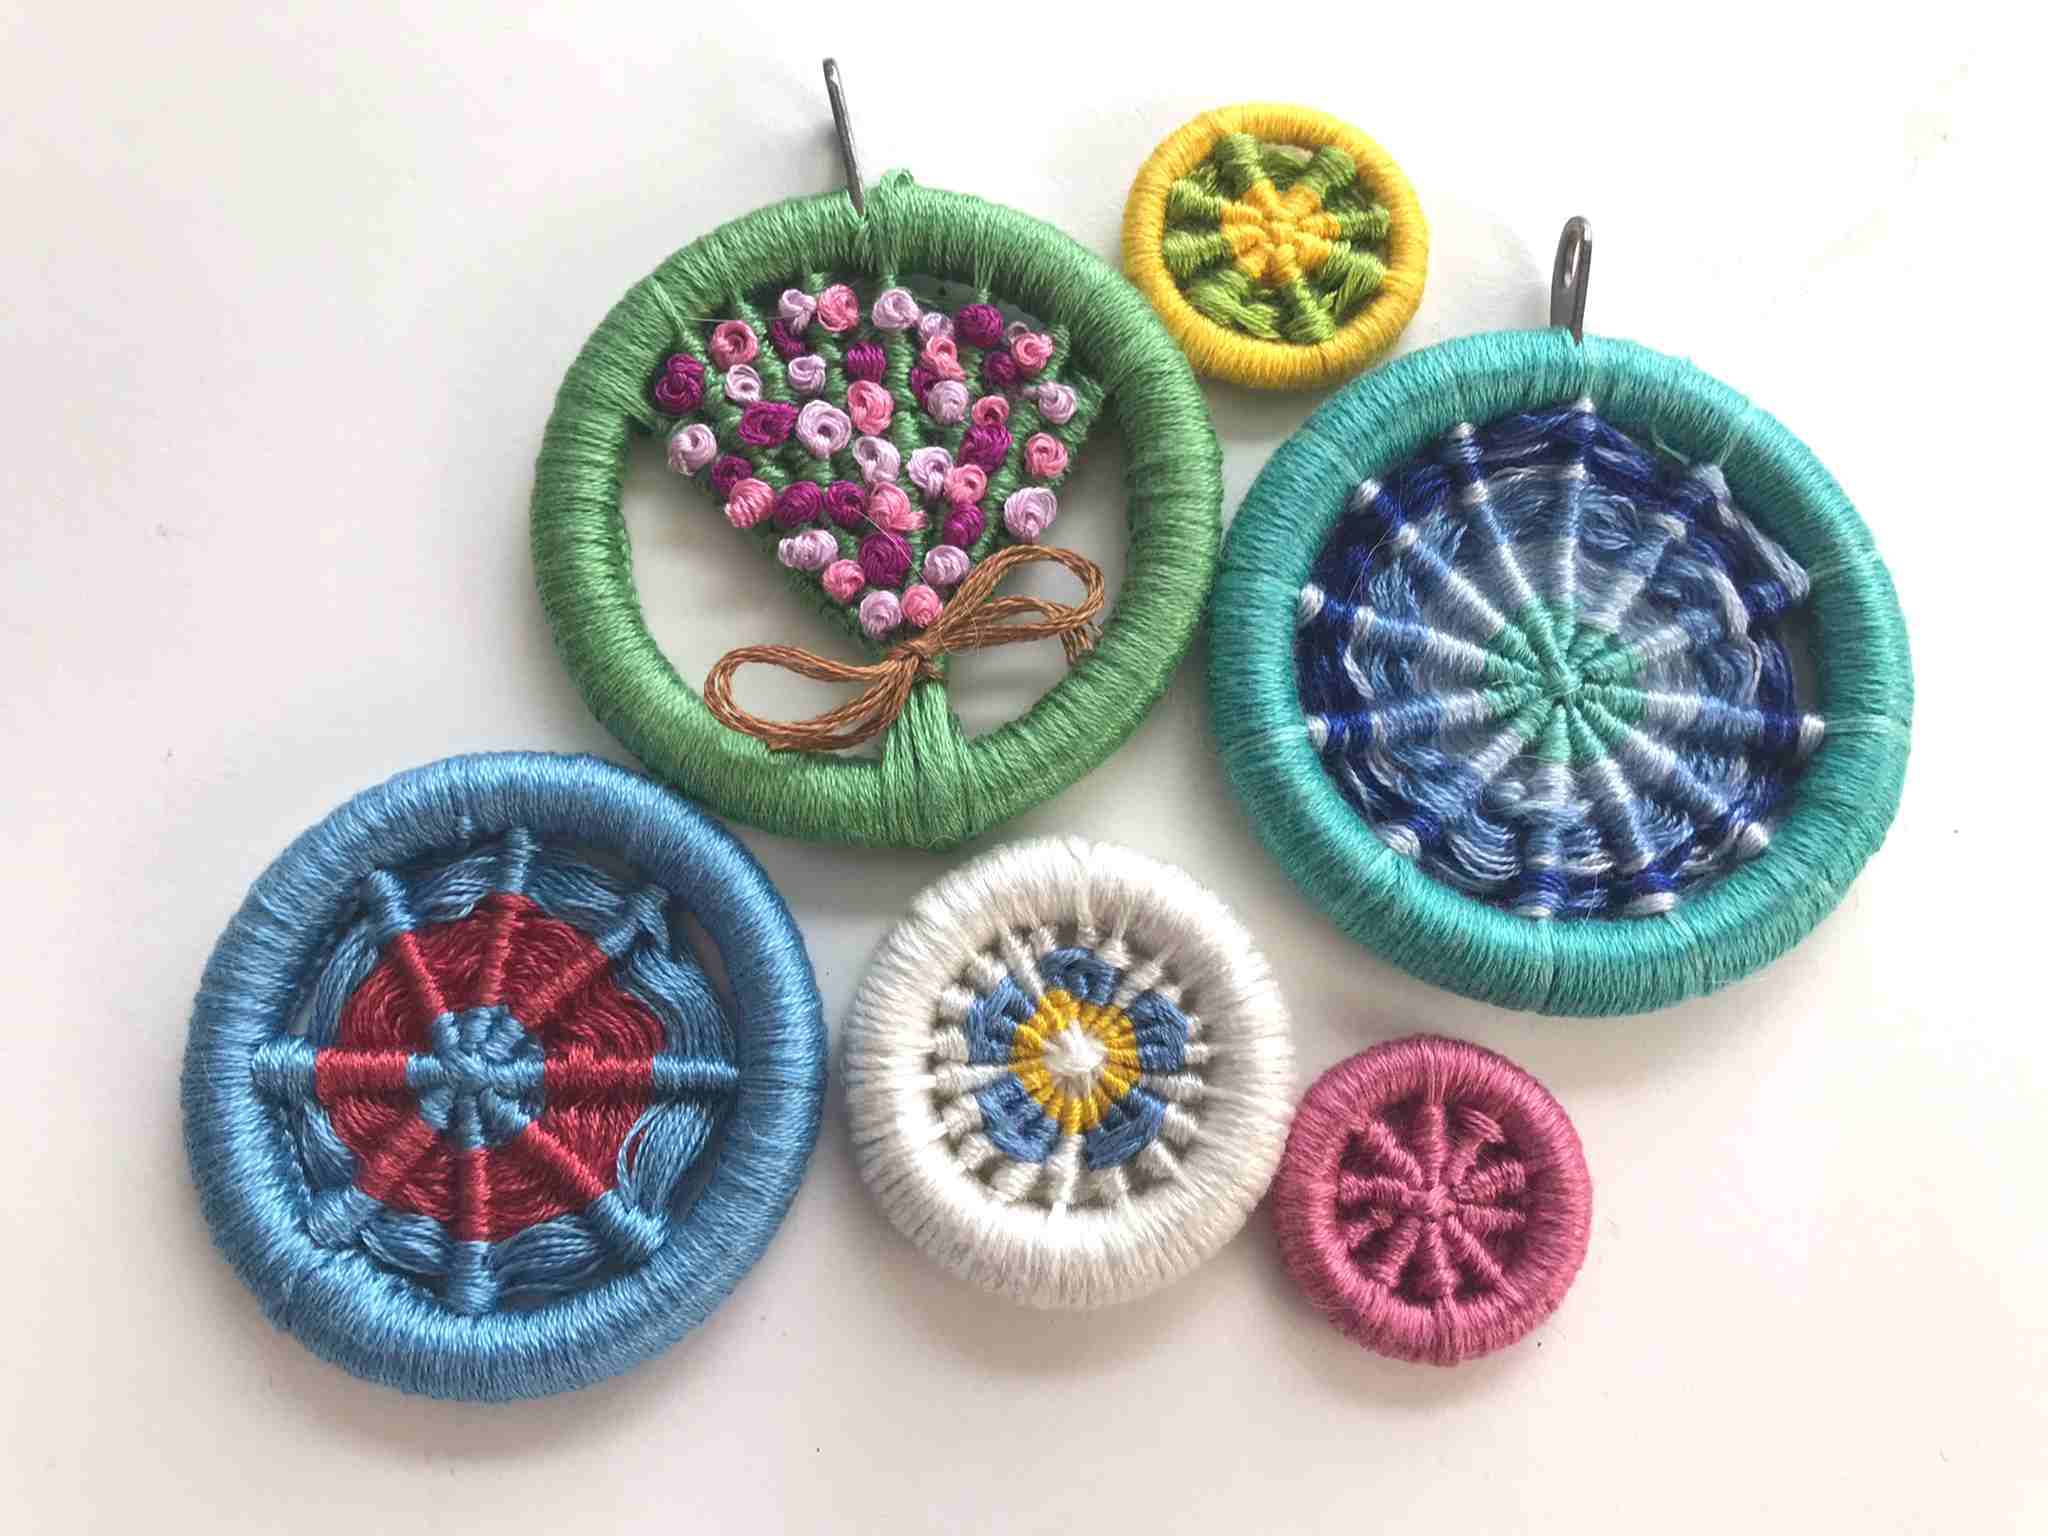
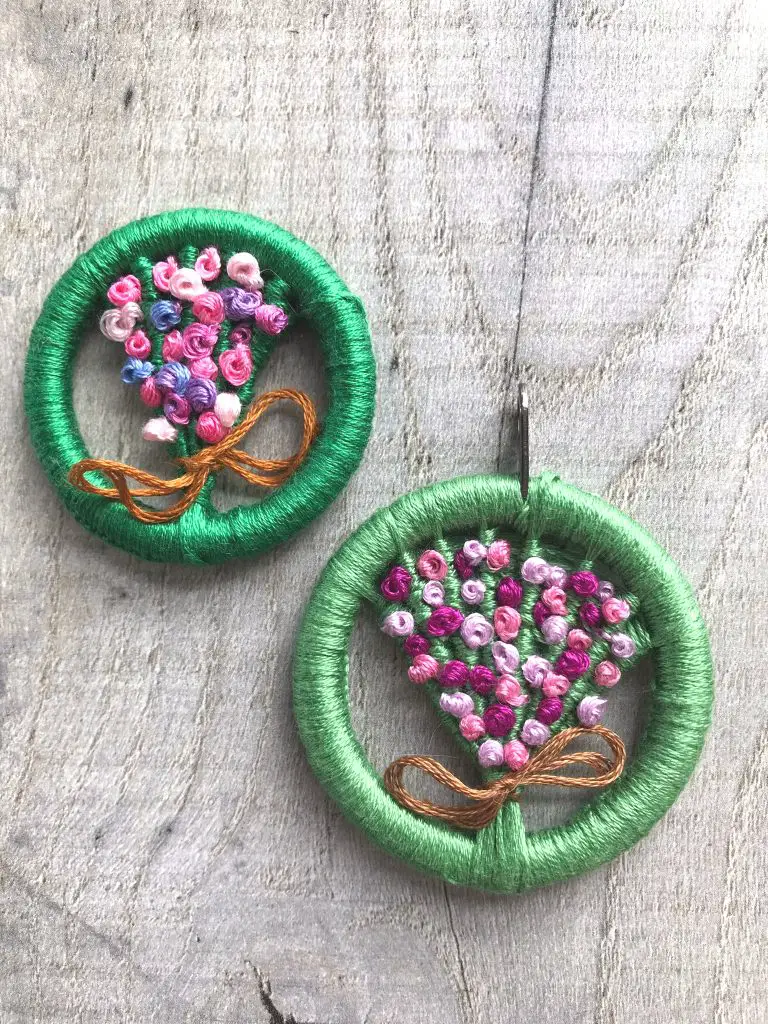
Now, the sky is the limit. You can make up your own designs or simply search the internet for ideas. Here are some pretty flower ones that I have made and below is a video to show you exactly how I made my bunch of flowers. If you can make a Dorset button then you can make one of these!
Video showing Bunches of Flowers Dorset Buttons
This video is also available on my YouTube channel.
And next …
I hope that you have enjoyed making Dorset buttons and that you will find many great uses for them both on clothing and as decorations. Please let us all know in the comments below if you have any great ideas or designs to share.
If you are looking for uses for any buttons then I highly recommend art with buttons as a very relaxing and enjoyable way of using up old buttons and producing pretty art.
Or perhaps you would like some pretty flowers that will last for years. Then how about making some flowers from old buttons and a bit of wire?
If you are interested in some sewing projects to go with your new Dorset button then check out my sewing section.