Successful Seed Sowing
As an Amazon Associate I earn from qualifying purchases
Best of all seed sowing is really easy to do. Success is available to all gardeners no matter how new you are to gardening.I am going to show you a step by step guide using lupin seeds:
This full tutorial and the accompanying tutorial about transplanting seedlings is available as a combined downloadable PDF for a small charge so that you can avoid the ads and easily print it off if you want to. Simply click here for details.
This page contains affiliate links meaning I earn a commission if you use those links at no cost to you. I only recommend brands I use and trust.
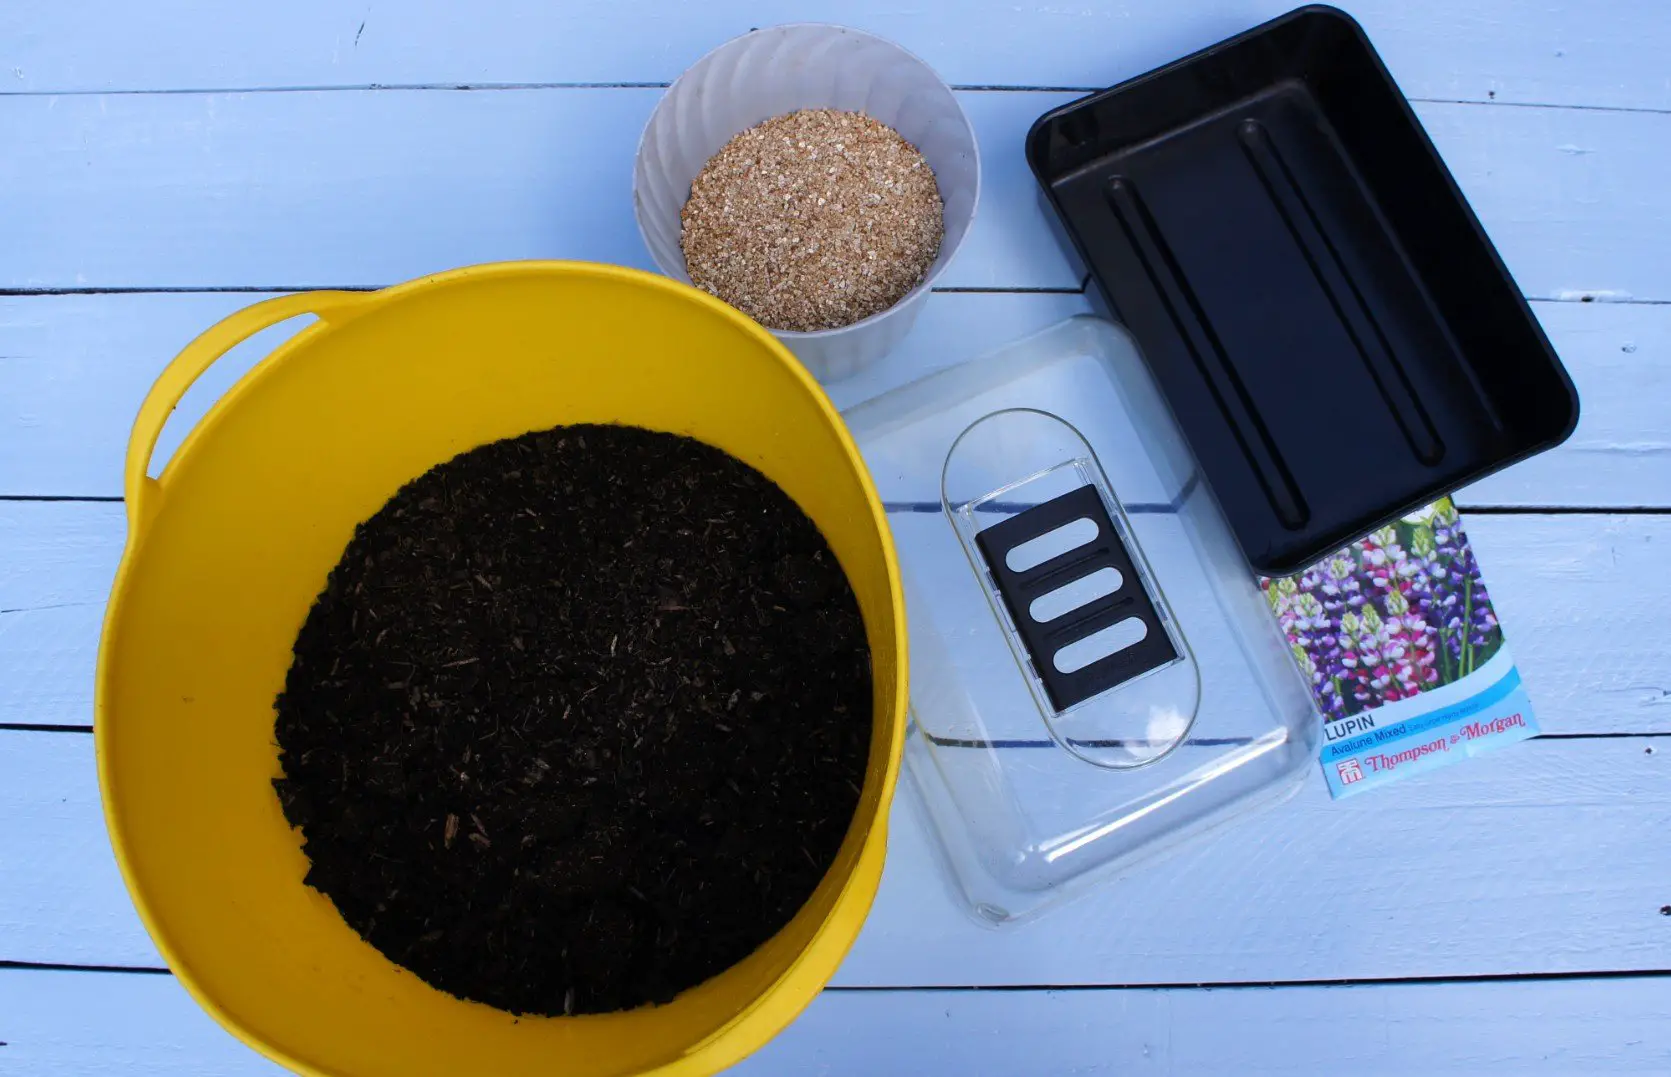
You will need:
Packet of seed. I recommend Suttons Seeds for reliability.
Seed compost (or multi-purpose compost)
Propagator lid or clear plastic bag
Vermiculite (optional)
Water
Gardening Direct also sell lots of great plants, seeds, and garden accessories with free delivery!

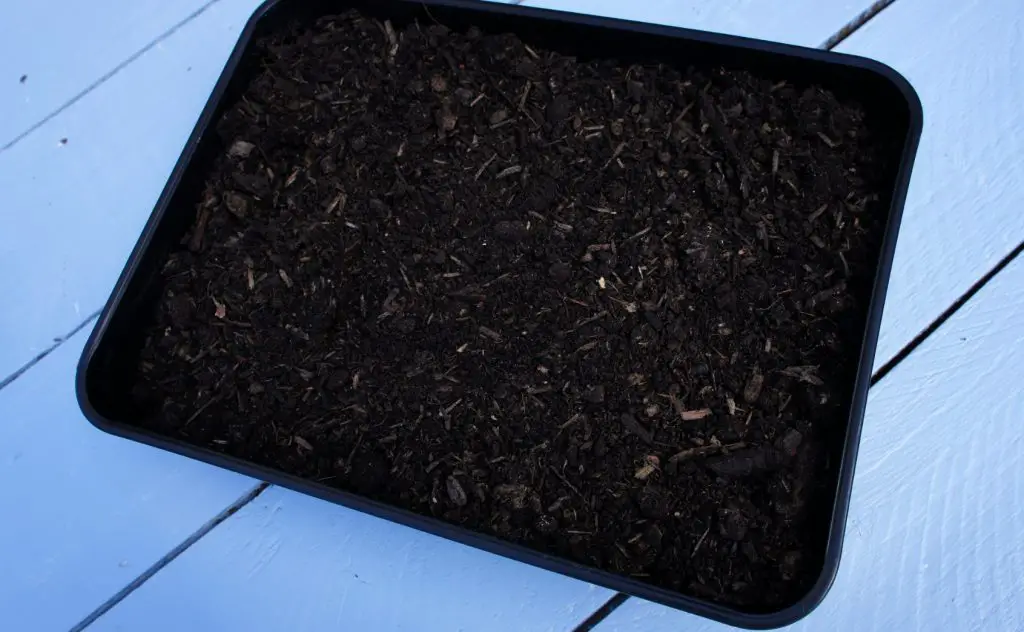
Step 1: Prepare seeds and tray of compost
Read the seed packet for detailed instructions on seed sowing for these particular seeds. Most seed packets tell you if you need to soak the seeds overnight and how deep to sow them. It will also tell you the best time for sowing them. All this information is important so do not lose it.
I soaked the lupin seeds overnight as per the instructions on the packet. You may or may not need to soak yours.
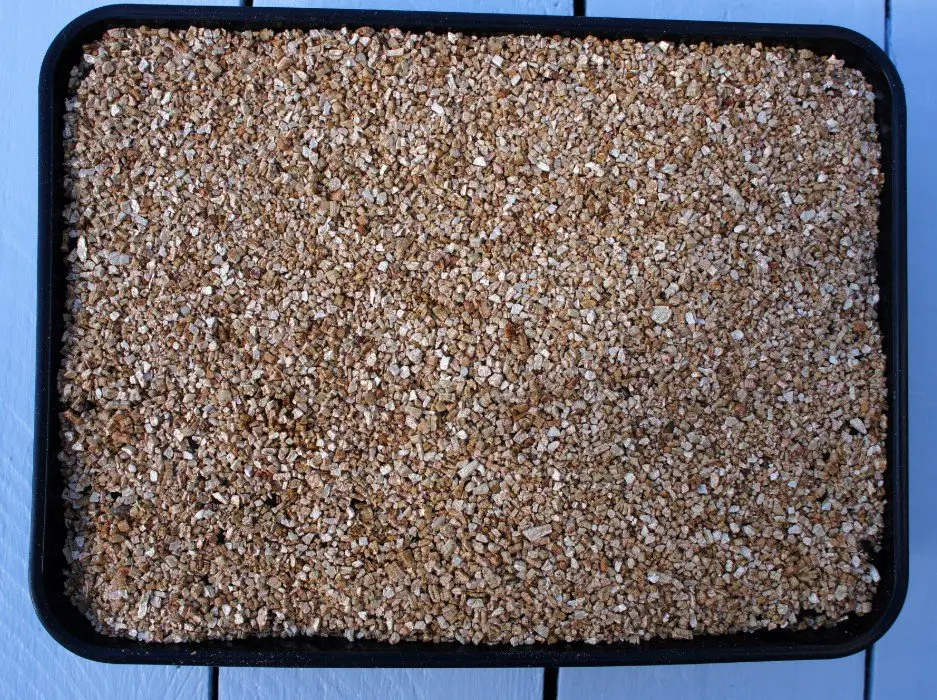
Fill your seed tray with seed compost just leaving a small space at the top of the tray (about 5mm/1/4″). This ensures your seedlings have plenty of compost to grow in.
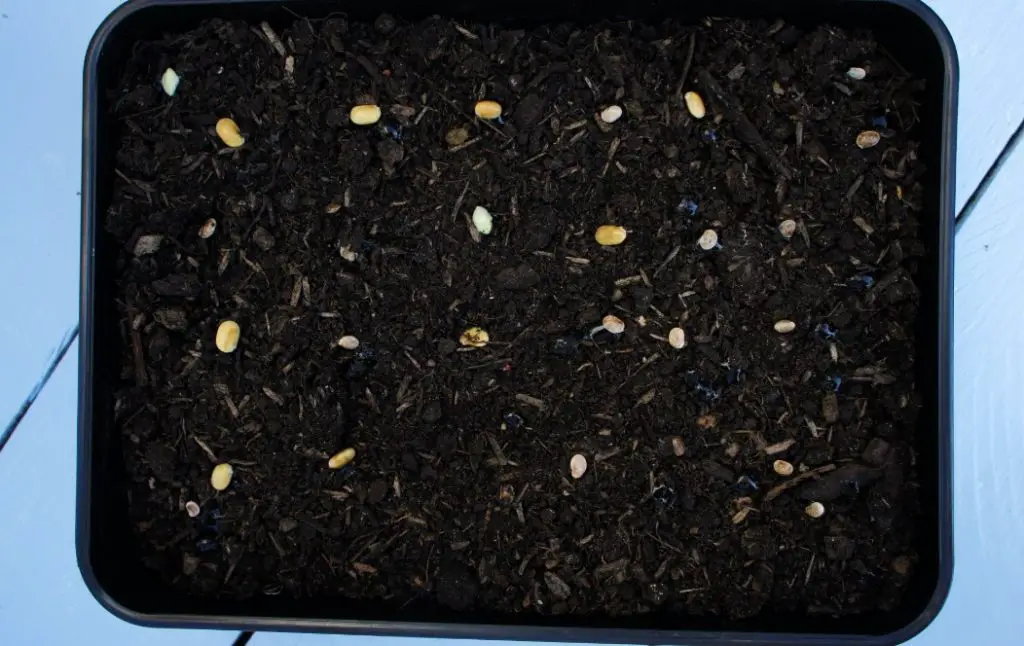
Step 2: Sow the seeds
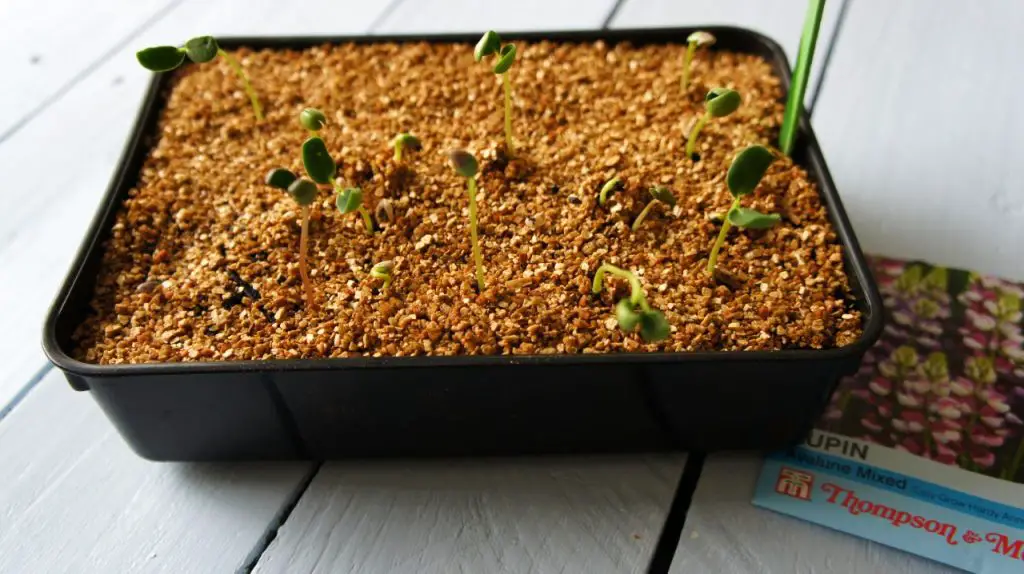
Place the seeds on the compost surface. In my case the seeds are quite large so I was able to place them individually. Most of my seeds were light in colour but some are dark brown and do not show up well on the picture below. I placed them in rows so that I will be able to see which ones have germinated and how many failed. If yours are very small then sprinkle them very thinly. You do not want too many close together as they will not grow into strong seedlings. They will be overcrowded.
Step 3: Cover seeds
Read the packet again! If it says to cover the seeds then cover them with a thin layer of the vermiculite or seed compost. If it says do not cover them go straight to step 4. Some seeds need light to germinate so it is important to check your packet.
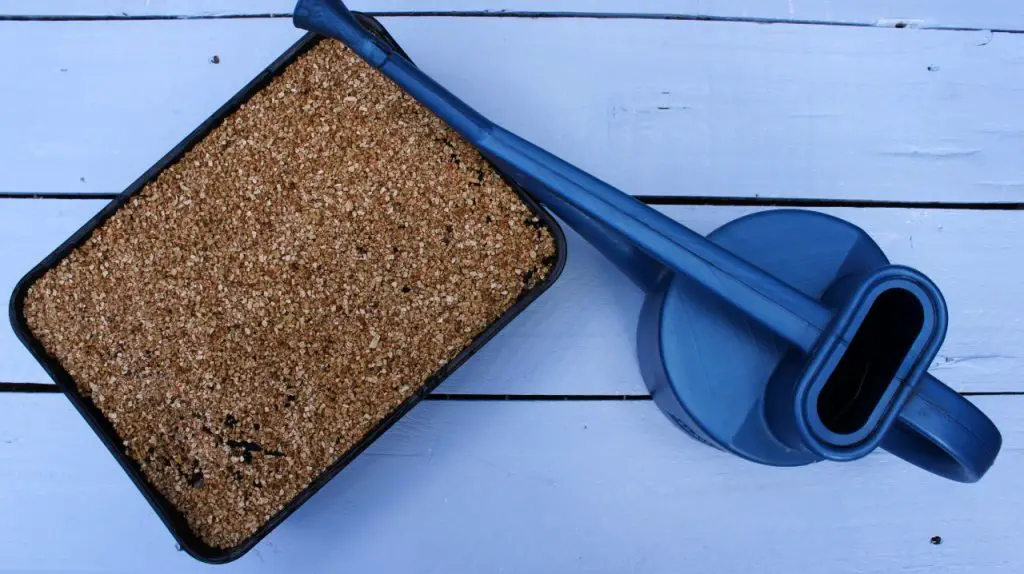
Step 4: Water seeds
Water the seeds thoroughly. I use a small watering can with a fine rose so that the seeds are not moved about. It takes a little longer to water but it is worthwhile.
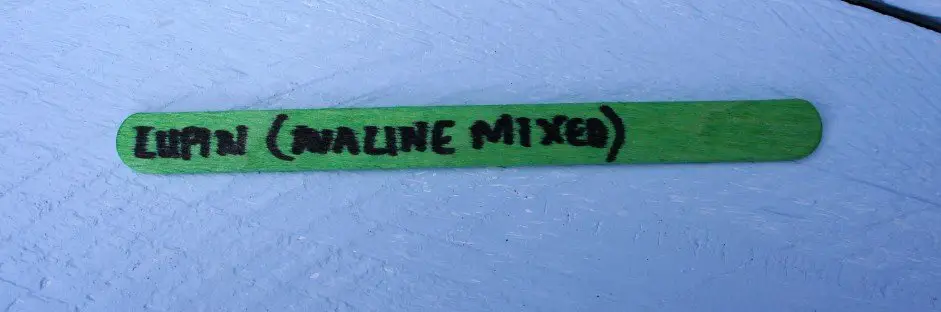
Step 5: Add label and propagator
Add a label to the tray. You can simply place the seed packet under the edge of the tray or I prefer to use wooden craft sticks that are really inexpensive to buy for children’s crafts. Then place the propagator over the tray (or place the whole tray inside a clear plastic bag).
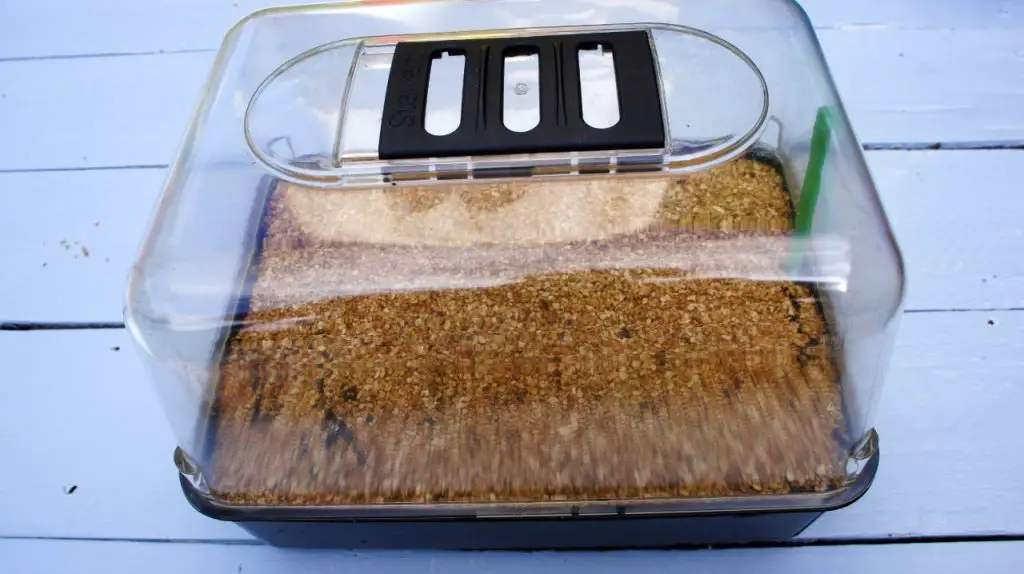
Step 6: Monitor seed tray
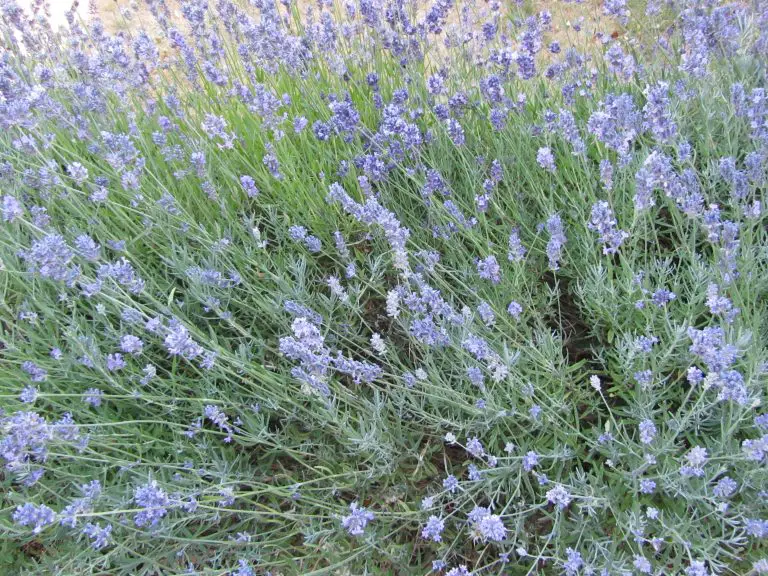
Now you need to keep an eye on the tray. Make sure it remains moist but not too wet or the seeds can rot. Your seed packet will tell you how long germination should take. In my experience they sometimes germinate quicker than you expect if it is very warm. I simply place my seed trays on a sunny windowsill but you can use a heat mat to place under the tray and keep the seeds consistently warm. I have not needed one and I have grown lots of plants from seed including lavender, sweet peas, zinnias, tomatoes and marigolds. A sunny windowsill in the house is a great place to start seeds off.
In Summary:
Seed sowing is really simple and there are nearly always instructions on the packet so you do not need to remember what conditions they need or when to sow them
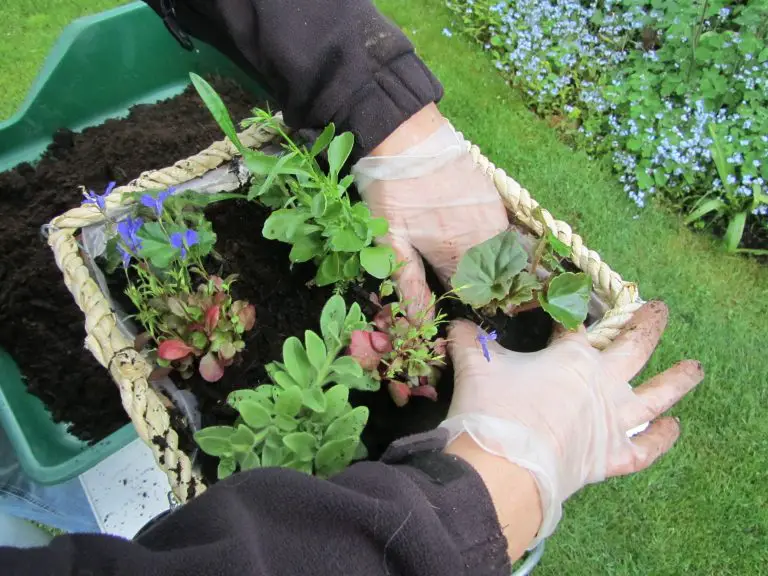
In another post, here, I show you how to prick out your seedlings and grow them on for successful flowering. You can use the plants you grow to plant up baskets and containers as I did in this article.
Remember that this full tutorial (and ho to transplant seedlings) is available as a downloadable PDF for a small charge so that you can avoid the ads and easily print it off if you want to. Simply click here for details.
If you enjoy gardening check out some of my other posts:
Plant a lasagna bulb pot for spring colour
How to grow free shrubs from cuttings
How to grow a lavender hedge for £1
How to Fold your own Origami Seed Packets
Remember to pin this article on Pinterest so that you can find it later and to let me know what seeds you grow.