Sew Your Own Round Drawstring Bag: Perfect for Organizing Stuff
As an Amazon Associate I earn from qualifying purchases
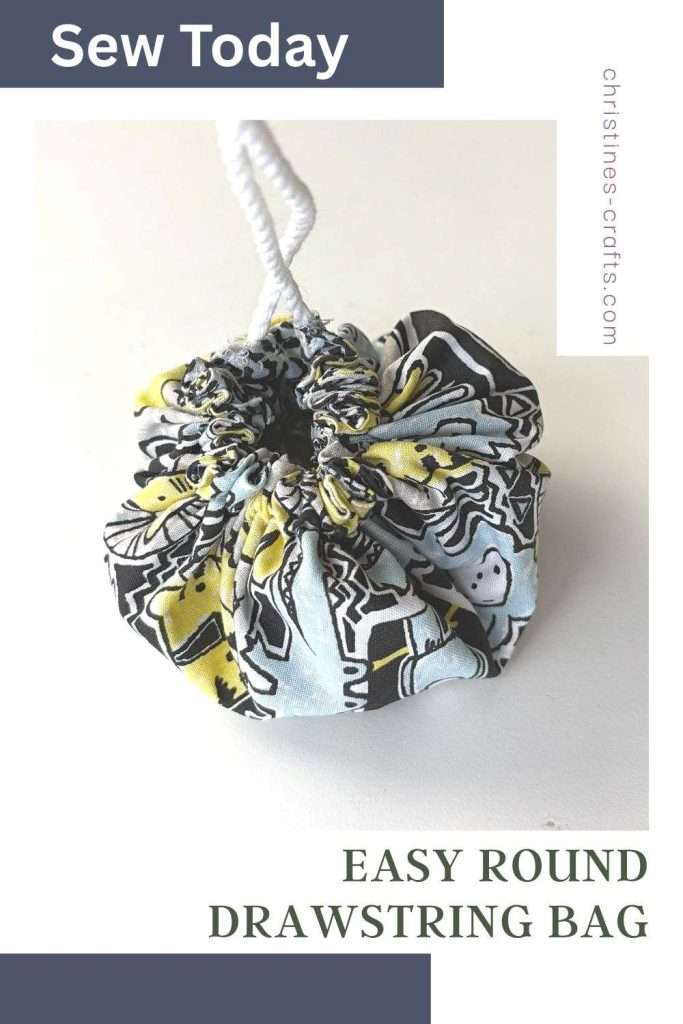
Would you like a drawstring bag (any size) that opens out flat into a circle? These are great for toiletries, cosmetics, toys, etc. This round drawstring bag is used for toys and is quite small but you really can make them any size including large enough to make a playmat!
There is no difficult sewing so anyone really can make one of these. So, let’s get started.
You will need:
- 2 pieces of fabric large enough for your circles.
- Drawstring (cord, ribbon, string, etc) – Long enough to go around your circle plus a little more.
- Cord fastener (optional)
- Sewing Supplies
Video Tutorial
This video is also available on my YouTube channel.
Create your Fabric Circles
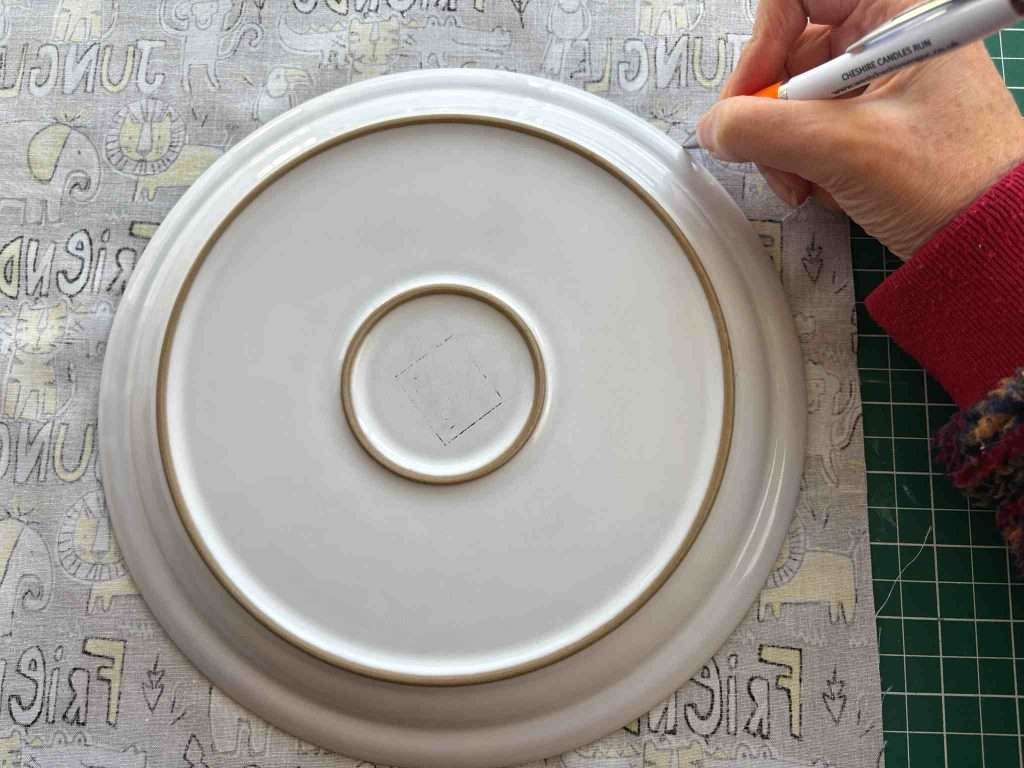
If you want a small round drawstring bag then you can probably do what I have done here and draw around something you own. I have used a large dinner plate and a dustbin lid would make a great larger circle (once you have cleaned it).
If you want a size that you do not have anything to draw around then consider drawing a quarter of a circle on a piece of paper and then using that to draw a full circle on your fabric.
However you achieve it you want to end up with 2 identical fabric circles. I used different fabrics but you could use the same for inside and outside the bag.
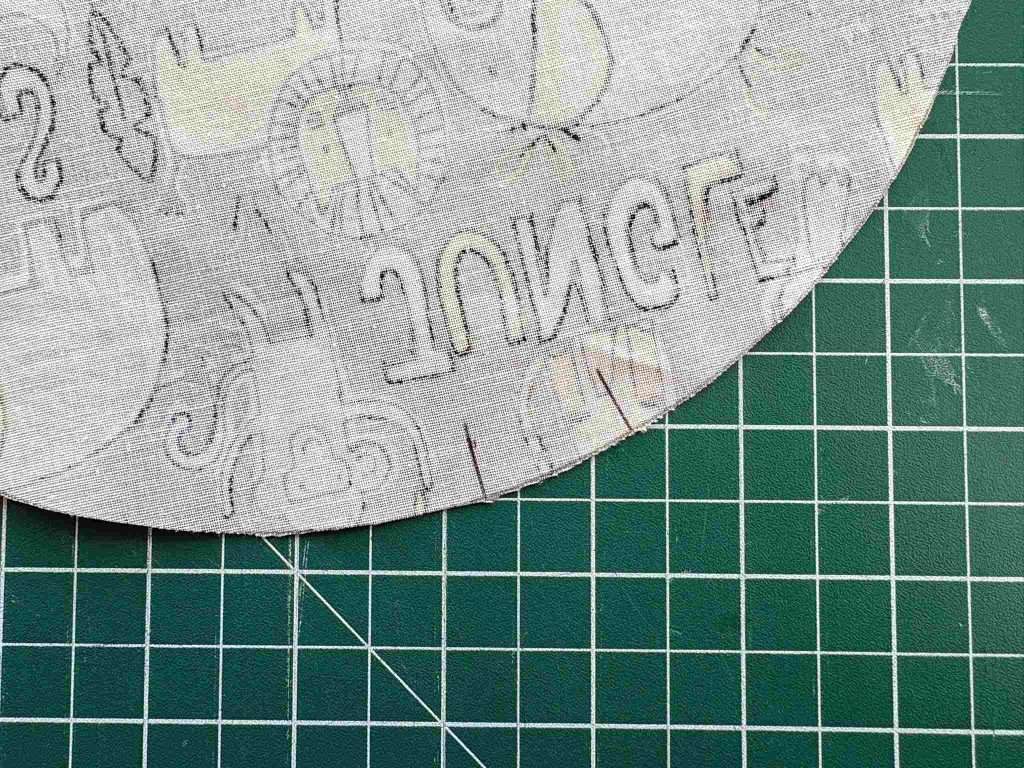
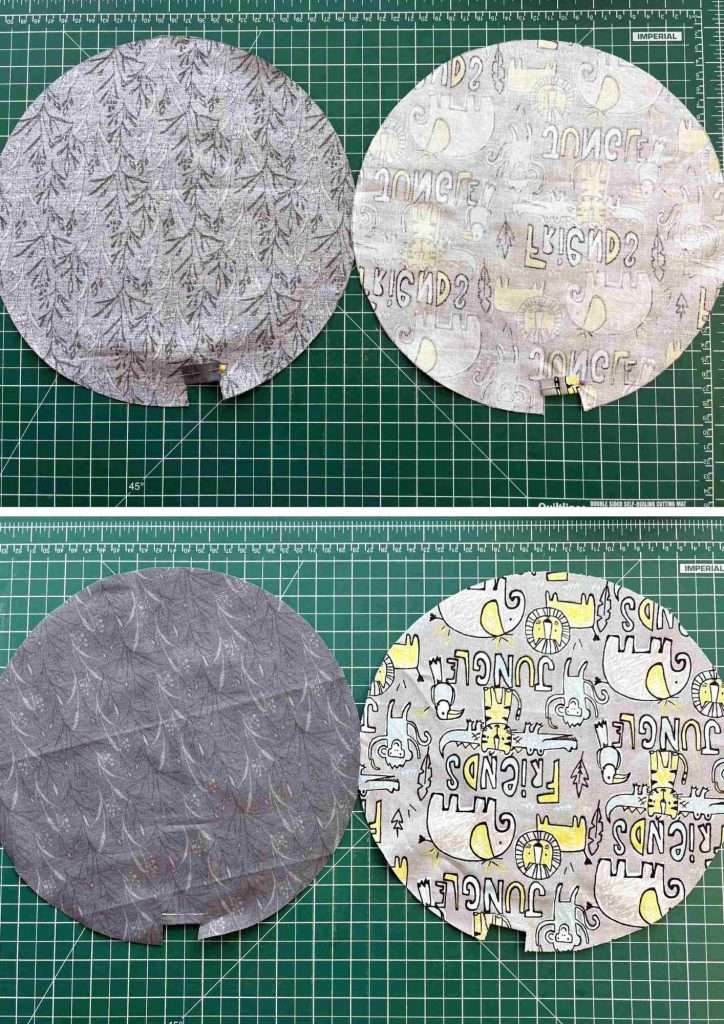
Once you have 2 circles you need to prepare each one before sewing them together. Lay one on top of the other with right sides facing each other. On the edge of the circle mark and then cut 2 straight lines about 1/4″ long as shown. They should be a reasonable distance apart. For my small bag this is a good inch. If you are making a larger bag I recommend making that longer.
Take each circle in turn and fold that small flap you have made onto the wrong side of the fabric. Pin and then sew it in place. Remember, you are doing this to each circle separately.
Sew the Circles Together
Now, take your 2 circles and place them on top of each other with right sides facing each other. Make sure you line up the flaps that you have just sewn.
Sew around the circle from one end of the flap to the other. DO NOT sew across the flaps. You will be turning the circles out through that hole.
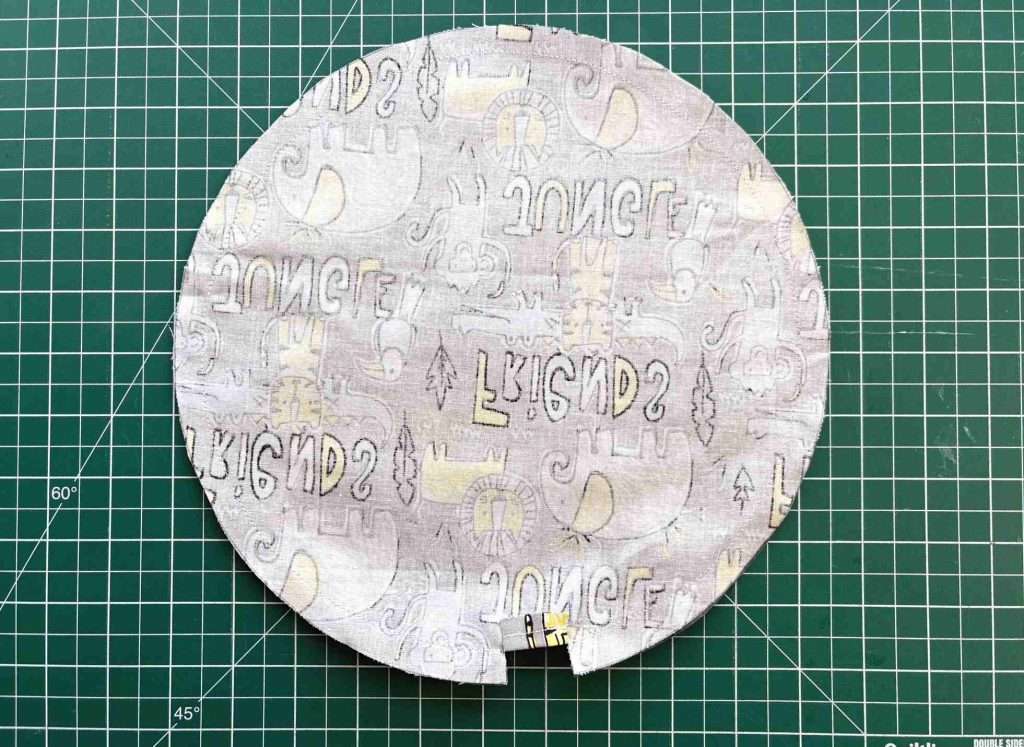
You can clip the seam allowance around the circle to help it lie flat if you want to but this is optional.
Turn the circles out through the hole that you left so that you can see the right sides. Use a tool such as a chopstick to push it though and get a neat curve. Press it.
Form your Drawstring Casing
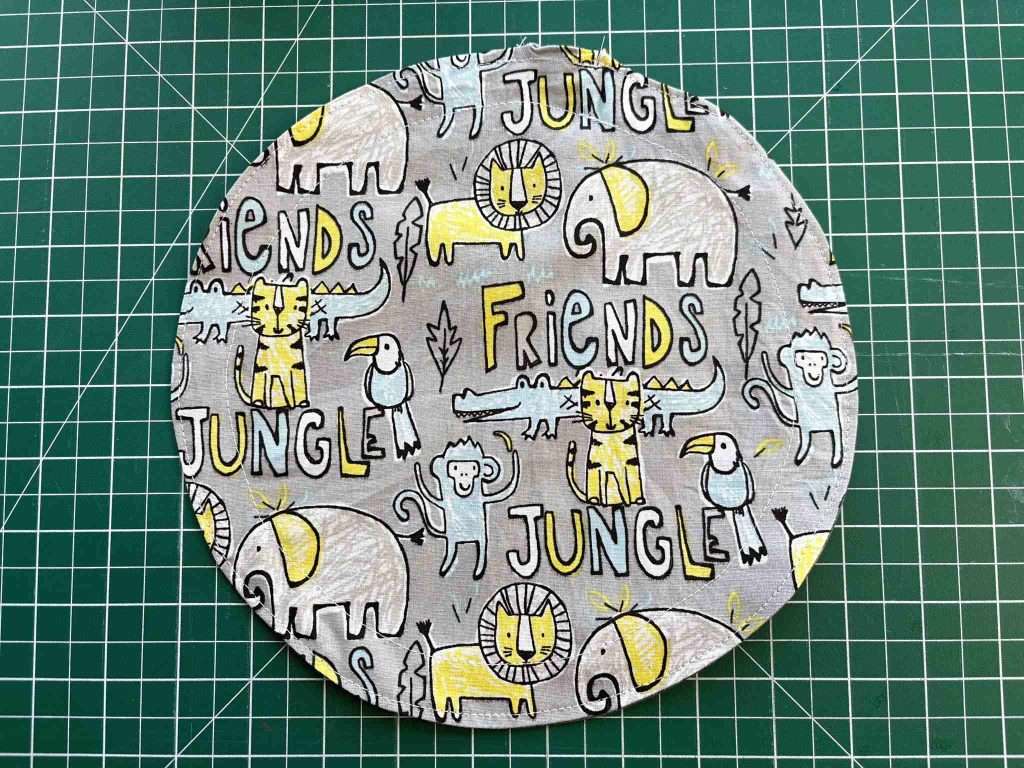
Sew a topstitch around the very edge of the circles but DO NOT go over the flaps. This is where your drawstring will go into your casing. I use a slightly longer stitch for topstitching as I think it looks better.
Then sew another row of stitching approximately 1″ inside your first row of top stitching. Now, this will form your casing so must be the right size for your drawstring – adjust the size of this to suit your bag!
Add your Drawstring
All you need to do now is insert your drawstring. I put a knot it my cord and push a safety pin through it. This is then easy to move along the casing. You can also get tools to do this but I have never used one.
Insert your drawstring so that it runs around your circle, the circle can lie flat and you have some extra drawstring to hold onto. Then, you can choose. I simply knotted my cords together but you can add a cord fastener to your drawstrings and then knot them if you prefer. This keeps your bag closed.

Now you have your completed round drawstring bag. Just think how many more uses you can think of for these!
What next?
If you are looking for more sewing projects then check out a whole load of them here on this website.
If you would like more bag ideas then how about a flat bottomed drawstring bag, a boxed bottom bucket bag or perhaps a cute zipped makeup bag?
I would love to hear what you use your round drawstring bag for in the comments below.